manuals.online logo
Brands
  1. Home
  2. •
  3. Brands
  4. •
  5. De La Espada
  6. •
  7. Indoor Furnishing
  8. •
  9. De La Espada LUCA NICHETTO BELLE REEVE SOFA User manual

De La Espada LUCA NICHETTO BELLE REEVE SOFA User manual

0
1
L
U
C
A
N
I
C
H
E
T
T
O
NOTE: Belle Reeve is a sofa system with numerous possible
congurations and options. These instructions provide guidance
on assembling all possible parts to assist you in assembling
your unique conguration.
PARTS
Parts and quantities vary according to conguration, and may
include:
Panels - lattice or upholstered
Metal legs
Sofa bases
Upholstered seat pads
Upholstered backrests (corner or at)
Flat armrests
Marble tables
Scatter cushions
HARDWARE
Hardware type and quantity varies according to conguration and
may include the following. Refer to instructions to see where
each is used.
M6x16 Button Cap Screws
M6x25 Countersunk Screws
M6x45 Countersunk Screws
Metal Connection Plates
YOU WILL NEED
5mm heavy duty Allen Key
6mm heavy duty Allen Key
The help of one or two friends, depending on size of sofa
NOTES
NOTE 1: Be certain that all assembly is carried out on a at
and stable surface. This will ensure a good nal re
sult. Reverse the steps to disassemble the piece.
NOTE 2: Your furniture arrives packed in numerous layers that
protect it during transport. It is important that you remove
the packaging carefully to avoid damaging your furniture. Refer
to our information sheet “Unpacking Your Furniture” for further
details.
NOTE 3: Great care is required when assembling our products as
they can mark very easily if banged or dropped. Use blankets
to soften the assembly surface - hard surfaces such as wood or
stone ooring may damage the furniture if in direct contact.
NOTE 4: We advise that assembly and disassembly of De La Espada
furniture is undertaken by a minimum of 2 people.
NOTE 5: When screwing in bolts, tighten well, but be sure
NOT TO OVERTIGHTEN. This can cause the thread to strip thus
resulting in a poor connection.
ASSEMBLY INSTRUCTIONS
BELLE REEVE SOFA BY LUCA NICHETTO
SALES@DELAESPADA.CO M
DELAESPADA.COM
0
2
L
U
C
A
N
I
C
H
E
T
T
O
ASSEMBLY INSTRUCTIONS CONTINUED
BELLE REEVE SOFA: METAL LEGS
NOTE 6: While you work, be sure all connections are ush with
no gaps.
1) ATTACH METAL LEGS TO SOFA BASE
a) Place each sofa base face down onto a softened surface on
the oor.
SALES@DELAESPADA.CO M
DELAESPADA.COM
INSTRUCTIONS
b) One at a time, place the metal legs into the rebates located
around the perimeter of the sofa base. Quantity varies accord-
ing to the module size. Insert an M6 x 25 countersunk screw
into each of the four holes in each leg and through the sofa
base. Tighten rmly with an Allen Key.
0
3
L
U
C
A
N
I
C
H
E
T
T
O
ASSEMBLY INSTRUCTIONS CONTINUED
BELLE REEVE SOFA: LEGS
c) The attached legs should look like this:
SALES@DELAESPADA.CO M
DELAESPADA.COM
d) Flip the sofa base assembly over into its natural upright
position.
0
4
L
U
C
A
N
I
C
H
E
T
T
O
ASSEMBLY INSTRUCTIONS CONTINUED
BELLE REEVE SOFA: PANELS
SALES@DELAESPADA.CO M
DELAESPADA.COM
2) ATTACH PANELS TO SOFA BASE ASSEMBLY
a) Place each panel onto the sofa base, aligning the holes in
the hardware with the pre-drilled holes in the base.
For side panels, locate the correct holes by aligning the pre-
drilled holes at the front of the sofa base with the three
holes in the corresponding hardware. This will locate the cor-
rect three holes at the rear of the sofa as well.
NOTE: These instructions show lattice panels, but you may have
upholstered panels or a combination of panel types, depending
on your order.
0
5
L
U
C
A
N
I
C
H
E
T
T
O
ASSEMBLY INSTRUCTIONS CONTINUED
BELLE REEVE SOFA: PANELS
SALES@DELAESPADA.CO M
DELAESPADA.COM
b) Insert an M6 x 16 Button Cap Screw into each of the holes in
the panel hardware where it meets the sofa base. Tighten rmly
with an Allen Key.
0
6
L
U
C
A
N
I
C
H
E
T
T
O
ASSEMBLY INSTRUCTIONS CONTINUED
BELLE REEVE SOFA: PANELS
c) On the underside of the assembly, insert an M6 x 16 Button
Cap Screw into each of the holes in the panel hardware where it
meets the sofa base. Tighten rmly with an Allen Key.
NOTE: You may nd it easier to place the sofa on its side to
more easily access the hardware on the underside of the sofa
base.
SALES@DELAESPADA.CO M
DELAESPADA.COM
d) Repeat the above procedure until all panels are attached.
0
7
L
U
C
A
N
I
C
H
E
T
T
O
ASSEMBLY INSTRUCTIONS CONTINUED
BELLE REEVE SOFA: FLAT ARMREST (IF RELEVANT)
SALES@DELAESPADA.CO M
DELAESPADA.COM
3) CONNECT FLAT ARMREST/S (IF RELEVANT)
a) Place the at armrest onto the sofa base, aligning the holes
in the hardware with the pre-drilled holes in the sofa base.
Locate the correct holes by aligning the pre-drilled holes at
the front of the sofa base with the three holes in the corre-
sponding hardware. This will locate the correct three holes at
the rear of the sofa as well.
b) Insert an M6 x 16 Button Cap Screw into each of the holes in
the at armrest hardware where it meets the sofa base. Tighten
rmly with an Allen Key.
0
8
L
U
C
A
N
I
C
H
E
T
T
O
ASSEMBLY INSTRUCTIONS CONTINUED
BELLE REEVE SOFA: FLAT ARMREST (IF RELEVANT)
SALES@DELAESPADA.CO M
DELAESPADA.COM
c) On the underside of the assembly, insert an M6 x 16 Button
Cap Screw into each of the holes in the at armrest hardware
where it meets the sofa base. Tighten rmly with an Allen Key.
d) Once attached, the at armrest will appear like this:
0
9
L
U
C
A
N
I
C
H
E
T
T
O
ASSEMBLY INSTRUCTIONS CONTINUED
BELLE REEVE SOFA: MARBLE TABLE (IF RELEVANT)
SALES@DELAESPADA.CO M
DELAESPADA.COM
b) On the underside of the assembly, insert an M6 x 45 counter-
sunk screw into each of the holes (there will be four holes for
a 0.5-unit table and six holes for a 1-unit table). Tighten
rmly with an Allen Key.
4) CONNECT MARBLE TABLE/S (IF RELEVANT)
a) Gently lower the marble table onto the sofa base, making a
note of where the pre-drilled holes are located, and aligning
these.
NOTE: If you are uncertain of the placement of the table in the
conguration ordered, you may wish to assemble the rest of the
sofa rst, then add the table at the end to avoid misplacement.
c) Once attached, the marble table will appear like this:
1
0
L
U
C
A
N
I
C
H
E
T
T
O
ASSEMBLY INSTRUCTIONS CONTINUED
BELLE REEVE SOFA: CONNECTING BASES (IF RELEVANT)
5) CONNECT SOFA BASES TO ONE ANOTHER (IF RELEVANT)
a) Place the sofa assemblies into the relevant conguration
then push them together until they meet ush.
SALES@DELAESPADA.CO M
DELAESPADA.COM
b) On the underside of the assembly, place metal plates where
the sofa assemblies meet. Although there are many pre-drilled
holes in the base, there are only the relevant number of 4-hole
clusters to accommodate the metal plates. Insert an M6 x 16
Button Cap Screw into each of the holes in each metal plate and
into the sofa bases, then tighten rmly with an Allen Key.
1
1
L
U
C
A
N
I
C
H
E
T
T
O
ASSEMBLY INSTRUCTIONS CONTINUED
BELLE REEVE SOFA: BACKREST MODULES
6) ATTACH BACKREST MODULES
a) Place the backrest modules one at a time into position on
the sofa assembly. The toggles located on the backs of the mod-
ules will be used to attach them to the panels.
NOTE: If the backrest is a corner, make sure the front of the
arm aligns with the front of the sofa base.
SALES@DELAESPADA.CO M
DELAESPADA.COM
LATTICE PANELS:
b) If your sofa has lattice panels, then feed each toggle
through the lattice work.
1
2
L
U
C
A
N
I
C
H
E
T
T
O
ASSEMBLY INSTRUCTIONS CONTINUED
BELLE REEVE SOFA: BACKREST MODULES
c) Next, rotate each toggle so it is in an upright position.
SALES@DELAESPADA.CO M
DELAESPADA.COM
1
3
L
U
C
A
N
I
C
H
E
T
T
O
ASSEMBLY INSTRUCTIONS CONTINUED
BELLE REEVE SOFA: BACKREST MODULES
SALES@DELAESPADA.CO M
DELAESPADA.COM
UPHOLSTERED PANELS:
b) If your sofa has upholstered panels, then feed the toggles
through the loops located on the inner faces of the panels,
then rotate to secure in place.
1
4
L
U
C
A
N
I
C
H
E
T
T
O
ASSEMBLY INSTRUCTIONS CONTINUED
BELLE REEVE SOFA: SEAT PADS
SALES@DELAESPADA.CO M
DELAESPADA.COM
7) ATTACH SEAT PADS
NOTE: Seat pads are intentionally larger than the sofa base to
allow for a slight doming effect that provides increased com-
fort. As such, it is important to align seat pads ush with key
points of the sofa base. The excess dimensions will then be
pushed into the backrests for a tidy appearance.
a) Attach the seat pads to the sofa base using the velcro lo-
cated on the underside of each. Align the seat pads with the
sofa base, both front to back and side to side, as detailed in
the notes below. Next, squeeze the rear and sides of the seat
pads into the space where they meet the backrests.
FRONT TO BACK ALIGNMENT
Align the front face of each seat pad ush with the front face
of the sofa base.
SIDE-TO-SIDE ALIGNMENT
Consider side-to-side alignment of the seat pads according to
the sofa conguration ordered.
Example 1 - Symmetrical layout:
If you have a symmetrical layout, align the seat pads with the
centre point of the sofa base frame. For two seat pads of equal
size, align the edge of each with the centre point. For three
seat pads of equal size, align the centre point of the middle
seat pad with the centre point of the sofa base, then when you
place the other seat pads, push the sides of the centre seat
pad inward slightly to condense it.
Example 2 - Corner Unit layout:
If you have a corner unit arrangement with a daybed on one
side, then begin aligning the seat pad on the daybed rst.
Align the seat pad with the sofa base ush at both the front
and the sides, doming the centre of the pad slightly if needed.
Example 3 - Ottoman:
If you have an ottoman, you will need to align all four edges
of the seat pad with the four edges of the sofa base. To do
this, you will need to create a slight dome in the centre. Once
all sides are aligned, you can push down the centre of the pad.
ASSESSING PLACEMENT
After placing the seat pads, take a step back and look at the
overall sofa appearance. If alignment can be improved, then
lift the relevant seat pads and realign as needed until the
desired result is achieved.
1
5
L
U
C
A
N
I
C
H
E
T
T
O
ASSEMBLY INSTRUCTIONS CONTINUED
BELLE REEVE SOFA: FINISHING TOUCHES
SALES@DELAESPADA.CO M
DELAESPADA.COM
9) PLACE SCATTER CUSHIONS ONTO SOFA (IF RELEVANT)
a) If your sofa has scatter cushions, then place them onto the
sofa now.
b) Assembly is now complete and your sofa is ready for use.
8) LEVEL SOFA
a) Once the sofa is fully assembled, level it using the level-
lers on the bottom of the feet.

Other De La Espada Indoor Furnishing manuals
De La Espada 395Q/V OVERTON TABLE User manual

De La Espada

De La Espada 395Q/V OVERTON TABLE User manual

De La Espada ARMSTRONG SOFA User manual

De La Espada

De La Espada ARMSTRONG SOFA User manual

De La Espada JASON MILLER 051 ELLIOTJASON MILLER 056... User manual

De La Espada

De La Espada JASON MILLER 051 ELLIOTJASON MILLER 056... User manual

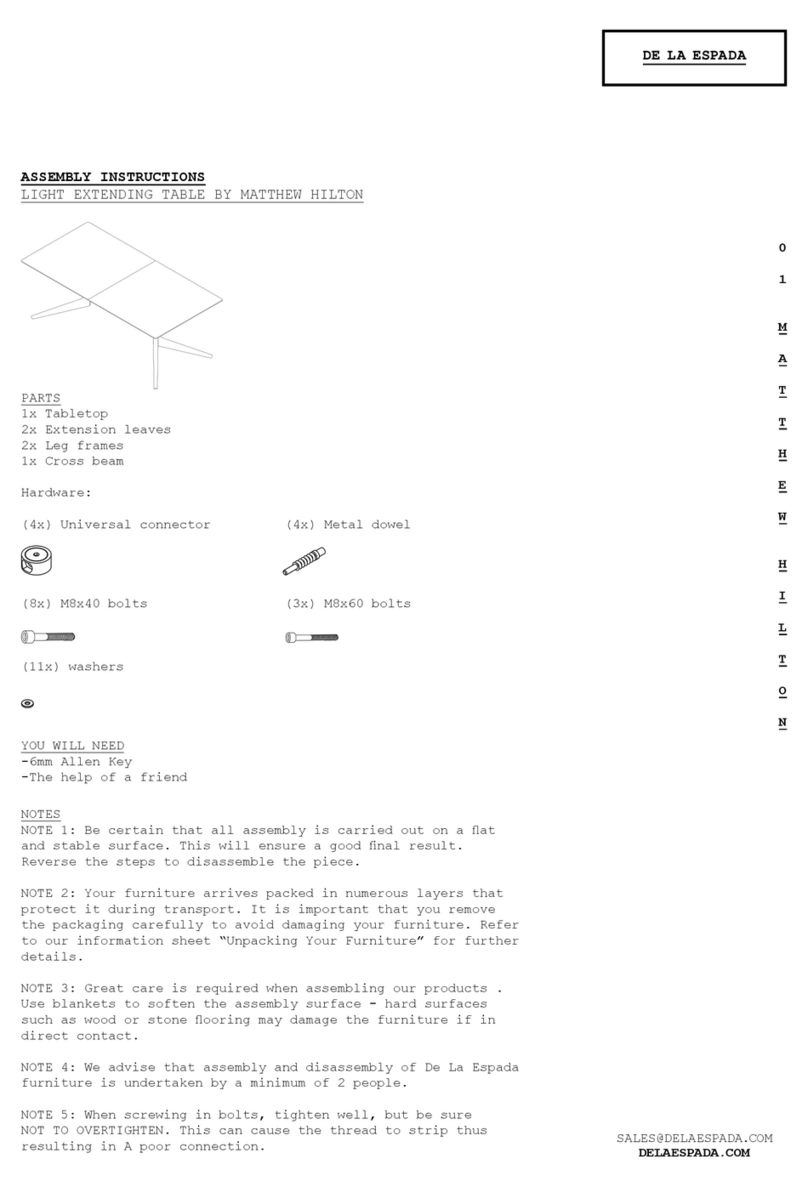
De La Espada LIGHT EXTENDING TABLE BY MATTHEW HILTON User manual

De La Espada

De La Espada LIGHT EXTENDING TABLE BY MATTHEW HILTON User manual

De La Espada McQueen User manual

De La Espada

De La Espada McQueen User manual

De La Espada REFECTORY EXTENDING TABLE User manual

De La Espada

De La Espada REFECTORY EXTENDING TABLE User manual

De La Espada MATTHEW HILTON 391 HEPBURN MODULAR SOFA User manual

De La Espada

De La Espada MATTHEW HILTON 391 HEPBURN MODULAR SOFA User manual

De La Espada 764M SHAKER User manual

De La Espada

De La Espada 764M SHAKER User manual

De La Espada TABLE ONE User manual

De La Espada

De La Espada TABLE ONE User manual

De La Espada 12061398 User manual

De La Espada

De La Espada 12061398 User manual
De La Espada COMPANIONS BED User manual

De La Espada

De La Espada COMPANIONS BED User manual

De La Espada BRETTON User manual

De La Espada

De La Espada BRETTON User manual

De La Espada NERI&HU User manual

De La Espada

De La Espada NERI&HU User manual

De La Espada COMMUNE DINING TABLE BY NERI&HU User manual
De La Espada

De La Espada COMMUNE DINING TABLE BY NERI&HU User manual

Popular Indoor Furnishing manuals by other brands

BLACK RED WHITE MARSELLE KOM2W3S1K Assembly instructions

BLACK RED WHITE

BLACK RED WHITE MARSELLE KOM2W3S1K Assembly instructions

Riverside Furniture Anniston 47556 Assembly instructions

Riverside Furniture

Riverside Furniture Anniston 47556 Assembly instructions

Sauder Whitaker Point 429374 manual

Sauder

Sauder Whitaker Point 429374 manual

ellos 1597644-01 Assembly instructions

ellos

ellos 1597644-01 Assembly instructions

Furniture Values International aspenhome I256-469 Assembly instructions

Furniture Values International

Furniture Values International aspenhome I256-469 Assembly instructions

7th Haven 7HDC0001 Assembly instructions

7th Haven

7th Haven 7HDC0001 Assembly instructions

GFW HAVANA 3 DOOR 2 DRAWER ROBE Assembly instructions

GFW

GFW HAVANA 3 DOOR 2 DRAWER ROBE Assembly instructions

Jysk BROBY 3606121 manual

Jysk

Jysk BROBY 3606121 manual

Safco Metro 3442 Assembly instructions

Safco

Safco Metro 3442 Assembly instructions

Crosley CF3027 quick start guide

Crosley

Crosley CF3027 quick start guide

Riverside Furniture 92615 Assembly instructions

Riverside Furniture

Riverside Furniture 92615 Assembly instructions

Blanco BLANCOSPEX 501-205 Specification sheet

Blanco

Blanco BLANCOSPEX 501-205 Specification sheet

Watson Desking Miro Conference MCVSQR Series Product Installation

Watson Desking

Watson Desking Miro Conference MCVSQR Series Product Installation

New Classic Furniture JAZZ S397-BS Assembly instructions

New Classic Furniture

New Classic Furniture JAZZ S397-BS Assembly instructions

Bali Cordless Roman shade How to install

Bali

Bali Cordless Roman shade How to install

Panorama Moveis 0620 Assembly instructions

Panorama Moveis

Panorama Moveis 0620 Assembly instructions

Dorel Home Products 2525429 manual

Dorel Home Products

Dorel Home Products 2525429 manual

Stellar Works SL-SF110 Assembly instructions

Stellar Works

Stellar Works SL-SF110 Assembly instructions

manuals.online logo
manuals.online logoBrands
  • About & Mission
  • Contact us
  • Privacy Policy
  • Terms and Conditions

Copyright 2025 Manuals.Online. All Rights Reserved.