Viewing cameras on the Spot monitor
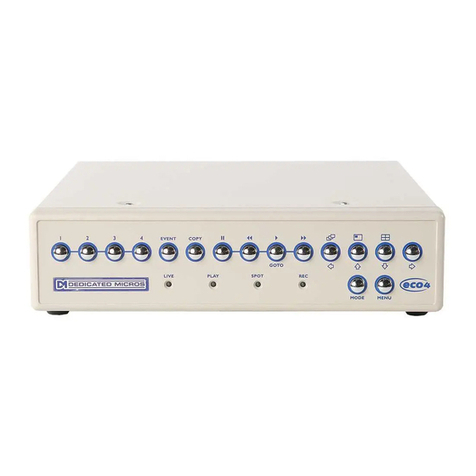
To select control of the spot monitor, press the Mode key (or Spot key on the remote keyboard) this will toggle
the unit between Main and Spot mode which is indicated on the main monitor (SPOT) and the front panel
LED’s. Press a camera key to display the corresponding image on the spot monitor or tap the Sequence key
to sequence the cameras. To edit the Spot monitor sequence, press and hold the Sequence key. Select the
cameras that are to be included in the Spot monitor sequence.
Copying images to a CD/DVD-R or FTP Server
Recorded images stored on the unit’s internal hard drives can be copied to an external media for archive
purposes, including CD-R/DVD-R and an FTP Server. To copy images to a CD-R/DVD-R or FTP:
1. Press and hold the Copy key to display the following screen.
Copy destination It is possible to either copy images to a
CD writer or to a remote FTP Server using file transfer
protocol.
Copy from time Select the start time you wish to copy
images from.
Copy to time Select the time you wish to copy images to.
Watermarking A unique watermark can be added to the
images as it is copied to it’s destination.
Unprotect on archive If an image has been manually or
automatically protected it is possible to remove this protect
when the image is archived, to ensure archived images will
be over-written.
2. If images are to be copied to the internal CD/DVD writer, insert a blank CD-R or DVD-R into the CD/DVD
drive and select the CD-R/DVD option.
If the images are to be copied to an FTP Server ensure the FTP settings have been configured in the
‘Record Options - Archive on Event’ Menu.
3. Use the cursor keys to change the time to copy To and From.
4. Tap the Menu key to display the following menu:
Disk Archive List
Disk type CD Capacity (MB): 702
Add next Archive & VerifyClear List Archive
CD Use [---------------------] 4% Full
From To
12:00 01/12/01 12:01 01/01/2001
Next 12:01 01/12/01 to 12:02 01/12/01
FTP Archive List
Add next Clear List Archive
From To
12:00 01/12/01 12:01 01/01/2001
Next 12:01 01/12/01 to 12:02 01/12/01
Add next Add the selected times to the archive list.
Clear list Removes all entries from the list.
Archive This will start the archive process to the CD.
Archive& Verify This is only displayed when CD/DVD is selected. If you want to verify archiving has been
successful, select this option.
Copy Playback Images
It is also possible to copy images that are being reviewed in playback mode directly to the Disk Archive List for
burning to the internal CD/DVD writer. To copy images in playback:
1. Press to rewind (search) the recorded images to the start position of the images that are to be copied.
2. Press the Copy key on the front panel of the unit.
3. Press or until the recording reaches the end point of the required video recording.
4. Press the Copy key to stop the copy process.
The recorded images will be added to the Disk Archive List and can be selected to be saved to the
internal CD/DVD.
Viewing single cameras
Full
Pressing a camera key will display a full screen image of that camera.
Zooming an image
Press the same camera key to toggle zoom on and off.
When zoom is enabled, use to scroll around the image.
Freezing an image
Double tap the camera key or press the Hold key on the remote keyboard to toggle freeze frame
on or off.
Viewing multiple cameras
Picture in Picture
Press the PIP key to toggle the main and PIP image.
Press and hold the PIP key to edit the display, use to select the segment, press the
required camera key to fill that segment.
Press Menu to exit.
Quad
Press the QUAD key to switch to quad display.
Press and hold the QUAD key to edit the display, use to select the segment, press the
required camera key to fill that segment.
Press Menu to exit.
Multi-screen
Press the Multi-screen key to toggle between 9-way, 8+2, 12+1*, and 16-way* displays.
Press and hold the Multi-screen key to edit the display, use to select the segment,
press the required camera key to fill that segment.
Press Menu to exit.
Note: It is possible to have Live, Play and Review images displayed in the same multiscreen. With
a segment highlighted, select the camera to be viewed (Live mode), press to put the unit in
Play mode for the selected camera, press again to put the unit in Review mode for the selected
camera.
*16 channel version only.
Sequencing cameras
Sequence
Press the Sequence key to toggle the main monitor sequence on or off.
Press and hold the Sequence key to edit the full screen sequence.
Use the camera keys to include or remove cameras from the sequence.
Press Menu to exit.
Note: The Spot monitor sequence can only be activated or edited in Spot mode.
Note: A User Write Once option will be displayed in the Copy Images menu if the option has been enabled in
the system menus. This option will allow the Operator to reset the write once option.
