manuals.online logo
Brands
  1. Home
  2. •
  3. Brands
  4. •
  5. Delabie
  6. •
  7. Plumbing Product
  8. •
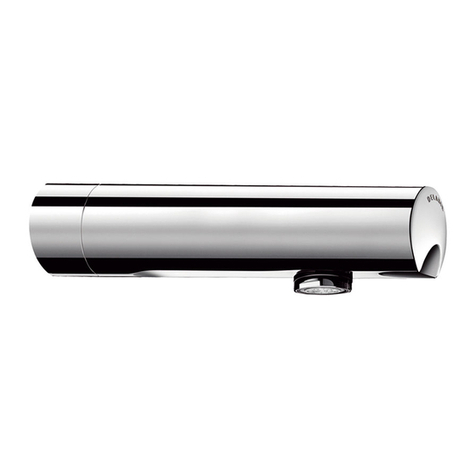
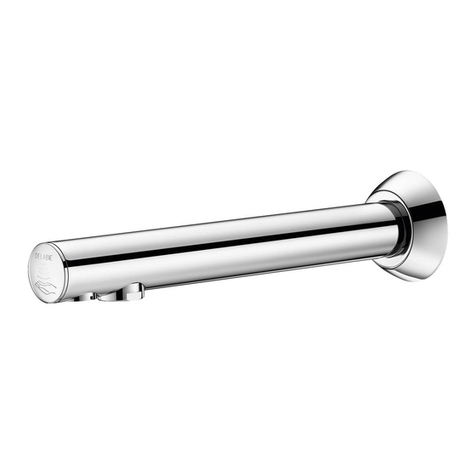
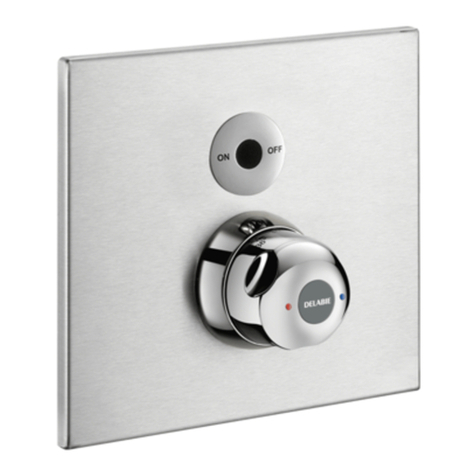
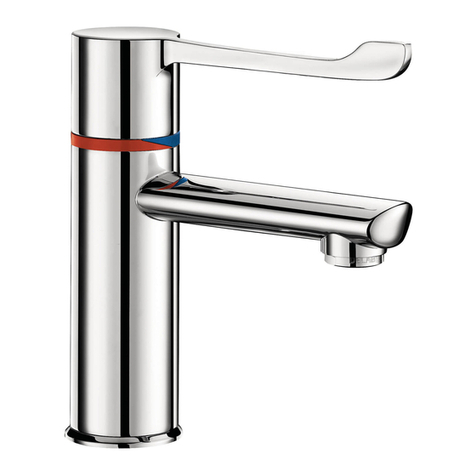
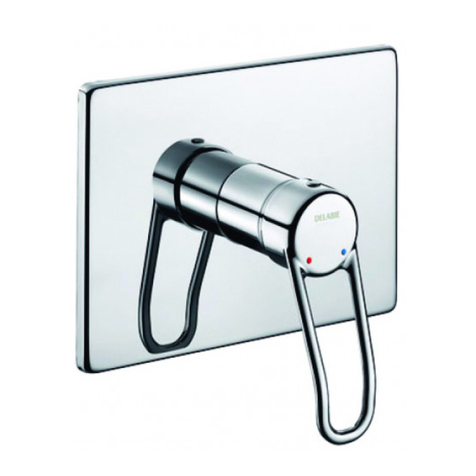
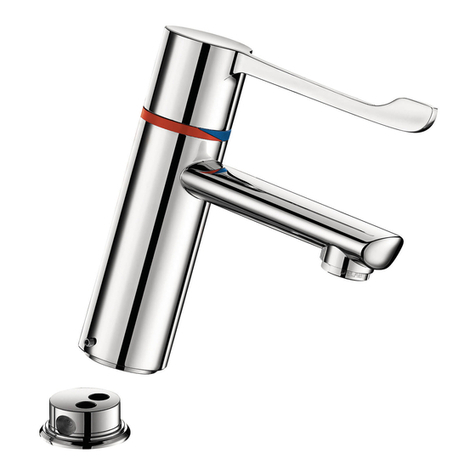
  9. Delabie TEMPOMATIC 4 443406 User manual

Delabie TEMPOMATIC 4 443406 User manual

www.macdonaldindustries.co.nz
Electronic Mixers/Taps with integrated battery
Appliance in conformity with European Rules 89/336/CEE 102.
MACDONALD INDUSTRIES LIMITED
INSTALLATION INSTRUCTIONS
TEMPOMATIC 4
490006, 440006, 443406
Thoroughly flush the pipes to remove
any impurities before installing and
commissioning the mixing valve.
2TEMPOMATIC 4
OPERATION
• Valve opens and closes automatically when
hands are presented in the detection zone.
Comfort shut-off delay is 3 seconds.
• Anti-blocking safety: a safety delay ensures
the valve closes after 30 seconds in case of
neglect or if an obstacle is placed in the
detection field. Once the obstacle is removed
the valve operation will reset automatically.
• Anti-Legionella duty flush: automatic duty flush
~ 45 seconds every 24 hours after the last use.
TECHNICAL FEATURES
• Non-return valves (fig. A) are integrated
into the exibles (do not remove).
• Ambient temperature for operation 7°C
minimum.
INSTALLATION
• The plug hole should be off-set from the axis
of the sensor detection zone (fig. A, B) to
avoid self-detection.
• IMPORTANT: Maximum temperature of
water supplied: 70°C.
• Deck-mounted models: drill a Ø 34mm
hole, mount the mixer/tap then tighten the
two screws onto the fixing flange (fig. A).
Ensure a suitable waterproof seal between
the mixer and the work plan appropriate to
the type of installation.
• It is essential to install the filters supplied
(fig. A), to protect the non-return valves
in the mixer. Do not install any additional
washers .
• Connect the stopcocks (fig. A) to the hot
and cold or mixed water supply.
• Balance the pressure between the hot and
cold water (∆ P<1bar). Recommended
pressure: 1 - 5 bar. Maximum pressure: 8 bar.
Take care not to pinch the flexibles (fig. C).
• Wall-mounted models: once the base is
fixed to the wall, loosen the grub screw
(fig. B, F), mount the spout in the correct
axis of flow then re-tighten the grub screw
(fig. B, F).
ANTI-SCALDING SAFETY DUE TO
TEMPERATURE LIMITATION (on mixers)
The mixer is pre-set at the factory with the
temperature limiter engaged, to disengage:
• Loosen the grub screw (fig. A) using a
4mm Allen key and remove the mixing key
(fig. A).
• Pry upwards with a flat-headed screw driver
(fig. E) e.g. to remove the coloured
limiter (fig. E).
Note: For the UK and Ireland, in healthcare
and high risk applications, the temperature
limiter must be disengaged and a certied
thermostatic mixing valve used to provide a
safe hot water temperature.
ADJUSTING THE FLOW RATE
The flow rate is pre-set at the factory at 3 lpm
(at 3 bar). Adjust directly on the flow
straightener (with adjustable flow rate) using a
2.5mm Allen key:
- notch n°1 = 3 lpm (at 3 bar).
- notch n°2 = 4 lpm (at 3 bar).
- notch n°3 = 5 lpm (at 3 bar).
REMEMBER
• Our mixers/taps must be installed by
professional installers in accordance with
current regulations and recommendations
in your country, and the specications of the
fluid engineer.
• Sizing the pipes correctly will avoid problems
of flow rate, pressure loss and unwanted
noise (see calculation table in the brochure
and online at www.delabie.com).
• Protect the installation with filters, water-
hammer absorbers and pressure reducers to
reduce the frequency of maintenance
(recommended pressure: 1 to 5 bar).
• Install stopcocks close to the mixer to
facilitate maintenance.
• The pipework, stopcocks, bib taps and all
sanitary fittings should be checked at least
once a year, and more frequently if
necessary.
MACDONALD INDUSTRIES LIMITED
INSTALLATION INSTRUCTIONS
TEMPOMATIC 4 3
1
2
3
5
6
4
4
7
8
9
10
Auckland (Head Office)
20 Carr Rd, Three Kings
Auckland 1041
P: 09 624 1115
F: 09 624 1110
E: [email protected]
Wellington
P: 04 569 8033
F: 04 569 8066
Christchurch
P: 03 348 2356
F: 03 348 2376
www.macdonaldindustries.co.nz
3/17
MAINTENANCE AND CLEANING
• Cleaning chrome Do not use abrasive,
chlorine or acid-based cleaning products.
Clean with soapy water using a cloth or a
sponge.
• Frost protection Drain the pipes and
operate the mixer several times to drain
any remaining water.
MAINTENANCE
• Mixer: regularly check (as often as
necessary) the temperature selector and
the mixer’s two internal seats on which the
mixing key turns. Replace as necessary.
Replacing the solenoid valve:
• Shut-off the hot and cold water supply.
• Deck-mounted models and wall-mounted
TEMPOMATIC 4: loosen the screw
(fig. D) using a 2.5mm Allen key with-
out removing it totally, and remove the cap
(fig. D) by rotating slightly downwards.
• Wall-mounted TEMPOMATIC 3: Loosen
the screw (fig. F) using a 2.5mm Allen
key without removing it totally, and remove
the spout (fig. F).
• Remove the electronic unit (fig. D, F)
and disconnect the connector (fig. D, F).
• Using a 17mm socket (fig. D, F) for
TEMPOMATIC 3, and 13mm for
TEMPOMATIC 4, unscrew the solenoid
valve (fig. D, F).
• Install the new solenoid valve and
carefully tighten, ensuring that the thread
is not damaged.
• Reconnect the connector (fig. D, F) to
the electronic unit without replacing the
unit.
• Reconnect the water supply and check that
the valve opens/closes by activating the
electronic cell. Check that the solenoid
valve is watertight inside the mixer body.
If there are any leaks, gently tighten the
solenoid valve.
• Replace the electronic unit and the cap.
• Deck-mounted models and wall-mounted
TEMPOMATIC 4: Carefully tighten the
screw (fig. D).
• Wall-mounted TEMPOMATIC 3 mural:
Carefully tighten the screws (fig. F) on
the wall-mounted TEMPOMATIC 3.
Replacing the 6V Lithium battery:
• Low battery life (fig. G, H), will prevent
the solenoid valve operating and cause the
LED, sited on the sensor on TEMPOMATIC
4 or on the TEMPOMATIC 3 electronic
model, to blink for 15 days.
• Using a 2.5mm Allen key: loosen the
screws (fig. G, H) without fully removing
them and remove the cap (fig. G, H) by
rotating slightly downwards.
• Remove the electronic unit (fig. G, H).
• Loosen the screw/s (fig. G, H) (1 screw
on the TEMPOMATIC 3, 2 screws on the
TEMPOMATIC 4) to change the battery,
leaving the washer in place.
• Replace the assembly, carefully tightening
the screws (fig. G, H) (taking care not to
damage the sensor).
11
13
12
14
15
16
17
15
11
12
18
11
13
14
19
11

This manual suits for next models

3

Other Delabie Plumbing Product manuals
Delabie TEMPOMATIC 3 User manual

Delabie

Delabie TEMPOMATIC 3 User manual
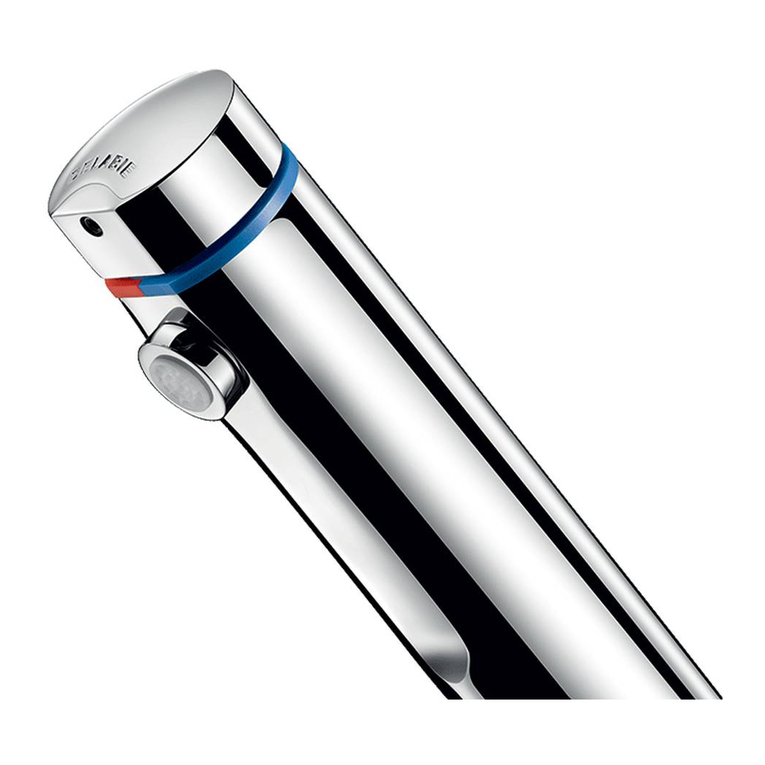
Delabie TEMPOMATIC 4 User manual

Delabie

Delabie TEMPOMATIC 4 User manual

Delabie S21 S Original operating instructions

Delabie

Delabie S21 S Original operating instructions

Delabie SECURITHERM H9726 User manual

Delabie

Delabie SECURITHERM H9726 User manual

Delabie TEMPOMATIC 3 User manual

Delabie

Delabie TEMPOMATIC 3 User manual

Delabie TEMPOFLUX 2 User manual

Delabie

Delabie TEMPOFLUX 2 User manual

Delabie TEMPOMIX TC User manual

Delabie

Delabie TEMPOMIX TC User manual

Delabie TEMPOSTOP User manual

Delabie

Delabie TEMPOSTOP User manual

Delabie TEMPOFLUX 1 761900 User manual

Delabie

Delabie TEMPOFLUX 1 761900 User manual

Delabie NT 2443 User manual

Delabie

Delabie NT 2443 User manual

Delabie TEMPOMATIC User manual

Delabie

Delabie TEMPOMATIC User manual

Delabie TEMPOFLUX URINOIR User manual

Delabie

Delabie TEMPOFLUX URINOIR User manual

Delabie TEMPOMIX 3 User manual

Delabie

Delabie TEMPOMIX 3 User manual
Delabie 134770 User manual

Delabie

Delabie 134770 User manual

Delabie BIOSAFE 2620 User manual

Delabie

Delabie BIOSAFE 2620 User manual

Delabie TEMPOFIX 3 564000 User manual

Delabie

Delabie TEMPOFIX 3 564000 User manual

Delabie TEMPOMATIC BINOPTIC User manual
Delabie

Delabie TEMPOMATIC BINOPTIC User manual

Delabie TEMPOSOFT 742000 User manual

Delabie

Delabie TEMPOSOFT 742000 User manual

Delabie TEMPOSTOP 748626 User manual

Delabie

Delabie TEMPOSTOP 748626 User manual

Delabie 130220 User manual

Delabie

Delabie 130220 User manual

Delabie H96BOX User manual

Delabie

Delabie H96BOX User manual

Delabie 2526T2 User manual

Delabie

Delabie 2526T2 User manual

Delabie BIOSAFE User manual

Delabie

Delabie BIOSAFE User manual

Delabie D275 Series User manual

Delabie

Delabie D275 Series User manual

Popular Plumbing Product manuals by other brands

Glacier bay 4211N-0001 Installation and care guide

Glacier bay

Glacier bay 4211N-0001 Installation and care guide

Bradley Sentry SN2003/AST4 Installation

Bradley

Bradley Sentry SN2003/AST4 Installation

Hans Grohe Metris S 31063821 manual

Hans Grohe

Hans Grohe Metris S 31063821 manual

Grohe ATRIO 29216001 owner's manual

Grohe

Grohe ATRIO 29216001 owner's manual

KWC ACXX2008 Installation and operating instructions

KWC

KWC ACXX2008 Installation and operating instructions

Elkay Crosstown Stainless Steel Farmhouse Sink with Interchangeable... installation instructions

Elkay

Elkay Crosstown Stainless Steel Farmhouse Sink with Interchangeable... installation instructions

Hans Grohe AXOR Front 26023 Series Instructions for use/assembly instructions

Hans Grohe

Hans Grohe AXOR Front 26023 Series Instructions for use/assembly instructions

BELLOSTA pascal 1021 installation instructions

BELLOSTA

BELLOSTA pascal 1021 installation instructions

Bossini Mixer Set E37 Instructions for installation, operation and maintenance

Bossini

Bossini Mixer Set E37 Instructions for installation, operation and maintenance

noken OXO 100284334 manual

noken

noken OXO 100284334 manual

ESS Spraybar DN25 Installation & operation manual

ESS

ESS Spraybar DN25 Installation & operation manual

Spectrum Brands Pfister Courant LF-048-CO Quick installation guide

Spectrum Brands

Spectrum Brands Pfister Courant LF-048-CO Quick installation guide

Grohe Grohtherm 2000 New manual

Grohe

Grohe Grohtherm 2000 New manual

Heritage Bathrooms TSBC06 installation instructions

Heritage Bathrooms

Heritage Bathrooms TSBC06 installation instructions

BERNSTEIN NT6185C instruction manual

BERNSTEIN

BERNSTEIN NT6185C instruction manual

American Standard Colony 7075200 owner's manual

American Standard

American Standard Colony 7075200 owner's manual

Grohe Grohtherm 1000 34065DC2 manual

Grohe

Grohe Grohtherm 1000 34065DC2 manual

Sanipex BAGNODESIGN BDM-TOK-309-A Series installation guide

Sanipex

Sanipex BAGNODESIGN BDM-TOK-309-A Series installation guide

manuals.online logo
manuals.online logoBrands
  • About & Mission
  • Contact us
  • Privacy Policy
  • Terms and Conditions

Copyright 2025 Manuals.Online. All Rights Reserved.