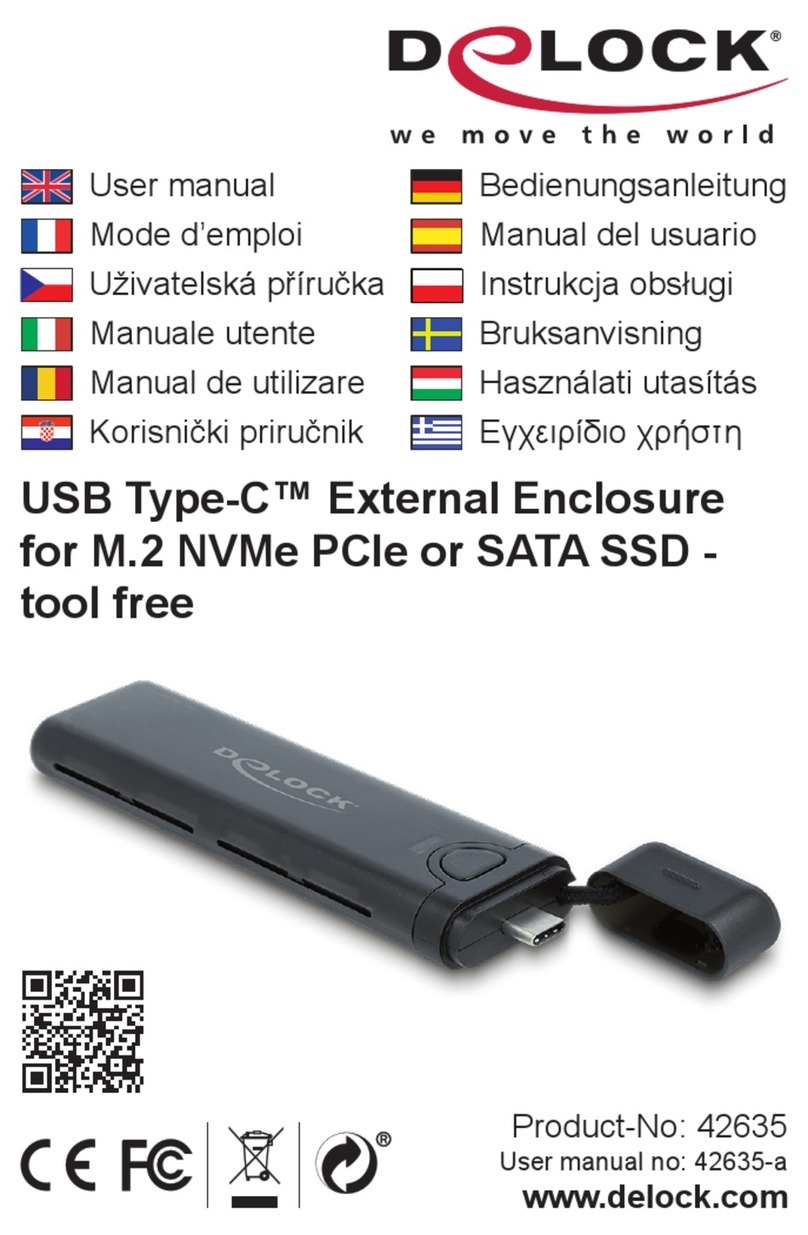
DeLOCK SuperSpeed 42015 User manual

SuperSpeed USB 20 Gbps
External Enclosure for
1 x M.2 NVMe SSD
Product-No:42015
User manual no:42015-a
www.delock.com
User manual
Mode d’emploi
Uživatelská příručka
Manuale utente
Manual de utilizare
Korisnički priručnik
Bedienungsanleitung
Manual del usuario
Instrukcja obsługi
Bruksanvisning
Használati utasítás
Εγχειρίδιο χρήστη

-2-
English
Description
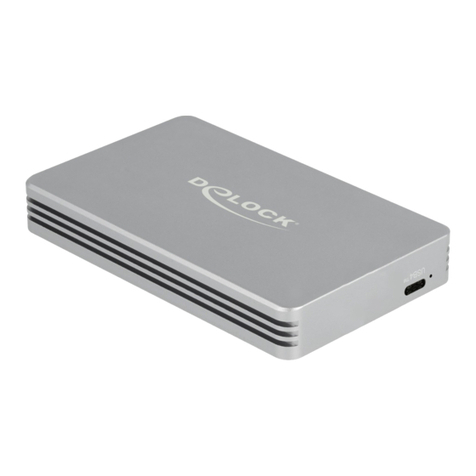
This enclosure by Delock enables the installation of an M.2 PCIe NVMe SSD in
2280, 2260 and 2242 format, it can be connected via USB to the PC or laptop.
The robust metal housing with cooling ns ensures an optimum temperature of
the memory.
Additional power connector
A power supply can also be connected to the DC jack if an M.2 SSD with
particularly high power requirement is installed and the power supply via the USB
port is not sucient.
Specication
• Connectors:
external:
1 x SuperSpeed USB 20 Gbps (USB 3.2 Gen 2x2) USB Type-C™ female
1 x 12 V DC 5.5 x 2.5 mm jack (optional for power supply)
internal:
1 x 67 pin M.2 key M slot
• Chipset: Asmedia ASM2364
• Supports M.2 modules in format 2280, 2260 and 2242 with key M or key B+M
based on PCIe (NVMe)
• Maximum height of the components on the module: 1.5 mm, application of
double-sided assembled modules supported
• Supports NVM Express (NVMe)
• Data transfer rate up to 20 Gbps
• RGB LED with automatically colour gradient
• LED indicator for access
• Metal housing
• Dimensions (LxWxH): ca. 126 x 57 x 16 mm
• Hot Plug, Plug & Play
-3-
English
System requirements
• Android 11.0 or above
• Chrome OS 91.0 or above
• Linux Kernel 5.11 or above
• Mac OS 11.6 or above
• Windows 8.1/8.1-64/10/10-64/11
• iPad Air (4th Generation) or above
• iPad Pro (3rd Generation) or above
• PlayStation®5
• Surface Pro 7
• Device with a free USB Type-C™ port or with a free Thunderbolt™ 3 port or
• A free USB Type-A port
Package content
• External enclosure M.2
• Cable USB-C™ male to USB-C™ male (with adapter to USB Type-A male),
length ca. 30 cm
• Screwdriver, 2 x rubber nipple
• User manual
Safety instructions
• Protect the product against moisture
• Protect the product against direct sunlight
• Avoid anti-static electricity when installing the SSD
Hardware Installation
1. Open the housing.
2. Therefor you need to remove the screw on the back side.
3. Now you plug your M.2 SSD into the slot.
4. Fix the module with the help of the rubber nipple.
5. Close the enclosure.
6. Connect the USB cable with the enclosure and a free USB port of your
computer.

-4-
English
Driver Installation
1. Switch on your computer.
2. The external drive will be recognized and you can start using the device
immediately.
Note
A power supply can also be connected to the DC jack if an M.2 SSD with
particularly high power requirement is installed and the power supply via the USB
port is not sucient.
Support Delock
If you have further questions, please contact our customer support
You can nd current product information on our homepage:
www.delock.com
Final clause
Information and data contained in this manual are subject to change without
notice in advance. Errors and misprints excepted.
Copyright
No part of this user manual may be reproduced, or transmitted for any purpose,
regardless in which way or by any means, electronically or mechanically, without
explicit written approval of Delock.
Edition: 09/2022

-5-
Deutsch
Packungsinhalt
• Externes Gehäuse M.2
• Kabel USB-C™ Stecker zu USB-C™ Stecker (mit Adapter auf USB Typ-A
Stecker), Länge ca. 30 cm
• Schraubendreher
• 2 x Gumminippel
• Bedienungsanleitung
Sicherheitshinweise
• Produkt vor Feuchtigkeit schützen
• Produkt vor direkter Sonneneinstrahlung schützen
• Vermeiden Sie antistatische Auadung beim Einbau der SSD
Hardwareinstallation
1. Önen Sie das Gehäuse.
2. Entfernen Sie dazu die Schraube an der Rückseite.
3. Stecken Sie nun Ihre M.2 SSD in den Slot.
4. Befestigen Sie das Modul mit Hilfe des vorhandenen Gumminippel.
5. Schließen Sie das Gehäuse wieder.
6. Verbinden Sie das USB Kabel mit dem Gehäuse und einem freien USB Port
Ihres Computers.
Treiberinstallation
1. Schalten Sie den Computer ein.
2. Das externe Laufwerk wird sofort erkannt und Sie können das Gerät sofort
verwenden.
Hinweis
An die DC Strombuchse kann zusätzlich ein Netzteil angeschlossen werden,
wenn eine M.2 SSD mit besonders viel Strombedarf eingebaut wird und die
Stromversorgung über die USB Buchse nicht ausreichend ist.

-6-
Français
Contenu de l’emballage
• Boîtier externe M.2
• Câble USB-C™ mâle à USB-C™ mâle (avec adaptateur à USB Type-A mâle),
longueur env. 30 cm
• Tournevis
• 2 x embouts en caoutchouc
• Mode d’emploi
Instructions de sécurité
• Protéger le produit contre l’humidité
• Protéger le produit contre la lumière directe du soleil
• Eviter l’électricité statique au moment de l’installation de votre SSD
Installation matérielle
1. Ouvrez le boîtier.
2. Il faut donc retirer la vis à l’arrière.
3. Vous pouvez à présent brancher votre SSD M.2 dans l'emplacement.
4. Fixe le module à l’aide de l’embout en caoutchouc.
5. Fermez le boîtier.
6. Reliez le câble USB entre le boîtier et un port USB disponible de votre
ordinateur.
Installation du pilote
1. Allumez votre ordinateur.
2. Le lecteur externe est reconnu et vous pouvez immédiatement commencer à
l'utiliser.
Remarque
Une alimentation peut également être connectée au jack DC si un SSD M.2 qui
demande une grande puissance d’alimentation est installé et que l’alimentation
via la prise USB est insusante.

-7-
Español
Contenido del paquete
• Carcasa externa de M.2
• Cable USB-C™ macho a USB-C™ macho (con adaptador a USB Tipo-A
macho), longitud aprox. 30 cm
• Atornillador
• 2 x tetinas de goma
• Manual del usuario
Instrucciones de seguridad
• Proteja el producto contra el polvo
• Proteja el producto contra la luz solar directa
• Evite la electricidad estática cuando instale la unidad de estado sólido
Hardware Instalación
1. Abra la carcasa.
2. Por lo tanto, debe quitar el tornillo en la parte posterior.
3. Ahora enchufe la unidad de estado sólido M.2 en la ranura.
4. Fije el módulo con la ayuda de la boquilla de goma.
5. Cierre la carcasa.
6. Conecte el cable USB a la carcasa y con un puerto USB disponible de su
PC.
Instalación del controlador
1. Encienda su PC.
2. La unidad externa será reconocida y podrá comenzar a utilizar el dispositivo
inmediatamente.
Nota
También se puede conectar una fuente de alimentación a la toma de CC si se
instala un SSD M.2 con un requisito de potencia particularmente alto y la fuente
de alimentación a través del puerto USB no es suciente.

-8-
České
Obsah balení
• Externí pouzdro M.2
• Kabel USB-C™ samec na USB-C™ samec (s adaptérem na USB Typu-A
samec), délka cca. 30 cm
• Šroubovák
• 2 x gumová špička
• Uživatelská příručka
Bezpečnostní pokyny
• Chraňte produkt před vlhkostí
• Chraňte produkt před přímým slunečním světlem
• Vyhněte se anti-statické elektřině při instalaci SSD
Instalace hardware
1. Otevřte kryt PC.
2. Proto musíte odstranit šroub na zadní straně.
3. Nyní připojte do slotu váš M.2 SSD.
4. Pomocí gumové špičky připevněte modul.
5. Zavřete pouzdro.
6. Připojte USB kabel ke skříňce a k volnému USB portu počítače.
Instalace ovladače
1. Zapněte počítač.
2. Je rozpoznán externí disk a můžete jej začít používat.
Poznámka
Jestliže bude instalován SSD M.2 s obzvlášť vysokými výkonovými požadavky
a přívod proudu přes port USB nebude postačující, pak ke stejnosměrnému
kolíkovému konektoru lze také připojit zdroj proudu.

-9-
Polsku
Zawartość opakowania
• Kieszeń zewnętrzna M.2
• Kabel USB-C™ męski na USB-C™ męski (z adapterem na USB Typu-A,
męski), długość ok. 30 cm
• Śrubokręt
• 2 x zatyczka gumowa
• Instrukcja obsługi
Instrukcje bezpieczeństwa
• Produkt należy zabezpieczyć przed wilgocią
• Produkt należy zabezpieczyć przed bezpośrednim światłem słonecznym
• Podczas instalowania SSD należy unikać elektryczności statycznej
Instalacja sprzętu
1. Otwórz obudowę.
2. Dlatego konieczne jest usunięcie śruby z tyłu.
3. Podłącz dysk M.2 SSD do gniazda.
4. Montaż modułu dociskiem gumowym.
5. Zamknij obudowę.
6. Połącz kabel USB ze złączem obudowy i wolnym portem USB komputera.
Instalacja sterownika
1. Włącz komputer.
2. Napęd zewnętrzny zostanie wykryty automatycznie i od razu można
korzystać z urządzenia.
Uwaga
Jeśli zainstalowany zostanie dysk SSD M.2 o wyjątkowo wysokim poborze mocy
przekraczającym możliwości zasilania przez port USB, możliwe jest podłączenie
zasilania przez złącze DC.

-10-
Italiano
Contenuto della confezione
• Alloggio esterno M.2
• Cavo USB-C™ maschio per USB-C™ maschio (con adattatore per USB Tipo-A
maschio), lunghezza ca. 30 cm
• Cacciavite
• 2 x cappuccio in gomma
• Manuale utente
Istruzioni per la sicurezza
• Proteggere il prodotto dall'umidità
• Proteggere il prodotto dalla luce solare diretta
• Evitare l'elettricità antistatica durante l'installazione dell'SSD
Installazione dell'hardware
1. Aprire l'alloggiamento.
2. Pertanto, è necessario rimuovere la vite sul lato posteriore.
3. Collegare l'SSD M.2 nello slot.
4. Fissare il modulo con l'aiuto dell'ugello di gomma.
5. Chiudere l'alloggio.
6. Collegare il cavo USB all'alloggiamento e ad una porta USB librera del
computer.
Installazione del driver
1. Accendere il computer.
2. L'unità esterna viene riconosciuta ed è possibile iniziare ad utilizzare
immediatamente il dispositivo.
Nota
Si può collegare un alimentatore al jack CC se si installa un'unità SSD M.2 con
un fabbisogno energetico particolarmente elevato e l'alimentazione tramite porta
USB non risulta suciente.

-11-
Svenska
Paketets innehåll
• Externt hölje M.2
• Kabel USB-C™ hane till USB-C™ hane (med adapter till USB Typ-A hane),
längd ca 30 cm
• Skruvmejsel
• 2 x gumminippel
• Bruksanvisning
Säkerhetsinstruktioner
• Skydda produkten mot fukt
• Skydda produkten mot direkt solljus
• Undvik antistatisk elektricitet när du installerar SSD:n
Hårdvaruinstallation
1. Öppna höljet.
2. Du måste därför skruva bort skruvarna på baksidan.
3. Koppla in din M.2 SSD i facket.
4. Fäst modulen med hjälp av gumminippeln.
5. Stäng höljet.
6. Anslut USB-kabeln till höljet och till en ledig USB-port på datorn.
Installation av drivrutiner
1. Slå på datorn.
2. Den externa enheten kommer att hittas och du kan börja använda enheten
omedelbart.
Obs
En strömförsörjning som även kan anslutas till DC-jacket om en M.2 SSD med
särskilt höga strömkrav är installerad och strömförsörjning via USB-porten inte är
nog.

-12-
Română
Pachetul contine
• Incintă externă pentru unitate M.2
• Cablu USB-C™ tată la USB-C™ tată (cu adaptor la USB Tip-A tată),
lungime aprox. 30 cm
• Șurubelniță
• 2 x nipluri de cauciuc
• Manual de utilizare
Instrucţiuni de siguranţă
• Protejaţi produsul împotriva umidităţii
• Protejaţi produsul împotriva luminii directe a soarelui
• Evitaţi electricitatea antistatică atunci când instalaţi SSD
Instalarea componentelor hardware
1. Deschideţi carcasa.
2. Prin urmare, trebuie să scoateți șurubul de pe partea din spate.
3. Acum puteţi conecta unitatea SSD M.2 la fantă.
4. Fixați modulul cu ajutorul niplului de cauciuc.
5. Închideți incinta.
6. Conectaţi cablul USB la incintă şi la un port USB liber de pe computer.
Instalarea driverului
1. Porniţi computerul.
2. Unitatea externă va recunoscută şi puteţi începe să utilizaţi imediat
dispozitivul.
Notă
O sursă de alimentare poate , de asemenea, conectată la mufa DC dacă
este instalat un SSD M. 2 cu o cerință de putere deosebit de mare și sursa de
alimentare prin portul USB nu este sucientă.

-13-
Magyar
A csomag tartalma
• Külső ház M.2
• Kábel USB-C™ apa - USB-C™ apa (A-típusú USB apa adapterrel),
hossza kb. 30 cm
• Csavarhúzó
• 2 x gumi csődugó
• Használati utasítás
Biztonsági óvintézkedések
• Óvja a terméket a nedvességtől.
• Óvja a terméket a közvetlen napsugárzástól.
• Kerülje az elektrosztatikus kisüléseket az SSD beszerelése közben
Hardvertelepítés
1. Nyissa ki a számítógépházat.
2. Ezért Önnek el kell távolítania a csavart a hátoldalról.
3. Csatlakoztassa az M.2 SSD-t a nyílásba.
4. Rögzítse a modult a gumi menet segítségével.
5. Zárja vissza a ház burkolatát.
6. Kösse össze a házat és a számítógép szabad USB-csatlakozóját az USB-
kábellel.
Illesztőprogram telepítése
1. Kapcsolja be a számítógépet.
2. Megtörténik a külső meghajtó felismerése, és azonnal használatba veheti az
eszközt.
Megjegyzés
Egy tápellátás szintén csatlakoztatható a DC jackhez, ha egy M.2 SSD különösen
magas tápigénnyel csatlakoztatva van és a tápellátás az USB porton keresztül
megfelelő.

-14-
Hrvatski
Sadržaj pakiranja
• Vanjski Kućište M.2
• Kabel USB-C™ muški na USB-C™ muški (s adapterom na USB Tipo-A muški),
duljina oko 30 cm
• Izvijač
• 2 x gumenih nipli
• Korisnički priručnik
Sigurnosne upute
• Zaštitite proizvod od vlage
• Zaštitite proizvod od izravne sunčeve svjetlosti
• Izbjegavajte antistatički elektricitet prilikom postavljanja SSD-a
Ugradnja hardvera
1. Otvorite kućište.
2. Zbog toga morate ukloniti vijak na stražnjoj strani.
3. Sada ukopčajte M.2 SSD u utor.
4. Pričvrstite modul gumenim niplom.
5. Zatvorite kućište.
6. Spojite USB kabel na kućište i na Slobodan USB priključak na računalu.
Instalacija upravljačkog programa
1. Uključite vaše računalo.
2. Vanjski pogon će se prepoznati i moći ćete odmah početi s upotrebom
uređaja.
Napomena
Na DC utičnicu se također može spojiti napajanje ako je ugrađen M.2 SSD s
posebno visokim zahtjevom za napajanje, a napajanje preko USB priključka nije
dovoljno.

-15-
ελληνικά
Περιεχόμενα συσκευασίας
• Εξωτερικό περίβλημα M.2
• Καλώδιο USB-C™ αρσενικό προς USB-C™ αρσενικό (με αντάπτορα προς
USB Τύπου-A αρσενικό), μήκους περ. 30 εκ.
• Κατσαβίδι
• 2 x στόμια από καουτσούκ
• Εγχειρίδιο χρήστη
Οδηγίες ασφάλειας
• Προστατεύστε το προϊόν από την υγρασία
• Προστατεύστε το προϊόν από την άμεση ηλιακή ακτινοβολία
• Αποφύγετε στατικό ηλεκτρισμό όταν τοποθετείτε τη μονάδα SSD
Εγκατάσταση υλικού
1. Ανοίξτε το περίβλημα.
2. Γι’ αυτό τον λόγο θα πρέπει να αφαιρέσετε τη βίδα της πίσω πλευράς.
3. Τώρα τοποθετήστε την M.2 SSD σας μέσα στη θύρα.
4. Τοποθετήστε τη μονάδα με τη βοήθεια του συνδέσμου από καουτσούκ.
5. Κλείστε το περίβλημα.
6. Συνδέστε το καλώδιο USB με το περίβλημα και μία ελεύθερη θύρα USB του
υπολογιστή σας.
Εγκατάσταση προγράμματος οδήγησης
1. Ενεργοποιήστε τον υπολογιστή σας.
2. Η εξωτερική μονάδα θα αναγνωριστεί και μπορείτε να ξεκινήσετε
χρησιμοποιώντας τη συσκευή αμέσως.
Σημείωση
Μια παροχή ενέργειας μπορεί επίσης να συνδεθεί στην υποδοχή DC εάν έχει
εγκατασταθεί ένα M.2 SSD με ιδιαίτερα υψηλές απαιτήσεις ενέργειας και δεν
επαρκεί η παροχή ενέργειας μέσω της θύρας USB.

Declaration of conformity
Products with a CE symbol fulll the EMC directive (2014/30/EU) and
RoHS directive (2011/65/EU+2015/863+2017/2102), which were released by the
EU-comission.
The declaration of conformity can be downloaded here:
https://www.delock.de/produkte/G_42015/merkmale.html
WEEE-notice
The WEEE (Waste Electrical and Electronic Equipment)-directive, which became
eective as European law on February 13th 2003, resulted in an all out change
in the disposal of disused electro devices. The primarily purpose of this directive
is the avoidance of electrical waste (WEEE) and at the same time the support of
recycling and other forms of recycling in order to reduce waste. The WEEE-logo
on the device and the package indicates that the device should not be disposed
in the normal household garbage. You are responsible for taking the disused
electrical and electronical devices to a respective collecting point. A separated
collection and reasonable recycling of your electrical waste helps handling the
natural resources more economical. Furthermore recycling of electrical waste is
a contribution to keep the environment and thus also the health of men. Further
information about disposal of electrical and electronical waste, recycling and
the collection points are available in local organizations, waste management
enterprises, in specialized trade and the producer of the device.
EU Import: Tragant Handels- und Beteiligungs GmbH
Beeskowdamm 13/15, 14167 Berlin, Germany
Table of contents
Languages:
Other DeLOCK Enclosure manuals

DeLOCK
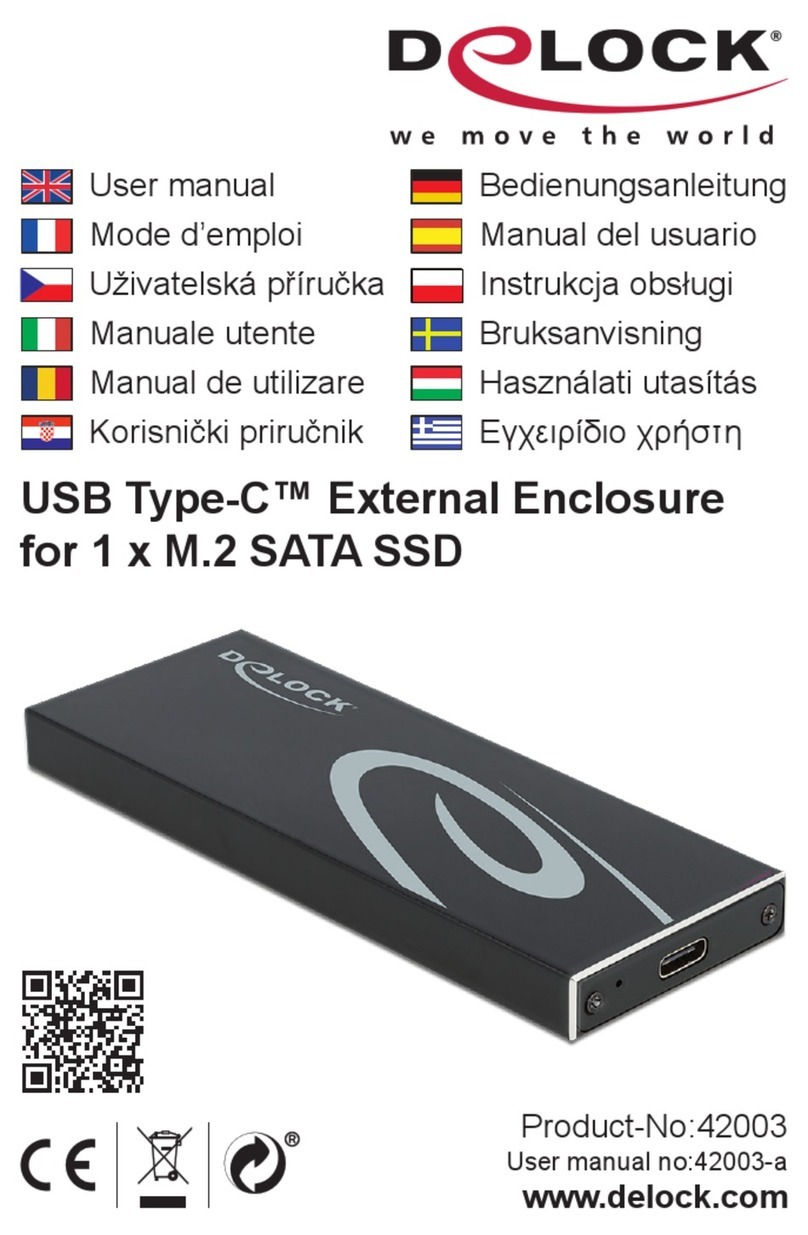
DeLOCK 42593 User manual

DeLOCK
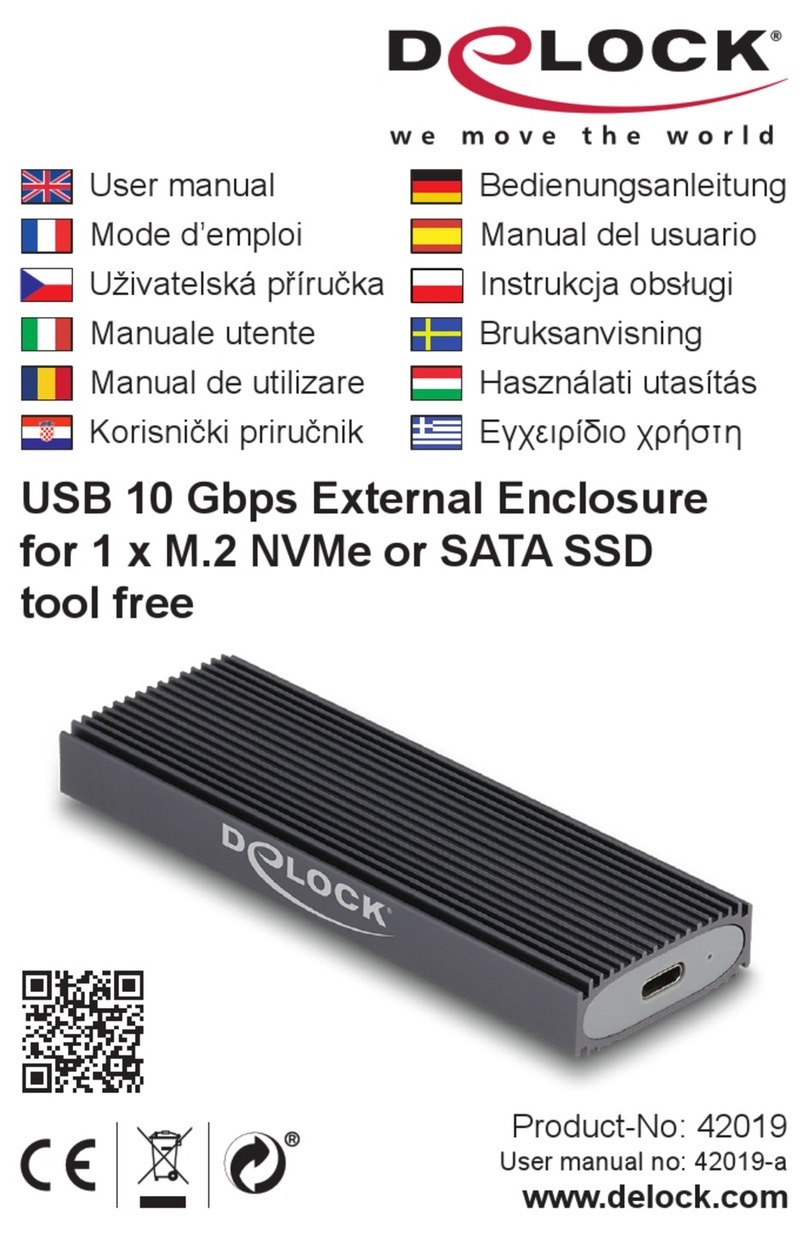
DeLOCK 42513 User manual

DeLOCK
DeLOCK 42003 User manual

DeLOCK
DeLOCK 42633 User manual

DeLOCK
DeLOCK 42635 User manual

DeLOCK
DeLOCK SuperSpeed 42013 User manual

DeLOCK
DeLOCK 42595 User manual

DeLOCK
DeLOCK SuperSpeed 42636 User manual

DeLOCK
DeLOCK 42365 User manual

DeLOCK
DeLOCK 42638 User manual