manuals.online logo
Brands
  1. Home
  2. •
  3. Brands
  4. •
  5. DELTA DORE
  6. •
  7. Receiver
  8. •
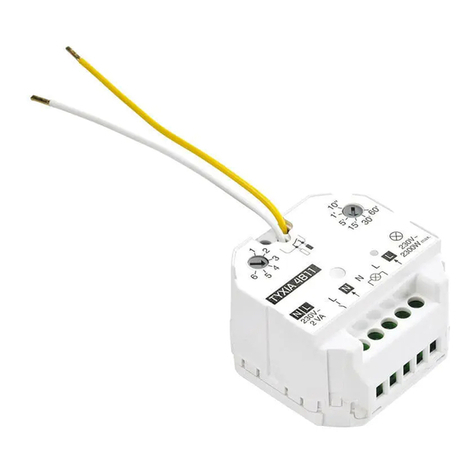
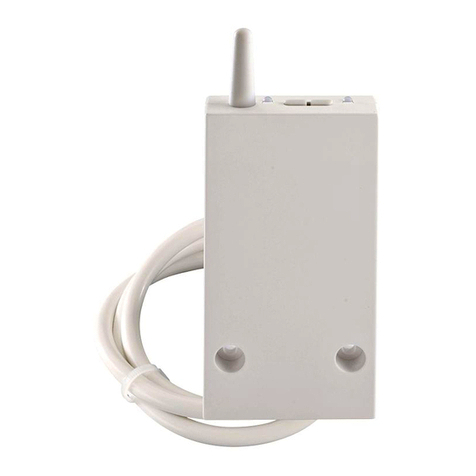
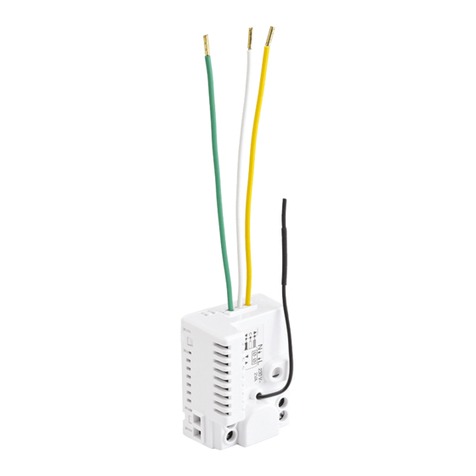
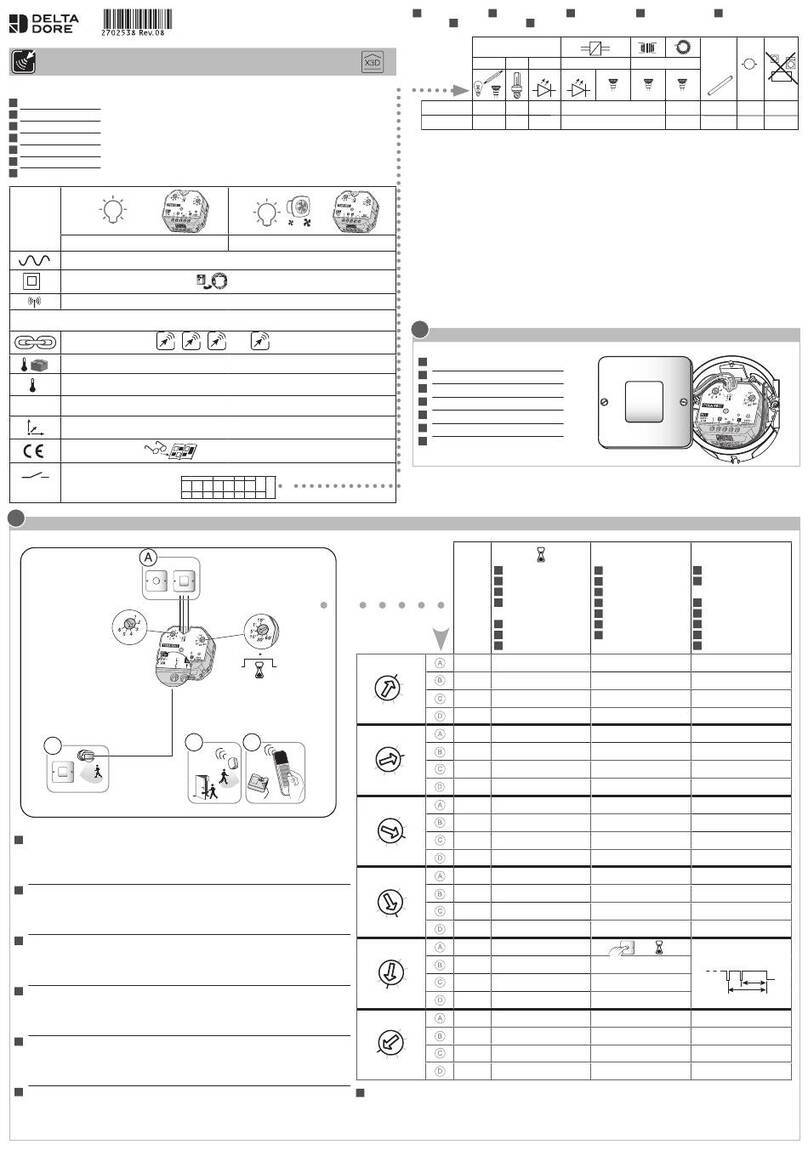
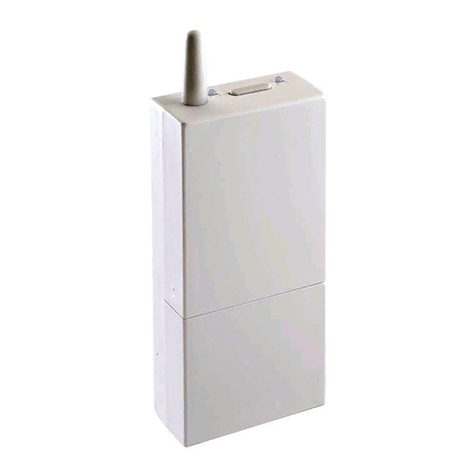
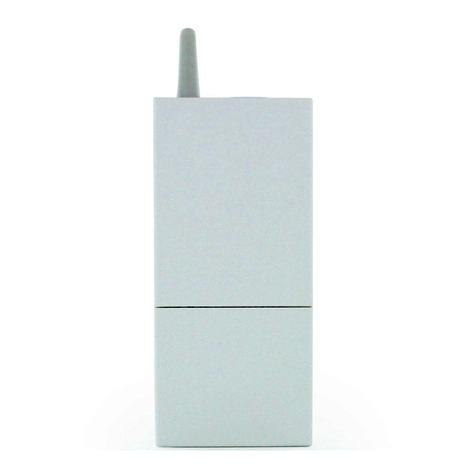
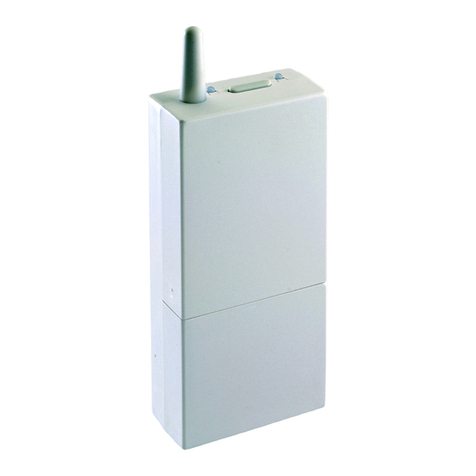
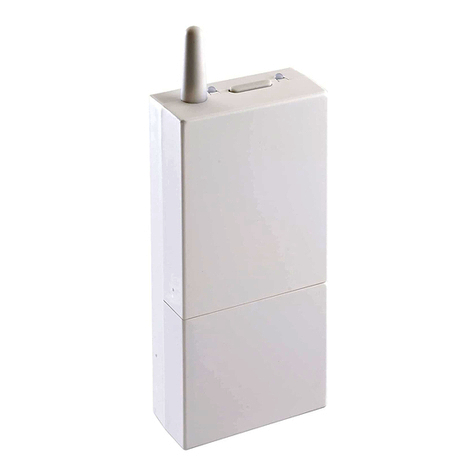
  9. DELTA DORE TYXIA 4630 User manual

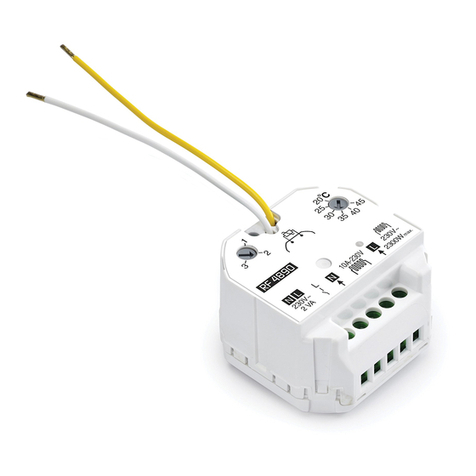
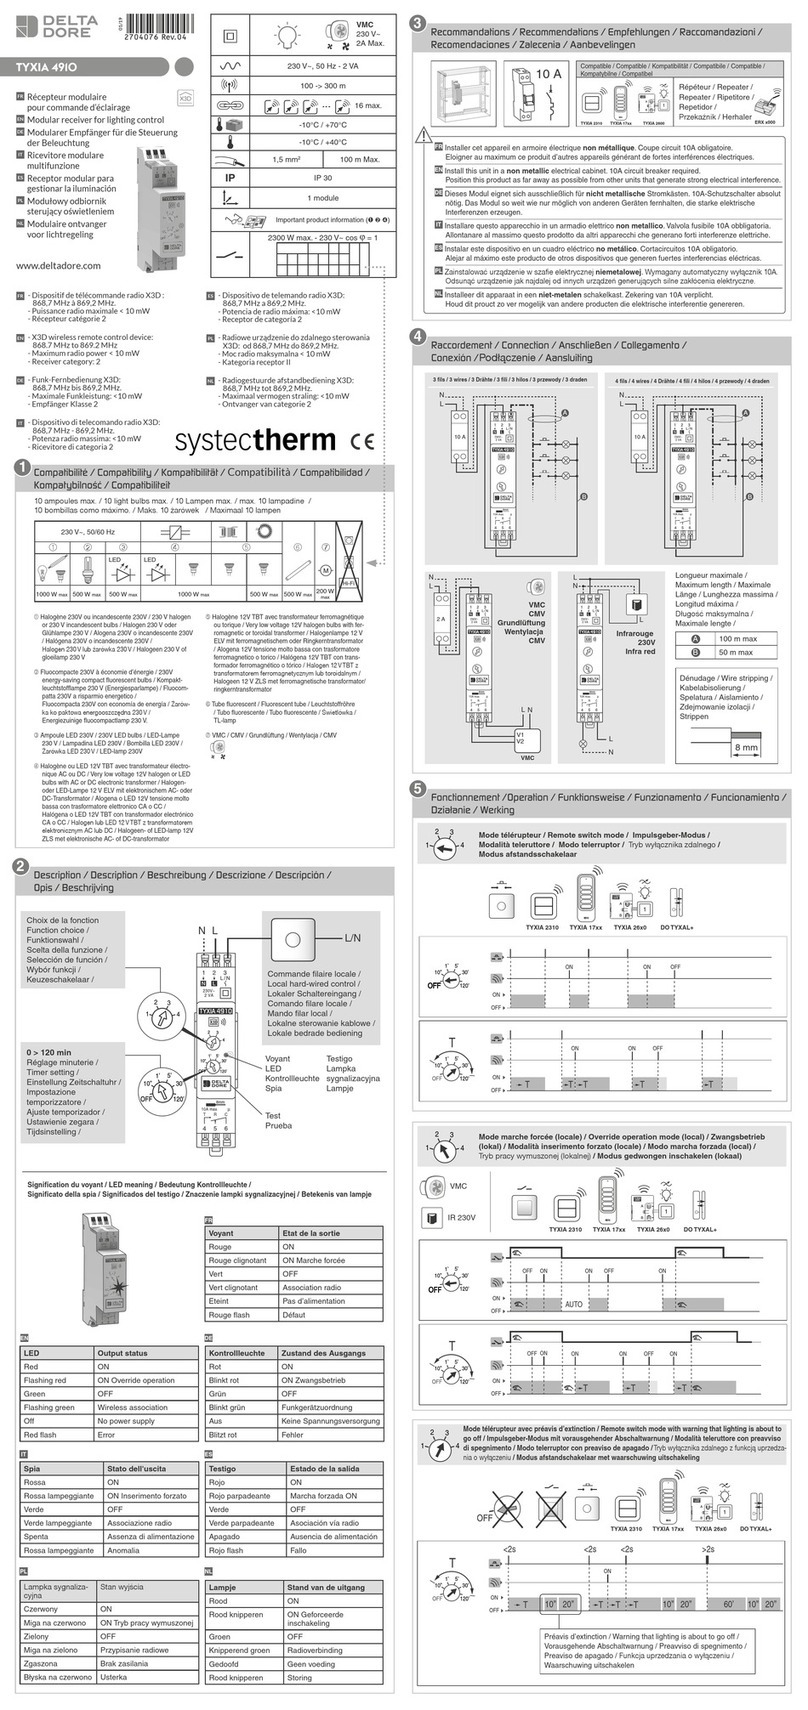
DELTA DORE TYXIA 4630 User manual

FR Réglage du temps de course / EN Travel time settings / DE Einstellung der Hubzeit /
IT Regolazione del tempo di corsa / ES Ajuste del tiempo de carrera / PL Regulacja czasu
przebiegu / NL Instellen van de bedrijfstijd
FR Exemple de produits compatibles / EN Example of compatible products / DE Beispiel einiger
kompatiblen Produkte / IT Esempio di prodotti compatibili / ES Ejemplo de productos compatibles /
PL Przyk³ady urz¹dzeñ kompatybilnych / NL Voorbeelden van compatibele producten
www.deltadore.com
TYXIA 4630 / 4730
230 V~, 50 Hz
2 VA
= Class II = Class II
868 MHz (EN 300 220)
100 m
16 max.
-10°C / +70°C
-10°C / +40°C
IP IP 40
230V~
20 Nm / 0,8 A / 180 W
230V~
80 Nm / 2A / 450 W
45 x 38 x 23 mm 50 x 47 x 26 mm
230V~
2 VA
N L
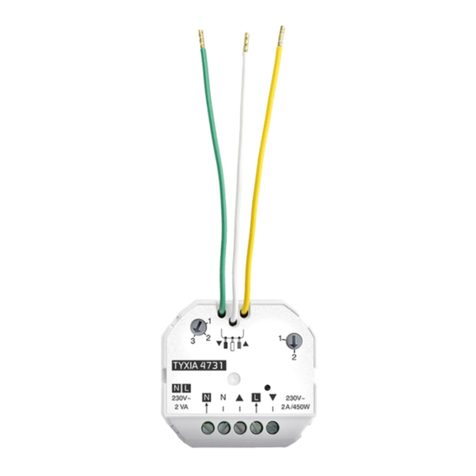
TYXIA 4730
230V~
2A /450W
LN N
230V~
50 Hz
OFF
TYXIA 4630
M
2721283Rev3
230 V~
2VA
230 V~
1A max
50 mm
L
N
N
230 V
50 Hz
230V~
50 Hz
OFF
Vert / Green /
Grün / Verde /
Zielony / Groen
FR Derrière l’interrupteur existant / EN Behind the existing switch / DE Hinter dem vorhandenen
Schalter / IT Dietro all’interruttore esistente / ES Detrás del interruptor existente / PL Za
istniej¹cym wy³¹cznikiem / NL Achter de bestaande schakelaar
FR Dans le coffre du volet / EN In the shutter casing / DE Im Rollladenkasten /
IT Nel cassonetto della tapparella / ES En el cajón de la persiana / PL W kasecie rolety /
NL In de kast van het rolluik
FR Tout fil non connecté doit être obligatoirement
isolé (domino).
EN Any unconnected wire must be insulated
(connecting block)
DE Nicht verwendete Drähte müssen zwingend
mit einer Lüsterklemme verbunden werden.
IT Qualsiasi filo non collegato deve essere
obbligatoriamente isolato (scatola).
ES Cualquier cable que no esté conectado se
debe aislar obligatoriamente (regleta).
PL Ka¿dy niepod³¹czony kabel musi byæ
obowi¹zkowo zaizolowany (kostka).
NL Alle niet-aangesloten kabels moeten worden
geïsoleerd (aansluitsteentje).
FR Notice d’installation
EN Installation guide
DE Installationsanleitung
IT Guida di installazione
ES Manual de instalación
PL Instrukcja instalacji
NL Installatiehandleiding
TYXIA4630 TYXIA4730
R&TTE 1999/5/CE Important product information (¶ Ë Í )
230 V~
50 Hz
230V~
2 VA
N L
TYXIA 4730
230V~
2 A /450W
LN N
230V~
50 Hz
OFF
Jaune / Yellow /
Gelb / Giallo /
Amarillo /Zó³ty /
Geel /
Blanc / White /
Weiß / Bianco /
Blanco / Bia³y /
Wit
Vert / Green /
Grüne / Verde /
Zielony / Groen
TYXIA 4730
Raccordement / Connection / Anschließen / Collegamento / Conexión /
Pod³¹czenie / Aansluiting
1
Option «positions intermédiaires» / “Intermediate positions” option / Option
„Zwischenposition” / Opzione “Posizioni intermedie” / Opción “posiciones interme-
dias” / /PCJAÒ`POZYCJEÒPRZEJÜCIOWEi / Optie “tussenposities”
STOP
1 2 3 4
2
1
Scénarios
Réglages
11.5°C Lun. 23 Septembre
18:28
Autres
Conso Thermique
Volets
O
uvrant
31
Calendrier
Eau chaude
FR Ê Remontez le volet
complètement avec la
télécommande ou
l’interrupteur, puis
appuyez sur STOP.
EN ÊRaise the roller
completely using the
remote control or switch,
then press STOP.
DE ÊDen Rollladen
vollständig über die
Fernbedienung oder den
Schalter öffnen und
drücken Sie dann auf
STOP.
IT ÊFare risalire la
tapparella completa-
mente con il telecoman-
do o l’interruttore, poi
premete STOP.
ES ÊSuba la persiana
completamente con el
telemando o el
interruptor y pulse STOP.
PL Ê Za pomoc¹ pilota lub
prze³¹cznika ca³kowicie
PODNIEÜĀÒROLETĂÒPOTEMÒ
NACIÜNIJÒ34/0
NL ÊHermonteer het
volledige rolluik, met de
afstandsbediening of
schakelaar en druk
vervolgens op STOP.
ËAppuyez brièvement
sur la touche du
récepteur. Le voyant
clignote 3 fois.
ËBriefly press the
receiver button. The
LED flashes 3 times.
ËDrücken Sie kurz
auf die Taste am
Empfänger. Die rote
Kontrollleuchte blinkt
zweimal.
ËPremete breve-
mente il tasto del
ricevitore. La spia
lampeggia 3 volte.
ËPulse brevemente la
tecla del receptor. El
testigo parpadeará 3
veces.
Ë.ACIÜNIJÒKRTKOÒPRZY
cisk na odbiorniku.
Lampka miga 3 razy.
ËDruk kort op de
toets van de ontvan-
ger. Het controle-
lampje knippert
driemaal.
Ì Commandez la de-
scente du volet avec
la télécommande ou
l’interrupteur.
ÌLower the shutter us-
ing the remote control
or switch.
ÌÜber die Fernbedi-
enung oder den Schal-
ter erneut schließen.
ÌComandare la discesa
della tapparella con
il telecomando o l’inter-
ruttore.
ÌControle la bajada de
la persiana con el tele-
mando o el interruptor.
ÌZa pomoc¹ pilota lub
prze³¹cznika w³¹czyæ
opuszczanie rolety.
ÌLaat de rolluik zakken,
met behulp van de
afstandsbediening of
schakelaar.
ÍAppuyez sur STOP
dès que le volet est
fermé. Le temps de
course est enregistré.
ÍPress STOP once the
shutter is down. Travel
time is recorded.
ÍPulse STOP cuando la
persiana se cierre. El
tiempo de carrera se
guarda.
ÍPremete STOP non
appena la tapparella
è chiusa. Il tempo di
corsa viene registrato.
ÍDrücken Sie auf STOP
sobald der Rollladen
geschlossen ist. Die
Fahrzeit ist ges-
peichert.
Í.ACIÜNIJÒ34/0ÒPOÒ
opuszczeniu rolety.
#ZASÒOTWIERANIAZAM
ykania zosta³ zapisany.
ÍDruk op STOP
zodra het rolluik is
neergelaten. De loopti-
jd is nu opgeslagen.
FR Commande des volets et réglage des positions favorites.
EN Shutter control and setting of favourite positions.
DE Steuerung der Rollläden und Einstellung der bevorzugten Positionen.
IT Comando delle tapparelle e regolazione delle posizioni preferite.
ES Control de persianas y ajuste de posiciones favoritas.
PL Sterowanie roletami i wybór ulubionych pozycji.
NL Bedienen van de rolluiken en instellen van de voorkeurposities.
TYXIA 1603, TYXIA 2330
FR Commande des volets en pourcentage d’ouverture et/ou fonction
optimisation solaire.
EN Shutter control and/or Solar optimisation function.
DE Steuerung der Rollläden und/oder Funktion Tageslichtoptimierung.
IT Comando delle tapparelle e/o Funzione ottimizzazione solare.
ES Control de persianas y/o Función optimización solar..
PL Sterowanie roletami i/lub Funkcja optymalizacji słonecznej.
NL Bediening van rolluiken en/of Functie zonneoptimalisatie.
TYDOM 1000 / 2000 / 4000, CALYBOX 2020 WT, TYBOX 2010 WT et 2020 WT,TYWATT 2000
FR Cette fonction permet de commander des moteurs volets roulants filaires en pourcentage
d’ouverture (1/3 et 2/3 d’ouverture, par défaut). Ces Positions sont modifiables avec un émetteur de
type TYXIA 1603 ou 2330.
EN This function controls hard-wired roller shutter motors as an opening percentage (default opening
position to 1/3 and 2/3. Positions can be changed with a TYXIA 1603 or 2330 transmitter).
DE Diese Funktion ermöglicht es, verkabelte Rollladenmotoren schrittweise zu steuern (1/3 und 2/3
geöffnet, ist vorprogrammiert). Die Positionen können mit einem Sender des Typs TYXIA 1603 oder
2330 geändert werden).
IT Questa funzione permette di comandare dei motori di tapparelle filari in percentuale di apertura
(1/3 e 2/3 di apertura, come impostazione predefinita. Posizioni modificabili con un emettitore di
tipo TYXIA 1603 o 2330).
ES Esta función permite controlar motores de persianas automáticas filares en porcentaje de apertura
(1/3 y 2/3 de apertura, por defecto. Posiciones modificables con un emisor de tipo TYXIA 1603 O
2330).
PL &UNKCJAÒTAÒUMOêLIWIAÒSTEROWANIEÒNAPĂDAMIÒROLETÒPRZEWODOWYCHÒWÒPROCENTACHÒOTWARCIAÒDOMYÜLNIEÒ
ÒIÒÒOTWARCIAÒ0OZYCJEÒKTREÒMOêNAÒZMIENIAĀÒPRZYÒUêYCIUÒNADAJNIKAÒTYPUÒ498)!ÒÒLUBÒ

NL Deze functie regelt de motoren van de rolluiken, het percentage dat ze worden geopend (stan-
daard 1/3 en 2/3 geopend. Posities kunnen worden gewijzigd met een zender van het type TYXIA
1603 of 2330).
2
FR Possibilité de rallonger, jusqu’à 10m, les fils de la commande locale (à isoler du 230 V).
EN Local control wires can be extended up to 10m (insulate from 230 V).
DE Die Drähte der lokalen Steuerung können bis 10 m verlängert werden (von 230 V isolieren).
IT Possibilità di estendere, fino a 10 m, i fili del comando locale (da isolare dal 230 V).
ES Posibilidad de alargar hasta 10 m los hilos del control local (aislar de la 230 V).
PL -OêLIWOÜĀÒWYDåUêENIAÒPRZEWODWÒSTEROWANIAÒLOKALNEGOÒDOÒÒMÒODDZIELIĀÒODÒÒ6
NL Mogelijkheid om de kabels voor de lokale bediening te verlengen tot 10 m (te isoleren van de 230 V).
FR Vous devez déterminer le temps de course du volet avant toute association.
EN You must determine the shutter travel time before creating an association
DE Bestimmen Sie vor jeder Zuordnung die Fahrzeit des Rollladens .
IT Dovete determinare il tempo di corsa della tapparella prima di ogni associazione
ES Debe determinar el tiempo de carrera de la persiana antes de cualquier asociación
PL -USISZÒOKREÜLIĀÒCZASÒOPUSZCZANIAPODNOSZENIAÒROLETYÒPRZEDÒPRZYPISANIEM
NL U dient de looptijd van het rolluik te bepalen voordat u de verbinding uitvoert
Antenne (fil noir) /
Antenna (black wire) /
Antenne (schwarzer Draht) /
Antenna (filo nero) /
Antena (hilo negro) /
Antena (czarny przewód) /
Antenne (zwarte draad)
Jaune / Yellow /
Gelb / Giallo /
Amarillo /Zó³ty /
Geel /
Blanc / White /
Weiß / Bianco /
Blanco / Bia³y /
Wit
Cas
N°1
Cas
N°2
10s3s 7s
... ... ... .. .. .... .. ..
>20s
OFF
RESET OK
> 10s
1 2 3
OFF
OK
3s
7s
... ... ...
.. .. .. .. ..
> 3s
> 3s
Exemple 1 / Example 1 / Beispiel
1 / Esempio 1 / Ejemplo 1 /
przyk³ad 1 / Voorbeeld 1
Exemple 2 / Example 2 / Beispiel
2 / Esempio 2 / Ejemplo 2 /
przyk³ad 2 / Voorbeeld 2
FR Maintenez appuyé 20 secondes :
- après 3 secondes, le voyant clignote lentement.
- après 7 secondes, le voyant clignote rapidement.
Maintenez l’appui jusqu’à ce que le voyant s’éteigne. Relâchez.
EN Press and hold for 20 seconds:
- after 3 seconds, the LED flashes slowly.
- after 7 seconds, the LED flashes quickly.
Press and hold the button until the LED goes out. Release.
DE Halten Sie die Taste 20 Sekunden lang gedrückt:
- Nach 3 Sekunden blinkt die Kontrollleuchte langsam.
- Nach 7 Sekunden blinkt die Kontrollleuchte schnell.
Halten Sie die Taste so lange gedrückt, bis die Kontrollleuchte ausgeht. Lassen Sie die Taste los.
IT Mantenete premuto per 20 secondi:
- dopo 3 secondi, la spia lampeggia lentamente.
- dopo 7 secondi, la spia lampeggia rapidamente.
Mantenete la pressione fino a quando la spia si spegne. Rilasciate.
ES Mantenga pulsado 20 segundos:
- después de 3 segundos, el testigo parpadea lentamente.
- después de 7 segundos, el testigo parpadea rápidamente.
Mantenga pulsado hasta que el indicador se apague. Deje de pulsar.
PL 0RZYTRZYMAJÒNACIÜNIĂTYÒPRZEZÒÒSEKUND
ÒPOÒÒSEKUNDACHÒLAMPKAÒMIGAÒWOLNO
ÒPOÒÒSEKUNDACHÒLAMPKAÒMIGAÒSZYBKO
0RZYTRZYMAĀÒNACIÜNIĂTYÒPRZYCISKÒAêÒDOÒZGAÜNIĂCIAÒLAMPKIÒ0UÜĀ
NL Houd 20 seconden ingedrukt:
- na 3 seconden knippert het controlelampje langzaam.
- na 7 seconden knippert het controlelampje snel.
Houd de toets ingedrukt tot het controlelampje uitgaat. Laat de toets los.
Effacer toutes les associations / Remove all associations / Alle Zuordnungen
löschen / Cancellare tutte le associazioni / Borrar todas las asociaciones /
Usuwanie wszystkich przypisañ / Alle koppelingen wissen
6
Effacer une association / Remove an association / Zuordnung löschen / Cancellare
un’associazione / Borrar una asociación / Usuwanie przypisania / Een koppeling
verwijderen
FR Ê Maintenez appuyé 10 secondes :
- après 3 secondes, le voyant
clignote lentement.
- après 7 secondes, le voyant
clignote rapidement. Relâchez.
EN Ê Press and hold for 10 seconds:
- after 3 seconds, the LED flashes
slowly.
- after 7 seconds, the LED flashes
quickly. Release.
DE ÊHalten Sie die Taste 10 Sekunden
lang gedrückt:
- Nach 3 Sekunden blinkt die
Kontrollleuchte langsam.
- Nach 7 Sekunden blinkt die
Kontrollleuchte schnell.
Lassen Sie die Taste los.
IT ÊMantenete premuto per 10
secondi:
- dopo 3 secondi, la spia lampeg-
gia lentamente.
- dopo 7 secondi, la spia lampeg-
gia rapidamente. Rilasciate.
ES Ê Mantenga pulsado 10 segundos:
- después de 3 segundos, el
testigo parpadea lentamente.
- después de 7 segundos, el
testigo parpadea rápidamente.
Deje de pulsar.
PL ÊÒ0RZYTRZYMAJÒNACIÜNIĂTYÒPRZEZÒÒ
SEKUND
ÒPOÒÒSEKUNDACHÒLAMPKAÒMIGAÒ
wolno.
ÒPOÒÒSEKUNDACHÒLAMPKAÒMIGAÒ
SZYBKOÒ0UÜĀ
NL ÊHoud 10 seconden ingedrukt:
- na 3 seconden knippert het
controlelampje langzaam.
- na 7 seconden knippert het
controlelampje snel. Laat de toets
los.
ËValidez sur l’émetteur
(voir sa notice).
ËConfirm on the transmitter
(refer to the user guide).
ËBestätigen Sie am Send-
er (siehe entsprechende
Anleitung).
Ë Confermate sull’emettitore
(vedere le relative istruzioni).
Ë Valide en el emisor (ver las
instrucciones).
Ë :ATWIERDßÒNAÒNADAJNIKU
(patrz jego instrukcja).
ËBevestig op de zender
(zie handleiding).
Ì Vérifiez que le voyant du
récepteur ne clignote plus.
Les produits ne sont plus
associés.
ÌMake sure that the receiver LED
has stopped flashing. The prod-
ucts are no longer associated.
ÌAchten Sie darauf, dass die Kon-
trollleuchte am Empfänger jetzt
nicht mehr blinkt. Die Geräte
sind nun nicht mehr miteinander
verbunden.
Ì Verificate che la spia del
ricevitore non lampeggi più. I
prodotti non sono più associati.
Ì Compruebe que el testigo del
receptor haya dejado de parpa-
dear. Los productos ya no están
asociados.
Ì 3PRAWDßÒCZYÒLAMPKAÒNA
odbiorniku przesta³a migaæ.
Produkty nie s¹ ju¿ przypisane.
Ì Controleer of het controlelampje
van de ontvanger niet meer
knippert. De producten zijn niet
langer met elkaar verbonden.
5
1 2 3
OFF
ON
230V~
50 Hz
> 3s
OK
Association à un détecteur de fumée / Association to a smoke detector / Zuordnung
zu einem Rauchmelder / Associazione ad un rilevatore di fumo / Asociación con un
detector de humo / Przypisanie do czujnika dymu / Verbinden met een rookmelder
FR Ê Appuyez 3 secondes sur la
touche du récepteur jusqu’à ce
que son voyant clignote.
Relâchez.
EN ÊPress the receiver button for 3
seconds until its LED flashes.
Release.
DE ÊDrücken Sie 3 Sekunden lang
auf die Taste des Empfängers,
bis dessen Kontrolllampe
blinkt. Lassen Sie die Taste los.
IT ÊPremete per 3 secondi il tasto
del ricevitore fino a quando la
sua spia lampeggia. Rilasciate.
ES ÊPulse 3 segundos la tecla del
receptor hasta que el testigo
parpadee. Deje de pulsar.
PL Ê0RZYTRZYMAJÒNACIÜNIĂTYÒ
przycisk na odbiorniku a¿
MIGNIEÒLAMPKAÒ0UÜĀ
NL ÊDruk gedurende 3 seconden
op de toets van de ontvanger
tot het lampje knippert. Laat de
toets lo.
ËAppuyez sur la touche du
détecteur jusqu’à ce qu’il
émette un «bip».
ËPress the detector button
until it beeps.
ËDrücken Sie auf die Taste
des Melders, bis ein Piepton
erklingt.
ËPremete il tasto del rilevatore
fino a quando emette un
“bip”.
ËPulse la tecla del detector
hasta que suene un “bip”.
ËNaciskaj przycisk na czujniku
AêÒDOÒUSåYSZENIAÒDßWIĂKUÒ
`PIPi
ËDruk op de toets van de
melder totdat u een pieptoon
hoort.
ÌVérifiez que le voyant du récep-
teur ne clignote plus. Les produits
sont associés.
ÌMake sure that the receiver LED
has stopped flashing.
The products are associated.
ÌAchten Sie darauf, dass die
Kontrollleuchte am Empfänger
jetzt nicht mehr blinkt. Die Geräte
sind nun miteinander verbunden.
ÌVerificate che la spia del ricevi-
tore non lampeggi più.
I prodotti sono associati.
ÌCompruebe que el testigo del
receptor haya dejado de parpa-
dear. Los productos se asocian.
Ì3PRAWDßÒCZYÒLAMPKAÒNAÒ
odbiorniku przesta³a migaæ.
Produkty zosta³y przypisane.
ÌControleer of het controlelamp-
je van de ontvanger niet meer
knippert. De producten zijn met
elkaar verbonden.
FR Avant de commencer l’association, mettez le volet en position haute et
appuyez sur STOP (détection = ouverture des volets).
EN Before you start creating the association, raise the shutter and press
STOP (detection = open shutters).
DE Stellen Sie den Rollladen vor der Zuordnung in die obere Position und
drücken Sie auf STOP (Meldung = Öffnen der Rollläden).
IT Prima di cominciare l’associazione, mettete la tapparella in posizione alta
e premete STOP (rilevamento = apertura delle tapparelle).
ES Antes de empezar la asociación, suba la persiana y pulse STOP
(detección = apertura de persianas).
PL 0RZEDÒPRZYPISANIEMÒUSTAWÒROLETĂÒWÒPOZYCJIÒGRNEJÒIÒNACIÜNIJÒ34/0Ò
(detekcja = otwarcie rolet).
NL Voordat u de verbinding uitvoert, dient u het rolluik op te halen en op
STOP te drukken (detectie = rolluiken geopend).
1 2 3
OFF
OFF
230V~
50 Hz
ON
ON
... ... ...
230V~
50 Hz
> 3s
OK
> 3s
> 3s
> 3s
Exemple 1 / Example 1 / Beispiel
1 / Esempio 1 / Ejemplo 1 /
przyk³ad 1 / Voorbeeld 1
Exemple 2 / Example 2 / Beispiel
2 / Esempio 2 / Ejemplo 2 /
przyk³ad 2 / Voorbeeld 2
TYXIA 4630
TYXIA 4730
TYXIA 4630
TYXIA 4730
Association / Association / Einlernen / Associazione / Asociación / Przypisanie /
Koppeling
FR Ê Mettez l’installation sous tension.
Appuyez 3 secondes
sur la touche du récepteur
jusqu’à ce que son voyant
clignote. Relâchez.
EN ÊSwitch on the installation. Press
the receiver button for 3 seconds
until its LED flashes.
Release
DE ÊSetzen Sie die Anlage unter
Spannung. Drücken Sie 3
Sekunden lang auf die Taste des
Empfängers, bis dessen
Kontrolllampe blinkt. Lassen Sie
die Taste los.
IT ÊMettete l’installazione sotto
tensione. Premete per 3 secondi
il tasto del ricevitore fino a
quando la sua spia lampeggia.
Rilasciate
ES ÊConecte la alimentación. Pulse 3
segundos la tecla del receptor
hasta el testigo parpadee. Deje
de pulsar.
PL ÊÒ0ODåæCZÒINSTALACJĂÒDOÒPRæDUÒ
Przez 3 sekundy przytrzymaj
NACIÜNIĂTYÒPRZYCISKÒNAÒODBIORNI
KUÒAêÒDOÒMIGNIĂCIAÒLAMPKIÒNAÒ
NIMÒ0UÜĀ
NL ÊZet de installatie onder span-
ning. Druk gedurende 3
seconden op de toets van de
ontvanger tot het lampje knippert.
Laat de toets los.
ËSur l’émetteur, envoyez
l’ordre d’association
(voir sa notice).
ËSend the association
command to the trans-
mitter (refer to the user
guide).
ËGeben Sie über den
Sender die Zuordnung-
sanweisung (siehe ents-
prechende Anleitung).
ËSull’emettitore, inviate
l’ordine di associazione
(vedere le relative istru-
zioni).
ËEn el emisor, envíe la
orden de asociación (ver
las instrucciones).
Ë 7YÜLIJÒPOLECENIEÒPRZYPI
sania z nadajnika (patrz
instrukcja nadajnika).
ËVerstuur het verbind-
ingscommando op de
zender (zie handleiding).
Ì Vérifiez que le voyant du
récepteur ne clignote plus. Les
produits sont associés.
ÌMake sure that the receiver
LED has stopped flashing. The
products are associated.
ÌAchten Sie darauf, dass die Kon-
trollleuchte am Empfänger jetzt
nicht mehr blinkt. Die Geräte
sind nun miteinander verbunden.
ÌVerificate che la spia del
ricevitore non lampeggi più. I
prodotti sono associati.
ÌCompruebe que el testigo del
receptor haya dejado de parpa-
dear. Los productos se asocian.
Ì 3PRAWDßÒCZYÒLAMPKAÒNA
odbiorniku przesta³a migaæ. Pro-
dukty zostały przypisane.
ÌControleer of het controlelampje
van de ontvanger niet meer
knippert. De producten zijn met
elkaar verbonden.
3
4

This manual suits for next models

1

Other DELTA DORE Receiver manuals

DELTA DORE RF 642 Series User manual

DELTA DORE

DELTA DORE RF 642 Series User manual

DELTA DORE TYXIA 4731 User manual

DELTA DORE

DELTA DORE TYXIA 4731 User manual

DELTA DORE TYXIA 4801 User manual

DELTA DORE

DELTA DORE TYXIA 4801 User manual

DELTA DORE Tybox 5701 FP User manual

DELTA DORE

DELTA DORE Tybox 5701 FP User manual

DELTA DORE 6630 User manual

DELTA DORE

DELTA DORE 6630 User manual

DELTA DORE Tyxia 4910 User manual

DELTA DORE

DELTA DORE Tyxia 4910 User manual

DELTA DORE RF 6050 User manual

DELTA DORE

DELTA DORE RF 6050 User manual

DELTA DORE RF 6620 User manual

DELTA DORE

DELTA DORE RF 6620 User manual

DELTA DORE TYXIA 4801 User manual

DELTA DORE

DELTA DORE TYXIA 4801 User manual

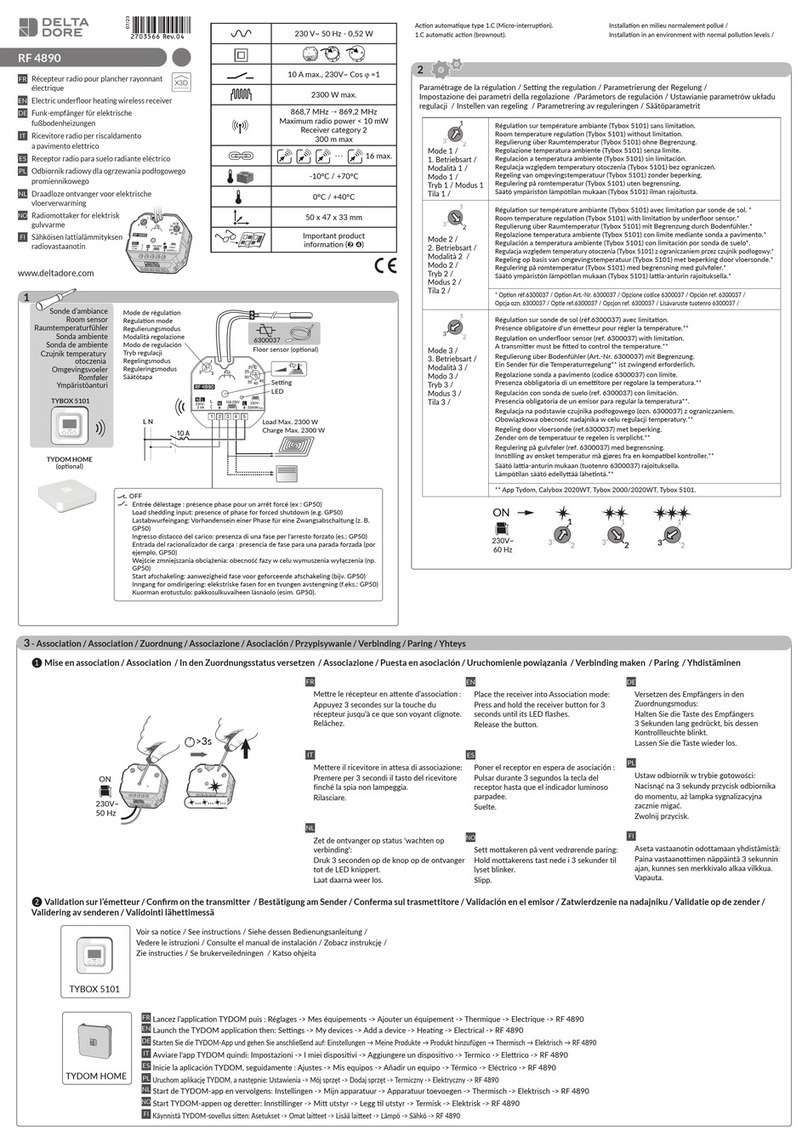
DELTA DORE RF 4890 User manual

DELTA DORE

DELTA DORE RF 4890 User manual

DELTA DORE TYXIA 5630 User manual

DELTA DORE

DELTA DORE TYXIA 5630 User manual

DELTA DORE TYXIA 4731 User manual

DELTA DORE

DELTA DORE TYXIA 4731 User manual

DELTA DORE RF 4890 User manual

DELTA DORE

DELTA DORE RF 4890 User manual

DELTA DORE TYXIA 4910 User manual

DELTA DORE

DELTA DORE TYXIA 4910 User manual

DELTA DORE RF 6630 User manual

DELTA DORE

DELTA DORE RF 6630 User manual

DELTA DORE TYXIA 4910 User manual

DELTA DORE

DELTA DORE TYXIA 4910 User manual

DELTA DORE RF 6650 User manual

DELTA DORE

DELTA DORE RF 6650 User manual

DELTA DORE RF 6420 User manual

DELTA DORE

DELTA DORE RF 6420 User manual

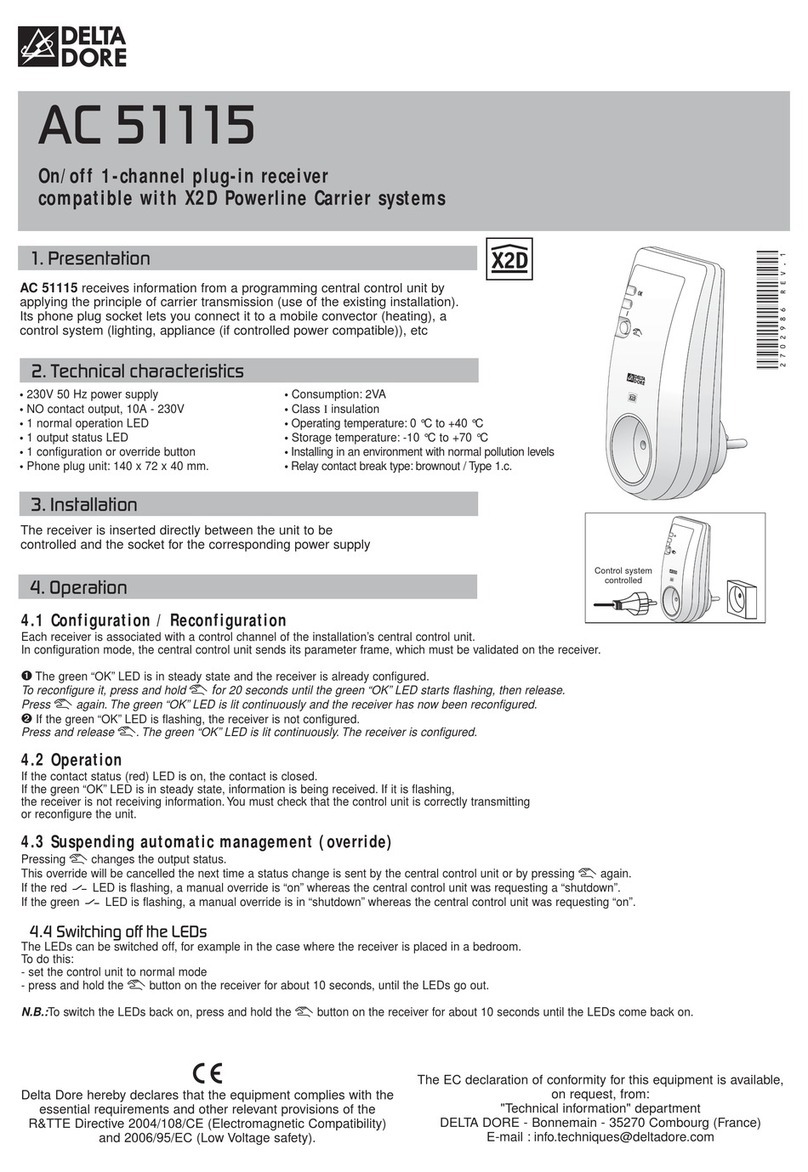
DELTA DORE AC 51115 User manual

DELTA DORE

DELTA DORE AC 51115 User manual

DELTA DORE X2D User manual

DELTA DORE

DELTA DORE X2D User manual

DELTA DORE RF 660 WIRELESS RECEIVER - GUIDE D User manual

DELTA DORE

DELTA DORE RF 660 WIRELESS RECEIVER - GUIDE D User manual

DELTA DORE TYXIA 4910 User manual

DELTA DORE

DELTA DORE TYXIA 4910 User manual

DELTA DORE TYXIA 6410 User manual

DELTA DORE

DELTA DORE TYXIA 6410 User manual

DELTA DORE TYXIA 4630 User manual

DELTA DORE

DELTA DORE TYXIA 4630 User manual

Popular Receiver manuals by other brands

CityCom CCR 525 user manual

CityCom

CityCom CCR 525 user manual

Ariston Chaffoteaux elco 3319093 Assembly and operation instructions

Ariston

Ariston Chaffoteaux elco 3319093 Assembly and operation instructions

Axxera AV7225BH Installation and owner's manual

Axxera

Axxera AV7225BH Installation and owner's manual

LG LH-T502SH owner's manual

LG

LG LH-T502SH owner's manual

Becker CentronicPLUS LC120 PLUS Assembly and operating instructions

Becker

Becker CentronicPLUS LC120 PLUS Assembly and operating instructions

Denon AVR-S660H owner's manual

Denon

Denon AVR-S660H owner's manual

Sennheiser EK 3041-U manual

Sennheiser

Sennheiser EK 3041-U manual

Denon RCD-M40 owner's manual

Denon

Denon RCD-M40 owner's manual

Hyundai H-1636U instruction manual

Hyundai

Hyundai H-1636U instruction manual

Marti Electronics SR-20M manual

Marti Electronics

Marti Electronics SR-20M manual

Topcon GR-5 Operator's manual

Topcon

Topcon GR-5 Operator's manual

Tekmar Adaptor Plate 012 Installation & operation manual

Tekmar

Tekmar Adaptor Plate 012 Installation & operation manual

EchoStar T-333 MHP user guide

EchoStar

EchoStar T-333 MHP user guide

Dish Network Hopper with Sling Setup

Dish Network

Dish Network Hopper with Sling Setup

August DVB400 user manual

August

August DVB400 user manual

Strong STR 8106 user manual

Strong

Strong STR 8106 user manual

Shure AD4Q user manual

Shure

Shure AD4Q user manual

Sony STR-DA2000ES - Fm Stereo/fm-am Receiver Dimensional information

Sony

Sony STR-DA2000ES - Fm Stereo/fm-am Receiver Dimensional information

manuals.online logo
manuals.online logoBrands
  • About & Mission
  • Contact us
  • Privacy Policy
  • Terms and Conditions

Copyright 2025 Manuals.Online. All Rights Reserved.