Dentsply Sirona
Operating Instructions CEREC Guide 2
3 Product description
3.1 Description of the CEREC Guide 2
63 96 100 D3587
D3587.201.01.11.0212.2018 9
3Product description
3.1 Description of the CEREC Guide 2
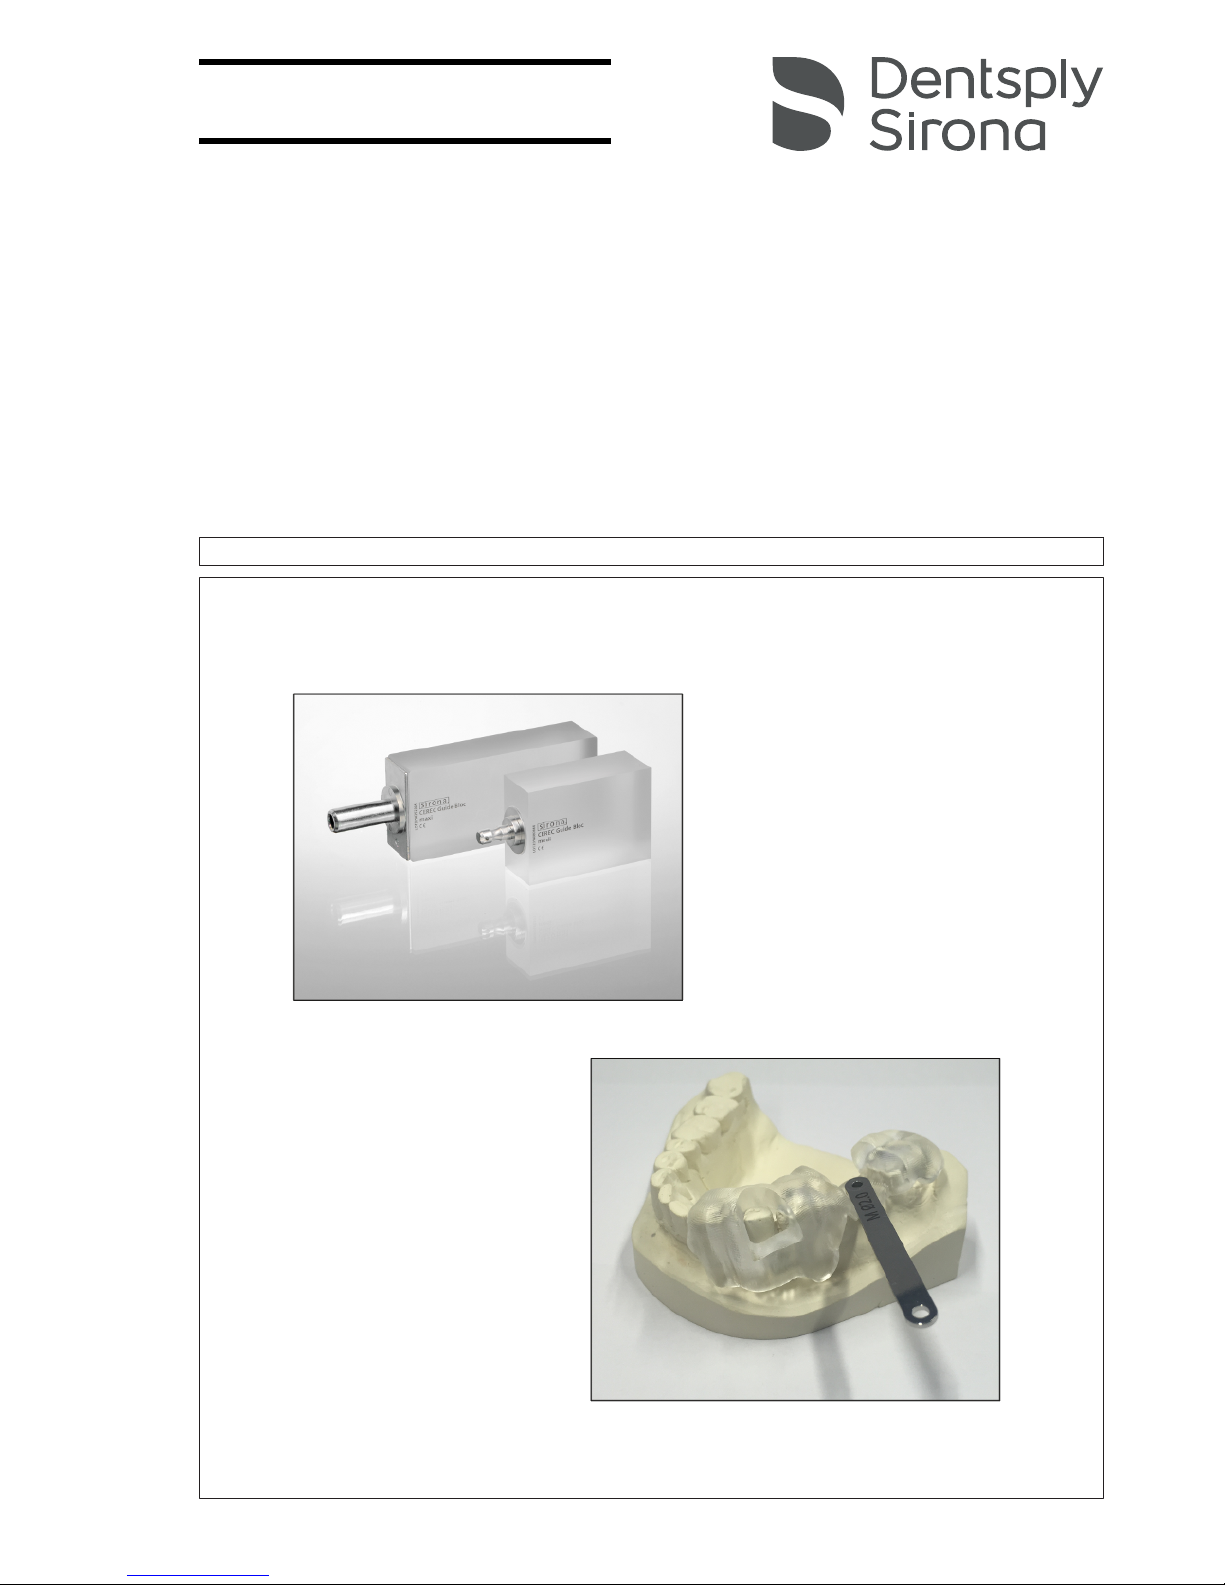
CEREC Guide 2 is a precise surgical guide which is individually created
in your practice or laboratory. The manufacturing process is fast and
incurs comparatively low costs.
The individually produced surgical guide is part of the integrated implant
plan and surgical implementation using CAD/CAM and 3D X-ray
systems from Dentsply Sirona.
It is a prerequisite that the location of one or more implants has been
planned using the 3D X-ray scan (DVT) and that location is to be
transferred to the actual jaw. CEREC Guide 2 is a device that supports
the dentist when setting implants. CEREC Guide 2 functions as a
surgical guide, which is placed on the residual teeth or another
supporting structure in the mouth and acts as a mechanical guide for
the drills used. Together with CEREC Guide 2, drill keys are also used
as reducing bushes, which enable the use of drills with smaller
diameters.
The key steps for manufacturing and using a CEREC Guide 2 are as
follows:
1. Optical scan
An optical scan of the situation in the mouth is created (either
intraoral or using a model). A suitably large area is encompassed,
on which the drilling template can later support itself.
A restoration is designed, which initially enables the subsequent
implant planning in terms of prosthetic aspects.
This information is exported as a *.SSI file.
2. DVT exposure
A DVT scan is performed, which forms the basis for the implant
planning.
3. Implant planning
Optical scan (Import of the *.SSI file) and DVT scan are
superimposed in GALILEOS Implant using striking features, which
are present in both scans (such as the residual teeth).
The implant planning is performed based on all of this information.
Therefore the location of the guide bushing of the drill is also
defined in relation to the residual teeth (or other supporting
structures).
The planning data is exported as a *.CMG.DXD file.
4. Creating the drilling template
After importing the *.CMG.DXD file in CEREC or inLab, a drilling
template is designed, which can be placed on suitable supporting
structures and has an opening at a planned location, through which
the drill is to be fed. The single-piece template is create from
PMMA, for example by milling.
5. Surgery
The drilling template is placed in the patient’s mouth. According to
the drilling protocol of the manufacturer of the implant, different
bores with drills with different guide diameters. Drill keys are used
for this and serve as reducing bushes for the respective drill
diameter.