Section 1: lndications for Use
Ultrasonic procedures:
. All general supra and subgingival scaiing applications.
. Pe¡iodontal debridement for all rypes ofperiodontal diseases.
. Endodonticprocedures.
. For patients with a history ofsensitiviry to ultrasonics.
Section 2: Contra¡ndications and Warnings
2.1 Contraindications
. Ultrasonic Systems should not be used for restorative dental
procedures involving the condensation of amaJgam.
Section 3: Precautions
2.2 'W'arnings
. Persons fitted with cardiac pacemakers, defibrillators and
other active implanted medical devices have been cautioned
that some rypes of electronic equipmeot might interfere
with the operation of the device. Although no instance of
interfe¡ence has ever been reported to DENTSPLYo, we
recommend that the handpiece and cables be kept at least 6
to 9 inches (15 to 23 cm) away from any device and their
leads during use.
. There are a variery of pacemakers and other medically
implanted devices on the market. Clinicians should contact
the device manufacture¡ or the patient's physician for
detailed information about the device.
3.1 Precautions for AII Systems
. Cavitron@ Inserts manufactured by DENTSPLYo
Professiona.l should be used for optimal performance.
. Do not place the System on or next to a ¡adiator or
other heat source. Excessive heat may damage the System's
electronics. Place the System where air is free to circulate on
ell sides and beneath it.
. The System is portabie, but must be handled with care when
moving.
. Equipment flushing and dentd water supply system
maintenance are strongly recommended. See \Øater Supply
under Section 10: System Care.
. Close the water shut-offvalve to the System every night
before leaving the office.
. Never operate scaler wirhout fluid flowing rhrough handpiece.
3.2 Prccautions for Ultrasonic
Prophylaxis Procedures
. Like a toothbrush, ultrasonic inserts "wea¡ out" with use.
Inserts with just 2 mm of wea¡ lose about 50% of
their scaling efÊciency. In general, it is ¡ecommended that
ultrasonic inserts be discarded and replaced after 2 mm of
wear to maintaih optimai efficiency and avoid breakage.
' Ifexcessive wea¡ is noted, or the inse¡t has been
bent, reshaped or otherwise damaged, discard the
insert immediately.
. Ret¡act the lips, cheeks and tongue to prevent contact with
. the insert tip wheneve¡ it is placed in the patient's mouth.
. The DENTSPLYo power supply shipped with this unir is
approved for use with devices and must be used to operate
this system.
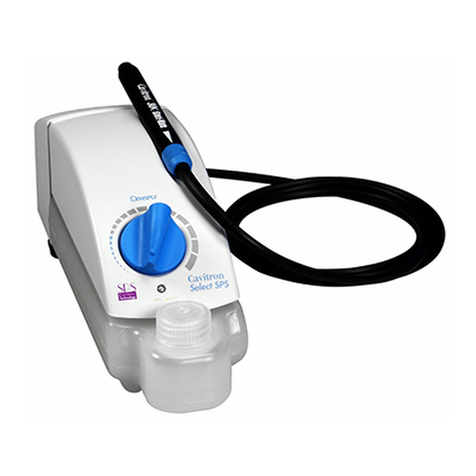
3.3 Precaations for Cavitron@ SelectTM
Reservoir System
. Do not place the System on or nexr to a radiator or
other heat source. Excessive heat may damage the Systemt
electronics. Place the System wheie air is free to circulate on
all sides and beneath it.
. The System is portable, but must be handled with care when
moving.
. Equipment flushing and denta.l water supply system
maintenance are strongly recommended. See Section 10:
System Care.
. Pour liquid into the cap opening of the reservoir borde. To
prevent potential leaking at the cap, do not overÊll bottle
with liquid into the neck of the botrle. Ensure cap is tightly
sea.led.
. Turn unit offbefore refilling reservoir botcle to prevent
potential leaking offluid. Turn cap a r/¡ ¡evolution to release
air pressure and then remove the cap completely.
ENGLISH. 3
