manuals.online logo
Brands
  1. Home
  2. •
  3. Brands
  4. •
  5. dg casa
  6. •
  7. Indoor Furnishing
  8. •
  9. dg casa 4 DRAWER TV STAND User manual

dg casa 4 DRAWER TV STAND User manual

4 DRAWER TV STAND
95150 - TV
MAX : 11 lbs
MAX : 60 lbs
MAX : 22 lbs
IMPORTANT INFORMATION
Seller and Manufacturer disclaim all and any liability for
property damage, personal injury, or loss, direct, indirect, or
incidental, resulting from the incorrect assembly, inadequate
maintenance, improper use, or neglect of this product.
Request a replacement by logging into the marketplace
account in which the purchase was made and sending a
message to the seller. To assist in expediting the request
attach applicable images relevant to the request and/or
part number and quantity.
Keep these assembly instructions for future reference.
Do not use this product if there are missing, damaged,
or broken parts until repairs are made and/or factory
replacement parts are installed.
Check all packing material carefully for small hardware
that may have become loose inside the carton
during shipment.
Identify and count all hardware and parts to compare with
parts and hardware list.
Follow assembly instructions closely. Improper assembly
can result in personal or property damage.
Secure all bolts before use.
Every 90 days check all bolts are secured.
Some parts may have a sharp corner or edge and may
be heavy.
Do not use or store this product near open flames or
around flammable chemicals.
When placing contents on non-carpeted flooring, it’s
recommended to use floor protection such as an area rug
or furniture pads. These are not included with the purchase.
NOTICE
REPLACEMENT PART OR HARDWARE REQUEST:
This unit has been designed to support the maximum loads shown. Exceeding these load
limits could cause sagging, instability, product collapse, and/or serious injury.
The recommended maximum width of the television intended for use with the cart, stand
or entertainment center.
•The TV must weight less than 60 lbs (29.4 kg)
•The base of the TV must be able to sit completely on the surface
This item is designed for most FLAT PANEL TVs having up to maximum width of 44
inches (111.76 cm) which represents the overall width or inside dimension of the unit the
TV will placed on.
a) “WARNING – Death or serious injury may occur when children climb on audio and/or
video equipment furniture. A remote control or toys placed on the furnishing may
encourage a child to climb on the furnishing and as a result the furnishing may tip over
on the child.”
b) “WARNING – Relocating audio and/or video equipment to furniture not specifically
designed to support audio and/or video equipment may result in death or serious injury
due to the furnishing collapsing or over turning onto a child”
c) Put heavy items on lower shelves or drawers. Always remove items from the top shelves
or drawer, follow by the items on the bottom shelves or drawer.
Seller and Manufacturer disclaim all and any liability for property damage, personal injury,
or loss, direct, indirect, or incidental, resulting from the incorrect assembly, inadequate
maintenance, improper use, or neglect of this product.
Notice
•Keep these assembly instructions for future reference.
•Do not use this product if there are missing, damaged, or broken parts until repairs
are made and/or factory replacement parts are installed.
•Check all packing material carefully for small hardware that may have become loose
inside the carton during shipment.
•Identify and count all hardware and parts to compare with parts and hardware list.
•Follow assembly instructions closely. Improper assembly can result in personal or
property damage.
•Secure all bolts before use.
•Some parts may have a sharp corner or edge and may be heavy.
•Do not use or store this product near open flames or around flammable chemicals.
WARNING
•When placing contents on non-carpeted flooring, it’s recommended to use floor
protection such as an area rug or furniture pads. These are not included with the
purchase.
•Do NOT use harsh chemicals or abrasive cleaners on this item.
•Never push, pull, or drag your furniture.
HARDWARE & TOOL PARTS
HARDWARE REQUIRED:
TOOLS REQUIRED:
HEX WRENCH
MINIFIX X 36 PCS
UNITAR SCREW (6.3 X 40)
X 4 PCS
EURO SCREW (6X9) BACKPLY STOPPER
X 12 PCSX 16 PCS
DRAWER SLIDE (300MM)
X 4 SETS
CSK SCREW (3.5 X 15)
X 16 PCS
CSK SCREW (M4.7 X 38)
CSK SCREW (M3.1 X 20)
X 12 PCS
X 16 PCS
CAM 12/15 X 28
PCS
WOOD DOWEL (O6 X 30)
X 39 PCS
(PROVIDED)
(R)
(R)
(L)
(L)
1
5
8
6
9
7
10
11 12
2
CAM 9/15 X 8
PCS
34
NAIL LEG X 5 PCS
PH1 SCREW DRIVER
(PROVIDED)
A........Side Panel...............x 1
B........Side Panel...............x 1
C
D........Partition Panel.........x 1
........Partition Panel.........x 1
E........Top Panel................x 1
F ........Bottom Panel...........x 1
G........Shelf Panel..............x 1
H........Front Support ..........x 2
I ........Bottom Support.......x 1
J ........Front Leg (L)
........Front Leg (R)
...........x 1
K ........x 1
L ........Front Panel (T)
........Front Panel (B)
........x 1
M ........x 1
N ........Drawer Front...........x 1
O ........Drawer Front
........Drawer Front
...........x 1
P ...........x 1
T ........Drawer Back............x 4
Y........Backply (L/R)...........x 2
Y1........Backply (M)..............x 1
Q ............x 1
R........Drawer Side (L)
........Drawer Side (R)
........x 4
S ........x 4
Z........Drawer Bottom.........x 4
Y1
Y
Y
D
G
E
B
C
AH
H
F
IJ
M
LK
Q
R
R
S
P
T
Z
N
O
R
R
4 DRAWER TV STAND ASSEMBLY PARTS
Insert all wood dowel in each panel as shown.
Note: Make sure all the dowel are insert into all panel without missing any hole.
x 39
Wood Dowel (O6x30mm)
4
X4
X4
G
I
X2
HR
S
F
D
C
AB
L
4 DRAWER TV STAND ASSEMBLY - STEP 1
Insert Minifix on each panel and then use a screw driver to tighten
up all.
Note: Do not over tighten the Minifix it will cause issues when assemble all panel.
x 36
Minifix
E
1
A
B
N
O
P
QD
C
M
K
J
4 DRAWER TV STAND ASSEMBLY - STEP 2
Attached drawer slide on Side panel A and B also Partition panel C & D then insert
Euro screw and tighten using a screw driver.
Note: Make sure to insert the euro screw into the right hole so the drawer slide
is in correct position.
Euro Screw (6 x 9)
x 16 x 4 SETS
FDrawer Slide (300mm)
118
(L)
(R)
B
A
D
C
(R)
(L)
4 DRAWER TV STAND ASSEMBLY - STEP 3
(L)
(R)
Attached drawer side R to drawer back T and use Csk screw and tighten it with a screw
driver and repeat for drawer side S.
IMPORTANT: Fully tighten all Csk screw on all 4 drawer.
x 16
Csk Screw (M4.7 X 38)
X4
7
T
S
R
4 DRAWER TV STAND ASSEMBLY - STEP 4
Insert the Drawer bottom Z between Drawer side R and S.
IMPORTANT : Make sure Drawer bottom Z were inserted onto drawer
back for all 4 drawer.
X4
Z
S
R
4 DRAWER TV STAND ASSEMBLY - STEP 5
N
O
P
Q
Attach Drawer Front N,O,P,Q on the drawer and insert Cam (9/15) on each side of the
drawer side and tighten it with screw driver.
Note: Make sure to refer the picture were shown how to position the Cam correctly.
x 8
Cam (9/15)
3
X4
4 DRAWER TV STAND ASSEMBLY - STEP 6
Attach Drawer slide (300mm) and then use ph1 screw driver to tighten Csk screw
(3.5 X 15).
Note: Repeat the same step for all 4 drawer and make sure to put the drawer slide
in the right position.
Csk Screw (3.5 X 15)
x 16 x 4 Sets
Drawer Slide (300mm)
116
(R)
(L)
X4
S
4 DRAWER TV STAND ASSEMBLY - STEP 7
(L) (R)
Attach Front leg I to side panel A and insert Cam (12/15) then tighten it with screw
driver, repeat the step for Front leg J and side panel B.
x 4
Cam (12/15)
2
Note: Make sure to refer the picture were shown how to position the Cam correctly.
A
J
B
K
4 DRAWER TV STAND ASSEMBLY - STEP 8
Attach Partition Panel C & D to Shelf panel G and insert Cam (12/15) on each hole then
tighten it using a screw driver.
x 4
Cam (12/15)
2
Note: Make sure to refer the picture were shown how to position the Cam correctly.
G
C
D
4 DRAWER TV STAND ASSEMBLY - STEP 9
Attach Panel C,G and D to Bottom panel F, then insert Unitar screw and tighten it with a
Hex wrench.
Note: Make sure do not over tighten the unitar screw.
x 4
Unitar Screw (6.3 X 40)
5
F
C
D
G
4 DRAWER TV STAND ASSEMBLY - STEP 10
Attach Front Panel M to Bottom Panel F and insert Cam (12/15) then tighten it with
screw driver.
x 3
Cam (12/15)
2
Note: Make sure to refer the picture were shown how to position the Cam correctly.
F
M
4 DRAWER TV STAND ASSEMBLY - STEP 11
Attach Front support H to Panel D and Bottom support I to Bottom Panel F.
Note: Make sure to attached the Front support into the right hole position.
H
D
4 DRAWER TV STAND ASSEMBLY - STEP 12
I
F
x 3
Cam (12/15)
2
Attach Side panel B and Front leg K to Panel H and L then insert Cam (12/15) and
tighten it with screw driver.
Note: Make sure to refer the picture were shown how to position the Cam correctly.
B
L
H
K
4 DRAWER TV STAND ASSEMBLY - STEP 13

Other dg casa Indoor Furnishing manuals

dg casa Ocean 16650 User manual

dg casa

dg casa Ocean 16650 User manual
dg casa HUTCH DESK User manual

dg casa

dg casa HUTCH DESK User manual

dg casa 12350-F User manual

dg casa

dg casa 12350-F User manual

dg casa SOLOMAN 12050-K User manual

dg casa

dg casa SOLOMAN 12050-K User manual

dg casa 12850-Q User manual

dg casa

dg casa 12850-Q User manual

dg casa 16650-Q User manual

dg casa

dg casa 16650-Q User manual
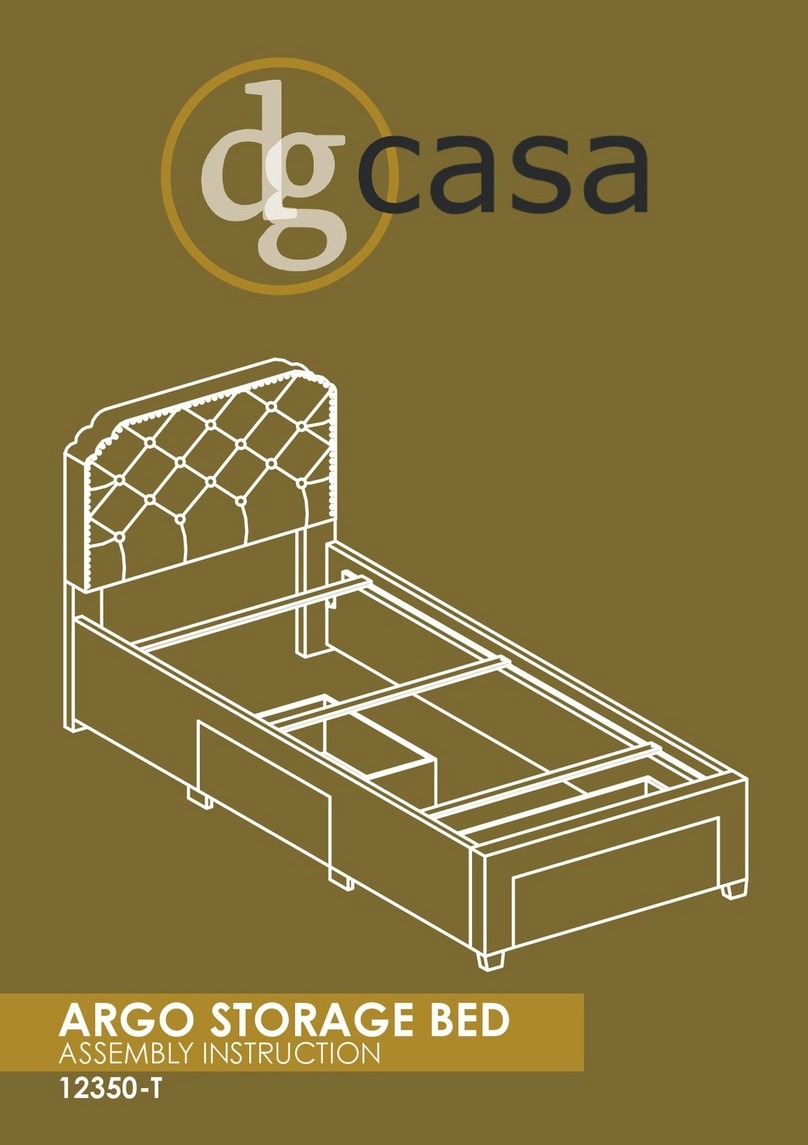
dg casa ARGO 12350-T User manual

dg casa

dg casa ARGO 12350-T User manual

dg casa SOLOMAN 12050-Q User manual

dg casa

dg casa SOLOMAN 12050-Q User manual
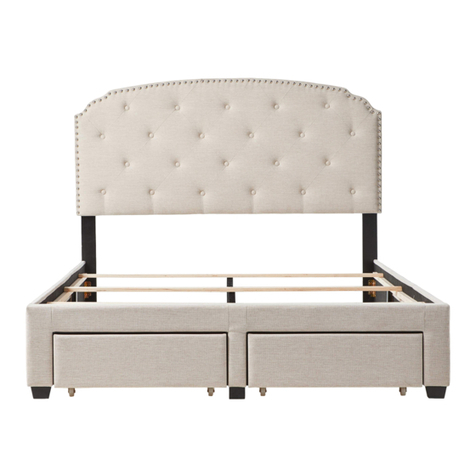
dg casa 12350-Q User manual

dg casa

dg casa 12350-Q User manual

dg casa 30250-Q User manual

dg casa

dg casa 30250-Q User manual

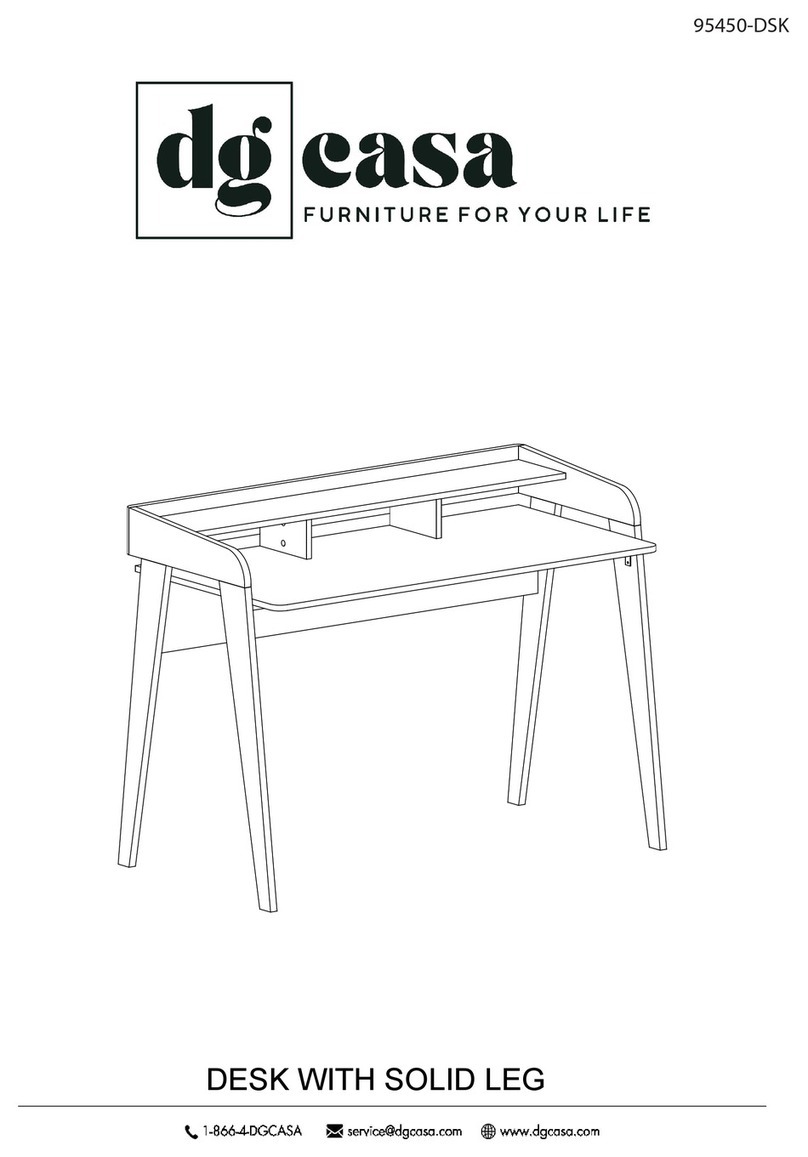
dg casa 95450-DSK User manual

dg casa

dg casa 95450-DSK User manual

dg casa 12350-K User manual

dg casa

dg casa 12350-K User manual

dg casa 95200-DSR User manual

dg casa

dg casa 95200-DSR User manual

Popular Indoor Furnishing manuals by other brands
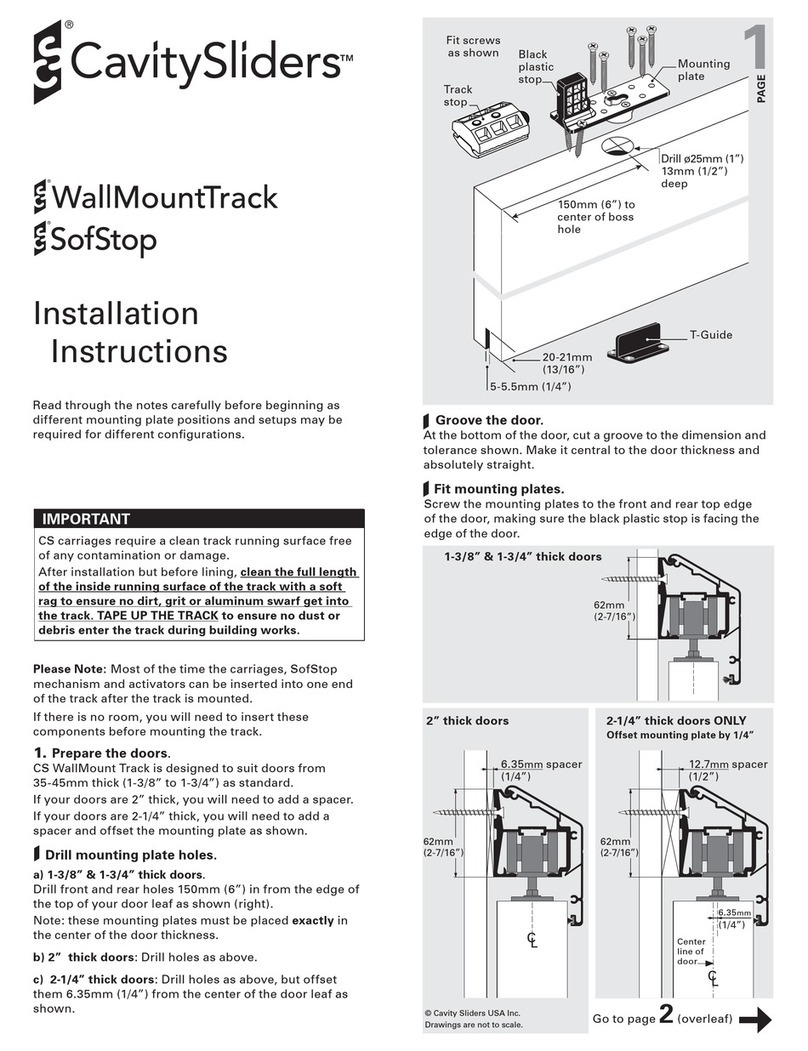
Cavity Sliders WallMountTrack installation instructions
Cavity Sliders

Cavity Sliders WallMountTrack installation instructions

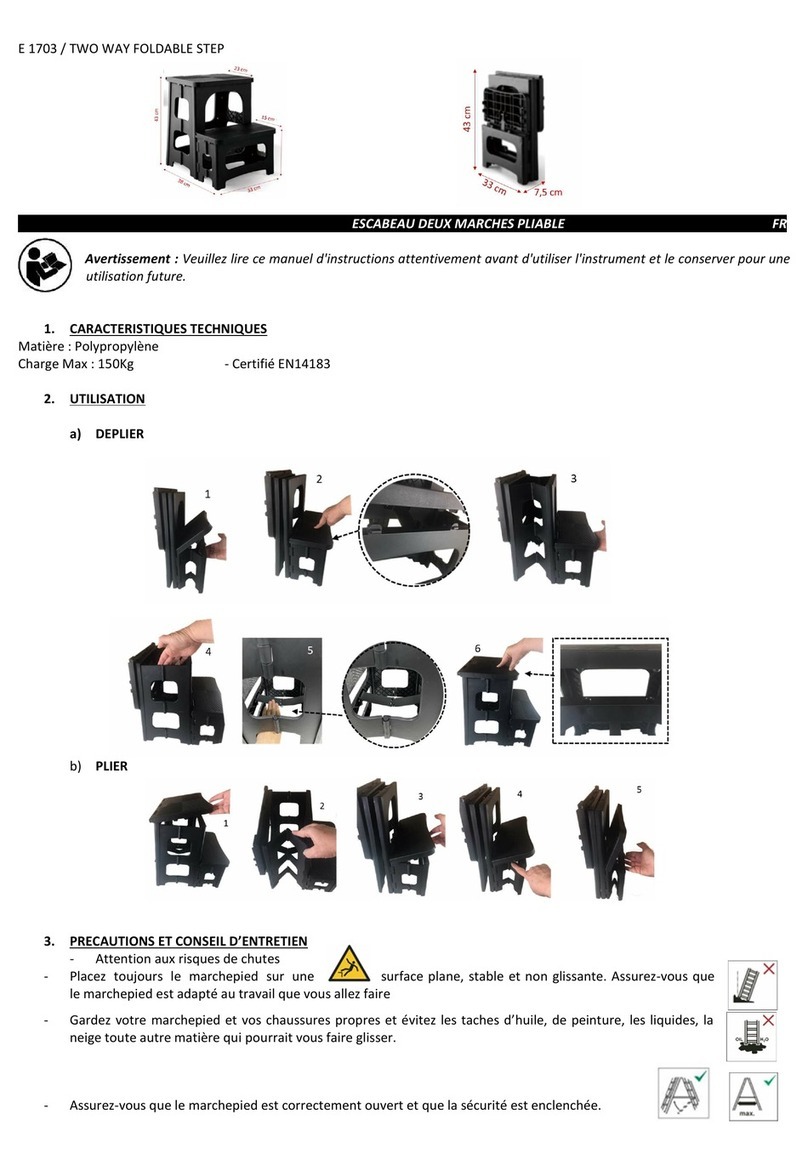
CAPTELEC E 1703 instruction manual

CAPTELEC

CAPTELEC E 1703 instruction manual

Next MADELINE SLIM BEDSIDE Assembly instructions
Next

Next MADELINE SLIM BEDSIDE Assembly instructions

AnthroDesk AD-DMP-1 Assembly instructions
AnthroDesk

AnthroDesk AD-DMP-1 Assembly instructions

dobue MOVELARIA PARIS 300045 Assembly instruction

dobue MOVELARIA

dobue MOVELARIA PARIS 300045 Assembly instruction

JWA CHINON 68717 Assembly instruction

JWA

JWA CHINON 68717 Assembly instruction

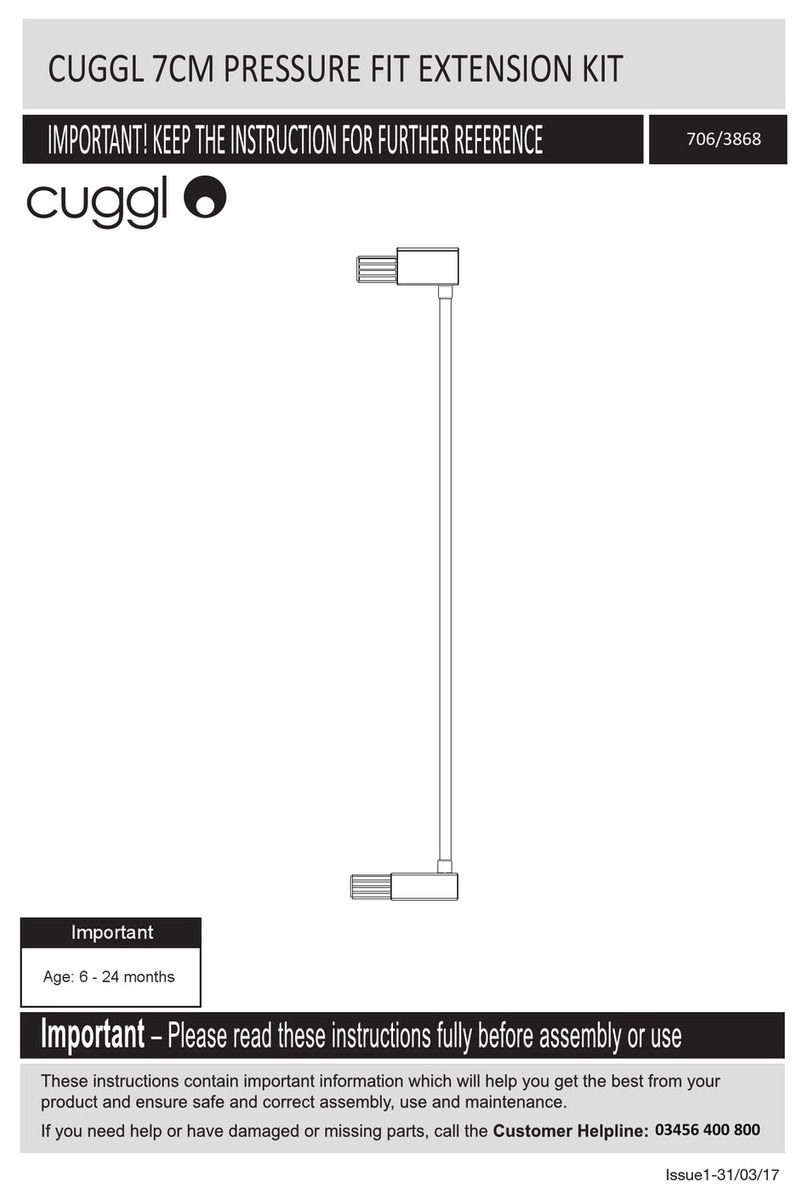
CUGGL 706/3868 manual

CUGGL

CUGGL 706/3868 manual

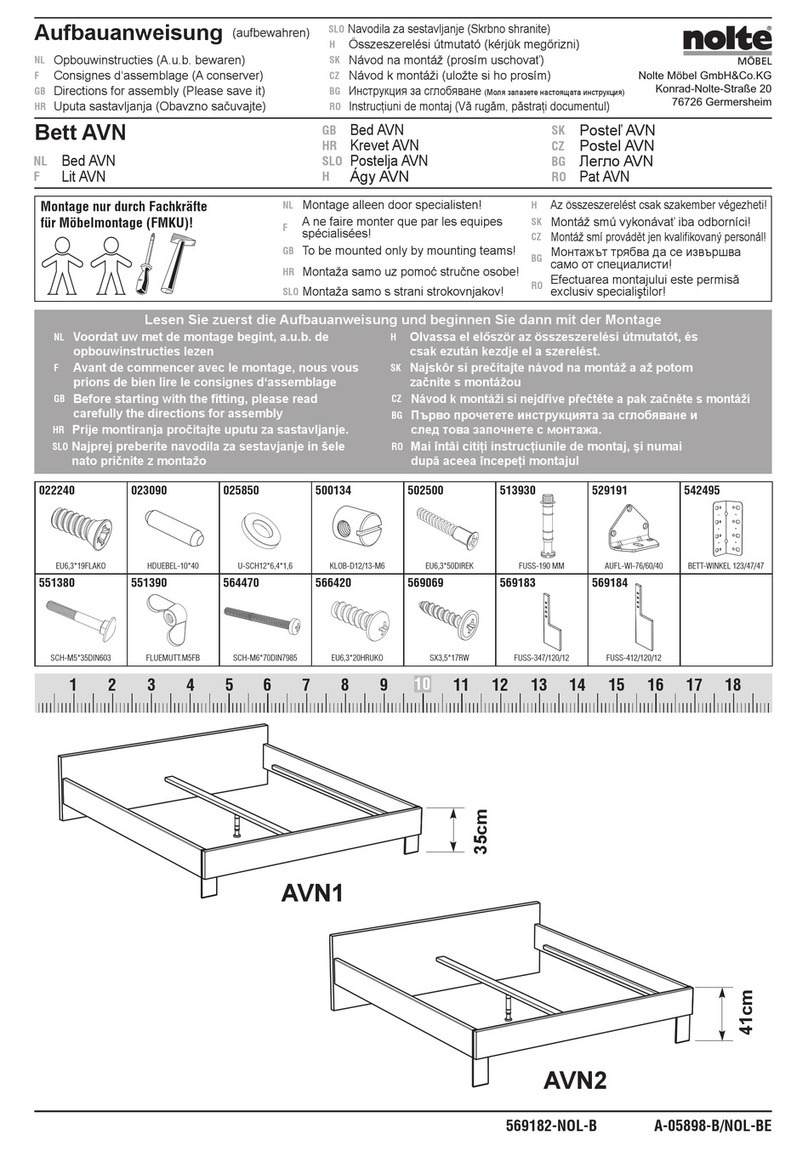
nolte AVN1 DIRECTIONS FOR ASSEMBLY

nolte

nolte AVN1 DIRECTIONS FOR ASSEMBLY

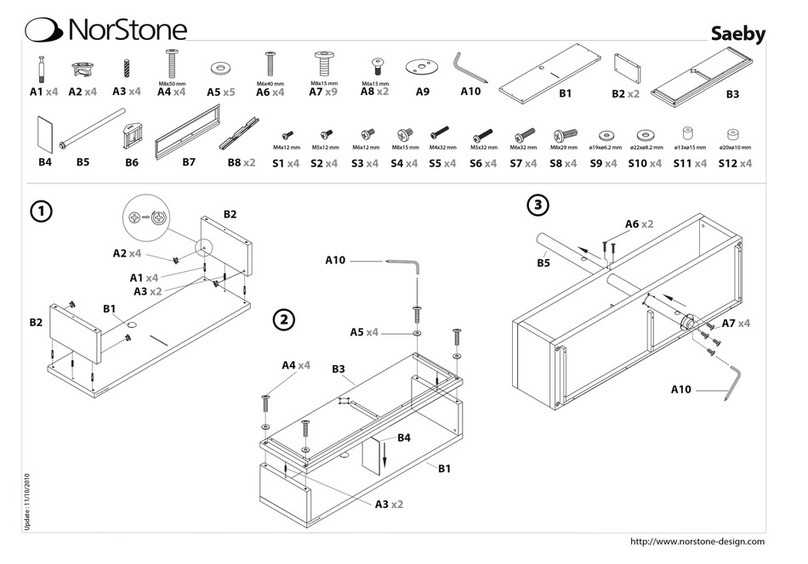
Norstone Saeby manual

Norstone

Norstone Saeby manual

Muckle Mannequins ANT-ATWP-1 instruction manual

Muckle Mannequins

Muckle Mannequins ANT-ATWP-1 instruction manual

Next PORTOFINO 892163 Assembly instructions

Next

Next PORTOFINO 892163 Assembly instructions

TIMBER ART DESIGN DR 960007 Assembly instructions

TIMBER ART DESIGN

TIMBER ART DESIGN DR 960007 Assembly instructions

Homelegance 5741S Assembly instruction
Homelegance

Homelegance 5741S Assembly instruction

Habitat Marel 817588 quick start guide

Habitat

Habitat Marel 817588 quick start guide

Giorgetti CLAUDIANO Assembling instructions

Giorgetti

Giorgetti CLAUDIANO Assembling instructions

Diphano Alexa instruction manual

Diphano

Diphano Alexa instruction manual
Legacy Classic Furniture 7200-5005 Assembly instructions
Legacy Classic Furniture

Legacy Classic Furniture 7200-5005 Assembly instructions

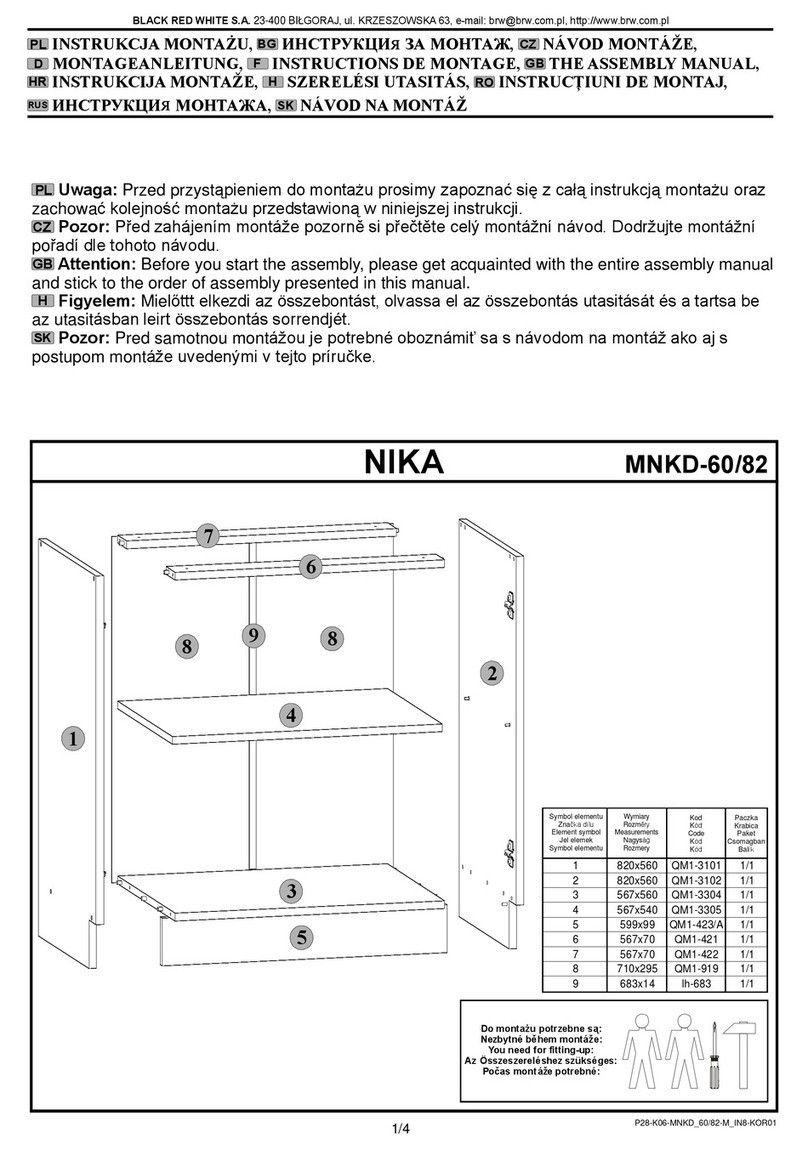
BRW NIKA MNKD-60/82 Assembly manual

BRW

BRW NIKA MNKD-60/82 Assembly manual

manuals.online logo
manuals.online logoBrands
  • About & Mission
  • Contact us
  • Privacy Policy
  • Terms and Conditions

Copyright 2025 Manuals.Online. All Rights Reserved.