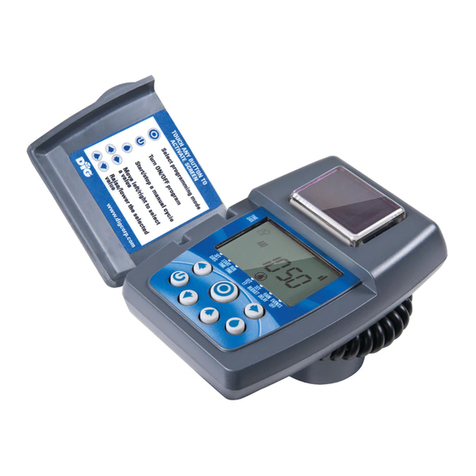
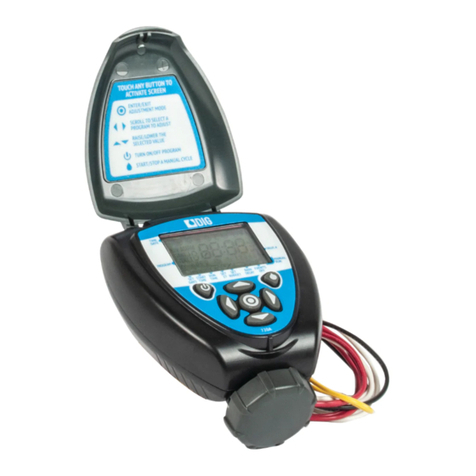
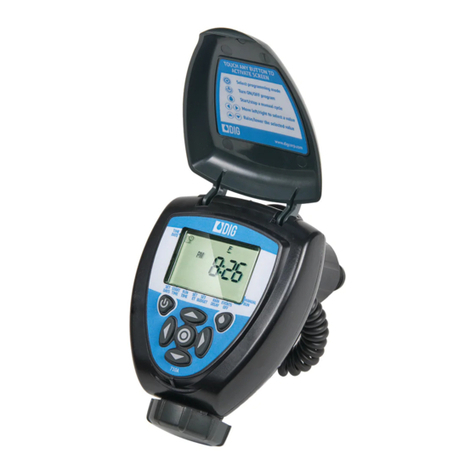
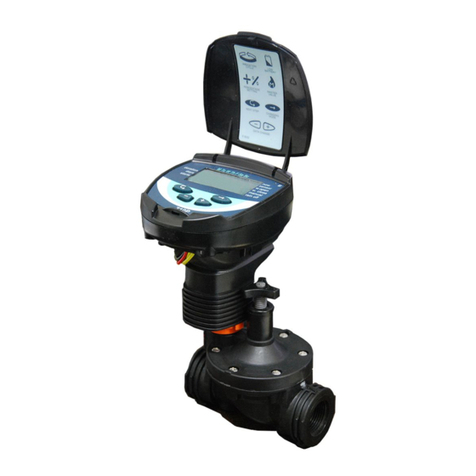
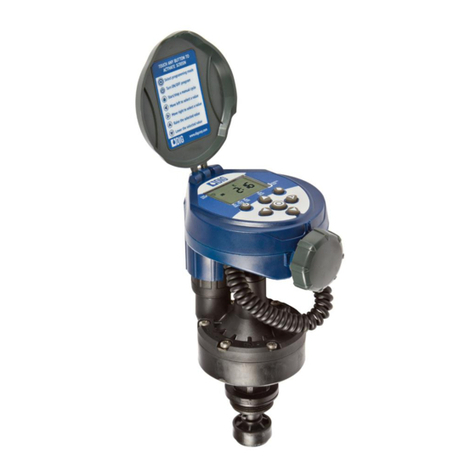
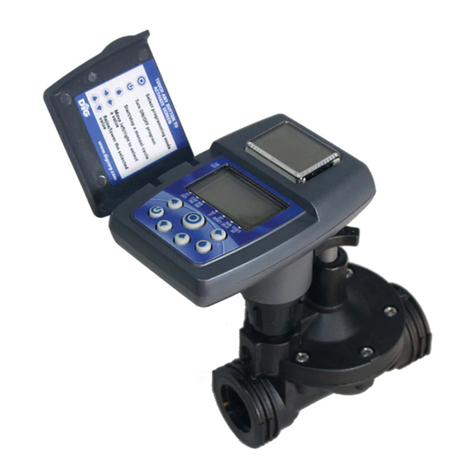
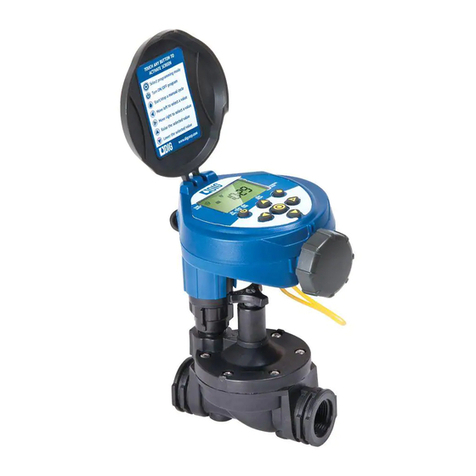
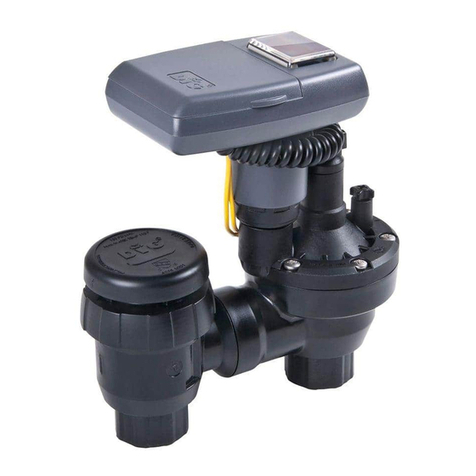
DIG 710AP Series User manual

INSTRUCTION MANUAL
710AP-XXX
Single Station Propagation and
Irrigation Battery Operated Controller

TABLE OF CONTENTS
INTRODUCTION ……………………………………………………………… 1
1. About the controller …………………………………………………… 1
2. Component identification ……………………………………………… 2
3. LCD display and controls ……………………………………………… 3
4. Valve or wall mounting ………………………………………………… 4
5. Installing the batteries ………………………………………………… 5
6. Valve adapter installation 710AP ………………………………………… 5
7. In-line valve installation 710AP ………………………………………… 7
8. Programming ………………………………………………………… 8
9. Setting time and date …………………………………………………… 9
10. Setting watering frequency……………………………………………… 10
11. Setting start times ……………………………………………………… 13
12. Setting watering run times ……………………………………………… 15
13. Setting seasonal adjustment (monthly budget) …………………………… 16
14. Rain delay setting ……………………………………………………… 17
15. Propagation mode ……………………………………………………… 18
16. Manual watering ……………………………………………………… 22
17. Connecting a rain sensor ……………………………………………… 23
18. Maintenance, troubleshooting and repairs ……………………………… 24
19. Technical Assistance …………………………………………………… 26
20. Warranty ……………………………………………………………… 27

1
INTRODUCTION
Thank you for purchasing DIG’s 710AP Series Single Station propagation and
irrigation Battery Operated Controller. This manual describes how to get the 710AP
series controller up and running quickly. After reading this manual and becoming
familiar with the basic functionality of the controller, use the manual as a reference
for less common tasks in the future.
1. ABOUT THE CONTROLLER
The 710AP propagation and irrigation controller employs the latest in propagation
and irrigation programming features to allow for complete control of any system
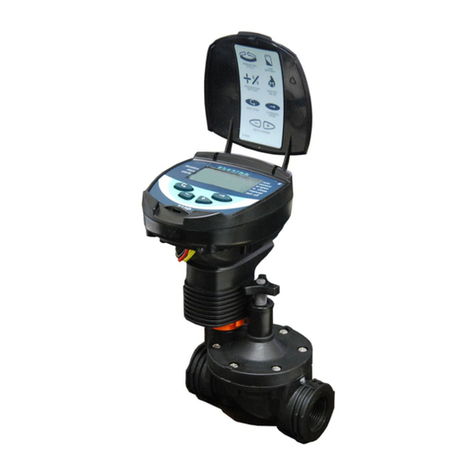
and is available assembled on an in-line valve, or controller alone with solenoid
adapters to fit most manufacturers’ valves. The 710AP series is available in single
station with a rain sensor connection, and is powered by two AA batteries that can
last up to 3 years in irrigation mode (using name brand alkaline batteries). The
controller is enclosed in a rugged, compact, waterproof housing to protect it from
the elements and to ensure a long, trouble-free life.

2
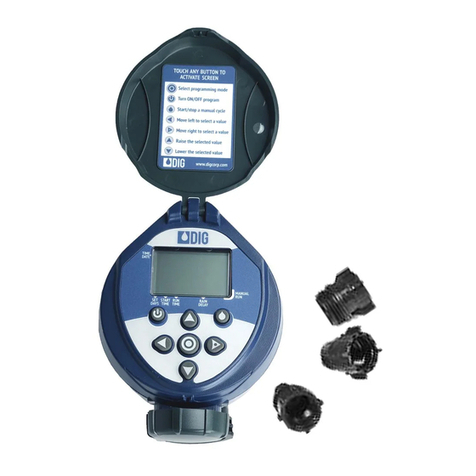
2. COMPONENT IDENTIFICATION
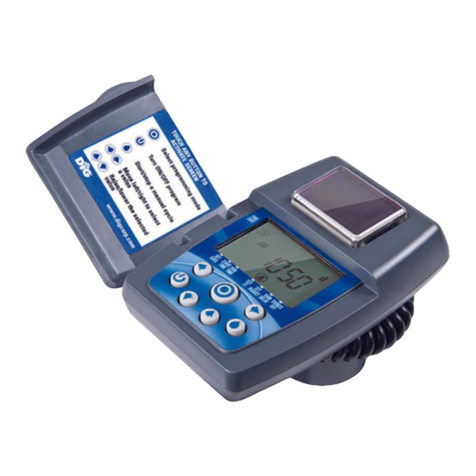
1. Controller cover
2. Quick reference label
3. LCD displays the icon-based
applications / programs
4. 7 button programming keypad: Use for
programming, system on/off, manual
run and reviewing program
5. Battery compartment cap for
two AA alkaline batteries (not included)
6. Rain sensor yellow wire connection
7. Collapsible 36 in. solenoid wire
8. DC solenoid with 11/16 in. UN thread
9. Solenoid adapters
10. Manual flow control
11. 3/4 in. professional grade
in-line valve
12. Solenoid mount adapter
13. Wall/Valve box mounting bracket
w
r
y
t
q
u
i
o
a
s
4 adapters
(included with model 710AP)
30-920 adapter
included with all
in-line valves
o
d
f
e
ENTER/EXIT
ADJUSTMENTMODE
TURNON/OFF PROGRAM
START/STOPAMANUAL CYCLE
SCROLLTO SELECT PROGRAM
RAISE/LOWERTHE
SELECTEDVALUE
TOUCHANY BUTTON TO
ACTIVATESCREEN
(30-920)
(30-920) (30-924) (30-922) (30-921)
(see chart on page 6)

3
3. LCD DISPLAY AND CONTROLS
LCD Display
1. Time and Date icon – Indicates current time and day
2. Set Watering Days icon – Indicates the scheduling setting
3. Start Time icon – Indicates the start time setting
4. Run Time icon – Indicates the run time setting
5. Monthly Budget icon – Indicates the monthly budget setting or that monthly
budgeting is active
6. Rain Delay icon – Indicates the rain delay setting or that a rain delay is active
7. Manual Run icon – Indicates the manual run screen or that a valve or program
is being run manually
8. Battery Indicator icon – Flashes when batteries need to be replaced
9. Sensor icon – Indicates that a rain sensor is connected and active
10. Watering icon – Indicates that a valve is open and running
wrtu
i
ey
q
a
o

4
Control Buttons
Enter/Exit adjustment mode
Turn On/Off program*
Start/Stop a manual cycle
Scroll to select a value to adjust
Raise/Lower the selected value
*NOTE: Turning the controller OFF using the button will suspend all scheduled
programming and OFF will appear on the display. The Manual Run feature will still
function when the controller is OFF.
4. VALVE OR WALL MOUNTING
.
4.1 VALVE MOUNTING
1. Slide the controller q into the controller valve
mount w.
2. Press the controller with the valve onto the solenoid
in the desired position.
4.2 WALL MOUNTING
2. Place the mounting plate ron the wall and secure
using 3 screws (not included).
3. Slide the controller assembly e up and into the
mounting plate to secure. (Mounting solenoid sleeve
is not used).
NOTE: The length of the controller connecting
cable limits the distance between the controller and
the solenoid.
r
q
w
Figure A
Figure B
e

Figure C
5
5. INSTALLING THE BATTERIES
1. Open the battery compartment cap by
turning it counter-clockwise.
2. Install two, fresh, brand name,
AA alkaline batteries (not included)
and note the proper direction of the
positive and negative orientation on the
underside of the controller.
3. Insert and screw the battery cap clockwise. Make sure to securely tighten the
cover firmly by hand only. The controller display appears with a day, PM, and the
hour digit flashing. The controller is ready to be installed and programmed.
6. VALVE ADAPTER INSTALLATION 710AP
The 710AP-000 (only) controller includes 4 adapters to retrofit DIG, Rainbird, Hunter
and Toro valves. Follow the instructions below to install.
1. Shut off the main water supply
2. Remove the existing solenoid if applicable.
NOTE: If adapting to an IRRITROL valve, remove the solenoid but leave the
existing solenoid adapter installed.
3. Select the appropriate solenoid adapter associated with the valve (see chart A).
(Available through your distributor)
4. Screw the solenoid adapter into the valve bonnet by hand, tighten with pliers if
necessary – but do not over tighten.
5. Thread the 710AP series solenoid into the valve adapter. Hand tighten only.

6
6. Turn the main water supply on and pressurize the valve; the valve may discharge
water momentarily but should then shut off.
7. Test the controller and the installation by pushing the button to perform
a manual run (or see section 16). To turn the valve on via the solenoid, lift
the 710AP series controller from the solenoid and turn the solenoid counter
clockwise 1/2 to 3/4 of a turn, or until you hear or see water flowing through the
valve. To turn the water off, turn the solenoid clockwise 1/2 to 3/4 of a turn and
wait for the a few seconds for the valve to close.
Chart A
Model Compatible Valves
30-
920
INCLUDED
DIG series S305DC, BERMAD series 200, HIT series
500, DOROT series 80, GRISWOLD series2000, DW and
BUCKNER series VB valves
30-
921
INCLUDED
RAIN BIRD DV,DVF, PGA,PEB (1” only),GB,EFB-CP, BPE,
PESB (1” only)and ASVF valves
30-
922
INCLUDED
HUNTER series ASV, HPV,ICV,PGV,SRV, IBV and
ASVF valves
30-
923*
WEATHERMATIC series 12000, 21000, 8200CR valves
30-
924
INCLUDED
IRRITROL series 100, 200B, 205, 217B, 700, 2400, 2500,
2600 and TORO series 220, P220 valves
*INCLUDED WITH MODEL 710AP-000

7
7. IN-LINE VALVE INSTALLATION 710AP
Operating pressure: 10-150 PSI
Recommended operating pressure: 10-80 PSI
Warning: Wrap all fittings with Teflon tape. Do not use
pipe cement on the valve as this will damage the valve
and void the warranty.
1. Shut off main water supply.
2. Install a 3/4 in. ball or gate valve onto the PVC pipe
or to the valve manifold before installing the controller
(Figure F and G).
3. Turn water supply on to flush the line and then shut the
water off using the ball or gate valve.
4. Wrap the male threads of the PVC adapters with
4-6 layers of Teflon tape, then tighten into the valve with
a wrench.
5. Glue fittings to PVC main line and allow to dry.
6. Turn water supply on to pressurize the system. The
controller will open momentarily and then will shut off.
7. The unit is now ready to be programmed.
BELOW GROUND INSTALLATION
ABOVE GROUND INSTALLATION
Figure E
Figure F Figure G

8
8. PROGRAMMING
This section explains the programming features and the steps necessary to
assign irrigation or propagation schedules. To program the controller use the
or buttons to select the desired program setting, then push to make the
entry flash and the buttons to change the value. Only a flashing value
can be changed. This controller features a normal irrigation mode as well as
a propagation mode. Changing the controller’s mode is explained in section 10
(Setting Watering Frequency).
NOTE: The program settings are arranged in a circle. The or buttons can
be used to go from one setting to another in either backwards or forwards motion.
This guide is written in a linear fashion using only the button to move between
settings, but the controller does not need to be programmed linearly. The or
buttons can be used to visit any setting in any order for either modification or
review. Figure H below shows how the settings are arranged.
Figure H

9
9. SETTING TIME AND DATE
The controller can display the time in either a 12 or 24 hour format.
To change the time format, from the current time (after it has been set):
1. Push and hold the button for three seconds until the display switches
format (AM/PM disappears).
SETTING THE CURRENT TIME AND DATE
To enable the controller to operate properly, the current time and date must
be set.
2. Push to select the hour and adjust using . AM/PM is changed by
increasing or decreasing the hour.
NOTE: If the batteries have just been inserted for the first time, the button
should not be pushed to select the hour, it will have already been selected by
default.

10
3. Continue to push to set the minutes, and current month, day, then year.
MONTH DAY YEAR
4. Push to confirm your settings. The current day is set automatically.
Push to proceed to the next step Set Days .
10. SETTING WATERING FREQUENCY
This setting determines how often (in days, hours, or minutes) the 710AP controller
will operate. Choose either watering on specific days of the week, Even/Odd days,
by-hour or by-minute propagation mode, or daily cyclical from once a day up to
every 30 days. The controller’s default setting is to water on all specific days of the
week (all days are underscored).
This controller features two programming modes, one for normal irrigation and one
for propagation. The propagation mode is programmed in a slightly different manner
and is given its own section in this instruction manual. To switch between the
modes, simply change the watering frequency; propagation mode operates when a
by-hour or by-minute frequency is chosen and normal irrigation operates when any
other frequency is chosen.

11
Option 1 – Setting Specific Days of the Week:
1. Push to select Set Days . By default all days are set to water.
2. Push and M will begin to flash. Advance through days of the week
using . Deselect or select a day to water using .
3. Push to confirm your settings.
Option 2 – Setting Even or Odd Days:
1. Push to select Set Days .
2. Push and M will begin to flash then advance through days of the
week using until Even appears flashing, push to select Odd.
3. Push to confirm your settings.
WATERING DAY
NON-WATERING DAY

12
Option 3 – Propagation Mode, Watering by Minute or Hour
1. This option is used to program the controller to operate the system in a cyclical
(propagation mode) manner from once every 1 minute up to every 12 hours.
Example: If a 5 minute watering frequency is selected, the controller will water
for the selected run time every 5 minutes from the entered start time until the
entered stop time every day until canceled by changing the program or turning off
irrigation.
NOTE: This mode is programmed differently. If you would like to proceed with the
controller in propagation mode, skip to section 15. Otherwise, continue on to Option 4.
Option 4 – Watering Once Every X Days (Cyclical Watering)
1. Push to select Set Days .
2. Push and M will begin to flash then advance through days of the
week using until 1 DAY appears flashing.
3. Push to select to water once every 1 to 30 days.
4. Push to confirm your settings.

13
To set the controller back to specific days mode:
1. Push to select Set Days . Previously selected days will be saved.
2. Push and then push until the days of the week can be seen at the top of
the LCD screen.
3. Push and advance through days of the week using and select each day
to water using .
4. Push to confirm your settings.
Push the button to proceed to the next step Start Time .
11. SETTING START TIMES
The 710AP controller can have up to five separate irrigation start times per
day set up for irrigation. If in propagation mode, only one start time is available
(along with a stop time).
1. Push to select Start Time . By default Start Time 1 is set to 6:00 AM.
You can view all start times by pushing .
2. Push to select the hour and adjust using then push to set
minutes.
3. Push to confirm your settings.

14
4. To set additional start times push thenpush through the hours and
minutes to the next desired Start Time. Up to 5 start times can be programmed.
To delete a start time:
1. Push to select Start Time and push to enter adjustment mode.
2. Push or to advance the hours until the display shows OFF.
3. Push to confirm your settings and scroll through to review all start times
by pushing .
Push the button to proceed to the next step Run Time .
NOTE: In Propagation Mode, the controller will begin watering on the entered
start time for the run time entered. It will then operate every X minutes or hours
depending on what was entered for the watering frequency until it hits the stop
time where it will stop for the rest of the day. Watering will begin again on the next
day at the start time. Please see section 15 for more information.

15
12. SETTING WATERING RUN TIMES
This setting determines the length of time the 710AP controller will allow the
valve to remain open (run time is from 1 minute up to 5 hours and 59 minutes
in Irrigation Mode and from 5 seconds up to 59 minutes and 59 seconds in
Propagation Mode). For example, setting watering run time to 10 minutes on
certain days of the week will program the controller to turn the water on for 10
minutes on each of the days chosen and at every start time selected.
To set the watering run time :
1. Push to select Run Time . By default the Run Time is set to 5 min.
2. Push to select the hour and adjust using then push to set the
minutes.
3. Push to confirm your settings.
Push the button to proceed to the next step Seasonal Adjustment (Monthly
Budget) .

16
13. SETTING SEASONAL ADJUSTMENT (MONTHLY BUDGET)
The Seasonal Adjustment percentage feature can be utilized to alter the
programmed watering run time on a monthly basis.
NOTE: This setting is not available while in Propagation Mode.
To set seasonal adjustment in %:
1. Push to select Set Budget .
You can review all monthly budgeting settings by pushing .
Indicates Month
2. Push the button and the 100% appears flashing.
3. To set the desired seasonal adjustment % (5-200%), Push or .
Example, if a 20 minute duration is programmed, and then the monthly budget
is changed from 100% to 50%, the duration will now be 10 minutes for the
selected month.
4. Repeat the steps to set the desired seasonal adjustment % for each month by
pushing and following the previous steps for each month.
5. Push to confirm settings.
Push the button to proceed to the next step Rain Delay .

17
14. RAIN DELAY SETTING
This feature is used to shut down the controller in winter or when it is raining.
It can also be used to delay starting any programming until a later date. Set
schedules will be retained and programmed watering will resume after the set
delayed time is completed.
1. Push to select Rain Delay .
2. Push then adjust to the number of days to suspend watering using .
You can set up to 99 days.
3. Push to confirm your settings.
To cancel the Rain Delay, set the days to OFF using .
Note: OFF appears in between numeric value of 99 and 1.
Push the button to return to the main screen, programming is completed.

18
15. PROPAGATION MODE
To set the controller into propagation mode:
1. Push until Set Days is selected.
2. Push to edit this setting and push until 1:00 and HRS appears flashing.
3. This setting allows an interval of every 1 minute up to 12 hours to be set as the
watering frequency. Push or to modify the hours.
4. Push and the minutes and MIN will flash. Push or to modify the
minutes.
5. Push to confirm your settings.
NOTE: If the frequency selected is less than the currently set run time (the default
run time is 1 minute), the controller will flash Err for 3 seconds and then return to
this screen with an allowed frequency. Push again to confirm the new settings.
After the controller is in propagation mode, proceed to the next screen, Start Time
. In propagation mode, this screen contains a start time and the stop time. The
start time denotes when the controller will start running the frequency set and the
stop time denotes when it will stop.
Table of contents
Other DIG Controllers manuals
Popular Controllers manuals by other brands
HYDRO-RAIN
HYDRO-RAIN HRC 390 SERIES Quick start instructions
SmartWireless
SmartWireless SL9600TW quick start
PowerWalker
PowerWalker AVR 2000/SIV quick start guide
Mitsubishi Electric
Mitsubishi Electric FX5-ENET user manual

Mitsubishi Electric
Mitsubishi Electric MELSEC Q Series user manual
MR
MR tapcon 240 operating instructions
