©2014DigiInternationalInc. 7
1.OverviewoftheXBeeZigBeeRFModule
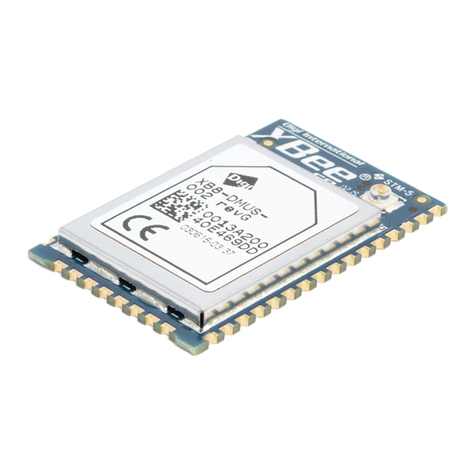
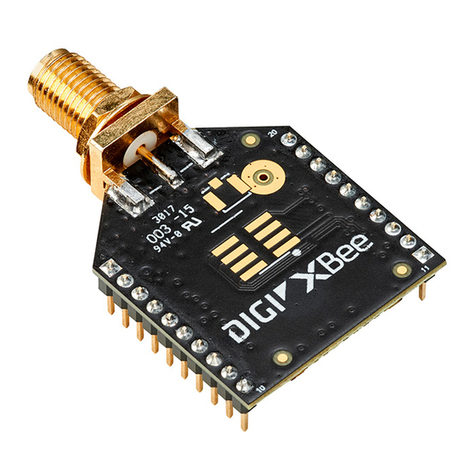
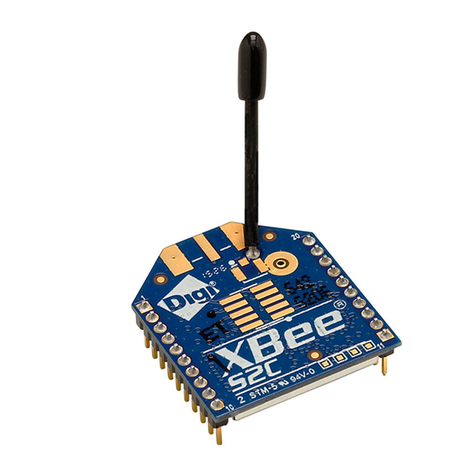
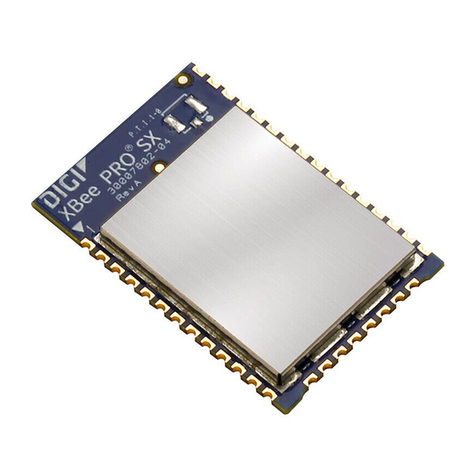
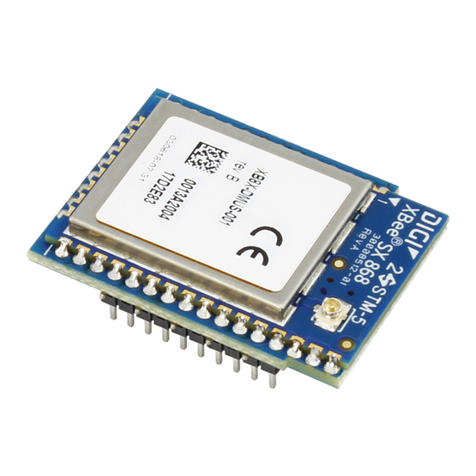
This manual describes the operation of the XBee/XBee-PRO ZB RF module, which consists of ZigBee firmware loaded
onto XBee S2C and PRO S2C hardware.
XBee®and XBee-PRO®ZB embedded RF modules provide wireless connectivity to end-point devices in ZigBee mesh
networks. Utilizing the ZigBee PRO Feature Set, these modules are inter-operable with other ZigBee devices, including
devices from other vendors. With the XBee, users can have their ZigBee network up-and-running in a matter of minutes
without configuration or additional development.
The XBee/XBee-PRO ZB modules are compatible with other devices that use XBee ZB technology. These include Connect-
PortX gateways, XBee and XBee-PRO Adapters, Wall Routers, XBee Sensors, and other products with the ZB name.
Worldwide Acceptance
• FCC Approval (USA): Refer to Appendix A for FCC Requirements. Systems that
contain XBee/XBee-PRO ZB RF Modules inherit Digi Certifications
• ISM (Industrial, Scientific & Medical) 2.4 GHz frequency band
• Manufactured under ISO 9001:2000 registered standards
• XBee/XBee-PRO ZB RF Modules are optimized for use in US, Canada, Australia, Europe (XBee
only) and Japan (XBee only). Contact Digi for a complete list of agency approvals
What’s New in 40xx Firmware
• An alternative serial port is available using SPI slave mode operation.
• Six software images (Coordinator AT, Coordinator API, Router AT, Router API, End Device AT,
and End Device API) are combined into a single software
• Fragmentation is now available in both API mode and transparent mode
• P3 (DOUT), P4 (DIN), D8 (SleepRq), and D9 (On-Sleep) are now available for I/O sampling
• Both pull-up and pull-down resistors can now be applied to pins configured for inputs
• 401D - ATVL command added for long version information
• 401E - ATDO command added for configuring device options
• 4020 - ATAS command added for Active Scan
• 4021 - Self addressed Tx Status messages return a status code of 0x23
• ATDO has HIGH_RAM_CONCENTRATOR and NO_ACK_IO_SAMPLING options added
• 4040 - Binding and Multicasting transmissions are supported
• AT&X command added to clear binding and group tables
• Added Tx options 0x04 (indirect addressing) and 0x08 (multicast addressing)
• A 5 second break will reset the XBee. Then it will boot with default baud settings into com-
mand mode
• BD range increased from 0-7 to 0-0x0A, and nonstandard baud rates are permitted, but not
guaranteed
• NI, DN, ND string parameters support upper and lower case
• TxOption 0x01 disables retries and route repair. RxOption 0x01 indicates the transmitter dis-
abled retries
• 4050 - FR returns 0x00 modem status code instead of 0x01
• S2C TH and S2C TH PRO supported
• DC10 - verbose joining mode option
• Self addressed fragmentable messages now return the self-addressed Tx Status code (0x23)
instead of simply success (0x00)

