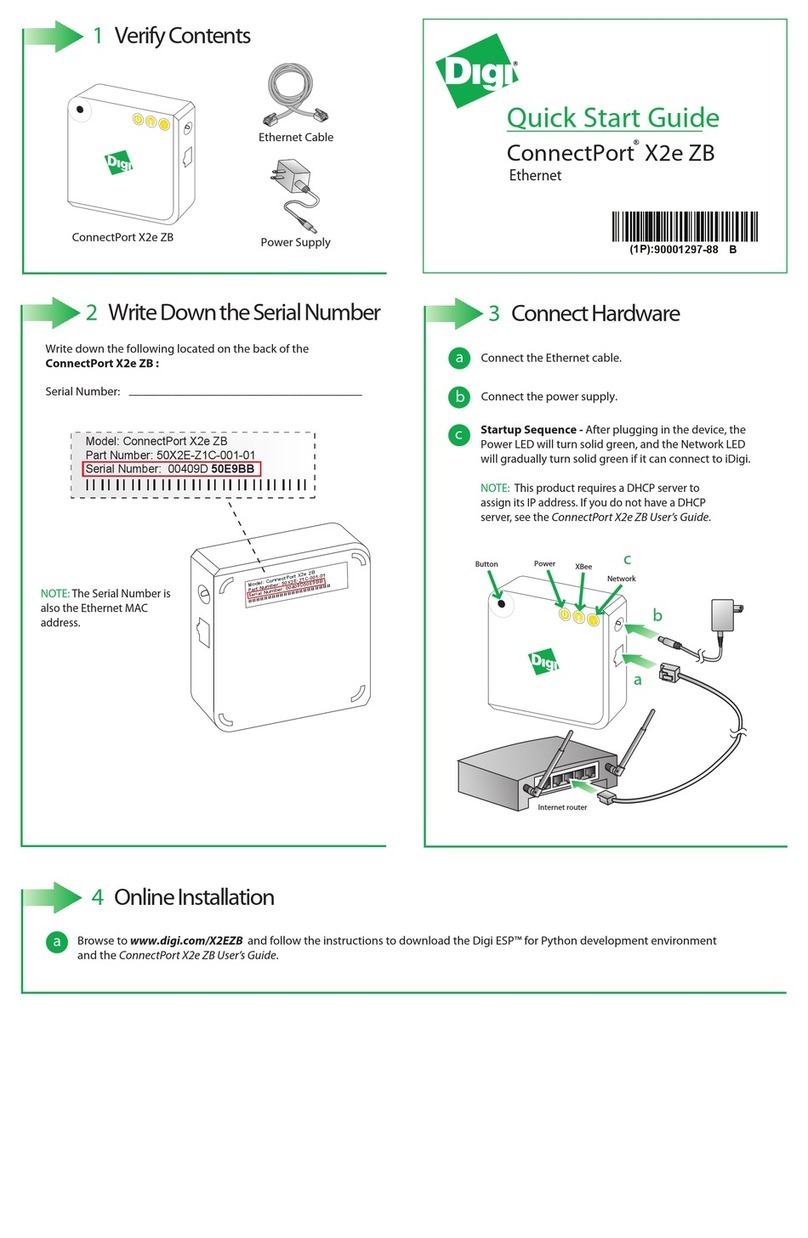
Digi SkyCloud Z4500 Series User manual
Other Digi Network Hardware manuals
Digi
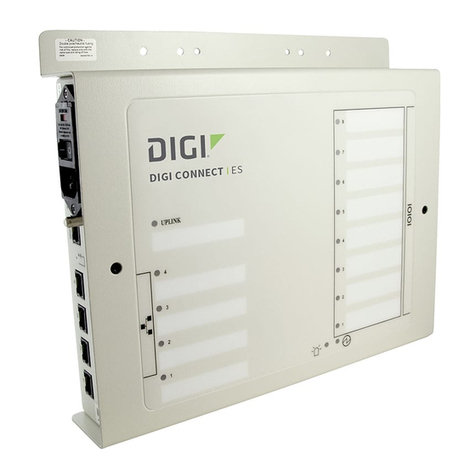
Digi Connect ES 4 SB User manual
Digi
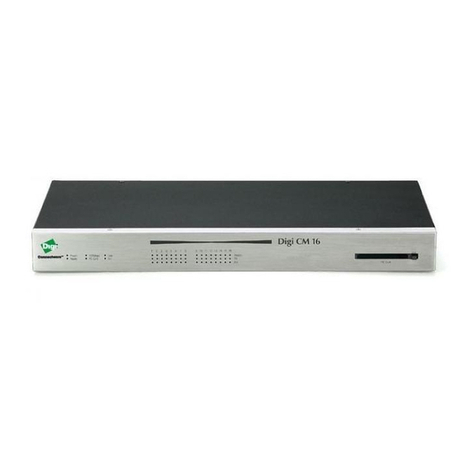
Digi CM Operational manual
Digi
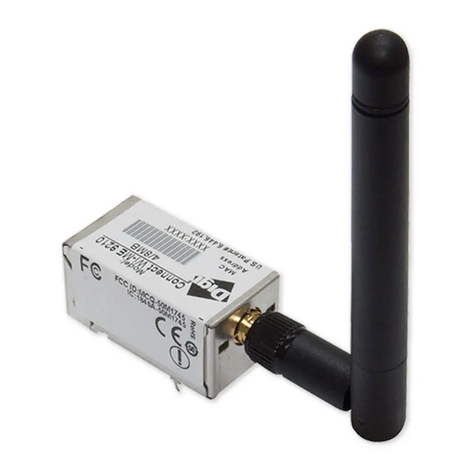
Digi Connect ME Application guide
Digi
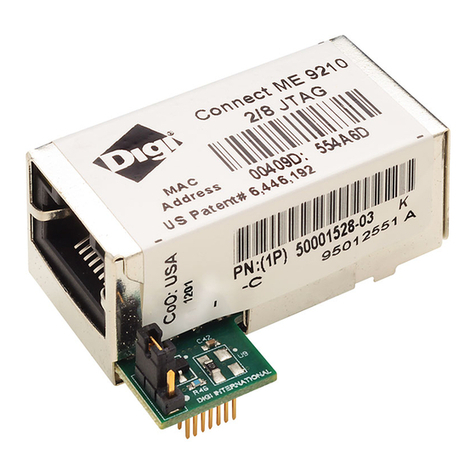
Digi Connect ME 9210 Application guide
Digi
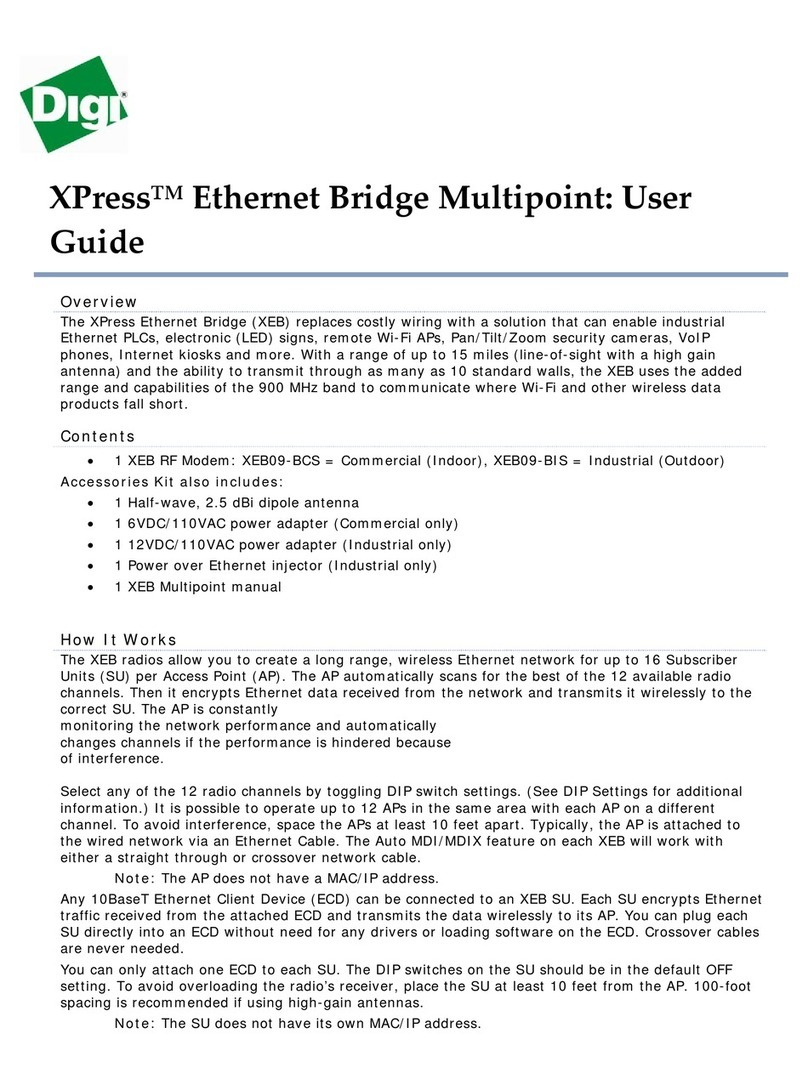
Digi XPress User manual

Digi
Digi CM User manual
Digi
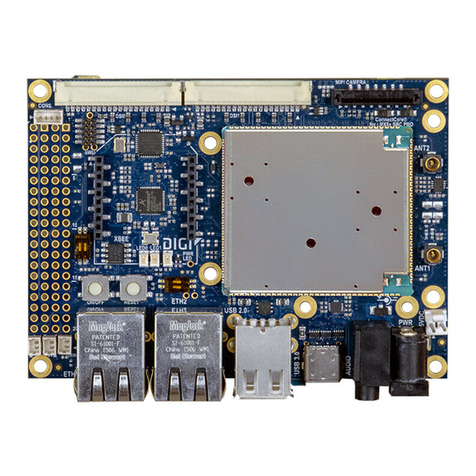
Digi ConnectCore 8X SBC Pro Quick user guide
Digi
Digi ConnectCore 6 Quick user guide
Digi
Digi XBee DigiMesh User manual
Digi
Digi WB-10 User manual
Digi
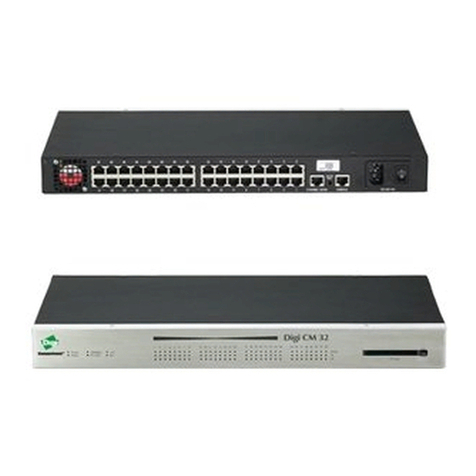
Digi Digi CM 8 User manual
Digi
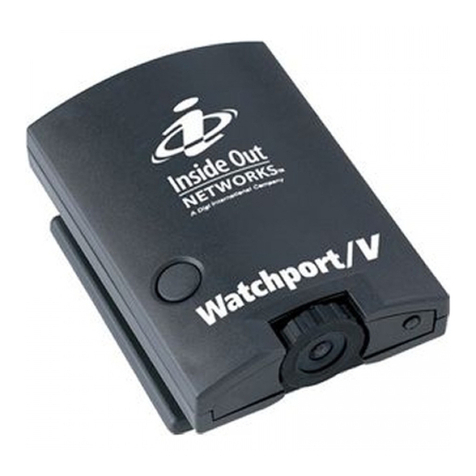
Digi Digi CM 32 User manual
Digi
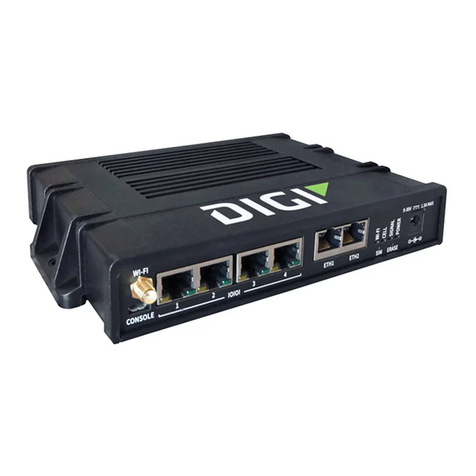
Digi Inside Out Watchport User manual
Digi
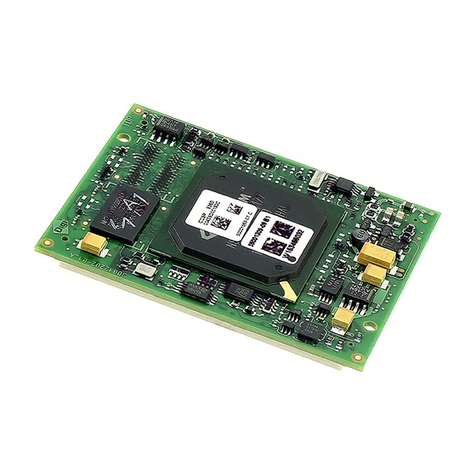
Digi Connect EZ Mini User manual
Digi
Digi 9P 9360/9750 User manual
Digi
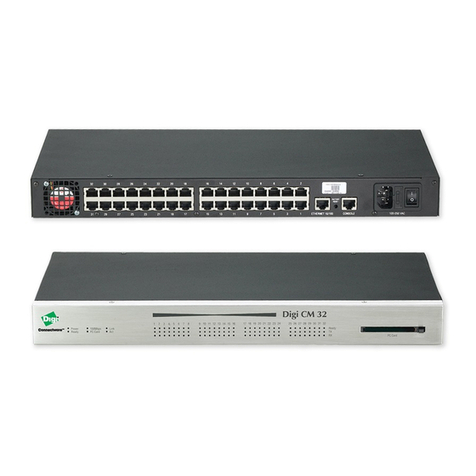
Digi Digi CM 32 User manual
Digi
Digi Opengear OPERATIONS MANAGER 2200 User manual
Digi
Digi ConnectCore 93 Quick user guide

Digi
Digi NS9750 Application guide
Digi
Digi NetSilicon Connectware Connect Series User manual
Popular Network Hardware manuals by other brands

Matrix Switch Corporation
Matrix Switch Corporation MSC-HD161DEL product manual

B&B Electronics
B&B Electronics ZXT9-IO-222R2 product manual

Yudor
Yudor YDS-16 user manual

D-Link
D-Link ShareCenter DNS-320L datasheet

Samsung
Samsung ES1642dc Hardware user manual

Honeywell Home
Honeywell Home LTEM-PV Installation and setup guide
