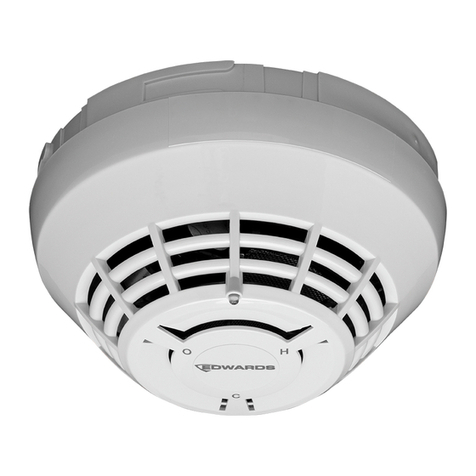
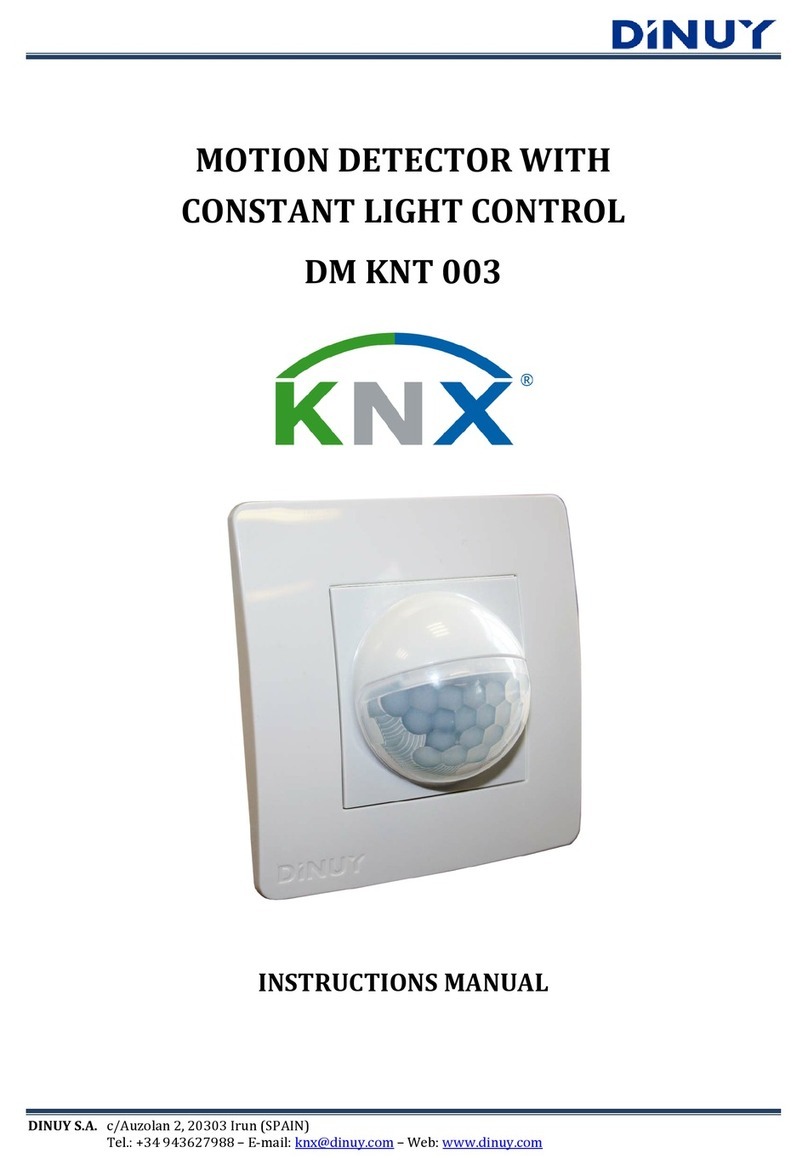
DINUY KNX DM KNT 003 User manual

EGB
DETECTOR DE MOVIMIENTO CON REGULACIÓN CONSTANTE DE LUZ
ESPECIFICACIONES TÉCNICAS
Tensión Alimentación 21 ~ 32Vcc (a través del Bus)
Consumo < 10mA
Conexión al Bus KNX Mediante terminal de conexión
Programación a través de ETS3 ó ETS4
DESCRIPCIÓN
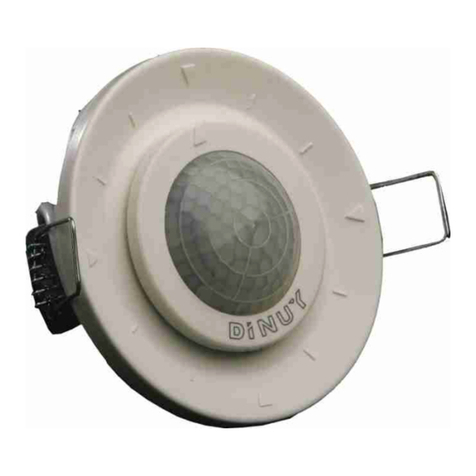
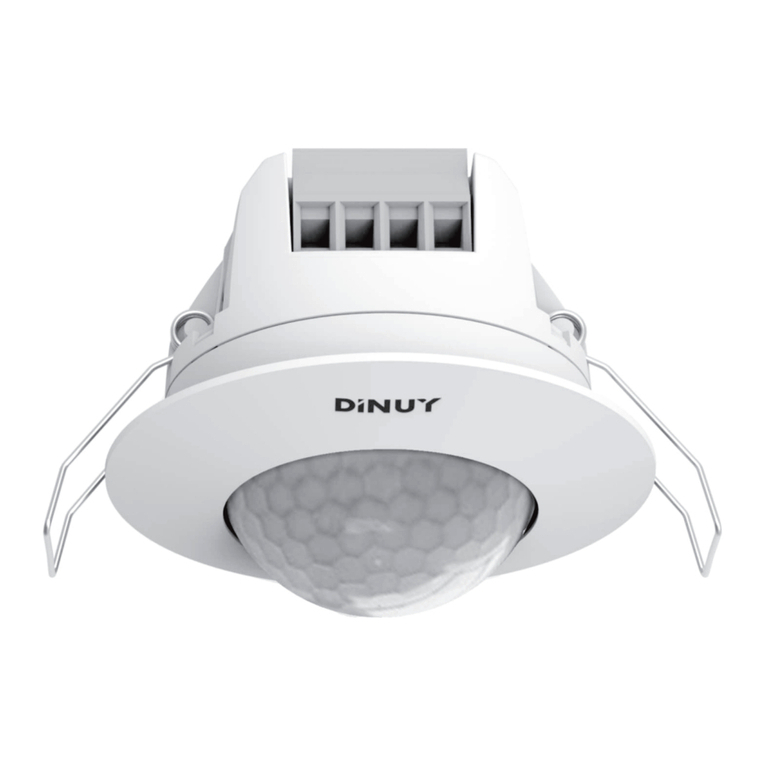
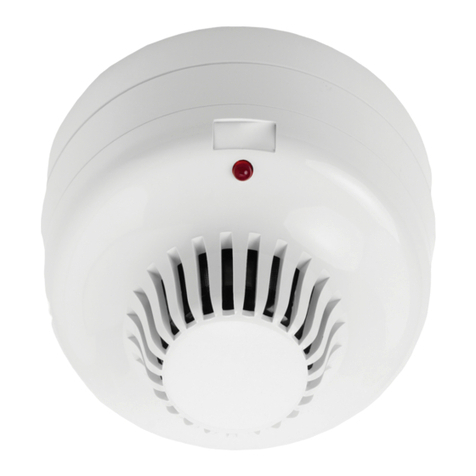
Detector de movimiento KNX empotrable en caja de mecanismo.
Incorpora como función principal la de Detector de Movimiento.
Adicionalmente, sepueden habilitar las funciones de:
- Interruptor Crepuscular
- Control Constante de la Iluminación
- Monitor de Señal
- Sensor de Luminosidad
- Sensor de Temperatura
Estas funciones adicionales son independientes, y pueden, o no, estar habilitadas.
Montaje en caja de mecanismo, con una cobertura de 200º y un máximo de 8ma
1,2-1,5m de altura.
Posibilidad de ajustar tanto el tiempo de retardo, como el ajuste de Lux, mediante
el ETS, a través de los potenciómetros disponibles en el propio aparato o por
medio de un mando a distancia IR (EM MAN DM0).Incorpora botón/LED de
programación (A) y conector KNX (B).
MONTAJE
A. Elección del lugar:
Dado que el detector responde a cambios de temperatura, por favor evite las
siguientes condiciones:
· Evite dirigir el detector hacia áreas u objetos cuyas superficies son altamente
reflectantes o están sujetas a cambios rápidos de temperaturas.
· Evite montar el detector cerca de fuentes de calor, como convectores,
acondicionadores, secadores o luces.
· No dirigir el detector hacia luces.
· Evitar dirigir el detector hacia objetos que se muevan con el viento, como
cortinas o pequeños árboles o arbustos.
Tenga en cuenta la dirección del movimiento a la hora de instalar el detector.
El aparato es más sensible al movimiento que cruza los haces que al movimiento
directo hacia el mismo.
En el caso de que el movimiento sea directo hacia el detector, se reducirá el
área de cobertura del aparato.
DM KNT 003
Cobertura máxima 200º en 8m (máx) a 1,2-1,5m de altura
Montaje Caja de mecanismo
Temperatura ambiente -10ºC ~ +45ºC
Grado protección IP20 (EN60529)
De acuerdo a la Norma EN50090-2-2, EN50428 y EN50491
Certificación EIB/KNX
Sensor Luminosidad 5 Lux ~ 1.000 Lux
Tiempo de retardo 0,1seg ~ 85min
Modos funcionamiento Detector movimiento, Interruptor
crepuscular, Sensor Luminosidad,
Control constante iluminación y/o
Sensor temperatura
MOTION DETECTOR WITH CONSTANT LIGHT CONTROL
TECHNICAL DATA
Power supply 21 ~ 32VDC (via Bus)
Consumption < 10mA
Bus connection By the supplied KNX terminal
Commissioning by ETS3 or ETS4
DESCRIPTION
Indoor universal mechanism box mounted KNX motion detector.
It incorporates as main function the motion detection.
In addition it is possible toenable these functions:
- Twilight switch
- Constant light control
- Signal monitoring
- Brightness sensor
- Temperature sensor
These additional functions are independent and can or not be enabled. Universal
mechanism box mounted, with coverage of 200º and a maximum of 8m at
1,2-1,5m high. Possibility of adjusting the delay time and Lux setting by ETS, via
control knobs orby remote control (EM MAN DM0).Built-in programming key/LED (A)
and KNX connector (B).
MOUNTING
A. Installation place:
Since the detector responds to temperature change, please avoid the following
conditions:
· Avoid pointing the detector toward the objects whose surfaces are highly
reflective, such as mirrors, polished floors,...
· Avoid mounting the detector near heat sources, such as heating vents, air
conditioners, lights,...
· Avoid aiming the detector toward the objects which may be swayed in the wind,
such as curtains, tall plants,....Pay attention to the walking direction at mount
proceeding. The device is moresensitive to movement across the pattern than
to movement directly towardsdetector.
In the event that the motion is directly towards the detector, the coverage
area will be reduced.
Coverage (max.) 200º, máx. 8m at 1,2-1,5m high
Mounting Universal mechanism box mounted
Ambient temperature -10ºC ~ +45ºC
Protection degree IP20 (EN60529)
According to the Standard EN50090-2-2, EN50428 & EN50491
Certification EIB/KNX
Brightness sensor 5 Lux ~ 1.000 Lux
Time delay 0,1sec ~ 85min
Working modes Motion detector, Twilight switch,
Brightness sensor, Constant light
control and/or Temperature
sensor
A
B
80mm
80mm

GB E
DINUY S.A.
c/Auzolan Nº2
20303 Irún (Spain)
info@dinuy.com
www.dinuy.com
B. Mounting:
Select the appropriate location and mechanism box where you want to place the
detector, and folow these steps:
1 - Disassemble the sensor (C) from the control box (E) estretching outward and
detaching it from the metallic frame.
2 - Connect the standard terminal (B) to the KNX Bus.
3 - Fix the control box with the wires into the mechanism box through the two
screws (F) from the grips.
4 - Put the sensor with the plastic frame (D) together. Then insert both into the
universal box by means of hook aiming at the notch. Ensure the pin array and
socket are well fixed.
5 - Supply power to the KNX Bus KNX and carry out test to check the detector work
normally.
COVERAGE
These detectors are designed for indoor installations and are specially appropriated
for corridors, bathrooms, offices, hotels...
It is recommended to install at the height of 1,2m ~ 2m.
The detection area depends on the height and the movement direction, giving up
8m maximum if the detector is between 1,2m and 1,5m from the floor.
SETTINGS
The ‘Lux’ and ‘Time’ values can be set via its own control knobs, by thel ETS or
withan IR remote control (EM MAN DM0).
Brightness control knob (LUX)
· Its function is to set the maximum brightness level below which the device will
turn-on the load if it detects motion.
· The user can set this value based on his requirements, among 3Lux and 100Lux.
The values marked on the potentiometer are only for reference.
·If the knob is set to " ", the detector will only work in the dark, at night (if
there is not enough daylight).
·If the potentiometer is turned at " ", the detector will work with any level of light.
Time delay control knob (TIME)
· Sets the switch-on delay time after a motion detection.
. The timing can be set between 30 seconds and 10 minutes.
· This time is reset each time a new movement is detected.
INSTALLATION AND COMMISSIONING
The detector DM KNT 003 has a standard Bus connecting terminal (B).
In order to set the physical address using the ETS, press the programmation
pushbutton (A). The red LED (A) will switch on.The functions of the device depend
on the parameter settings set with the ETS. Thesoftware can be downloaded from
our internet site www.dinuy.com.For the installation and commissionig of the
device, follow these steps:
1º - Connect the detector to the Bus.
2º - Assign physical address and parametize the application program.
3º - Press the program button and set the physical address and the application of
the device.
4º - Once it has been programmed, the red LED will automatically turn off.
B. Montaje:
Seleccione el lugar apropiado y la caja de mecanismo donde se quiere situar el
detector, y seguir los siguientes pasos:
1 - Desmontar el sensor (C) de la base de control (E), estirando de él hacia fuera y
separándolo de la placa metálica.
2 - Conectar la borna estándar (B) al Bus KNX.
3 - Fijar la caja de control ya conectada en la caja de mecanismo mediante los
tornillos (F) de la caja o las garras.
4 - Colocar el marco (D) junto al sensor y acercarlo a la caja de control, poniendo
atención en que el macho y la hembra de la base enchufable estén a la misma
altura, y juntarlas.
5 - Conectar la alimentación del Bus KNX y proceder a las pruebas de
funcionamiento para asegurarse que el detector funciona correctamente.
COBERTURA
Estos detectores están diseñados para su instalación en interior y son
especialmente indicados para los pasillos, baños, oficinas, hoteles...
Se recomienda su instalación a una altura de entre 1,2m y 2m.
La cobertura de detección depende de la altura a la que se instale el aparato y del
sentido del movimiento, dando un máximo de 8m si está el detector entre 1,2m y
1,5m del suelo.
AJUSTES
Los valores de ‘Lux’ y ‘Tiempo’ pueden ser ajustados mediante los poteciómetros
incorporados en el propio detector, mediante el software ETS o a través del mando
a distancia (EM MAN DM0).En caso de ajustar el detector desde los mandos del
propio aparato:
Ajuste del potenciómetro Luminosidad (LUX)
· Su función es fijar el valor de iluminación máximo, por debajo del cual el detector
activará la carga al detectar movimiento.
· El usuario puede fijar este valor en función de sus requerimientos, entre 3Lux y
100Lux. Los valores marcados en el potenciómetro sólamente son de referencia.
· Si el mando se ajusta hacia " ", el detector sólo funcionará en la oscuridad,
de noche (en caso que no haya luz natural suficiente).· Si giramos hacia " ",
el detector funcionará con cualquier nivel de luz, tanto de día como de noche.
Ajuste del potenciómetro Temporización (TIME)
· Fija el tiempo que la carga estará encendida tras detectar movimiento.
· El tiempo de encendido puede ajustarse entre 30seg y 10min.
· Tras la primera detección, el tiempo se reseteará, y comenzará de nuevo la
temporización, cada vez que se detecte un nuevo movimiento.
INSTALACIÓN Y PUESTA EN MARCHA
El detector DM KNT 003 dispone de un borne estándar (B) para su conexión al
Bus.
Para realizar la programación de la dirección física a través del ETS, es necesario
pulsar el botón de programación (A). En el momento de pulsarlo el LED rojo (A) se
encenderá indicando que está en modo de programación.
El funcionamiento del producto está condicionado a la parametrización realizada
mediante el ETS. Puede descargarse el software y el Manual de Usuario en nuestra
página web www.dinuy.com .
Para la instalación y puesta en marcha del aparato, siga los siguientes pasos:
1º - Conecte el detector al Bus KNX.
2º - Asigne dirección física y parametrice el programa de aplicación.
3º - Presione el botón de programación y programe la dirección física y la
aplicación del sensor.
4º - Una vez que se haya programado, el LED rojo se apagará automáticamente.
1.2 ~ 1.5m
0 0.5m 8m
0 8m8m
F
CDE
Other manuals for KNX DM KNT 003
2
Other DINUY Security Sensor manuals
DINUY
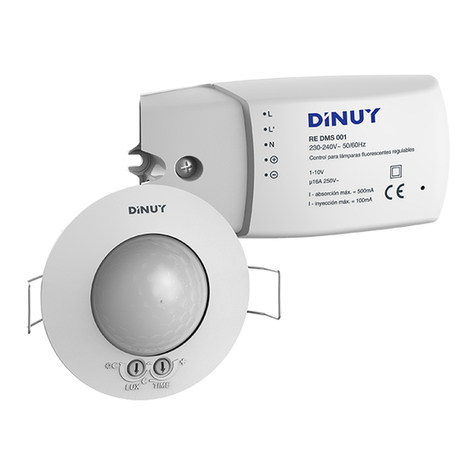
DINUY RE DMS 001 User manual
DINUY
DINUY SE CO2 001 User manual
DINUY
DINUY DM K5X 001 User manual
DINUY
DINUY DM KNX 002 User manual
DINUY
DINUY DM KNT 002 User manual
DINUY
DINUY DM TEC 011 User manual
DINUY
DINUY KNX DM KNT 003 User manual
DINUY
DINUY DM TEC 008 User manual
DINUY
DINUY DP KNX 001 User manual

DINUY
DINUY DM SEN R02 User manual
