manuals.online logo
Brands
  1. Home
  2. •
  3. Brands
  4. •
  5. DINUY
  6. •
  7. Security Sensor
  8. •
  9. DINUY DM TEC 011 User manual

DINUY DM TEC 011 User manual

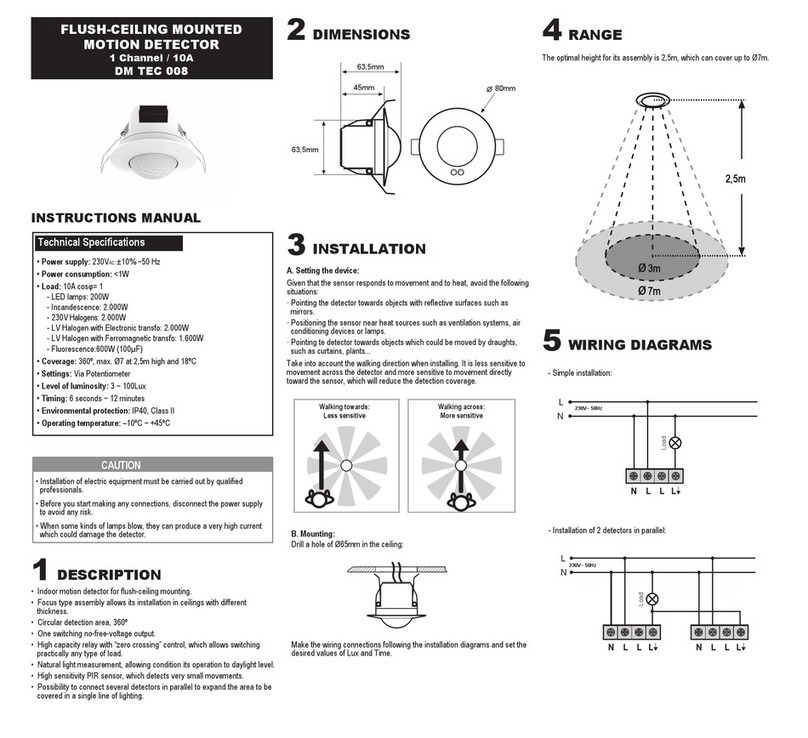
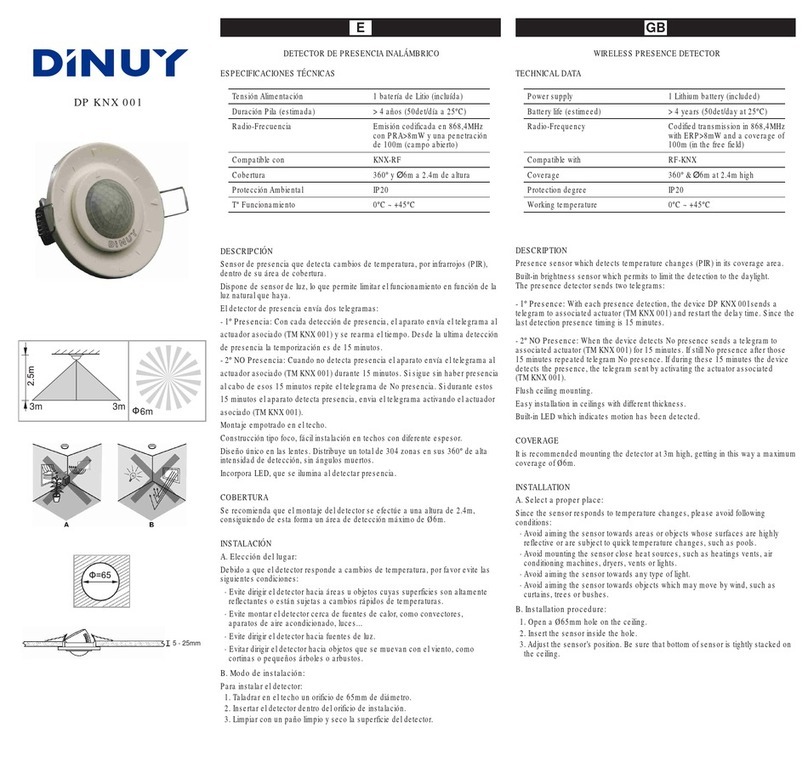
Technical Specifications
· Power supply: 230VAC ±10% ~50 Hz
· Power consumption: <1W
· Output: 1 free-voltage contact
· Load: 16A cosφ= 1
- LED lamps: 400W
- Incandescence and 230V Halogen: 3.000W
- LV Halogen with Electronic transfo: 3.000W
- LV Halogen with Ferromagnetic transfo: 2.400W
- Fluorescent: 1.300W (130µF)
- PL lamps: 18x7W, 12x11W, 10x15W, 10x20W or 10x23W
· Coverage: 360º, max. Ø7 at 2,5m high and 18ºC
· Settings: Via Potentiometer or Remote Control EM MAN DM0 (optional)
· Level of luminosity: 3 ~ 100Lux
· Timing: 6 seconds ~ 12 minutes
· Dimensions (mounted): Ø80mm x 18,5mm
· Environmental protection: IP40, Class II
· Operating temperature: –10ºC ~ +45ºC
1DESCRIPTION
3INSTALLATION
2DIMENSIONS
5WIRING DIAGRAMS
· Installation with a load supplied to 230V:
· Installation of 2 detectors in parallel:
· Installation with a load supplied to 230V and Switch for permanent ON:
· Installation with staircase timer (e. g.: MI EL3 003):
· Simple installation:
· Installation with a load supplied to a different voltage of 230V:
63,5mm
45mm 80mm
63,5mm
Ø3m
Ø7m
2,5m
INSTRUCTIONS MANUAL
FLUSH-CEILING MOUNTED
WITH FREE-VOLTAGE CONTACT
MOTION DETECTOR
DM TEC 011
L
N
S2N L S1
230V~ 50Hz
Load
L
N
S2N L S1
230V~ 50Hz
Load
L
N
S2N L S1
+ -
230V~ 50Hz
L
N
S2N L S1S2N L S1
230V~ 50Hz
Switch
Load
L
N
S2N L S1
230V~ 50Hz
L
N
S2N L S1
MI EL3 003
1
3
2
4
230V~ 50Hz
CAUTION
Installation of electric equipment must be carried out by qualified
professionals.
Before you start making any connections, disconnect the power supply
to avoid any risk.
When some kinds of lamps blow, they can produce a very high current
which could damage the detector.
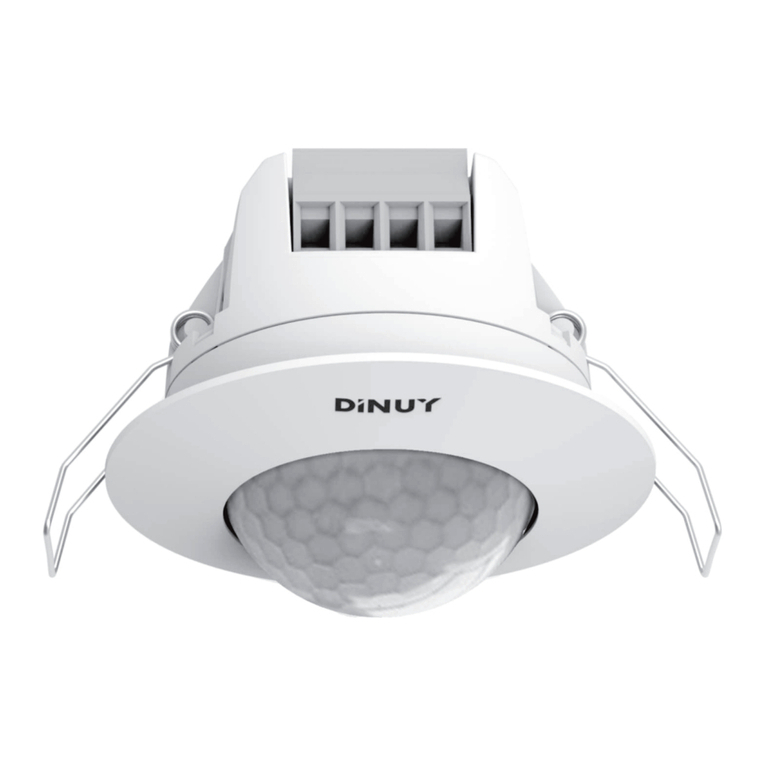
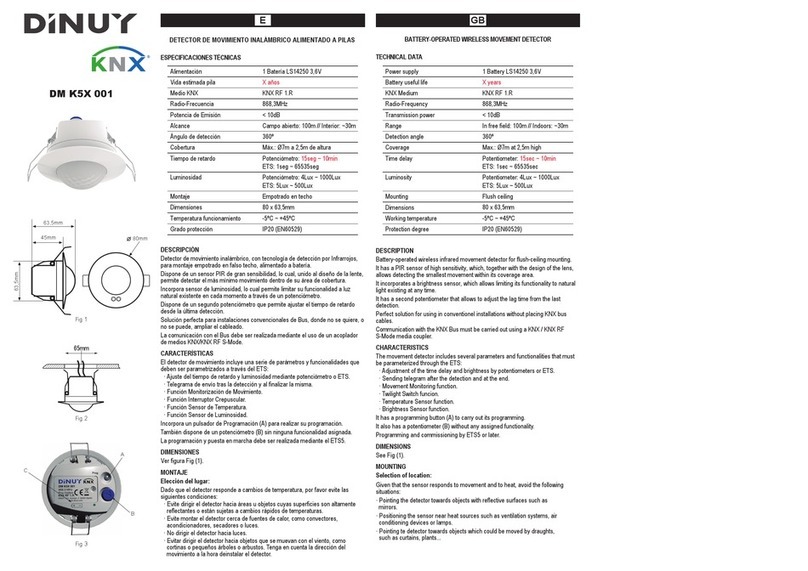
· Indoor motion detector for flush-ceiling mounting.
· Focus type assembly allows its installation in ceilings with different
thickness.
· Circular detection area, 360º.
· One switching free-voltage output.
· High capacity relay with “zero crossing” control, which allows switching
practically any type of load.
· Natural light measurement, allowing condition its operation to daylight level.
· High sensitivity PIR sensor, which detects very small movements.
· Possibility to connect several detectors in parallel to expand the area to be
covered in a single line of lighting.
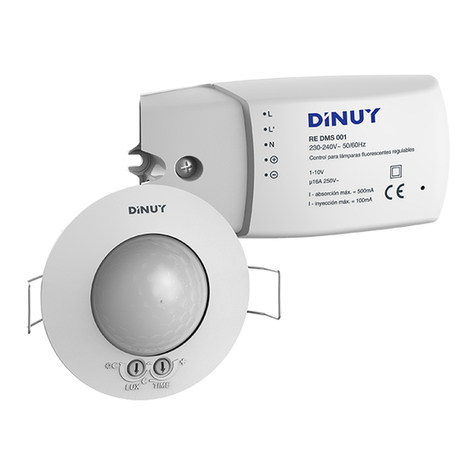
· Optional IR remote control for easy and quick setting: EM MAN DM0.
A. Setting the device:
Given that the sensor responds to movement and to heat, avoid the following
situations:
· Pointing the detector towards objects with reflective surfaces such as
mirrors.
· Positioning the sensor near heat sources such as ventilation systems, air
conditioning devices or lamps.
· Pointing te detector towards objects which could be moved by draughts,
such as curtains, plants...
Take into account the walking direction when installing. It is less sensitive to
movement across the detector and more sensitive to movement directly
toward the sensor, which will reduce the detection coverage.
Walking across:
More sensitive
Walking towards:
Less sensitive
B. Mounting:
Drill a hole of Ø65mm in the ceiling:
Make the wiring connections following the installation diagrams and set the
desired values of Lux and Time.
The optimal height for its assembly is 2,5m, which can cover up to Ø7m.
4RANGE
6SETTINGS AND TEST
DINUY S.A.
c/Auzolan Nº2
20303 Irun (Spain)
info@dinuy.com
www.dinuy.com
LUX
TIME
SETTINGS
"Lux" and "Time" values can be adjusted via the control knobs or via an
optional IR remote control (EM MAN DM0).
Lux Settings:
· This setting allows to select the minimum level of natural light in wich the
detector would detect movement. In case it detects movement and natural
light is below the indicated level, the device will not respond.
· The user can set this value between 3 and 100 Lux.
· If the detector is expected to work despite of surrounding natural light, set
the potentiometer in " ".
· On the contrary, if you want the detector to work at night only (without any
natural light), set the potentiometer on “ ”.
Time Settings:
· This setting allows to select the span of time during which lamps will remain
on, after movement detection.
· Timing starts whenever movement is detected.
· This time can be set between 6sec and 12min.
Settings carried out using Remote Control (EM MAN DM0):
· The Time, Lux and Sensitivity settings can be adjusted via this remote
control, without need to access to the potentiometers.
· Detector’s LED function when using the remote control:
- It will flicker twice as soon as it receives a telegram from the remote
control.
- It will be 1s ON and 5s OFF after receiving a “Permanent ON or OFF”
from the remote control.
Testing process
The purpose of the test procedure is to check and adjust the coverage
pattern of the motion sensor when it is connected for the first time.
Note: Once it is powered, the detector needs ~2 minutes for initialization.
Then it will start operating normally.
The red LED which is within the lens can be used as an indicator when
performing the testing process without any load. This LED lights whenever
motion is detected and stays on until the time delay expires.
Process:
· Set the “Lux” potentometer on “ ” and “Time” in the minimum.
· Walk towards the coverage area. Once it detects movement, the LED as
well as the lamps will be lit for 6 seconds.
8PROBLEM SOLVING
Lamp does not
light up
1. Power is not turned on
2. Wrong wiring
3. Incorrect setting of Lux
4. Lamp may be defect
1. Supply the detector
2. Check connections
3. Check this setting
4. Replace lamp
Lamp stays on
continuously
1. Time delay setting too high 1. Decrease the timing
2. Heat activity detected within
detection area
2. Keep away from the coverage
area and remove movement
sources (animals, fans,
airstream, etc)
3. Wrong wiring 3. Check connections
Lamp is switched
on/off cyclically
The load (fluorescence,
contactor,...) is continuously
generating harmonics triggering
the detector in each switching
Keep away the detector from
the load or connect a RC
harmonic suppression filter
between L’ and N
5. “Permanent OFF” set via
remote control (if used)
5. Press OFF key to return to
automatic mode
4. “Permanent ON” set via
remote control (if used)
4. Press ON key to return to
automatic mode
Nuisance
triggering
Heat sources, highly reflective
objects or any object which may
be swayed by the wind is within
the detection range
Avoid aiming the detector
towards any heat source, any
reflective surface or swaying
objects
7MASKING CLIPS
When the detector stops working, check the possible failures and the
solutions suggested in the following table that maybe will help you to solve
the problem:
There are three covers available to restrict the coverage area.
To fix the restriction covers, the decorative frame has a slot on its rear side,
where the projection of the cover fits.
Problem Possible cause Suggested solution
Other DINUY Security Sensor manuals

DINUY KNX DM KNT 003 User manual

DINUY

DINUY KNX DM KNT 003 User manual

DINUY SE CO2 001 User manual

DINUY

DINUY SE CO2 001 User manual

DINUY DM KNX 001 User manual

DINUY

DINUY DM KNX 001 User manual

DINUY DM KNT 002 User manual

DINUY

DINUY DM KNT 002 User manual

DINUY DM KNX 002 User manual

DINUY

DINUY DM KNX 002 User manual

DINUY DM SEN R02 User manual

DINUY

DINUY DM SEN R02 User manual

DINUY RE DMS 001 User manual

DINUY

DINUY RE DMS 001 User manual

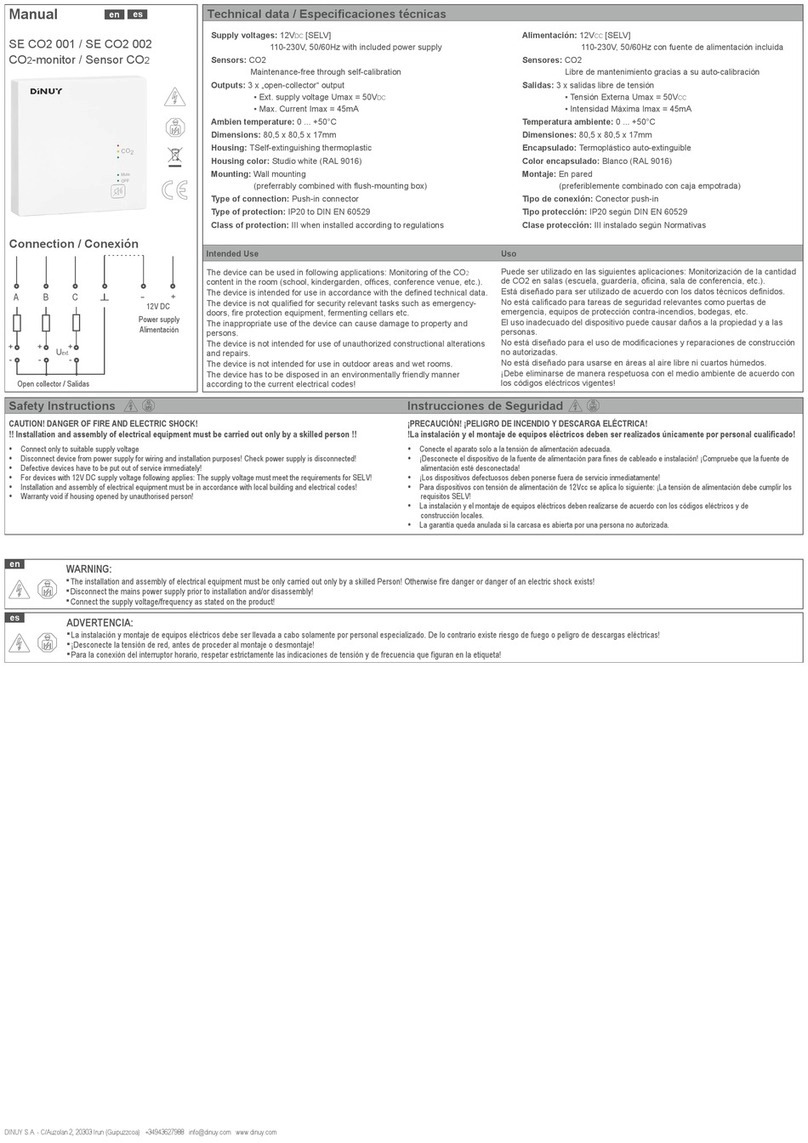
DINUY DM TEC 008 User manual

DINUY

DINUY DM TEC 008 User manual

DINUY DM TEC 243 User manual

DINUY

DINUY DM TEC 243 User manual

DINUY KNX DM KNT 003 User manual

DINUY

DINUY KNX DM KNT 003 User manual

DINUY DP KNX 001 User manual

DINUY

DINUY DP KNX 001 User manual

DINUY KNX DM KNT 003 User manual

DINUY

DINUY KNX DM KNT 003 User manual

DINUY DM K5X 001 User manual

DINUY

DINUY DM K5X 001 User manual

Popular Security Sensor manuals by other brands

Tunstall iVi user guide

Tunstall

Tunstall iVi user guide

AMC MOUSE 01 Installation

AMC

AMC MOUSE 01 Installation

SICK WTF4S operating instructions

SICK

SICK WTF4S operating instructions

Brinno MAS200 user manual

Brinno

Brinno MAS200 user manual

Sports Radar DT100 instructions

Sports Radar

Sports Radar DT100 instructions

HomeMatic HmIP-SWO-PL Mounting instruction and operating manual

HomeMatic

HomeMatic HmIP-SWO-PL Mounting instruction and operating manual

Filtec FT-50 Installation and setup guide

Filtec

Filtec FT-50 Installation and setup guide

Safescan 40H manual

Safescan

Safescan 40H manual

Bircher Reglomat PrimeScan B Short guide

Bircher Reglomat

Bircher Reglomat PrimeScan B Short guide

SubSurface Instruments PL-VF Series user manual

SubSurface Instruments

SubSurface Instruments PL-VF Series user manual

STEINEL PROFESSIONAL IR 180 COM1 Information

STEINEL PROFESSIONAL

STEINEL PROFESSIONAL IR 180 COM1 Information

THORLABS SPDMH2 Operation manual

THORLABS

THORLABS SPDMH2 Operation manual

optrel Hard Hat Adapter operating manual

optrel

optrel Hard Hat Adapter operating manual

B.E.G. LUXOMAT PD4-M-3C-TRIO Series Installation and operating instruction

B.E.G.

B.E.G. LUXOMAT PD4-M-3C-TRIO Series Installation and operating instruction

ActSafe PMX How to use

ActSafe

ActSafe PMX How to use

MS Sedco TC-26B installation instructions

MS Sedco

MS Sedco TC-26B installation instructions

Trust SECURITY PLUS-LINE ALMDT-2000 user manual

Trust

Trust SECURITY PLUS-LINE ALMDT-2000 user manual

Sperry instruments VD7504GFI operating instructions

Sperry instruments

Sperry instruments VD7504GFI operating instructions

manuals.online logo
manuals.online logoBrands
  • About & Mission
  • Contact us
  • Privacy Policy
  • Terms and Conditions

Copyright 2025 Manuals.Online. All Rights Reserved.