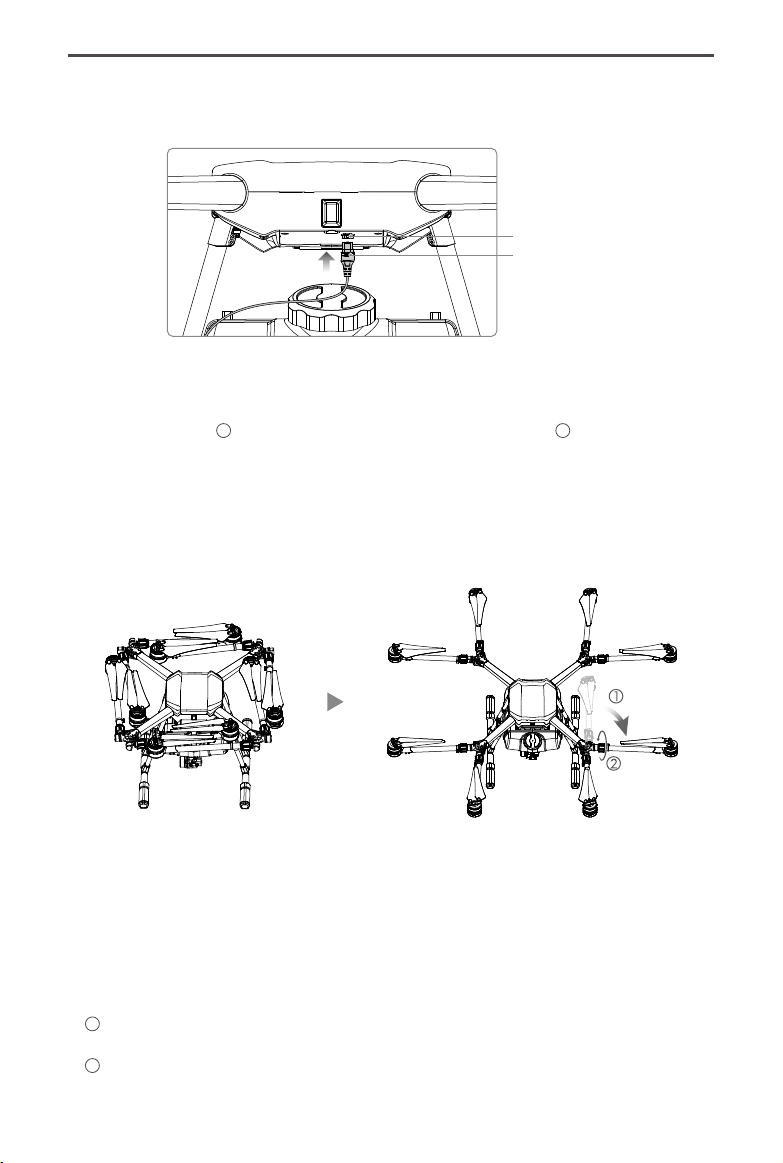
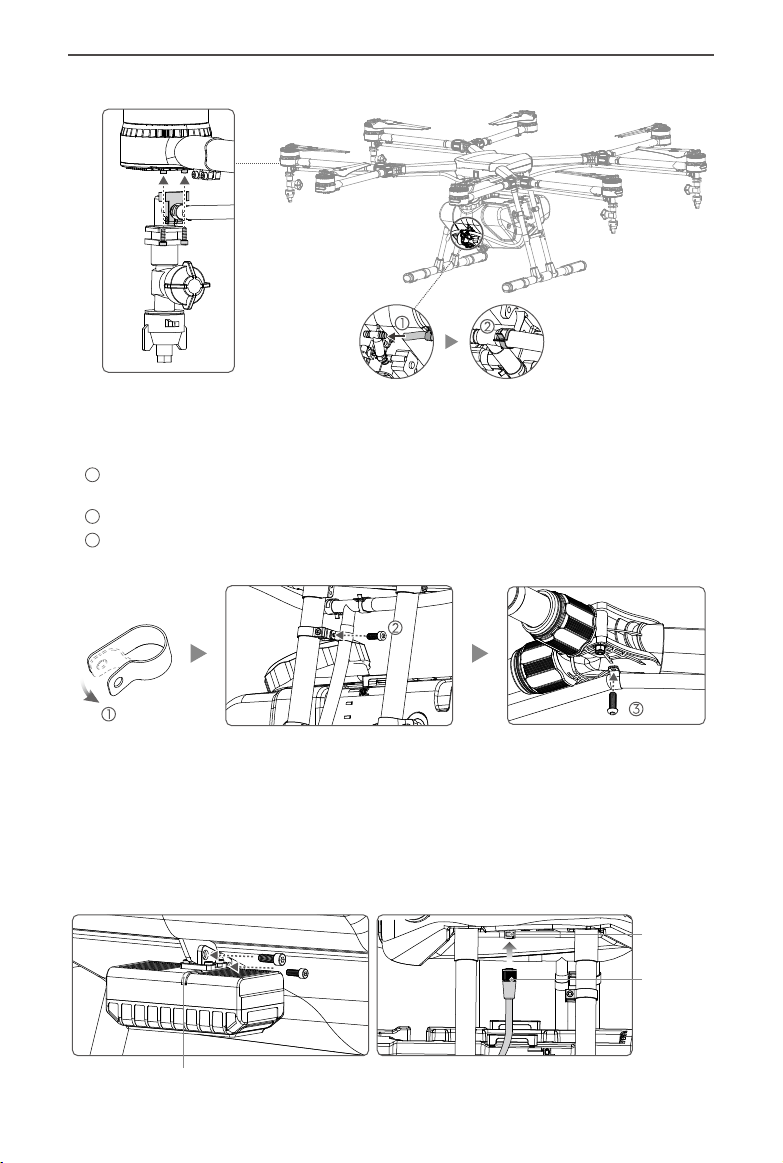
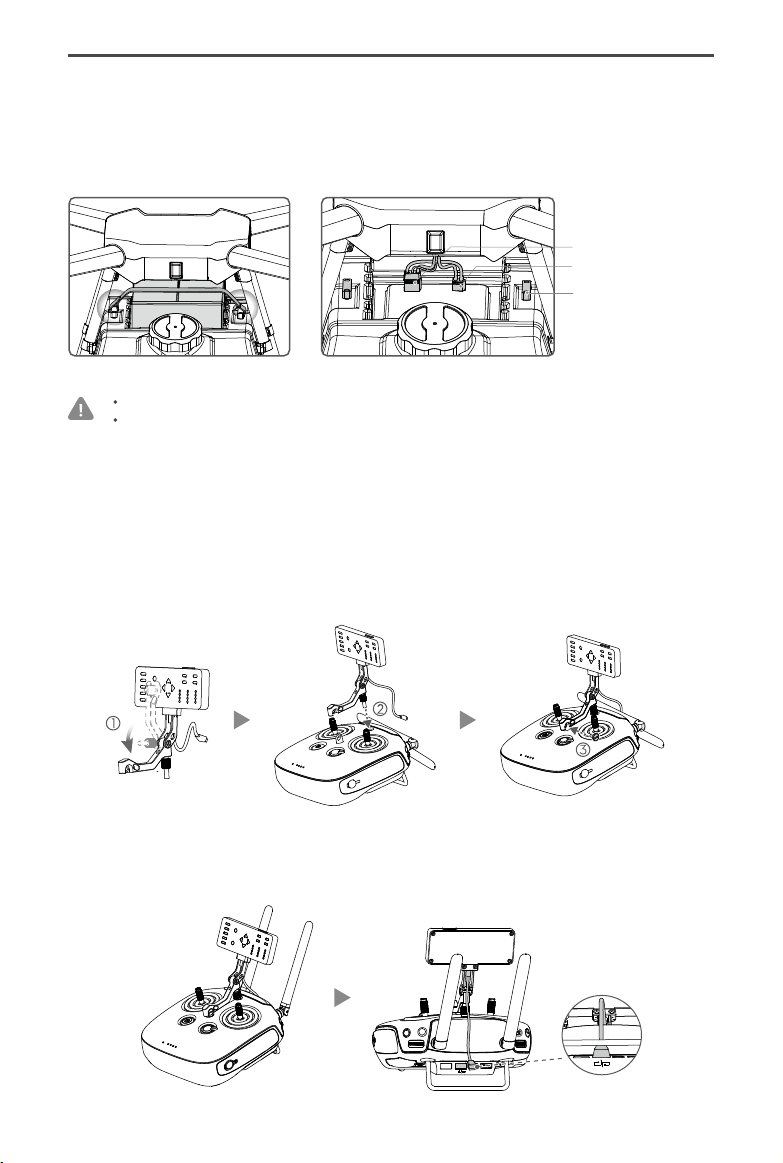
AGRAS MG-1 Quick Start Guide
©2016 DJI All Rights Reserved.
9
Fly Safe
Itis importantto understandsomebasicightguidelines,bothforyourprotectionandfor thesafety ofthose
aroundyou.
1. Fly in Open Areas:Donotflynearorabovepeopleoranimals,ornearbuildings,powerlinesandother
obstacles.
2. Maintain Control at All Times:Alwayskeepyourhandsontheremotecontrollerandmaintaincontrolofyour
aircraftwhenit isin ight,evenwhenusingintelligentfunctionssuch asSmart OperationModeandSmart
Return-to-Home.
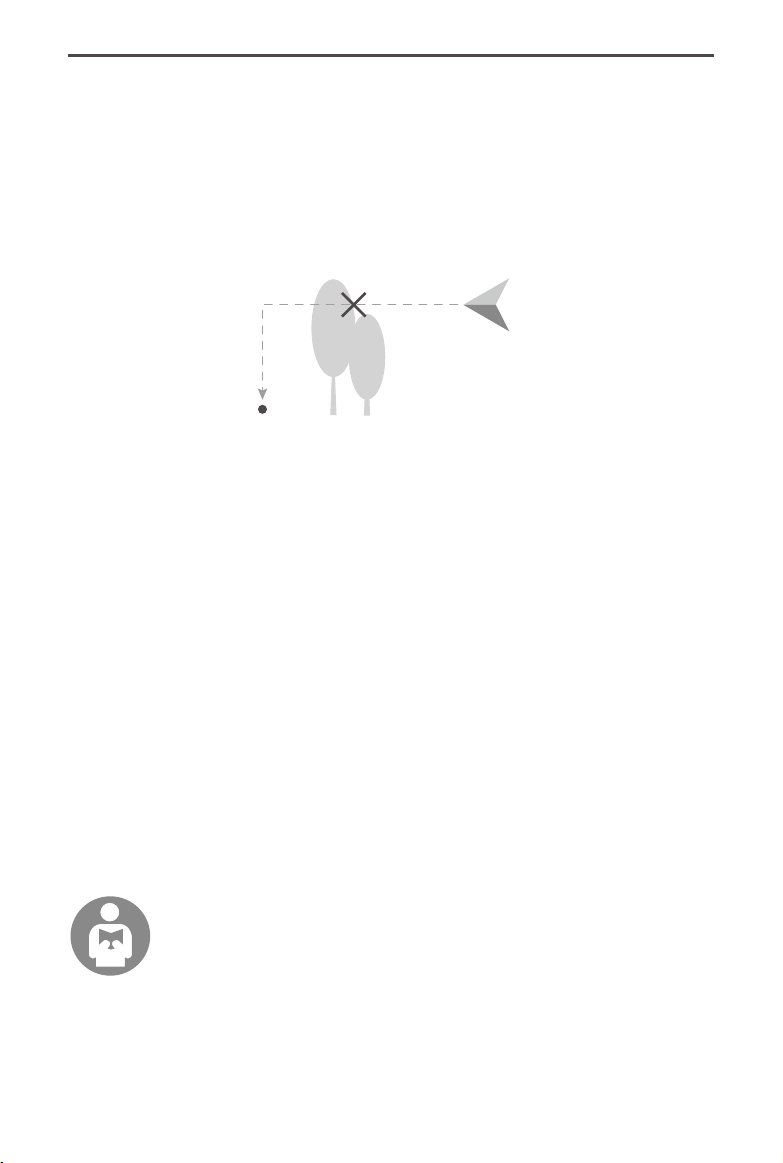
3. Maintain Line of Sight:Maintainalineofsighttoyouraircraftatalltimesandavoidyingbehindbuildingsor
otherobstaclesthatmayblockyourview.
4. Monitor Your Altitude:Forthesafetyoffull-sizedaircraftandotherair trac,always yataltitudeslessthan
164feet(50meters)oraccordingtolocallawsandregulations.
Visithttp://www.dji.com/y-safe/category-mcformoreinformationoncriticalsafetyfeatures
suchasNoFlyZones.
Calibrating the Compass
Ensurethecompassiscalibratedbeforeeveryight.Failuretodosomayleadtounexpectedightbehavior.
1.DONOTattempttocalibrateyourcompasswherethereisachanceofstrongmagneticinterference,including
areasnearmassivemetalobjects,parkinglots,undergroundsteelreinforcementsorunderbridges.
2.DONOTcarryferromagneticmaterials,suchaskeysandmobilephones,withyouduringcompasscalibration.
3.Thecompassshouldalwaysbecalibratedwhenmovingfromindoorspacestooutdoorspaces.
4.IftheAircraftStatusIndicatorisblinkinggreenandyellowalternatelyafterplacingtheaircraftontheground,the
compasshasdetectedmagneticinterference.Changeyourlocation.
5.IftheAircraftStatusIndicatorisblinkingred,compasscalibrationhasfailed.Pleaserecalibrate.
Flying Considerations
1.DONOTusetheaircraftinadverseweatherconditionssuchasheavyrain(precipitationrateexceeding25mmor
0.98inchesin12hours),highwindsexceeding17mph(28kph),fog,snowandlightning.
2.Onlyyinopenareas.Tallbuildingsandsteelstructuresmayaecttheaccuracyoftheonboardcompassand
GPS signal.
3.Avoidyinginareawithhighlevelsofelectromagnetism,includingnearmobilephonebasestationsandradio
transmission towers.
4.Aircraftandbatteryperformance issubject toenvironmentalfactors suchas airdensityandtemperature.Be
verycarefulwhenyingover6,560feet(2km)abovesealevelasthebatteryandaircraftperformancemaybe
reduced.
5.TheaircraftcannotoperateinP-ModewithintheEarth’spolarregions.
6.EnsurethatthereisastrongGPSsignalintheSmartorManualPlusoperationmode.
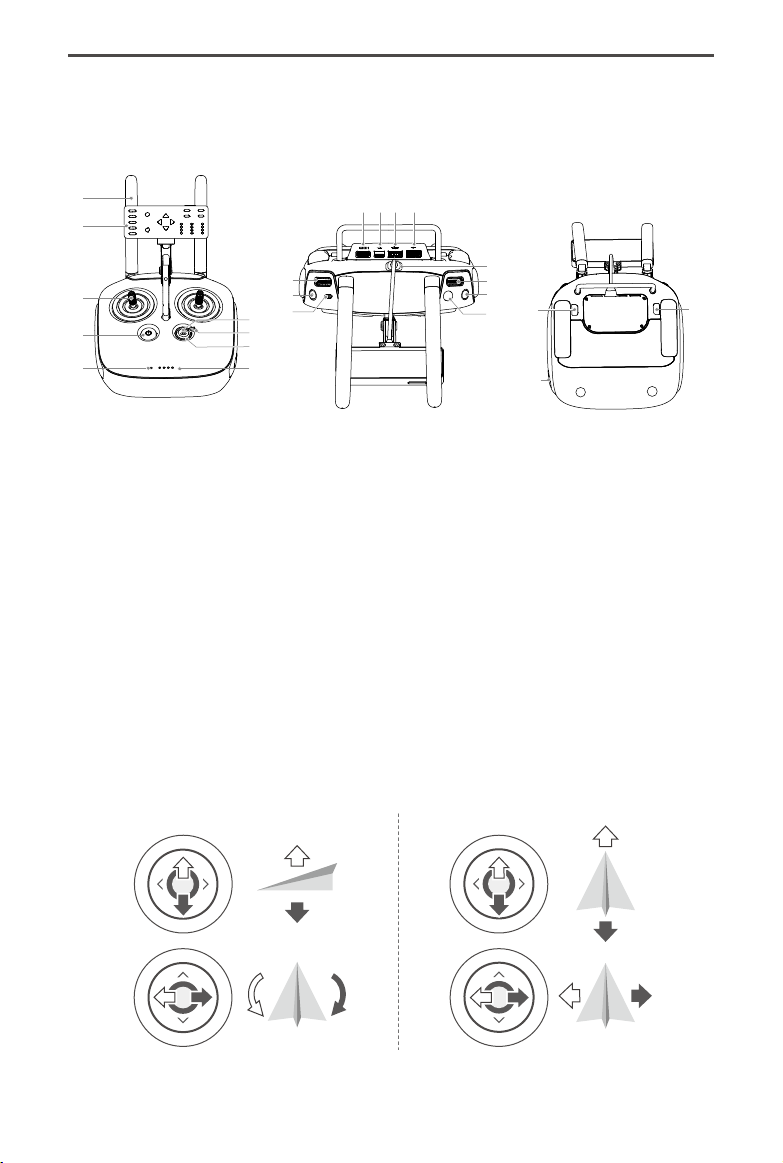
P-Mode
TheaircraftusesGPStopinpointitspositionandstabilizeight.TheReturn-to-Homefeature
isavailable.ToenableP-mode,toggletheFlightModeSwitchto“P”.


 user manual")