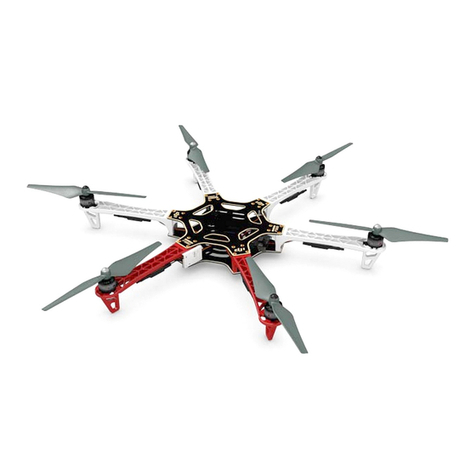
dji Flamewheel F450 User manual

Page
1
User Manual for DJI F450 Quadcopter
By:
Joshua M. Smith & Alexander J. Baldwin
Missouri University of Science and Technology
Version 1 June 2016

Page
2
Table of Contents
Introduction to Quadcopter Flying……………………………………………….……....3
Basic Controls ……………………… …………………………… ………………..…....3
Getting Started with Realflight 7.5……………………………………….……….……...6
Setting Up Hardware for Flight……………………………………………………...……9
Flying your Quadcopter………………………………………….…………....………....10
Using the Dragon Touch Software……………………...……….…………....………....14
Appendix A: Equipment and Setup………………………………….…...……………...16
Appendix B: Multirotor Flight Checklists……………………………………………….23
Appendix C: Flight Records using a Flight Log…………………………………………24
Acknowledgments
The production of this manual was supported by the IEEE Aerospace and Electronic
Systems Society.

Page
3
Introduction to Quadcopter Flying
Flying a quadcopter for the first time looks simple, but unless you have had some
experience with other RC aircrafts, the first flight can be harder than expected. This user
manual is intended to help accelerate the beginner through the first stages of piloting in
order to get to the fun as quickly as possible, as well as navigate them through some
common issues they might face.
The quadcopter used for this manual is a Model F450 by DJI. Preparation for
flying is shown using Realflight 7.5, a Radio Controlled (RC) Flight simulator.
How to Use This Manual
This manual is designed to be used as a step-by-step guide to flying. Topics are
addressed in the order the beginner will need them. The basic controls and Realflight
sections can be read while working through them, however, one should read through all
of the manual (though possibly excluding the appendices) before physically flying.
While learning to fly, it is often easier to learn by simply working with it. To
promote clarity and ease of use of this document, some things are noted as such and no
further description is given.
Basic Controls
The controller for this manual is a Turnigy 9x controller (see Figure 1). It can be
programmed to fly RC airplanes, helicopters, and gliders. The amount of buttons and
switches might be a little intimidating at first, but most of them are not needed for
quadcopter flight. The controls a new user will need to be familiar with are the on/off
switch, menu interface controls, and the control levers.
On/Off
The on/off switch is the main switch right at the nose of the controller. One thing
you can miss, however, is making sure all of the switches are in the ‘up’ position. If they
are not so, then an error will occur when the controller is turned on.
Page
4
Fig. 1: Turnigy 9x controller
Menu Controls
The menu controls are the buttons around the screen at the bottom. On the right
are the menu and exit buttons. On the left are the menu navigation buttons. By holding
down the menu button for a second or two, the screen will display the menu options.
From here on out, the menu button is essentially a select button. Use the UP/DN buttons
to navigate through the options and the menu button to select which option you would
like to access. The exit button is used to go back to the previous screen or to exit the
menu entirely. Finally, the +/- buttons are used to change specific settings for which a
scale of values are available.

Page
5
Control Levers
The control levers have four functions: throttle, rotation, front/back movement,
and side to side movement. Listed below are the controls under normal configuration.
The throttle is adjusted by moving the left control stick up and down. Since the
throttle needs to be stable, when you adjust this lever up and down, it does not spring
back to its original position like the other levers.
The rotation is controlled by adjusting the left control stick left/right. When
moving the control stick left/right, it will spring back to its original position, giving a
normal state of no rotation, as opposed to the throttle which stays wherever you put it.
The right control lever adjusts front/back and side/side movement, exactly as is
intuitive. Moving the stick up/down tilts the quadcopter so that it travels
forward/backward. Moving the stick left/right tilts the quadcopter so that it travels
left/right.

Page
6
Getting Started With REALFLIGHT 7.5
Before a new flyer gets out and flies an expensive quadcopter, it is a good idea to
do some practice in a simulation. That is where Realflight 7.5 comes in. Realflight is a
highly detailed RC UAV simulator that can be used for planes, gliders, and helicopters.
To install the program on a new computer, the disk and activation code with it are
needed. For use at S&T, IT is needed to perform the installation.
When the software is running, one can immediately get started flying. Just choose
a quadcopter to fly and choose an environment and get started. If the software is running
on an old and slow computer, reduce the graphics settings to minimum. Select
Simulation→Graphics→Low from the menu at the top right of the flight screen (Figure
2). Also, be sure that the simulation is running on realistic physics by selecting
Simulation→Physics→Realistic
Fig. 2: REALFLIGHT flying screen

Page
7
To fly, you will need to connect the InterLink Elite controller that comes with the
RealFlight setup. The control levers should work the same as stated above for the
Turnigy 9x. You will find that when the throttle lever is about halfway engaged, the
quadcopter will hover; more and it will raise, less and it will drop. One of the first things
a beginner needs to learn is how to keep the quadcopter stable, so getting a feel for this is
an important first step. Play around with the controls for a little while at this point.
It can get a bit frustrating at first, when you have very little control. However, it
does not take long to become able to fly stably. After you have played around and gotten
used to the controls, there is a good option to test your skills and make improving more
fun: Challenge Mode.
You might be tempted to try out some of the training modes offered in game,
however, none of them are specific to quadcopters. There are some training modules for
helicopters, however flying a helicopter is different than a quadcopter. If you select the
Challenge option from the menu and select heli, there is a set of 10 challenges called the
“Quadcopter Trials”. In these levels, you will be given tasks to fly the Quadcopter X
through, ranging from simply flying through a goal, to making multiple goals and
landings within a time limit. While passing all of these challenges is not necessary to
getting started with a real quadcopter, it is fun. Also, if you can manage to get 700/1000
points, you will unlock the Deadcat Quadcopter (Figure 3). Meeeeeeowwwww!
Fig. 3: Deadcat quadcopter

Page
8
The default setting is to have no wind, however, you will find out that this aspect
of the simulation is a bit more friendly than flying outside in Missouri weather. To get an
idea of how to control your quadcopter in the wind, select Environment →Wind and
alter the wind direction, speed, and turbulence to your liking.
Finally, if you would like a different angle of observation, this can be changed
using the F1-F4 keys to get camera angles from the ground, chasing the quadcopter, and
for flying from the perspective of a camera mounted on the quadcopter.
Learn these skills in REALFLIGHT before physical flying
1. Takeoff
2. Hovering
3. Steady flying
4. Keeping track of camera direction during flight
5. Smooth landing
6. All of the above in windy conditions
If you plan to fly using the camera for surveillance, be sure to practice flying from a
camera view in REALFLIGHT as well.

Page
9
Setting Up for Hardware Flight
To get started flying, you will need to attach one of the Zippy 3000 batteries to
the bottom of the quadcopter using the velcro straps. When ready to power on, simply
connect the yellow plug to its counterpart on the UAV (Figure 4).
Fig. 4: Plugging in the motor battery
If the camera is being used, it should be mounted between the two red arms of the
quadcopter with the arrow facing out. This position is naturally defined as the front of the
quadcopter. Be sure to plug it in! (See Appendix A for images of camera, transmitter, and
related setup.)
If you are planning to transmit camera feed to the Black Pearl display, connect the
5.8GHz transmitter on the back of the quadcopter and attach the Turnigy 1.1V battery
with the red connection to power it. Make sure the transmitter is on the same channel as
the Black Pearl. For instance, if the transmitter is on channel 7, adjust the Black Pearl so
that the antenna it is receiving with (whichever antenna port you connected an antenna to)
is also operating at channel 7. Adjust the Black Pearl’s receiving channels with the
up/down arrows.
To attach the Black Pearl to the controller, screw it onto the mount. Be sure to
attach an antenna to the Black Pearl. Also, the Black Pearl needs to be charged. We do
not have an AC adapter for it, so just use one of the main quadcopter batteries (Zippy

Page
10
3000) with the appropriate cord into the DC IN port of the Black Pearl. The red light on
the Pearl indicates charging.
Flying Your Quadcopter
The first thing to note when flying your quadcopter is the weather. Do not attempt
to fly in rain or heavy winds. A couple of good places to fly around campus are at the
lawn to the northeast of the EE building and at frat row.
The first thing you need to do is ensure that you controller is configured properly.
To do this, enter the menu and verify the following settings:
Menu →System Settings→
●Type Select - Heli, Heli 2,
●Modevat - PPM
●Stick Setup - Mode 2, Throttle Reverse: No
When choosing the stick setup, after selecting mode 2, an option saying “THRO
REVERSE?” will appear. Press the “EXIT” button at this point to allow for normal
throttle controls (see Figures 5a - c).
Fig. 5a: Configuring Turnigy stick setup - Menu screen

Page
11
Fig. 5b: Configuring Turnigy stick setup - Choosing mode 2
Fig. 5c: Configuring Turnigy stick setup - select exit to decline throttle reverse option
After you have configured your controller and connected the batteries on the
quadcopter, you should be ready to go. Set it down on a flat surface and take a few steps
back before takeoff. Be careful about setting it partially on tufts of grass, as on a windy
day these will make it more likely that the quadcopter will tip on takeoff.

Page
12
→To start the quadcopter, turn the controller on and pull the two control sticks in
and down, as shown below. To power down, pull the two control sticks out and down
(Figures 6 and 7).
Fig. 6: Powering on the quadcopter with the Turnigy controller
Fig. 7: Powering off the quadcopter with the Turnigy controller
Once the quadcopter is on, you want to keep the left stick in the fully down
position (no throttle) and the right stick in its normal position (centered). Then, ease the
throttle up to about 50 percent, at which point your propellers will be spinning fast
enough to be at or near takeoff. At this point, your RealFlight experience should kick in,
so just fly around a bit and get used to dealing with the wind.

Page
13
A few tips for a good flight
●Take it easy, especially on the first flight. Stability is your main priority,
especially for good camera shots.
●Get some practice landing a few times before going too far off the ground.
●It helps to keep in mind which way the quadcopter is “facing,” i.e. which way is
front/back and side/side.
●The wind currents shift as you go higher in the air. Especially if flying near a
building when you go above the roof.
●Use the Dragonstone Touch to take over and autopilot and land for you, if you get
too nervous.

Page
14
Using the Dragon Touch Software
The quadcopter can be flown autonomously using the Dragonstone Touchscreen
Tablet (Figures 8 and 9) that is included with the UAV. To do this, activate the Tower
3DR app from the homepage of the tablet. Once open, the UAV and tablet can be paired
up via bluetooth. The tablet and UAV have already been paired up from previous use but
in case they are not linked; there is a button (“connect”) at the bottom of the tablet when
the app is open that will do this if not synced automatically. If the UAV and tablet are
synced up, there will be data about the UAV displayed in the parameters box in the top
right. If they are not synced, there will be a “no signal” message displayed in the
parameters box.
To set up autonomous flight, select “flight editor” from the drop down box
located where the flight history tab is in the top left of the screen. Once in flight editor,
you can set up a flight mission for the UAV to perform. To do this, first clear any existing
missions or waypoints already uploaded to the tablet and UAV. If not cleared the UAV
will register the existing waypoints and mission parameters with the new ones that are
inputted. Once cleared, you can begin setting up the mission parameters that you want the
UAV to achieve. The display on the screen of the tablet will show an aerial google map
view of the UAV and surroundings. Click on points on the screen to set up waypoints for
the UAV. The waypoints will be listed in sequence, (ex. 1,2,3) and you can select what
you want the UAV to do at each waypoint from the drop down box located above the
parameters box. The waypoints can serve a variety of purposes such as loiter, hover, flip,
takeoff, and land. Waypoint information such as altitude and “delay time before
proceeding to the next waypoint” are also able to be set up here. When setting up the
mission, be sure to list the first waypoint as take off, if starting from the ground, and the
final waypoint should be set to land.
Once the mission has been established, upload the mission to the UAV by
selecting the dropdown box in the top right corner of the screen. Now, go back to flight
history from the flight editor page. Once there, the mission can now be accomplished.
First, use the “arm” button at the bottom of the screen to turn the UAV on and prepare to
execute the mission. Once armed, use the “execute” button at the bottom of the screen to
have the UAV start to fly the designed mission route.
During flight at any time if the drone needs to be landed use the land button at the
bottom of the screen to have the UAV land immediately. A home button location can also
be set up for the drone to return to at any point. This can also override the manual
controller for emergency landings.

Page
15
Fig. 8: Tablet Image Front
Fig. 9: Back of Tablet (with antenna hookup)

Page
16
Appendix A: Equipment and Setup
The Appendix contains additional details and figures for the RunCam, the Setup
and Help Videos, and the Hardware. Figure 10 shows the Run Cam Layout. Figure 11-
21 show hardware images.
RunCam HD
The RunCam is easy to use. To turn on, press the power button of Cam and the
Indicator A button will flash blue before turning yellow. Pressing the shutter button will
cause the camera to start recording and the Indicator will flash yellow. Pressing it again
and the recording will stop. To charge the camera, use a standard Mini 5-Pin USB cable.
When charging the Indicator will turn green and once fully charged the Indicator will turn
off. Charging takes three hours typically. The MiscroSD will record any footage or
images taken.
Fig. 10: RunCam Layout

Page
17
Setup and Help Videos
DJI F450 User Manual
http://download.dji-
innovations.com/downloads/flamewheel/en/F450_User_Manual_v2.1_en.pdf
Turnigy 9X Controller Manual
http://www.personal-drones.net/wp-content/uploads/2013/08/Turnigy-9x.pdf
Tower 3DR App
https://3dr.com/kb/tower-support/
RunCam HD User Manual
http://www.runcam.com/download/RunCam-HD-manual.pdf
Hardware
Fig. 11: DJI F450 Quadcopter equipment

Page
18
Fig. 12: DJI F450 receiver setup
Fig. 13: Transmitter hookup

Page
19
Fig. 14: Transmitter on Channel 7
Fig. 15: Transmitter Battery Hookup

Page
20
Fig. 16: Camera mount on DJI F450
Fig. 17: Camera Hookup
Other manuals for Flamewheel F450
5
Table of contents
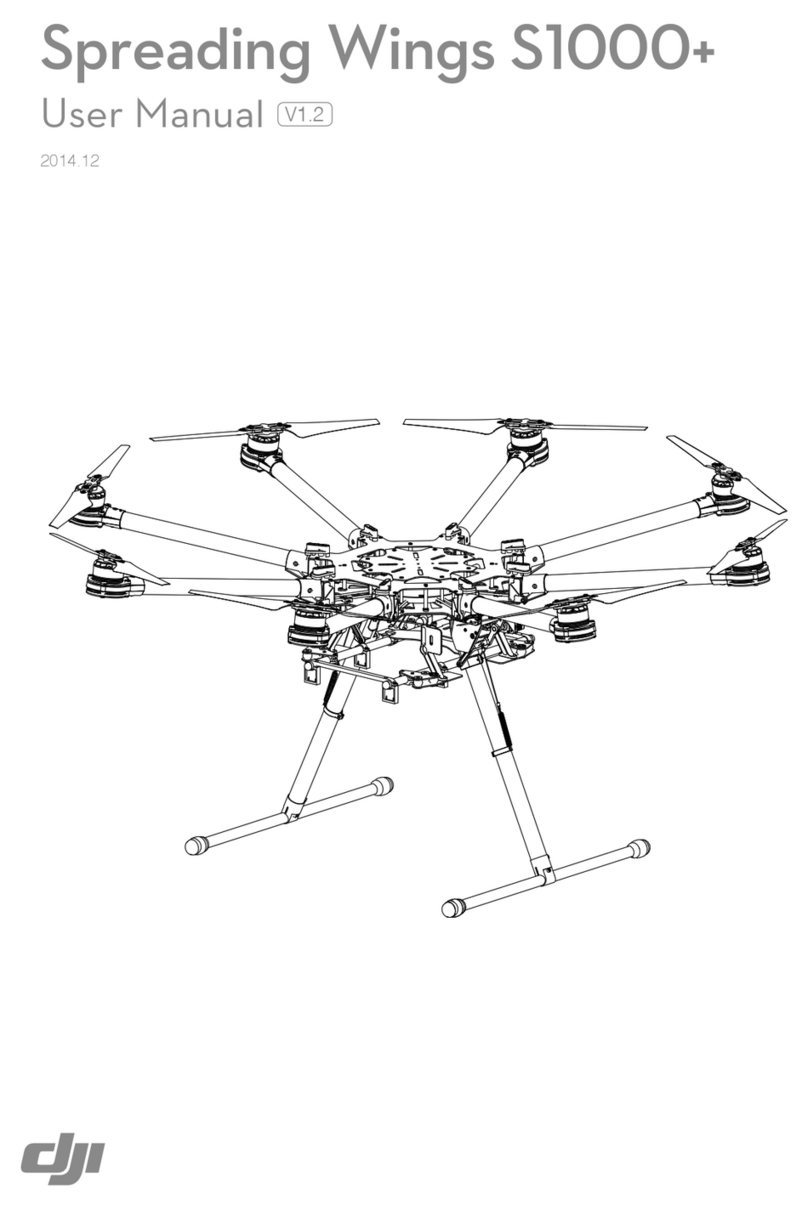
Other dji Quadcopter manuals

dji
dji Flamewheel F450 User instructions

dji
dji AGRAS T16 User manual

dji
dji MAVIC 2 PRO User manual

dji
dji P4 MULTISPECTRAL User manual

dji
dji Inspire 1 User manual

dji
dji Phantom 3 Advanced User manual

dji
dji Phantom 3 Advanced User manual

dji
dji Phantom 3 SE User manual

dji
dji AGRAS MG-1S User manual

dji
dji MAVIC AIR 2 User manual

dji
dji Mavic 2 Enterprise Installation guide

dji
dji Flamewheel F450 User manual

dji
dji Phantom 3 Advanced User manual

dji
dji INSPIRE 2 Operating instructions

dji
dji Phantom 3 Advanced User manual

dji
dji mavic User manual

dji
dji Phantom 2 Vision + User manual

dji
dji S?1000 User manual

dji
dji Flamewheel F450 User manual

dji
dji Inspire 1 User manual