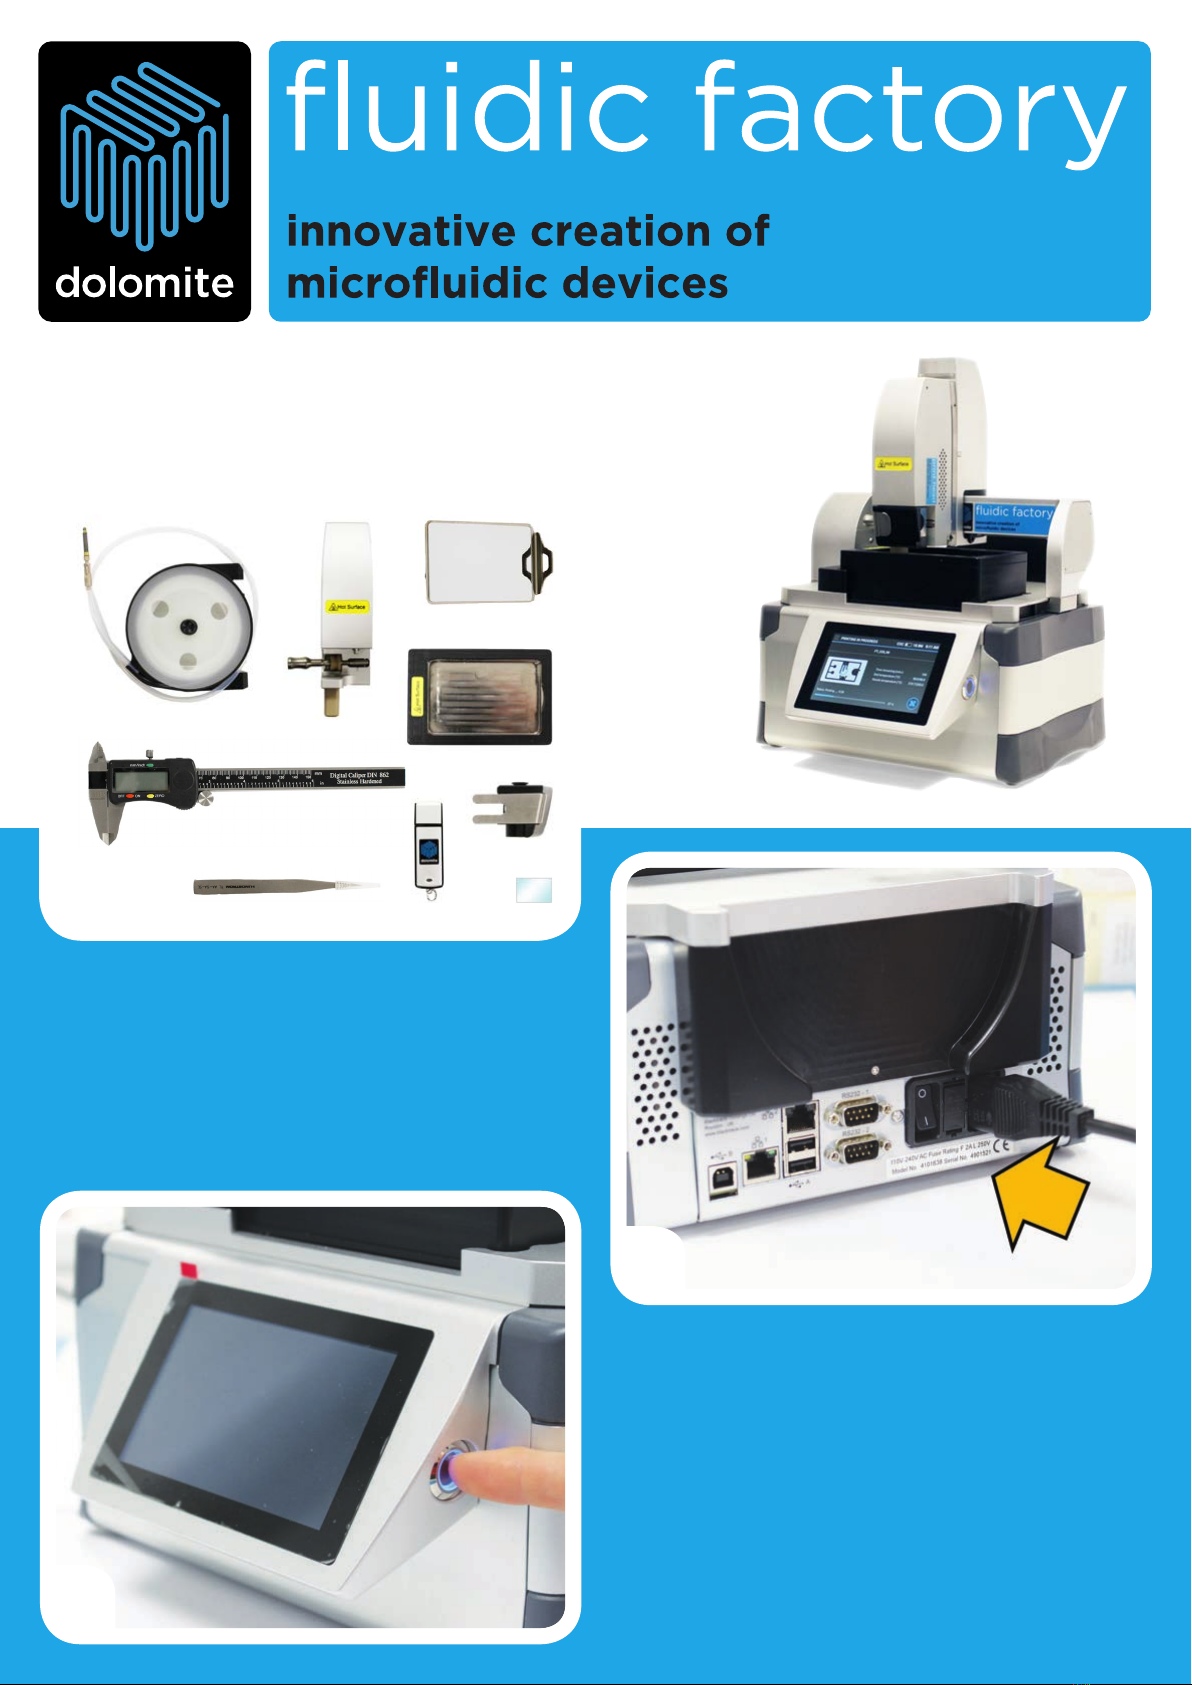
Dolomite fluidic factory User manual
Other Dolomite 3D Printer manuals


Popular 3D Printer manuals by other brands


3DGence
3DGence INDUSTRY F340 user manual

HP
HP Jet Fusion 4200 Product Documentation Site Preparation Guide

Rokit
Rokit AEP Series user manual

Ackuretta
Ackuretta FreeShape 120 user manual

DIYElectronics
DIYElectronics PRUSA I3 ELECTRONICS AND SOFTWARE GUIDE

Ultimaker
Ultimaker S5 Material Station installation guide