6
EN
EZ-Breeze
5 INSTALLATION
5.1 Installing the Fan
1
➤Hook up 12 Volt power to the fan and test fan
operation.
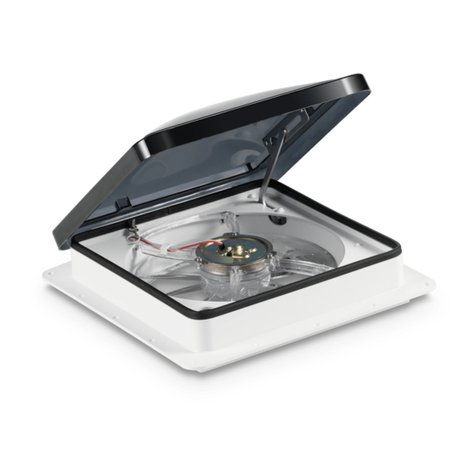
➤Place the foam gasket with the center section
removed over the installation hole so that it forms
a perimeter around the hole. The bottom of the
vents’ mounting flange will sit on top.
ITo assist proper alignment, two arrows are
molded into the top side of the EZ-Breeze™
Base (FIG. 1). These arrows indicate front and
back of the coach or travel trailer being driven
or towed. In contrast, the side opening vents
of the EZ-Breeze™ should face drivers side and
curb side.
➤Set the EZ-Breeze™ on the gasket and the 14"x14"
square roof opening while being sure to align the
arrows on top (FIG. 1) with the front and back of
the rig.
➤Screw down the mounting flange to the roof
utilizing all 28 screws (#8 x 1" pan heads) for
agood seal.
➤Apply sealant to the outer edge of the mounting
flange and over top of the screw heads to ensure
awater tight seal.
➤From inside the rig, tuck away any excess wiring
and install the trim garnish which may require
being cut to fit. See Garnish Installation.
IThe Mounting Flange requires No. 8 x 1" self-
tapping pan head screws. All 28 screws must
be used for proper seal.
5.2 Garnish Installation
2
➤Trim the garnish if necessary. To determine the
correct size of the garnish:
➤Measure the roof thickness where the EZ-
Breeze™ is to be mounted from the exterior of
the roof to the inside of the ceiling head liner
and add 1 inch. For example, if roof thickness
measures 1 1/2" + 1" = 2 1/2". A standard
clamp garnish of 4 1/2" will need 2" trimmed
off to fit correctly (4 1/2" - 2 1/2" = 2").
➤To trim the garnish (Fig. 2) use a straight edge
and horizontally mark around all four sides2"
down from the top edge and score it with
autility knife.
➤Cut away from the top edge of the corners at
a 45 degree angle down to the score line and
break the plastic away from the garnish.
➤When the roof is less than 1" thick a spacer
may be needed to finish the interior nicely.
➤If the roof is thicker than 4" a larger garnish
will be needed. Spacers and garnishes are
available by calling Dometic Toll Free.
➤Install the interior trim garnish with the correct
length No. 10 self-tapping flat head screws
(3", 4" or 5").
➤Torque all screws equally. Do not over tighten.
➤Screw length should not exceed 2" more
than the garnish depth (except for the 3 1/4"
Garnish).
➤If a deeper than standard (4 1/2") interior
trim clamp garnish is needed, call Dometic to
request a KX1060-81 garnish.
➤OEM clamp garnish requires mounting
screws and a correct height pre-cut garnish as
determined by OEM Customer and Dometic.


