manuals.online logo
Brands
  1. Home
  2. •
  3. Brands
  4. •
  5. domi
  6. •
  7. Outdoor Furnishing
  8. •
  9. domi LGMF1619 User manual

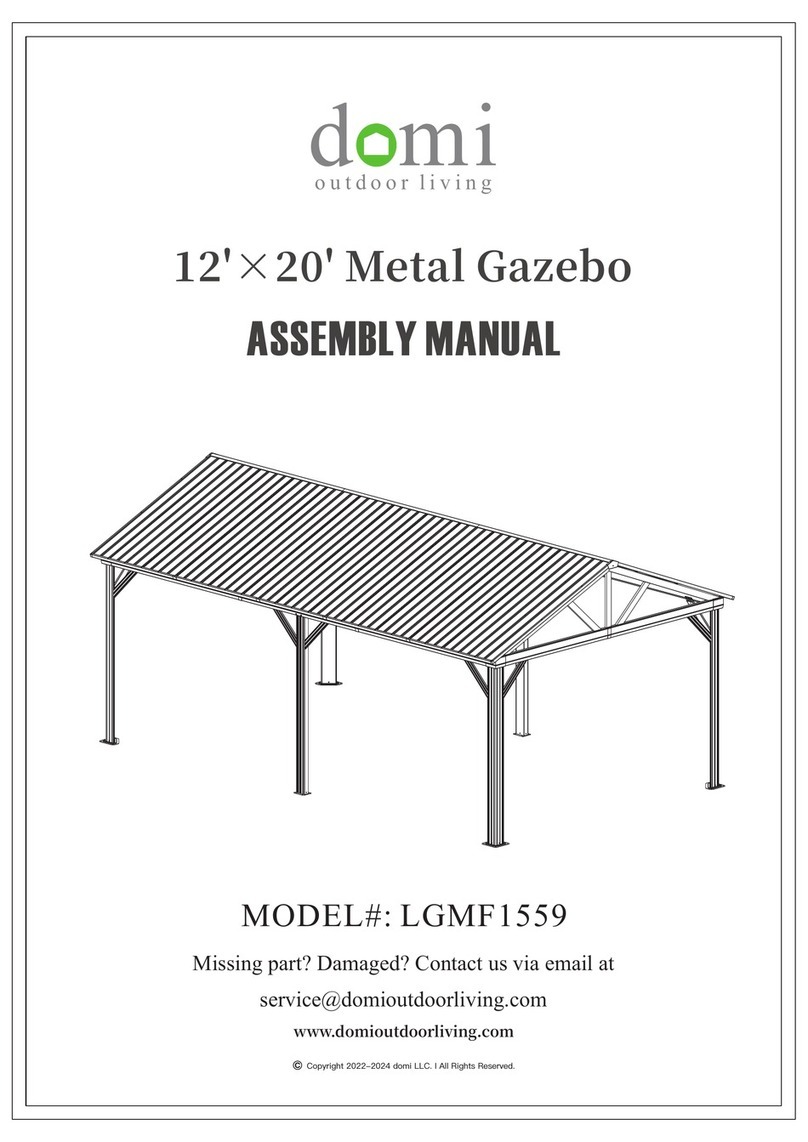
domi LGMF1619 User manual

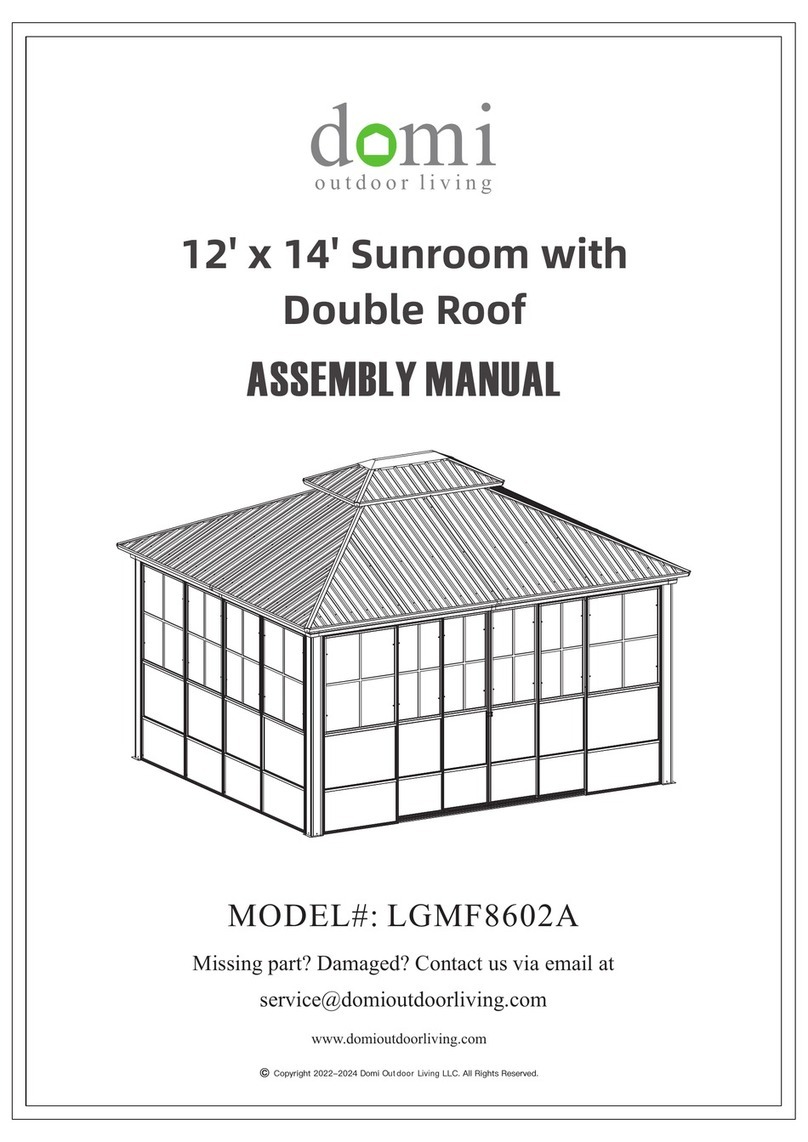
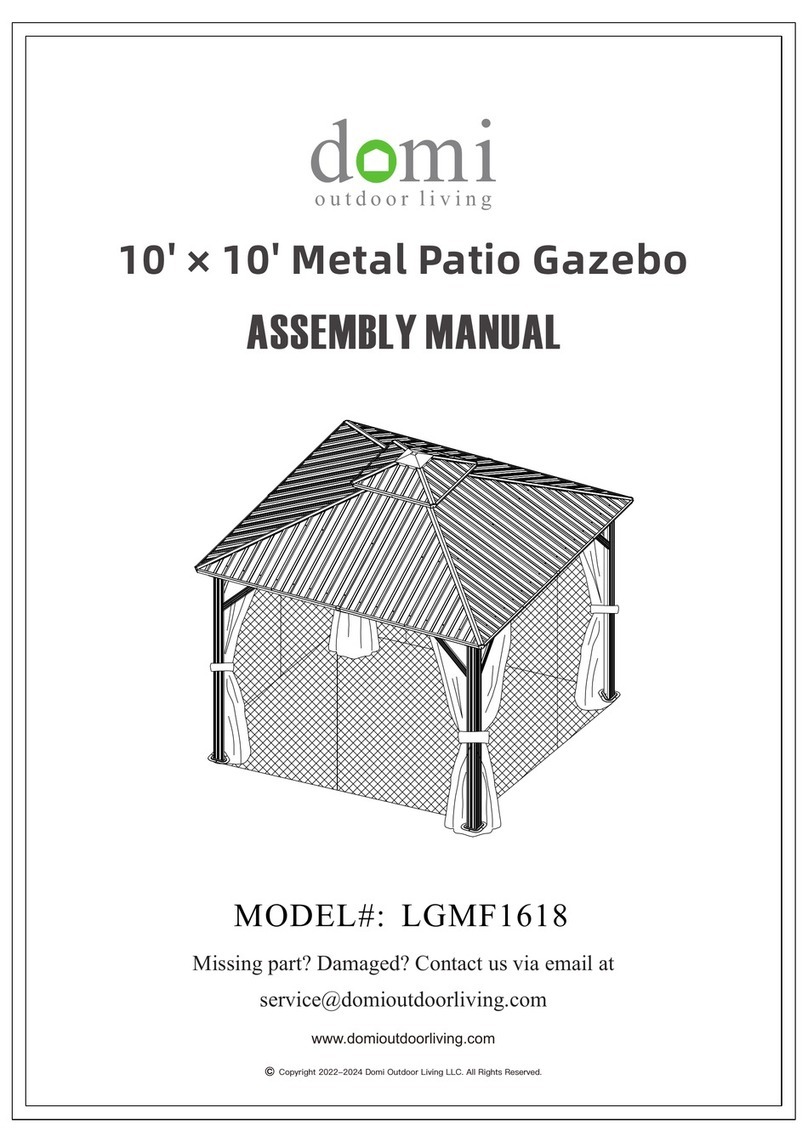
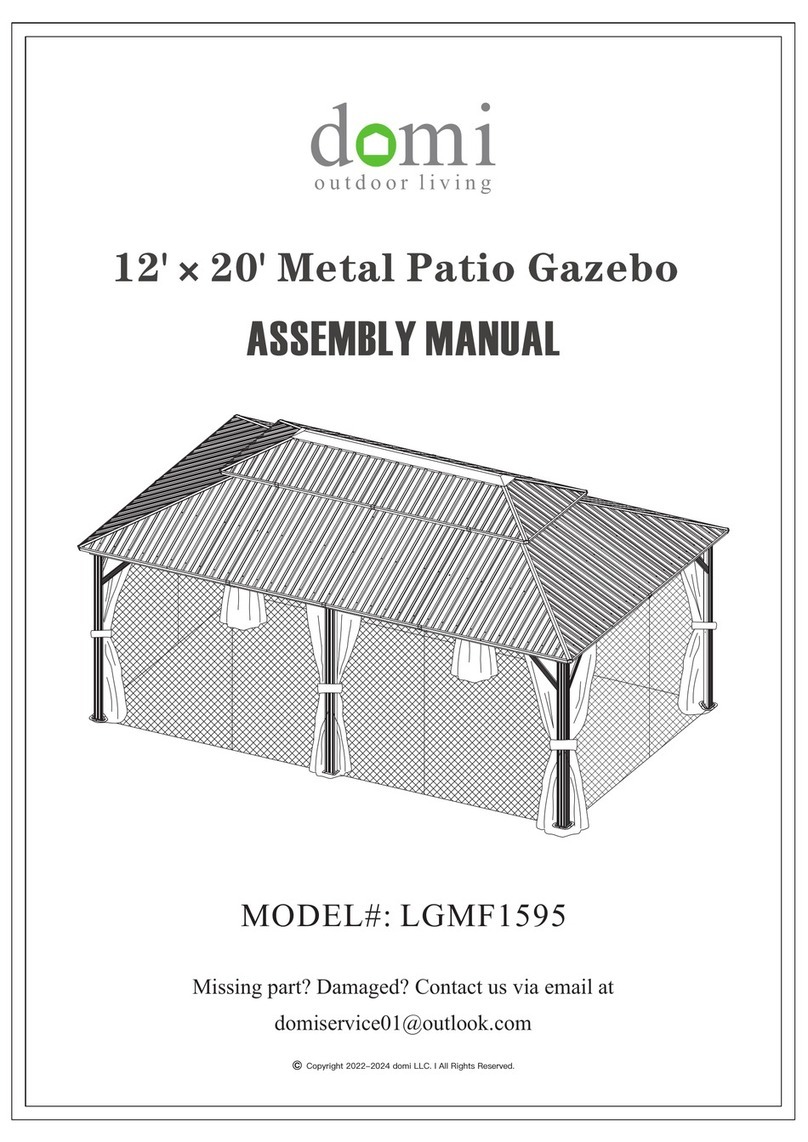
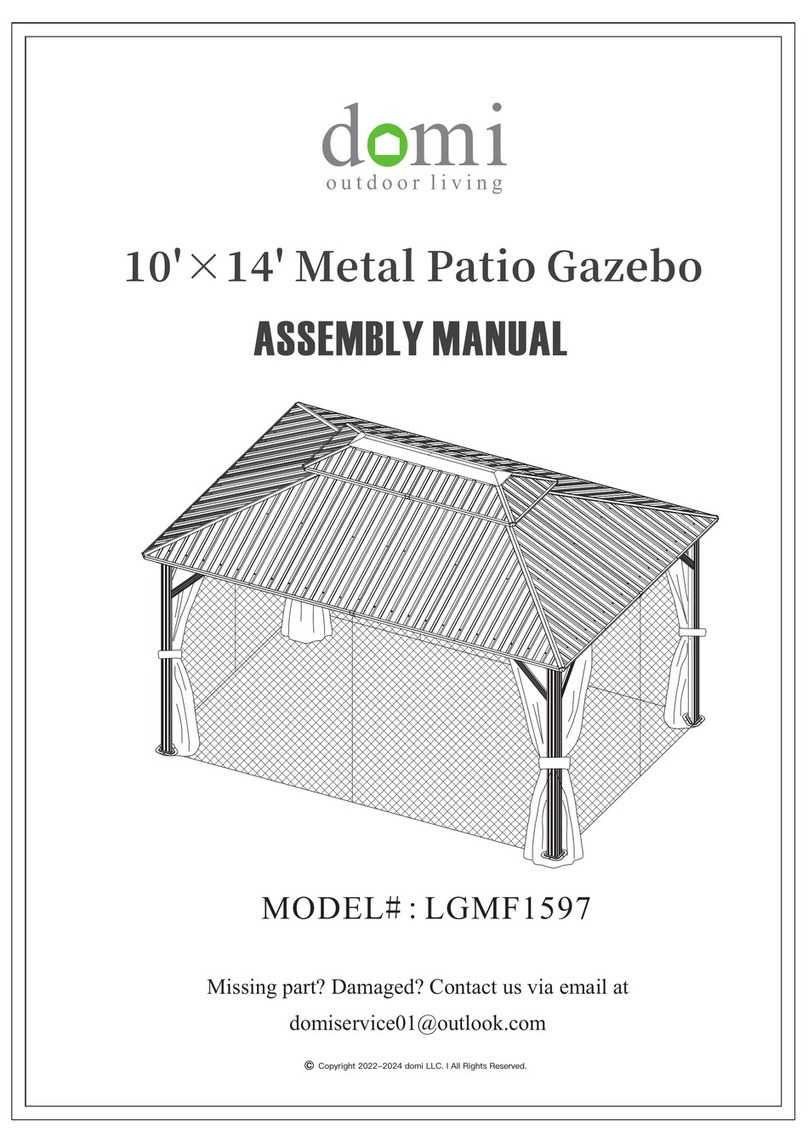
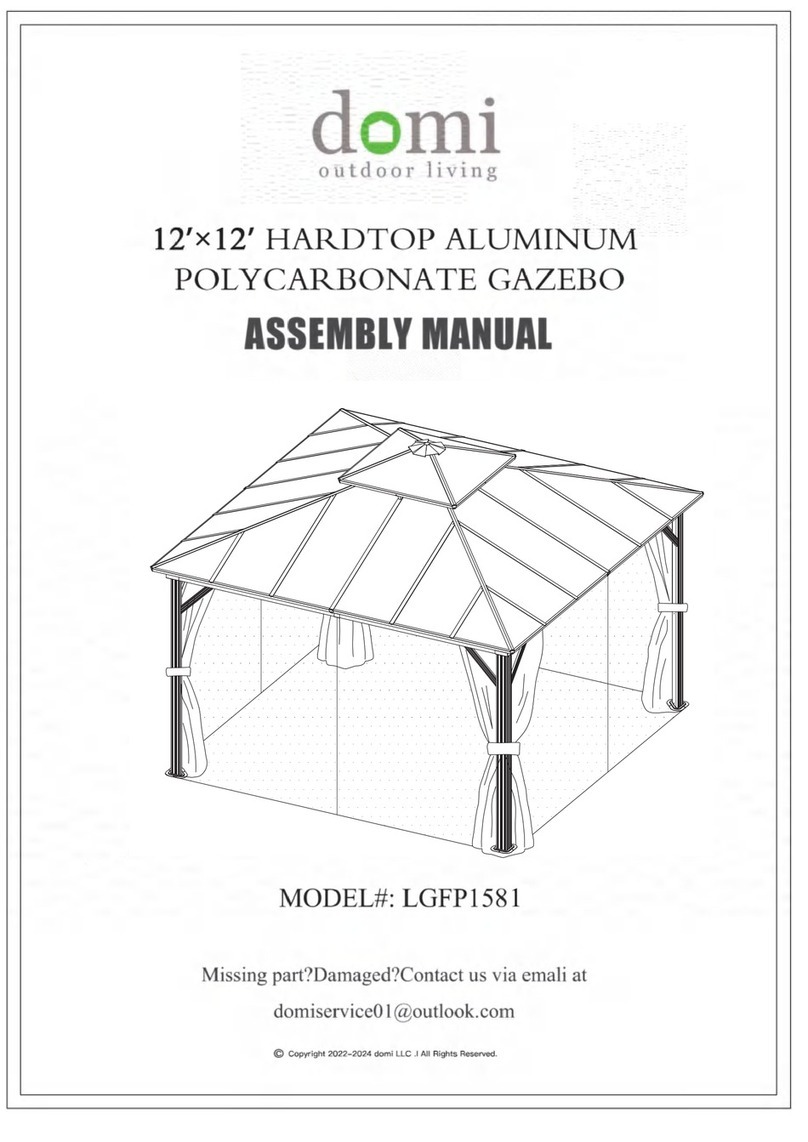
ASSEMBLY MANUAL
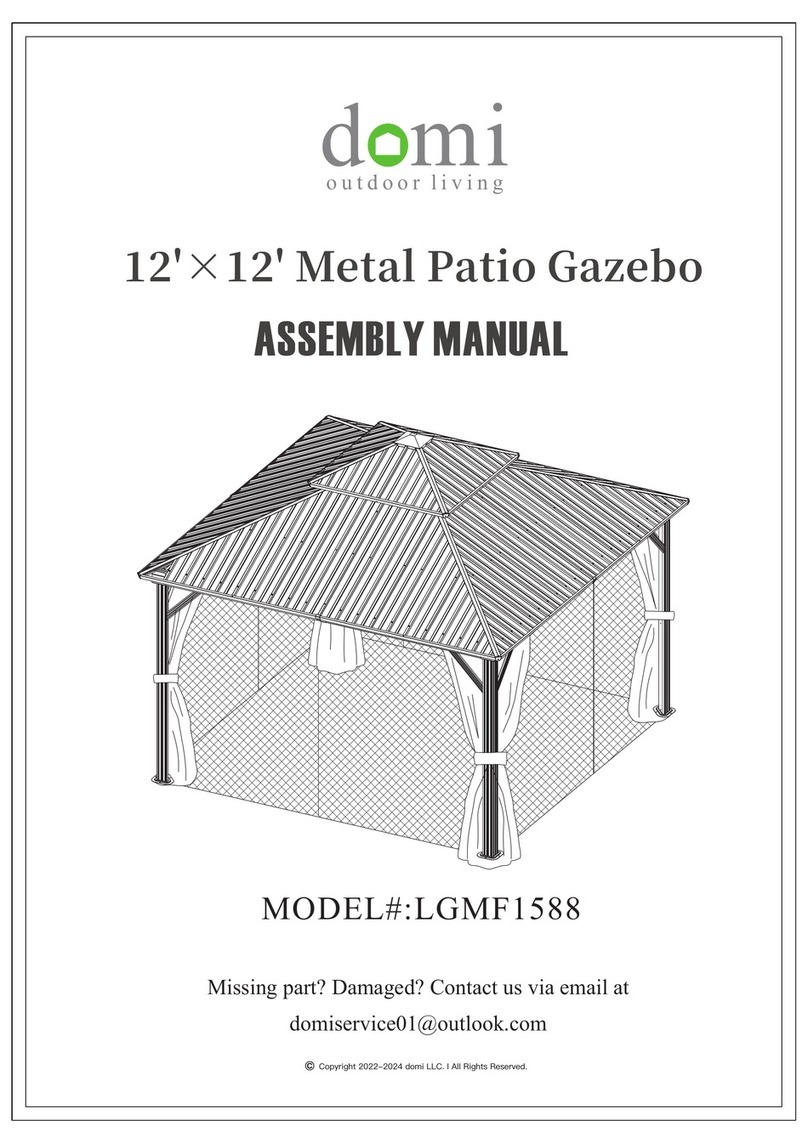
12'×18' Metal Patio Gazebo
d mi
o u t d o o r l i v i n g
Missing part? Damaged? Contact us via email at
[email protected]
MODEL#: LGMF161
©Copyright 2022-2024 Domi Outdoor Living LLC. All Rights Reserved.
9
Corner Roof Bar
Corner Roof Bar Connector Roof Bar
Solidfying Bar
Pole Pole
Beam Beam
BeamBeam
Beam
Solidfying Bar
Solidfying BarSolidfying Bar
Finishing BarFinishing Bar
Finishing Bar Finishing Bar
Finishing Bar
Finishing Bar
Finishing Bar
Finishing Bar
Roof Panel
Roof Panel
Roof Panel
Roof Panel
Roof Panel
Roof Panel
Finishing
Bar
Finishing Bar
Finishing Bar Finishing Bar
Finishing
Bar
Roof Panel
Roof Panel
Roof Panel
Roof Panel
Roof Panel
Roof Panel
Roof Panel
Roof Panel
Roof Panel
Roof Panel
Roof Panel
Roof Panel
Roof Panel
Roof Panel
Roof Panel
Roof Panel
Roof Panel
Roof Panel
Roof Panel
Roof Panel
Roof Panel
Roof Panel
Roof Panel Net Frame
Net FrameNet Frame
Base
Union Bar Corner
Solidifying Bar
Corner
Solidifying Bar
Inside Roof
Connector
Base
Outside Roof
Connector J-Hook Bracket Bracket
Net Frame Net Frame
Bracket Bracket
Bracket
Bracket
Joint Cover
Bracket
Hook Spacer
Bracket
Corner Cover
Finishing End Solid Sidewall Finishing End Mosquito
Sidewall
Plastic Bracket Plastic Bracket
Plastic Bracket Plastic Bracket Plastic Bracket
Mosquito
Sidewall Solid Sidewall
(3) Attach Part #B to Part #A
with 3 Bolts #8.
(4) Repeat the above procedures to assemble the other 3 Part #A.
(1) Attach 2 Part #B1 to Part #A
with 4 Bolts #8.
(2) Attach 2 Part #B2 to Part #A
with 4 Bolts #6.
(1) Attach 2 Part #B1 to Part #A1
with 4 Bolts #8.
(2) Attach Part #B3 to Part #A1
with 4 Bolts #8.
(3) Repeat the above procedures to assemble another Part #A1.
(1) Insert Part #C2 into Part #C1
and secure with 3 Bolts #8.
(2) Insert the other side of
Part #C2 into Part #C and
secure with 3 Bolts #8.
(4) Insert Part #X into the beam
and secure with 1 Bolt #8.
(3) Connect Part #C1 and
Part #C through Part #C2.
(6) Repeat the above procedures to assemble the other Part #C and Part #C1.
(5) Secure the bottom of Part #X
and Part #C/C1 with 3 Bolts #8.
(1) Insert Part #C2 into Part #D,
and secure with 3 Bolts #8.
(2) Insert the other side of
Part #C2 into Part #D2 and
secure with 3 Bolts #8.
(3) Connect Part #D and
Part #D2 through Part #C2.
(4) Insert Part #X into the beam
and secure with 1 Bolt #8.
(5) Secure the bottom of Part #X
and Part #D/D2 with 3 Bolts #8.
(6) Repeat the above procedures to assemble the other Part #D & #D2.
20x
11
(1) Insert Part #C2 into Part #D2,
and secure with 3 Bolts #8.
(2) Insert the other side of
Part #C2 into Part #D1 and
secure with 3 Bolts #8.
(3) Connect Part #D2 and
Part #D1 through Part #C2.
(4) Insert Part #X into the beam
and secure with 1 Bolt #8.
(5) Secure the bottom of Part #X
and Part #D2/D1 with 3 Bolts #8.
(6) Repeat the above procedures to assemble the other Part #D2/#D1.
(1) Connect Part #C and #D to Part #A with 8 Bolts #4.
(From Outside)
(2) Repeat the above procedures to assemble the other 3 corners.
Please don't tighten all bolts.
!
12
(1) Connect Part #C and #D to Part #A with 4 Bolts #8.
(From Inside)
Repeat the above procedures to assemble the other 3 corners.
Please don't tighten all bolts.
13 !
(1) Connect Part #A1 to the middle of Part #D2 with 5 Bolts #8.
Repeat the above procedures to assemble the opposite side.
Please don't tighten all bolts.
!
14
(1) Affix Part #R and Part #R1 to the frame with 8 Bolts #8.
Repeat the above procedures to assemble the other 3 corners.
Please don't tighten all bolts.
15 !
Tighten all bolts.
(1) Cover the corner with Part #X1. (2) Secure with 2 Self-tapping
Screws #3. (from top to bottom)
(3) Secure with 2 Self-tapping
Screws #3. (from bottom to top)
Repeat the above procedures to assemble the other 3 corners.
16 !
(1) Affix Part #R and Part #R1 to the frame with 8 Bolts #8.
(2) Repeat the above procedures to assemble the other 3 corners.
17 Tighten all bolts.
!
(1) Cover the corner with Part #X1. (2) Secure with 2 Self-tapping
Screws #3. (from top to bottom)
(3) Secure with 2 Self-tapping
Screws #3. (from bottom to top)
(4) Repeat the above procedures to assemble the other 3 corners.
18

Other domi Outdoor Furnishing manuals

domi LGMF1610 User manual

domi

domi LGMF1610 User manual

domi LGMF1618 User manual

domi

domi LGMF1618 User manual

domi LGMF8602A User manual

domi

domi LGMF8602A User manual

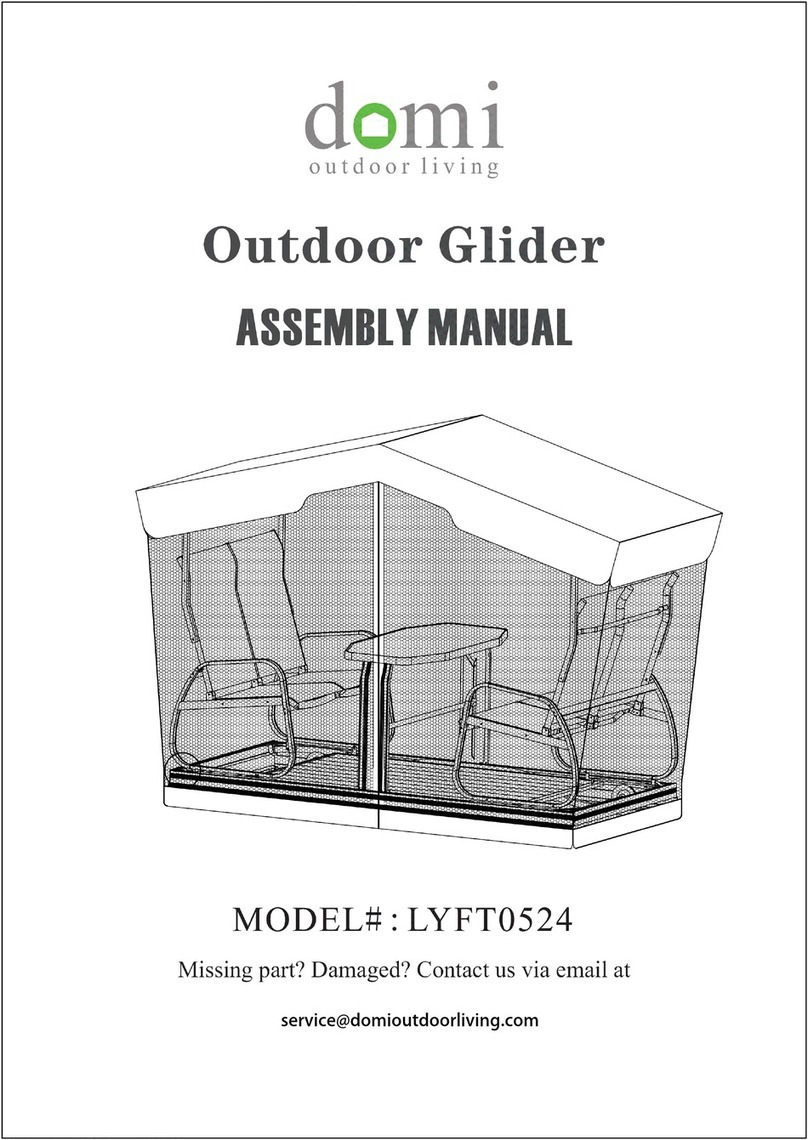
domi LYFT0524 User manual

domi

domi LYFT0524 User manual

domi LGMF1588 User manual

domi

domi LGMF1588 User manual

domi LGMF1613 User manual

domi

domi LGMF1613 User manual

domi LGMF1595 User manual

domi

domi LGMF1595 User manual

domi LGFO1583 User manual

domi

domi LGFO1583 User manual

domi LGMF1597 User manual

domi

domi LGMF1597 User manual

domi LNCF0539A User manual

domi

domi LNCF0539A User manual

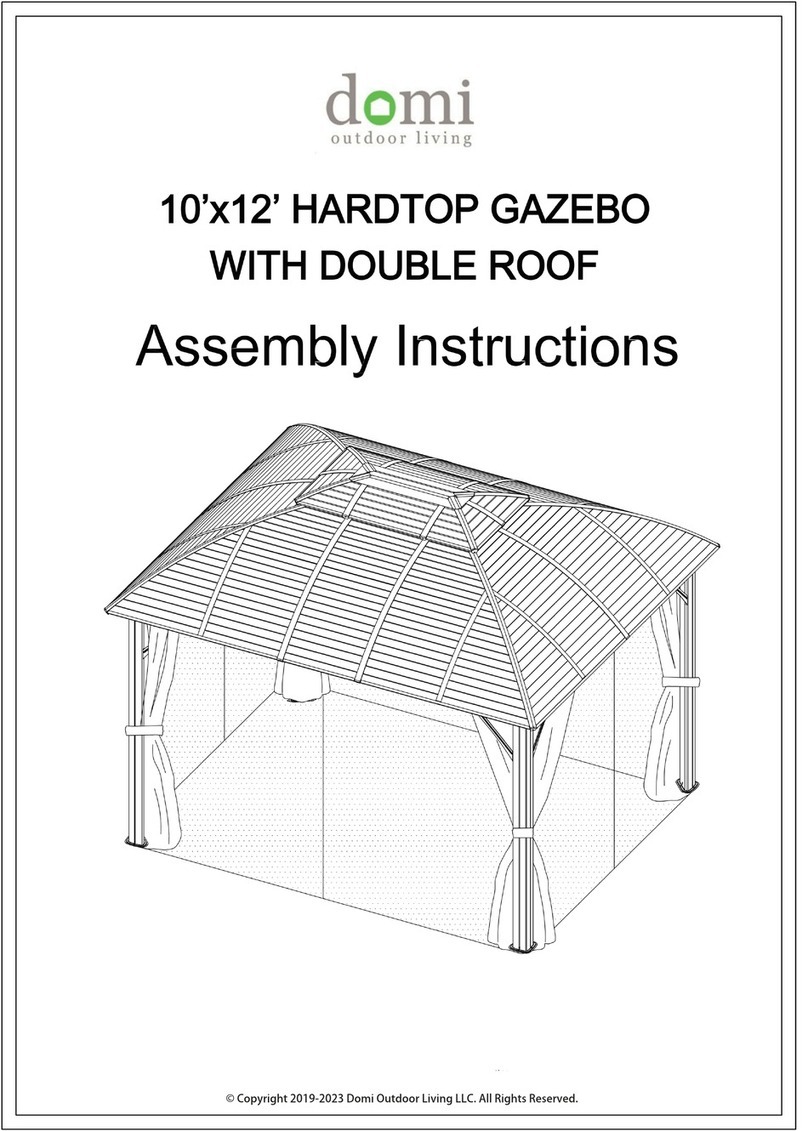
domi 10'x12' HARDTOP GAZEBO WITH DOUBLE ROOF User manual

domi

domi 10'x12' HARDTOP GAZEBO WITH DOUBLE ROOF User manual

domi LGFP1581 User manual

domi

domi LGFP1581 User manual

domi LGMF1611 User manual

domi

domi LGMF1611 User manual

domi LNCF0539 User manual

domi

domi LNCF0539 User manual

domi LGMF1559 User manual

domi

domi LGMF1559 User manual

Popular Outdoor Furnishing manuals by other brands

Sunjoy A103000105 Assembly instruction

Sunjoy

Sunjoy A103000105 Assembly instruction

Suncast BMEO1000 Oasis Assembly instructions

Suncast

Suncast BMEO1000 Oasis Assembly instructions

Naterial RESORT 3111-013-RST manual

Naterial

Naterial RESORT 3111-013-RST manual

Sunjoy A102001602 Assembly instruction

Sunjoy

Sunjoy A102001602 Assembly instruction

Canvas SKYLINE 088-2258-8 manual

Canvas

Canvas SKYLINE 088-2258-8 manual

Update International WRU-35 Assembly guide

Update International

Update International WRU-35 Assembly guide

Outsunny A20-149 Assembly & set-up instructions

Outsunny

Outsunny A20-149 Assembly & set-up instructions

Costway HW63884 user manual

Costway

Costway HW63884 user manual

Sojag 500-9167849 Assembly manual

Sojag

Sojag 500-9167849 Assembly manual

Forever Redwood THE SUNSET PATIO PAVILION Assembly instructions

Forever Redwood

Forever Redwood THE SUNSET PATIO PAVILION Assembly instructions

RioOutdoors 4P-SH installation instructions

RioOutdoors

RioOutdoors 4P-SH installation instructions

Tommy Docks 4’ Cedar Bench Assembly instructions

Tommy Docks

Tommy Docks 4’ Cedar Bench Assembly instructions

Gainsborough L434 quick start guide

Gainsborough

Gainsborough L434 quick start guide

Eden Cozy Arbor Bench Assembly instructions

Eden

Eden Cozy Arbor Bench Assembly instructions

Naterial DUO WICKER Assembly, Use, Maintenance Manual

Naterial

Naterial DUO WICKER Assembly, Use, Maintenance Manual

Street Furniture Classic Plaza CMP1 installation guide

Street Furniture

Street Furniture Classic Plaza CMP1 installation guide

Sunjoy Windsor L-GZ717PST-C instruction manual

Sunjoy

Sunjoy Windsor L-GZ717PST-C instruction manual

Costway HW66508 user manual

Costway

Costway HW66508 user manual

manuals.online logo
manuals.online logoBrands
  • About & Mission
  • Contact us
  • Privacy Policy
  • Terms and Conditions

Copyright 2025 Manuals.Online. All Rights Reserved.