English:3
QUICK TIPS:
To maintain a long service life for your MiniDos injector
1. Always cover solution container and keep it clean
2. Always use clean water
3. Always lter inlet water
4. Always keep solution lter (#27) 2” from bottom of container
5. Always stock main wear parts for lower end
Trouble-shooting your Dosmatic injector
Injectors should make a gentle clicking noise when in operation
If the unit is not clicking, contact your authorized Dosmatic repair distributor or return the unit to Dosmatic USA,
Inc
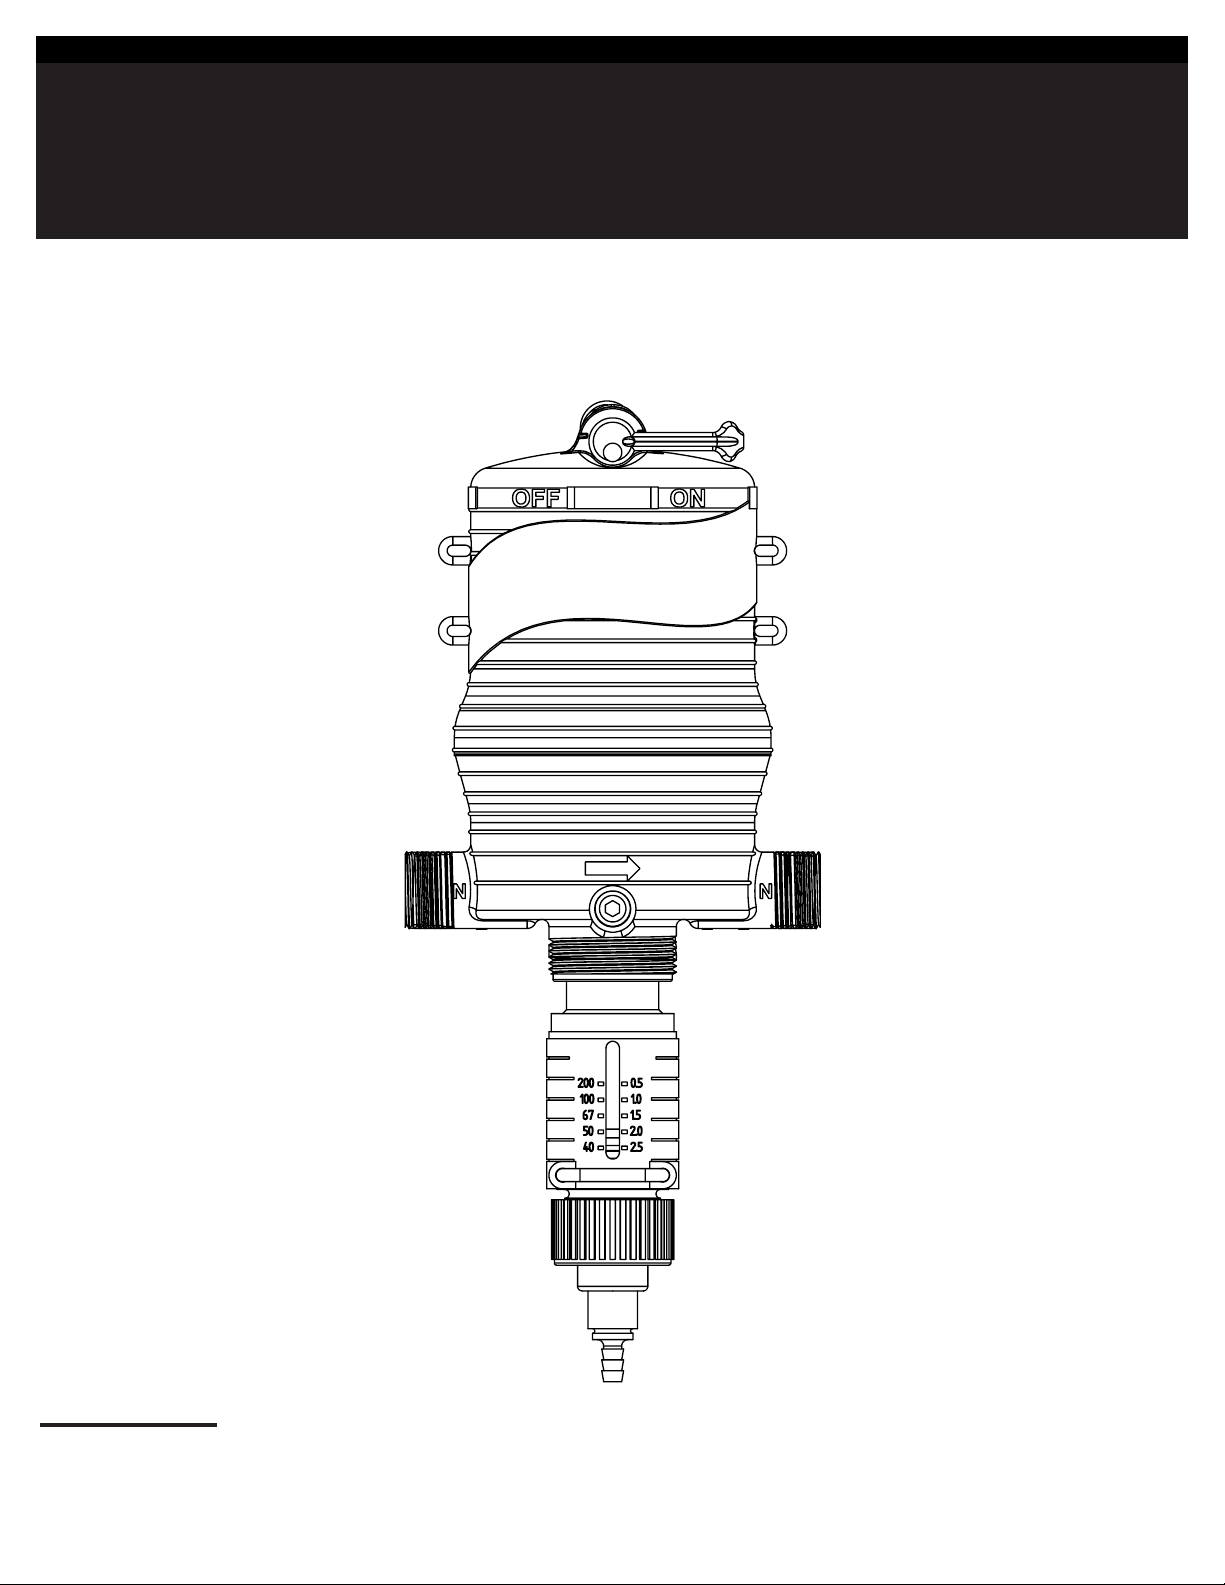
If the unit is clicking, but not pulling solution, please inspect the lower end of the injector (see
lower end diagrams) as follows:
Exterior Inspection
1. Inspect and clean lter (#27)
2. Inspect the suction tube (#25) for cracks. Replace suction tube if holes exist
3. If injector still does not pull solution, please proceed to steps 4-7
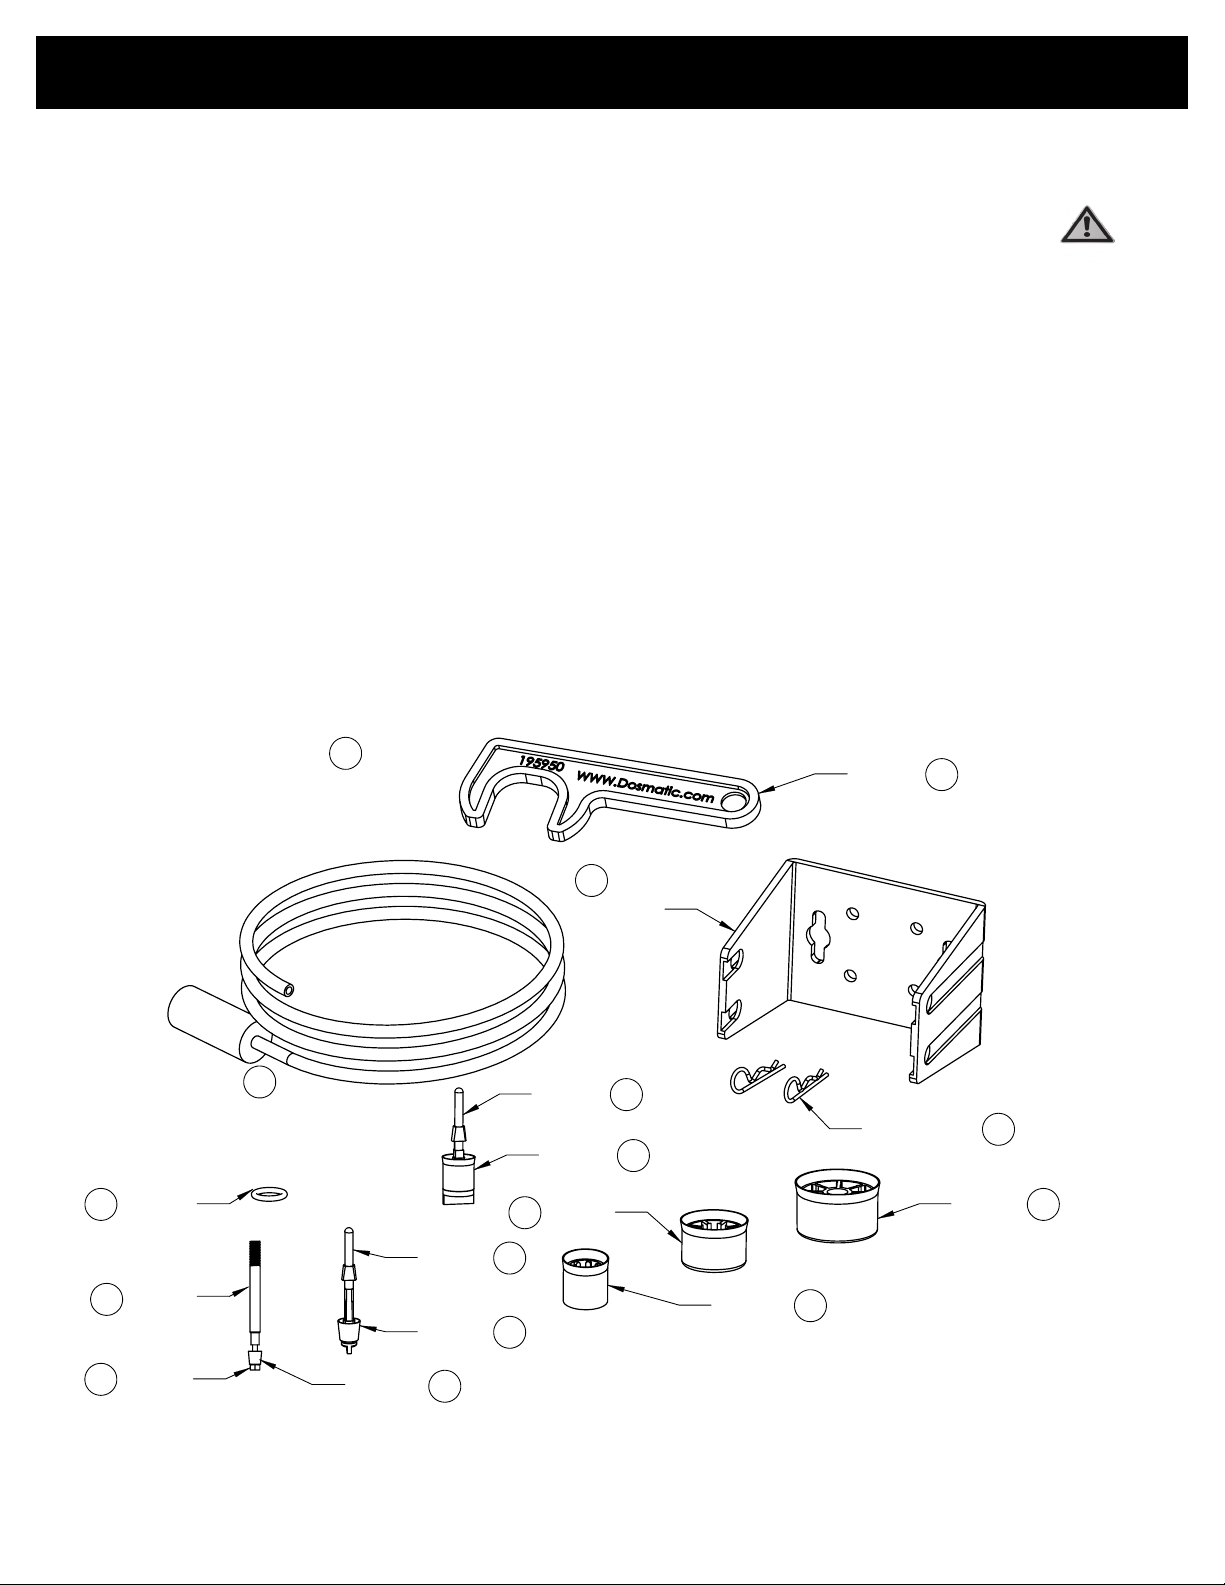
Cleaning the suction tube tting
4. Remove pin #79 and carefully pull out the inner cylinder (#37)
5. Unscrew the suction tube tting (#11) from the inner cylinder (#37)
6. Clean and rinse suction tube tting assembly (#11). Replace any damaged parts
7. If injector still does not pull solution, please proceed to steps 8-12
How to replace wear parts
8. Unscrew the external cylinder (#7), separating it from the body of the injector
9. Take hold of the shaft (#51) and turn it 90 degrees in any direction to release it.
Pull shaft from its housing
10. If you have the 0.4%, remove the dosage piston (#44) by unscrewing dosage piston support (#52) from
lower shaft assy (#51).
NOTE: Due to the delicate nature of the 0.4%, extra care should be taken to monitor dosage levels, verify
solution is free of debris, and to perform wear maintenance regularly.
If you have the 1% or 2.5%, remove the dosage piston (#44) by turning the lower shaft (#51) one quarter
turn and pull down.
If you have the 5% or 10%, remove the dosage piston (#44) by depressing the two “ears” of the shaft
(#52) simultaneously and removing the piston upwards. Replace dosage piston by sliding a new #44 from
top to bottom of the shaft until you hear a click.
If you have the 20%, remove the dosage piston (#44) by unscrewing the capscrew (#93) and remove the
dosage piston (#44) by pulling down.
Clean and inspect O-ring (#14).
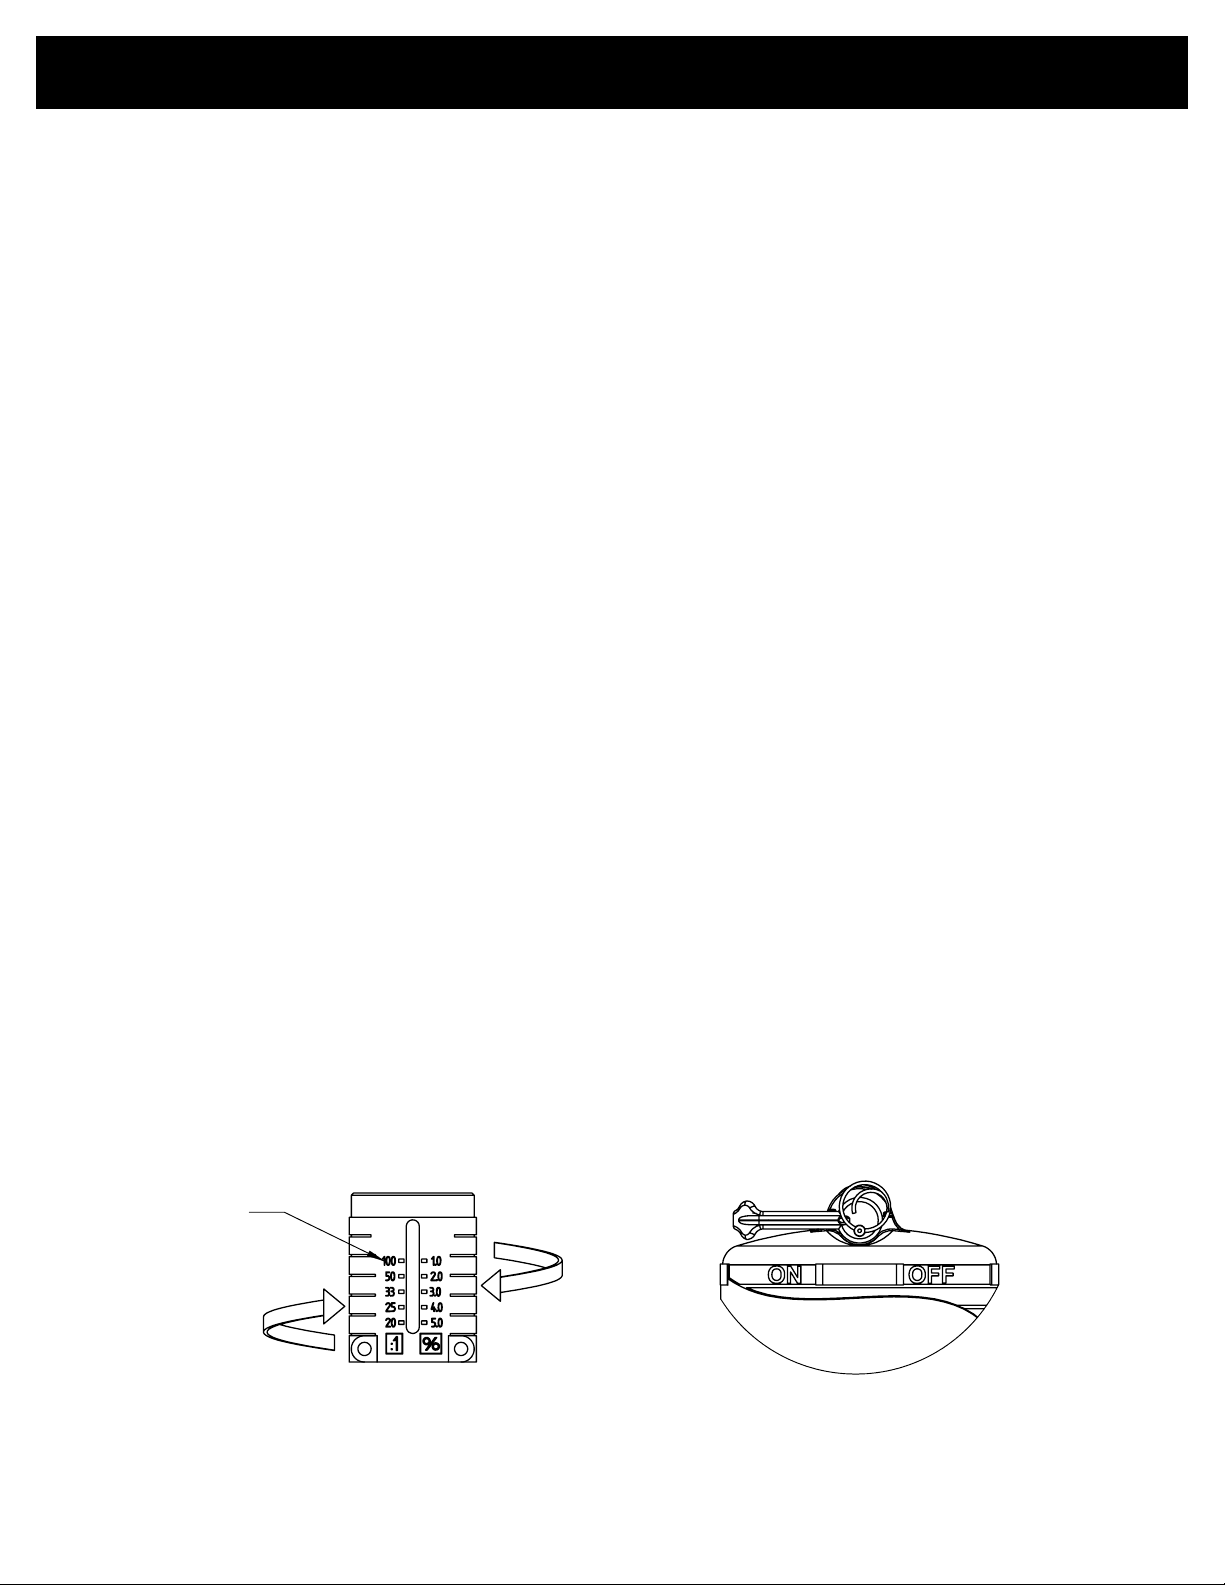
The translucent openings (larger diameter/thinner lips) of the dosage piston should be on top.
11. Clean, dry and inspect inside the inner cylinder (#37 or #7 if 20%) from scratches or cracks. If damaged,
replace inner cylinder.