1. Assemble the leg receivers
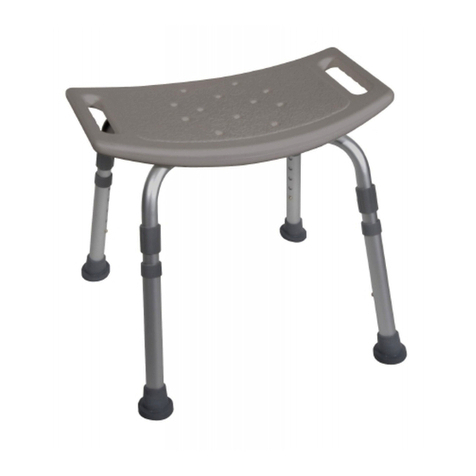
a. Take the seat (G) and turn it upside-down so that
the screw holes are facing upwards.
b. Take the leg receiver labeled “#1” (J1) and place it
into the groove labeled “#1” in the seat with the leg
receiver holes pointing upwards.
c. Take the leg receiver labeled “#2” (J2) and place
it into the groove labeled “#2” in the seat with the
leg receiver holes pointing upwards.
d. Insert screw (A) and washer (D) into the center
screw hole through both leg receivers but do not
fully tighten the screw.
e. Secure Leg Receiver #1 using 2 screws (B) and
washers (D).
f. Secure Leg Receiver #2 using 2 screws (B)
and washers (D).
g. Tighten the center screw.
A
B B
B
B
2. Assemble the leg cross-brace
a. Take the two leg cross-braces (H) and place one on
top of the other with the grooves properly aligned.
b. Place 1 washer (D) on the top side of the cross-braces.
Insert screw (C) through washer (D) and into the
center hole and secure with a nut (E).
c. Position the cross-brace assembly in between the
four legs and align the cross-brace screw holes with
the cross-brace bracket screw holes.
d. Insert a screw (C) into each of the 8 screw holes
and secure with a nut (E).
C
CC
C
3. Assemble legs
a. Remove the U-shaped clip (F) from each of the leg
receivers.
b. Insert a leg (K) into each of the leg receivers.
c. Adjust each leg to the same height and align the
height-adjustment holes in the legs with the holes in
the leg receivers.
d. Use a U-shaped clip to secure each of the legs to
the leg receiver.
1. Inspect all parts for shipping damage before
assembly. If there is shipping damage - DO
NOT USE. Contact dealer/carrier for further
instructions.
2. Make certain that the U-Clips full protrude through
the same respective holes of each leg extension.
This will ensure that the leg extensions are securely
locked in position and an even height is achieved.
3. Ensure ALL screws, nuts and/or bolts are
tightened.
4. Check the rubber tips on the leg extensions
for rips, wear or if they are missing.
Immediately replace any or all if any of these
imperfections exist.
5. All four leg extensions with rubber tips MUST
touch the floor simultaneously at all times.
6. DO NOT stand on chair.
additional precautions
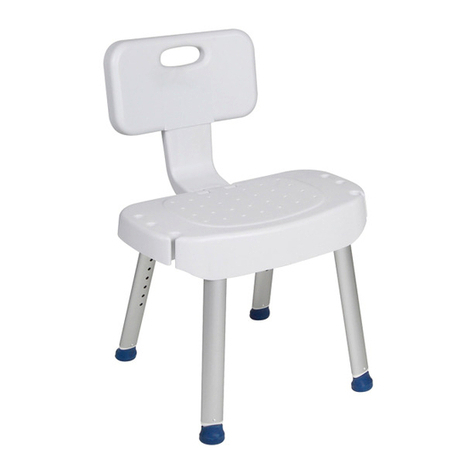
NOTE: To maintain the beauty of the original finish,
clean with mild soap and rinse with warm water. Wipe
bath seat dry aer each use.
Item # 12022KD-1
adjusting leg height
1. Before use, adjust height of each leg to your specific
needs, making sure all legs are at the same height.
To adjust leg height, remove U-Clip from adjustment
hole, set leg to desired height and return U-clip to
adjustment hole. Make sure U-Clip clicks into place.
Repeat for remaining legs.
NOTE: Make sure all legs are set to the same height.
2. To be sure legs are locked into place, push down or
pull up on legs.
C
HH
D
D
