manuals.online logo
Brands
  1. Home
  2. •
  3. Brands
  4. •
  5. Dunelm
  6. •
  7. Indoor Furnishing
  8. •
  9. Dunelm Lopez Double Door Wall Cabinet User manual

Dunelm Lopez Double Door Wall Cabinet User manual

www.dunelm.com
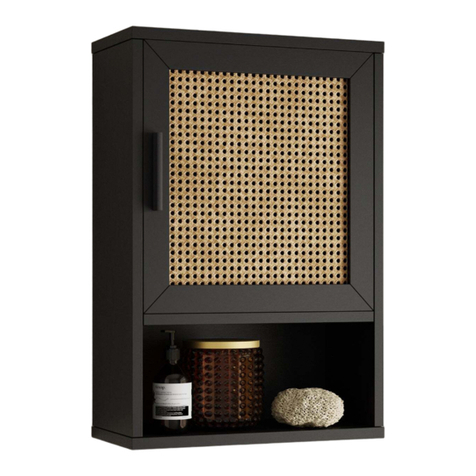
Lopez Double Door Wall Cabinet
INSTRUCTIONS
30 MINS 2 PEOPLE ASSEMBLY LOW DIFFICULTY
2
501x150mm
501x150mm
470x134mm
467x110mm
464x248mm
477x476mm
469x63mm
2
3
4
5
6
7
1
Ref Dimensions Visual Qty
1
2
2
1
1
2
1
Component parts supplied
3
Ref Dimensions Visual Qty
5.8x30mm
4x14mm
14
8
4
24
4
8
23456789
1
A
B
C
D
E
F
Parts and fittings
4
Exploded view
5
X2
Step1:
Step2:
B
A
A
A
A
A
A
A
A
B
B
B
B
A
A
A
6
Ax8 Bx4
Ax6
Step4:
Step3:
B
B
C
C
C
C
7
B
Bx2
Cx4
+
+
-
Step6:
Step5:
C
C
8
Cx2
+
+
-
LABEL
Step7:
Step8:
B
C
C
B
9
B
Bx2
Cx2
+
+
-
X2
Step9:
Step10:
E
D
D
EE
F
E
F
10
Ex8Dx4
Fx4
Step11:
E
E
11
Ex16
2
1
3
Step12:
G
G
12
Wall fittings are not provided
as different wall types require
different raw plugs and screws.
NOT SUITABLE
FOR WETROOMS
As the back panel will move in
the assembly, pls make sure the
the circle center of the back
panel and back cross bar is
aligned before screwing the
back triangle plastic connectors,
thanks for your attention !
13
Tip kit instructions
Your item of furniture has been provided with a wall attachment for your safety. It is highly recommended that
this is used to prevent furniture over tipping whichcan cause serious or fatal crushing injuries.
Never allow children to climb or hang on the drawers, doors or shelves.
Place the heaviest items in the lower drawers or shelves.
Never open more than one drawer at a time.
A suitable attachment device is provided with your product; however you will need to source suitable
fixings for your wall.
If in doubt, please consult a qualified tradesperson.
Two different wall fixings types could be provided with our furniture, the correct type is in this bag to suit
your furniture. Further information below.
Please ensure that the plastic bracket is screwed
into the wall as the image shows.
Wall screws and plugs are not provided however
please use our guide to helpyou choose the
correct screw / plug type for your wall.
When drilling the walls, always ensure there are
no hidden wires or pipes.
Please ensure that the Metal L bracket is screwed
into the wall at the image shows, the bracket
location may vary on unit location and personal
preference.
Wall screws and plugs are not provided however
please use our guide to help you choose the
correct screw / plug type for your wall.
When drilling the walls, always ensure there are
no hidden wires or pipes.
Plastic cable tie image Metal L bracket image
14
This wall fixing is provided for your safety and
we recommend that once in position the unit is
secured to the wall for extra stability.
Wall fixings may vary depending on item of
furniture purchased.
Wall fittings are not providedas different wall
types require different raw plugs and screws.
Please ensure that you use fittings that are
suitable for your wall type (see next page for a
general guide).
Please ensure that the head of the screws used
has a diameter greater than the diameter of the
hole on the wall fixing and that the fixing is safe
and secure before using.
When drilling into the walls, always ensure there
are no hidden wires or pipes.
If you are unsure, we recommend you consult a
qualified tradesperson.
Wall fixings
15
Wall fixings
Step by step
Important
When drilling into walls always check there are no hidden wires or pipes
etc. Make sure that the screws and wall plugs being used are suitable for
supporting your unit. Consult a qualified tradesperson if you are unsure.
Hints
1. General Rule; Always use a larger screw and wall plug if you are not sure.
2. Ensure you use the recommended drill bit to match the wall plug and hole size.
3. Ensure you drill the hole horizontally, do not force the drill or enlarge the hole.
4. Take extra care when drilling high walls, ceilings and ceramic tiles. Ensure the plug is fitting below the
ceramic tile to avoid splitting or cracking.
5. Ensure wall plugs are well fitted and are a tight fit in the drilled hole.
Types of Walls
You can use one of the following
types of wall plug if your walls
are made of brick, breeze
block, concrete, stone, wood
or plastic board.
1. STANDARD Wall Plug
General wall materials
These come in various sizes
and are made from plastic or
sometimes wood fibre.
2. GENERAL PURPOSE
Wall Plug
Aerated/Breeze block
Generally aerated blocks should
not be used to support heavy
loads, use a specialist fitting in this
case. For light loads, a General
Purpose Plug can be used.
3. SHIELD ANCHOR
Wall Plug
Heavy loads
For use with heavier loads such
as TV & Hi-fi Speakers and
Satellite Dishes etc.
6. HAMMER FIXING
Wall Plug
For use with walls stuck with
plaster board. The hammer
fixing allows it to be fixed to
the wall rather than the plaster
board. Always check the fixing
is secure to the retainingwall.
4. CAVITY FIXING
Wall Plug
For use with plaster board
partitions or hollow wooden
doors.
5. CAVITY FIXING HEAVY
DUTY Wall Plug
For use with plaster board
partitions or hollow wooden
doors.
Care and
Maintenance
Safety
Always check the tting and
location to ensure your safety in
and around the home.
Fitting
From time to time check the
tting to ensure the wall plugs
or screws do not become loose.
501mm
150mm
520mm
Assembly instructions
470mm
16
Glass care advice
Regular glass care advice
Do not use glass as a chopping board.
Do not use very hot or very cold items on the glass
unless adequate table mats are used to prevent
such items coming into direct contact with the
furniture.
Do not strike the glass with hard or pointed items.
Do not use abrasive cleaners on the glass as these may
scratch and damage the glass.
To clean your item, please use a soft cloth slightly
dampened with water and wipe clean.
Then buffwith a dry clean cloth. Use washing up
liquid if necessary.
If the glass is chipped or broken, stop using the
product and consult Dunelm.
17
18
Wood care advice
Wood care advice
Wood is a natural product and each piece is individual.
As a natural product, wood is affected by temperature
and humidity. We recommend that you avoid placing
the furniture directly in front of heat sources such as
radiators or fires as this can cause cracking or warping
over time.
The colour will mellow over time and new items can
vary in shade from items that you have already
purchased.
Strong direct sunlight can affect the colour dramatically,
so try to avoid this as much as possible, we also
recommend that any ornaments, coasters and items
placed on the product are periodically moved around to
allow the colour to mellow evenly.
Always use matts and coasters to protect the surface
when placing items on the furniture. This will help to
protect the finish from heat, liquids or items that might
scratch your furniture.
If items are to be placed on the surface of your furniture
and have rubber feet, it is advisable to use mats to
prevent marking.
Always lift your furniture into place, avoid dragging it
across the floor as this can cause damage to joints.
When placing furniture on a wooden or laminate floor,
please ensure that the plastic or felt protectors are
securely fitted and in place.
Only clean using a damp cloth and mild detergent, do not
use bleach or abrasive cleaners.
From time to time check that there are no loose screws on
this unit.
Remove any spills immediately to avoid staining.
Dust regularly with a soft lint free cloth or duster.
The use of abrasive polish or silicon based polishes is not
advised as these can affect the polished finish and joints
over time.
Uneven floors could give the impression that doors of
wall units and wardrobes are out of alignment. Be aware
of this and compensate if necessary by adjusting the
hinges or packing a corner to level the item. Please refer
to the instructions, included with your furniture, and
adjust accordingly.
If your furniture becomes stained, scratched, chipped or
suffers other damage, we recommend professional help is
sought to restore it. Please contact our customer services
line for recommended agents.
Always follow fitting instructions carefully and retain
them for future use.
Manufactured in China for Dunelm (Soft Furnishings) Ltd.LE7 1AD
&Dunelm (Soft Furnishings) Londonderry Ltd. BT48 8QN

Other Dunelm Indoor Furnishing manuals
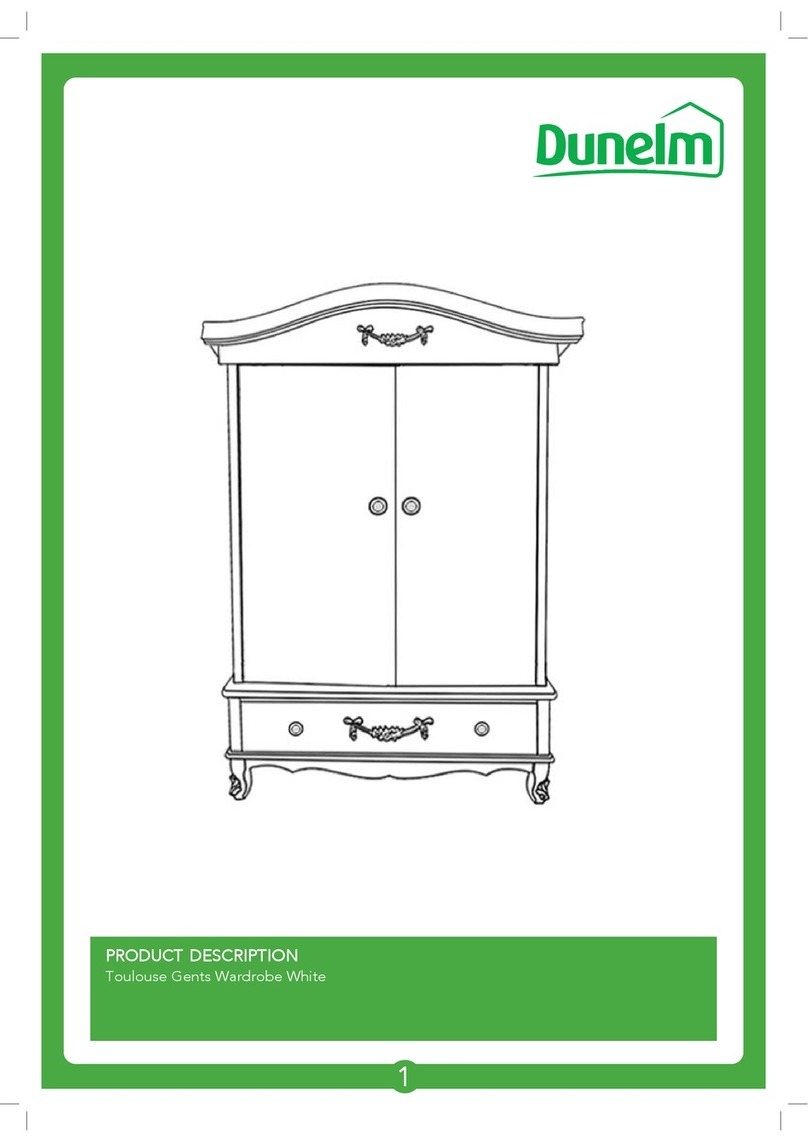
Dunelm Boston 30151768 User manual

Dunelm

Dunelm Boston 30151768 User manual

Dunelm Wilson User manual

Dunelm

Dunelm Wilson User manual

Dunelm Soho 4 Drawer Chest Technical specifications

Dunelm

Dunelm Soho 4 Drawer Chest Technical specifications

Dunelm Quinn 1000217587 User manual

Dunelm

Dunelm Quinn 1000217587 User manual

Dunelm Toulouse Bedside Chest User manual

Dunelm

Dunelm Toulouse Bedside Chest User manual

Dunelm Loxwood 30748595 User manual

Dunelm

Dunelm Loxwood 30748595 User manual

Dunelm Taylor User manual

Dunelm

Dunelm Taylor User manual

Dunelm Aria 4 Drawer Chest User manual

Dunelm

Dunelm Aria 4 Drawer Chest User manual

Dunelm MEMPHIS DAY BED User manual

Dunelm

Dunelm MEMPHIS DAY BED User manual

Dunelm Anya 180 User manual

Dunelm

Dunelm Anya 180 User manual

Dunelm ADELE 4FT6 BED 1000147436 User manual

Dunelm

Dunelm ADELE 4FT6 BED 1000147436 User manual

Dunelm Fulton Wide TV Unit User manual

Dunelm

Dunelm Fulton Wide TV Unit User manual

Dunelm Soho Series User manual

Dunelm

Dunelm Soho Series User manual

Dunelm Zoey User manual

Dunelm

Dunelm Zoey User manual

Dunelm Delphi Large Slim Cabinet User manual

Dunelm

Dunelm Delphi Large Slim Cabinet User manual

Dunelm Maddox Self Assembly Chair User manual

Dunelm

Dunelm Maddox Self Assembly Chair User manual

Dunelm Lynton Gents Wardrobe User manual

Dunelm

Dunelm Lynton Gents Wardrobe User manual

Dunelm Indi Dressing Table User manual

Dunelm

Dunelm Indi Dressing Table User manual

Dunelm 30151290 User manual

Dunelm

Dunelm 30151290 User manual

Dunelm Brisbane 2 Door 2 Drawer Robe 30151822 User manual

Dunelm

Dunelm Brisbane 2 Door 2 Drawer Robe 30151822 User manual

Dunelm Seattle User manual

Dunelm

Dunelm Seattle User manual

Dunelm Toulouse Gents 30168623 User manual

Dunelm

Dunelm Toulouse Gents 30168623 User manual

Dunelm Fulton Corner TV Unit User manual

Dunelm

Dunelm Fulton Corner TV Unit User manual

Dunelm 30151824 User manual

Dunelm

Dunelm 30151824 User manual

Popular Indoor Furnishing manuals by other brands

Lightolier Lytespan 8316 specification

Lightolier

Lightolier Lytespan 8316 specification

Seconique Furniture NEVADA Assembly instructions

Seconique Furniture

Seconique Furniture NEVADA Assembly instructions

Mäusbacher MATTI 0605-22-2Gl Assembly instructions

Mäusbacher

Mäusbacher MATTI 0605-22-2Gl Assembly instructions

Next T80036 Assembly instructions

Next

Next T80036 Assembly instructions

Teknion complements LIVELLO Installation guides

Teknion

Teknion complements LIVELLO Installation guides

Next 189705 Assembly instructions

Next

Next 189705 Assembly instructions

Sleepmasters TOLH45 Assembly instructions

Sleepmasters

Sleepmasters TOLH45 Assembly instructions

SHANGRI-LA MANILA ENTERTAINMENT UNIT SLMANILESWA Assembly

SHANGRI-LA

SHANGRI-LA MANILA ENTERTAINMENT UNIT SLMANILESWA Assembly

Next BOURTON M60904 Assembly instructions

Next

Next BOURTON M60904 Assembly instructions

Schwarze Biene Outdoor SHORTY Assembly instructions

Schwarze Biene Outdoor

Schwarze Biene Outdoor SHORTY Assembly instructions

Brevetti LAMPOLET BL7-H12 Series instructions

Brevetti

Brevetti LAMPOLET BL7-H12 Series instructions

Super Handy GUT153 Operator's manual

Super Handy

Super Handy GUT153 Operator's manual

Displays2go Easel DIGCOM43 Assembly

Displays2go

Displays2go Easel DIGCOM43 Assembly

Gami ALIKA G71 100 manual

Gami

Gami ALIKA G71 100 manual

Powell 993-230 Assembly instructions

Powell

Powell 993-230 Assembly instructions

Woodstock Shop FoxD3640 instruction sheet

Woodstock

Woodstock Shop FoxD3640 instruction sheet

Flokk RBM Ana 4340 user guide

Flokk

Flokk RBM Ana 4340 user guide

Aspire PTM638005 user manual

Aspire

Aspire PTM638005 user manual

manuals.online logo
manuals.online logoBrands
  • About & Mission
  • Contact us
  • Privacy Policy
  • Terms and Conditions

Copyright 2025 Manuals.Online. All Rights Reserved.