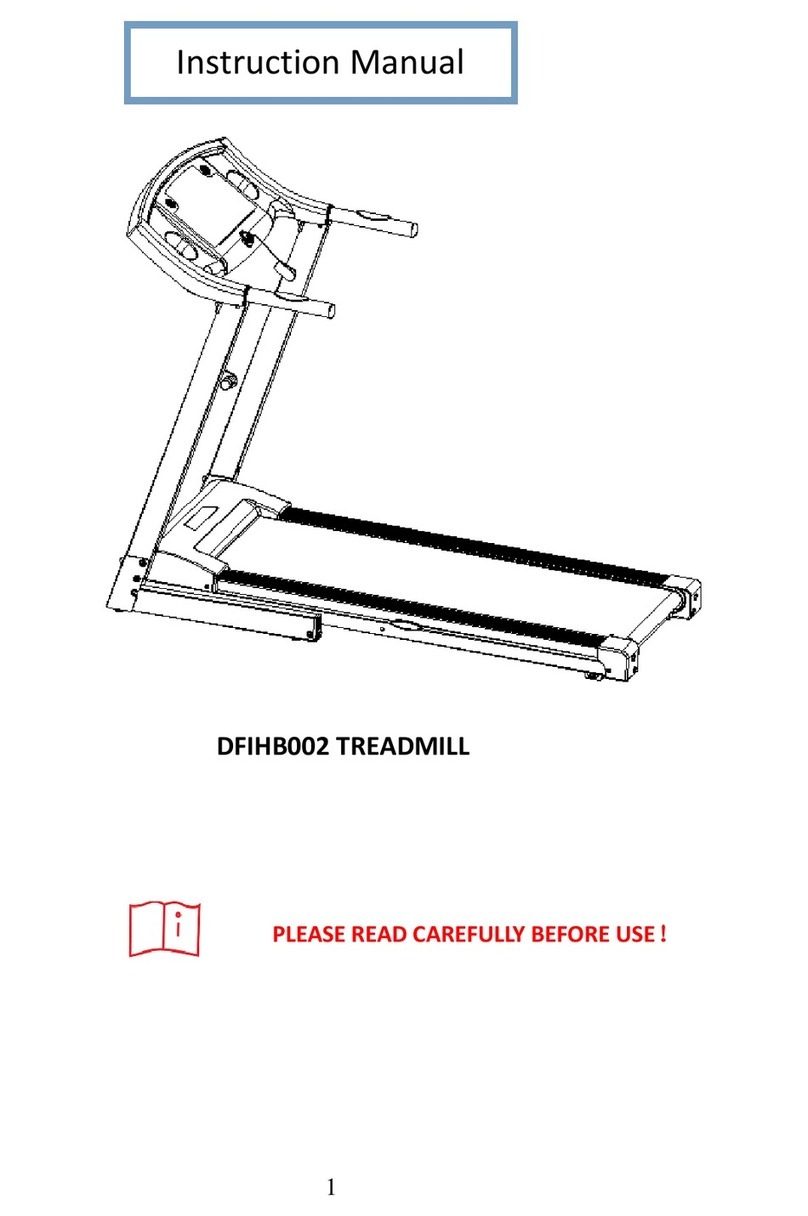
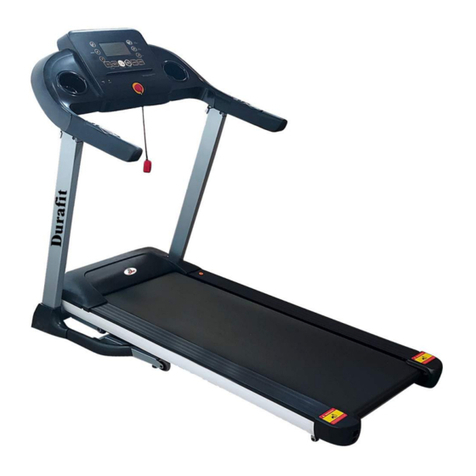
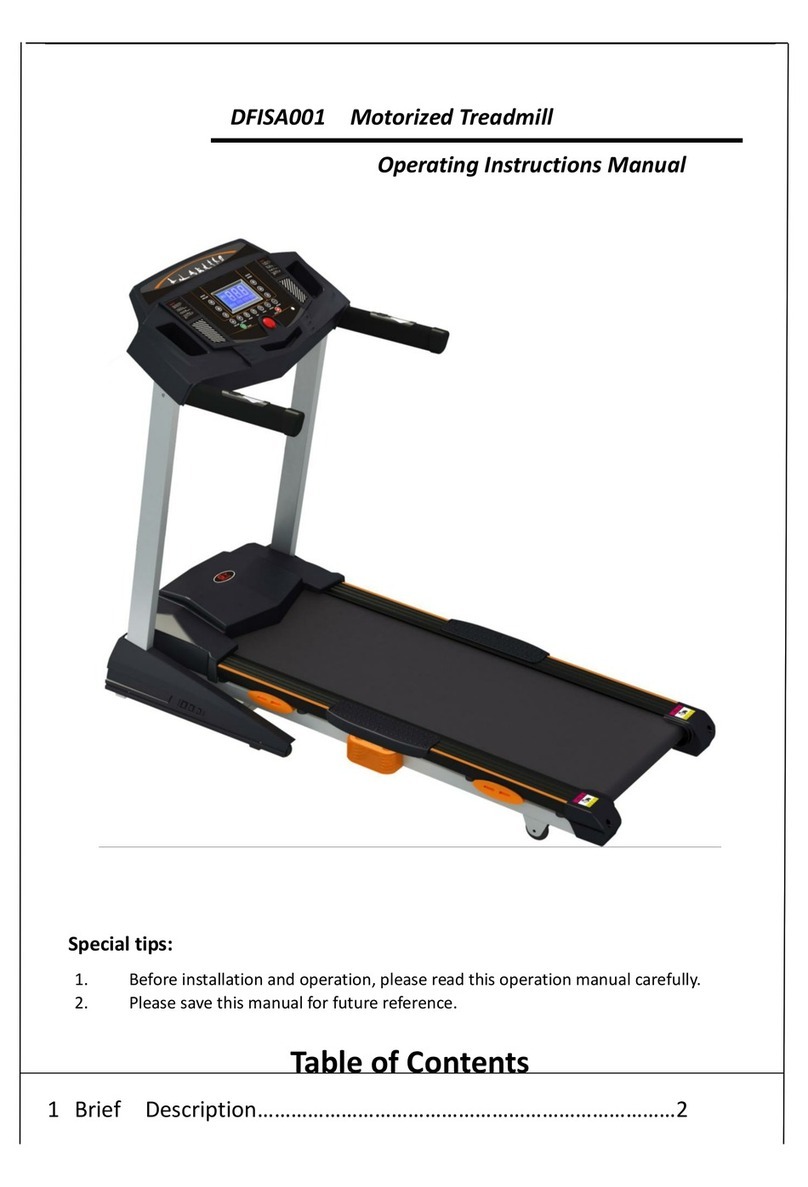
Durafit Beast Instruction Manual

Commercial Treadmill
Operating Instructions Manual
Special tips:
1. Before installation and operation, please read this operation manual carefully.
2. Please save this manual for future reference.

Table of Contents
1Brief Description…………………………………………………………………1
2Main Technical Features…………………………………………………………1
3Tips for safety…………………………………………………………………………2-3
4Installation………………………………………………………………………………3
5Use and Operation……………………………………………….…………………3-7
6Maintenance…………………………………………………………………………..7-9
7Guides for malfunction……………………………………………………………9-10
8Warranty…………………………………………………………………………………10-11
9Error and self-inspection…………………………………………………………. 11
10 Installation Sketch………………………………………………………………….12-14

- 1 -
1. Brief Description
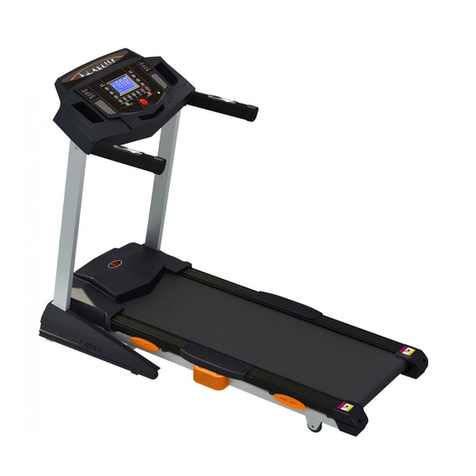
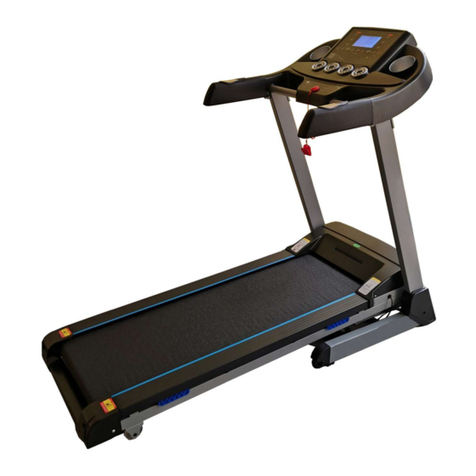
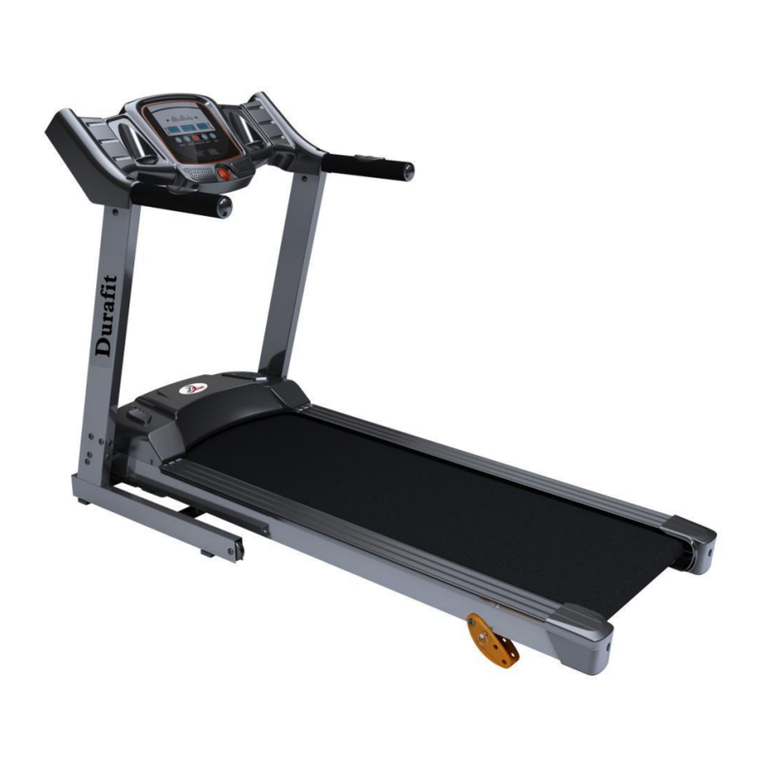
motorized treadmill (diagram 1) can help complete your goal of keeping fit together with
unique and elegant appearance. Easily read panel parameter. Easily operated folding system
realizes space-saving. Auto speed range 1-22km/h and auto incline range0-18%. All makes it a
hot Commercial use fitness equipment.
Meter accessories
Safety key
Heart rate sensor
Pillar accessories
Handle
Footplate
Running belt
Running belt adjustor
Power switch
Diagram 1: Commercial Treadmill
2. Main Technical Features
Main use: Body and beauty building
This treadmill is for Commercial use
Panel displays speed, time, distance, heart rate, calorie, MP3, bodyfat, etc.
Display Mode:LED
Motor power: AC 4.0HP
Input voltage: 220V±10%
Frequency: 50HZ
Temperature for working: 0∽40℃
Speed range: 1∽22km/h
Auto incline: 0-18%
Time display range:0:00∽99:59(minute : second);
Distance display range:0.1~99.9kms
Machine size (L*W*H)::2200mm x 890mm x 1520mm

- 2 -
3. Tips for Safety
3.1 Insert the power plug into the socket directly. Current load should be less than 15A.
3.2 The constant max weight is less than 180kgs.
3.3 Place your treadmill on the clean floor,not on the thick carpet, otherwise it will not
convenient for ventilation. Also please don’t put the treadmill in the moist place or outdoors;
If there is something wrong with the electrical wire, please replace it with the electrical wire
provided by our company. For the replacement, please contact with the local distributor.
3.4 The treadmill should be placed in the convenient position for electric socket.
3.5 The freshman should grip the handrails when jogging and running until familiarly. Please
don’t stand on the running belt, after the machine is power on (the safe key is at the appointed
position).Please stand on the footplates besides the treadmill, press the “start” button, it runs at
the lowest speed, at this time you can run on the belt.
3.6 While running, you should dress properly. Don’t dress too loosely in case your clothes are
entangled by the machine .And please wear sport shoes with soft sole.
3.7 Before taking down the protecting cover of the treadmill, please keep the machine is power
off.
3.8 Don’t let children and non-sporters get close to the running treadmill to avoid unnecessary
injury.
3.9 Please do remember the position of the safety key, when you are running on the machine. In
this way, you can Press the safe key for the machine’s sudden stop under the dangerous
condition. Then you will not be injured.
3.10 If you are enjoying other entertainment while running such as watching TV, reading. Please
be particularly careful. These activities will distract your attention, which may make you lose
your balance and get hurt.
3.11 Please pull the plug off from socket and keep the safe key, when the treadmill is unused.
3.12 Please don’t put anything under treadmill and don’t let your children play near it after
folding.
3.13 Please consult your doctor at first before running, if you have one of the following diseases.
a) Cardiopathy, hypertension, sugar diabetes, respiratory disease, smoking, and other
chronic diseases, complication disease.
b) If you are over 35 years old and heavier than common weight.
c) Women in pregnant or in breasting period.
3.14 Please stop exercising immediately and consult your doctor if you’re feel giddy, surfeit,
thorax ache or other symptoms.
3.15 Please drink adequate water after taking exercises on our treadmill for more than 20
minutes.
- 3 -
3.16 when in running,we have to keep there is enough free space behind the treadmill ,usually
as the rule,it should be length(2m) and the width should be the same as treadmill
3.17 please kindly add 20ml professional oil per time after 3days’work or 20 hours’ running
time.
4. Installation: See “Installation sketch”
5. Use and Operation

- 4 -
5.1 Panel Keys and Function
(1)“NEXT”
When you use USB function, press this key to choose the next song in your USB.
(2)“Prev”
When you use USB function, press this key to choose the previous song in your USB.
(3)“ Vol+”
When the amplify is open, press this key to increase the voice.
(4)“ Vol-”
When the amplify is open, press this key to down the invoice.
(5)“ Time Window”
It shows time.(range:00:00 -99:59)
(6)“ Distance window”
It shows the distance.(range:0 km-99.9km)
(7)“Speed Window”
It shows speed. (range:1km/h-22km/h)
(8)“Incline shortcut key”
Press this key, the incline goes directly to the chosen height.
(10)incline-up
(11)incline-down
(18)speed-down
(17)speed-up
(20)speed shortcut key
(14)safety key
(16)prog
(12)Mode
(9)body fat
(19)music
(24)LCD window
(13)stop
(15)start
(7)Speed window
(8)incline shortcut key
(6)Distance window
(5)Time window
(23)Pluse window
(22)Calorle window
(21)Incline window
(4)vol -
(3)vol+
(2)Prev.
(1)Next

- 5 -
(9)“ body fat ”
Press once, it will show “BODYFAT” in window, and then press “MODE” button, “SEX1”,
which indicated “man”, will show in the window. Then “man” (1) or “woman” (2) can be selected
by “speed up” and “speed down” buttons.
Press “mode” button again, “AGE25”- the initial age, will show in the window. Then age can be
selected by “speed up” and “speed down” buttons, range from 10 to 99 years old.
Press “mode” button again, “HEIGHT” with initial value 170cm. will show in the window. Then
height can be selected by “speed up” and “speed down” buttons, range from 50 to 250cm.
Press “mode” key again “WEIGHT” with initial value 70kgs, will show in the window. Then press
weight can be selected by “speed up” and “speed down” buttons, range from 20 to 200KGS.
Press “mode” key again, “BMI” will show in the window. The BODYFAT figure will display on the
window once the heart-rate sensor on both handlebars are grasped. To quit this program, only
press “mode” button.
Press the BODYFAT button to evaluate your body fat by built-in program.
a) Press BODYFAT button, “BODYFAT” will display in the window. Then press “MODE” button,
“SEX”, will show in the window. Then “man” (1) or “woman”(2) can be selected by “speed
up” and “speed down” buttons.
b) Press “mode” button again, “AGE” with initial value 25, will show in the window. Then age
can be selected by “speed up” and “speed down” buttons, range from 10 to 99 years old.
c) Press “mode” button again, “HEIGHT” with initial value 170cm will show in the window.
Then height can be selected by “speed up” and “speed down” buttons, range from 50 to 250cm.
d) Press “mode” key again “WEIGHT” with initial value 60kgs, will show in the window. Then
weight can be selected by “speed up” and “speed down” buttons, range from 20 to 150KGS.
e) Press “mode” key again, “BMI” will show in the window. The body fat figure will display on
the window once the heart-rate sensors on both handlebars are grasped. To quit this program,
only press “mode” button.
Please note: the following explanation as guidance only :( Please refer to GP if you have any
concerns about your results)
Explanation:
Bodyfat < 19: underweight.
Bodyfat 19~25: normal
Bodyfat 26~30: overweight
Bodyfat > 30: obese

- 6 -
(10)“incline-up”
Press this key one by one or Press it continuously, you can choose the incline you need, except
for the alarm condition.
(11)“incline-down”
Press this key one by one or Press it continuously, you can choose the incline you need, except
for the alarm condition.
(12)“Mode”
Under ready condition, press this key to set time, distance and calorie accordingly. Press
“speed-up” or “speed-down” keys to set the value of time, distance and calorie.
a. If you set the exercise time and you start the treadmill, then the treadmill will record the time.
The treadmill will stop once your exercise time has been reached.
b. If you set the exercise distance and you start the treadmill, then the treadmill will record the
distance. The treadmill will stop once your exercise distance has been reached.
c. If you set the calories and you start the treadmill, then the treadmill will record the calories
burnt. The treadmill will stop once your specified amount of calories has been burnt.
(13)“stop”
Under running condition, press this key, if it runs at speed more than 3.5km/h, it will slow down
then stop. During this stopping process, other keys are not available. If it runs at speed less than
3km/h, then it stops immediately.
(14)“safety key”
Under urgent condition, pull this key, machine stops immediately.
(15)“start”
Under ready condition, press this key, it runs at the speed of 1.0km/h.
(16)“prog”
You can also press the “program” button to select your preferred program from the
predefined programs. Please note P1 to P50 programs are speed program only without inclined
change. P51 to P99 programs are a combination of speed and inclined change. Press the
“PROG” key once again to enter “99 direct selected programs” there are 99 programs, “P1-P99”
the first 50 programs without incline. The last 49 programs including incline. So please choose
carefully
(17)“speed-up”
Under running condition, press this key, speed can be speeded up to the one you need.
(18)“speed-down”
Under running condition, press this key, speed can be speeded down to the one you need.
(19)“music”
Press this key to open or shut the speaker amplify
(20)“speed shortcut key”
Under running condition, press this key, speed can be set to the value directly.
(21)“Incline window”
It shows auto incline (range:0-18%)
(22)“Calorle window”

- 7 -
It shows calorie. (range:1 -999cal)
(23)“Pluse window”
It shows the pulse. (range:0-250)
(24)“LCD window”
It shows 400mm Racetrack
5.2 Unload operating
1. Insert power plug into the socket with earth wire, turn the switch to “1” position which is on
the frame
2. Put the safe key in the right position, then circuit is on, press “on/off”, keep it run in unload
condition. Test the condition of running belt (testing from low speed to high ones), after testing,
press “on/off”.
3. If everything is ok, then start to run.
5.3 Meter operating instruction
5.3.1
1. Insert power plug into the socket with earth wire, turn the switch to “1” position which is on
the frame. Place the safe key to the appointed position. After a few seconds, panel will show that
the machine is ready.
2. Release the safety key, and stand on the footplate on both sides.
3. Press“on/off” key, running belt moves at the lowest speed (1.0km/h). Speed windows will
display your running speed.
4. Start to run.
5. Press speed key or incline key to adjust speed and incline, speed window and incline window
will display your speed and incline .
6. To end your exercise in a safe way, please first press “on/off” key to close the treadmill. Please
leave the running belt until it stops slowly. Turn off the power.
5.3.2 Heart Rate Testing
Our treadmill can test your heart rate via the heart rate sensor. The data is only for reference.
6. Maintenance
6.1 Identification ways for the degree of tightness of running belt and poly V-belt.
When the running belt skips, please follow the steps as follows to make sure which belt
needs to be adjusted, running belt or poly V-belt.
a) Cut off power, screw off the bolt on cover of protection. Then take down the protecting cover
from the treadmill
b) Turn the speed to be around 3km/h, step on the running belt by pressure and try your best to
make the running belt stop. If running belt stops, together with the front roll, but the motor still
runs, under this condition, it means the poly V-belt needs to be adjusted.

- 8 -
c) Turn the speed to be around 3km/h, step on the running belt by pressure and try your best to
make the running belt stop. If running belt stops, but front roll still runs, under this condition, it
means the running belt needs to be adjusted.
6.2 The adjustment steps for poly V-belt
Cut off power firstly and take down the cover of protection.
a) Loosen the four screws for the motor, turn the adjustable screw(there is one screw specially
for adjust ) a circle by clockwise, then screw down the four loose screws.
b) Keep the power on, and adjust the poly V-belt is loose or not following the point 6.1 above
and too see if the v-belt is tight enough, if need to tight again, please repeat the action same
to point a) above.
6.3Adjustment steps for running belt
a) Turn the speed to be 5.6km/h. for running
b) Turn the bolts at both right and left sides to be half a circuit or a circuit by the 8mm spanner.
( diagram1 and diagram 2)
c) After adjustment, running belt still skips, please repeat the steps above.
Tighten the running belt(diagram 1) loosen the running belt(diagram 2)
6.4 The adjustment steps for running belt deflection
The running belt will be deflected more or less under using. Then it needs to be adjusted.
The steps are as follows:
a) Place the treadmill on a horizontal floor, turn the speed to be 5.6km/h.for running.
b) If the running belt is deflected to the right, adjust the bolt on the right by turning it for half
an circle clockwise, then adjust the bolt on the left by turning it for half an circle.(see diagram
3)
c) If the running belt is deflected to the left, adjust the bolt on the left by turning it for half an
circle clockwise, then adjust the bolt on the right by turning it for half an circle.(see diagram 4
d) After the adjustment, the running belt still keeps deflecting , please repeat the steps above.
running belt deflected to right running belt deflected to left
The adjustment for right deflection ( diagram 3) The adjustment for left deflection
( diagram 4)
6.5 Running board lubrication

- 9 -
The treadmill is equipped with lubricated running board, which needs constant
maintenance. The friction between running board and running belt has a great effect on the
treadmills’ e life. So
please lubricate your machine termly. The steps are as follows:
a) Cut off the power
b) Wipe out the dust between running board and running belt with a clean cloth.
c) Daubing the Silicon oil on the running board and running belt equably.
d) While adding lubrication oil, please keep your clothes away from the machine for avoiding
the injury.
e) After 3days or 20 hours’ use, please do add 20ml professional oil to the treadmill per time.
6.6 Cleaning
a) Please power off and pull the plug cap out before cleaning.
b) Wipe out the dust stuck on the surface and running board frequently.
c) Please clean the surface of frame and running belt with a soft cloth dipped with suds, don’t
use things like eradicator and naphtha.(After cleaning, please dry it for use)
d) Please take the protecting cover off every two month, use vacuum dust-collector to suck the
dust remaining inside of the protecting cover.(The dust will make the components of circuitry
board short circuit )
6.7 Cautions, folding, depositing
6.7.1 Cautions
Please make sure that the plug cap has been pulled out before cleaning or maintenance.
6.7.2 Depositing
The treadmill should be deposited indoor in case of being damp. Water can’t be spattered
and nothing can be laid and inserted on the treadmill.
Please keep the air a little humid in winter. And please void the big static electricity, it may
disturb the operation of meters or even damage them.
7. Guides for malfunction
7.1 Analyzing and eliminating malfunction
Item
.
Malfunction
Reasons
Solution
1
Treadmill can’t be started
The safe key isn’t in the right
position
Put the safe key in the right position
The electrical switch is
placed to “0”
Turn the electrical switch to “1”
creepage switch is not OPEN
Replace creepage switch
2
Meter can’t display
The meter control line and
control panel are
Pull the bolt out and open the motor
cover and reconnect it

- 10 -
unconnected
Turn on the meter and reconnect
3
Heart rate can’t be displayed
The pole of heart rate sensor
is not wet enough
Wet the pole with water or liquor for
hard contact lenses
Disturbed by
electromagnetism
Stay away from electromagnetism
4
Incline doesn’t work
The motor wire is not well
connected
Open the motor cover and reconnect
it
5
Running belt runs faster or
slower than what has been
displayed
Unadjusted
Readjust it
6
Running belt slips
Running belt is not tight
enough
Please read point 6.3 Adjustment
steps for tightening running belt for
reference
7
Running belt is deflected
The running belt is
unadjusted.
Please read point 6.4 The steps for
adjusting the deflected running belt
for reference
7.2 If you still can’t solve the problems after taking the solutions above, we hope that you can
contact our dealer or company as soon as possible.
8. Warranty
8.1 We have assigned well-trained professionals at the dealers’. They are ready to serve for you
at any time. You can purchase any spare parts you need.
8.2 Within the warranty time, and under your correct operations, our technicians will replace or
repair the defective accessories in free.. But you will have to pay our technicians for the cost of
broken parts if the warranty is expired or you use them in an incorrect way.
8.3 The warranty for spare parts under the correct operation.
a) Frame: lifetime
b) control board: 1 years
c) Motor: 3 years
8.4 Condition beyond Manufacturer’s warranty:
If the product you purchase has the problems as follows, the manufacturer’s warranty is not
effective:
a) Improper operating, negligence, accident
b) Wrong adjustment of running belt and poly V-belt
c) Unauthorized take-down
d) Improper maintenance
9 Error and self-inspection
9.1 Error:Treadmill gives the following error code if anything wrong,please contact the
professional service people soon if it happens.

- 11 -
9.2 Self-inspection
No need to self-inspect unless special situation. If necessary, please do it under the
instruction of professional technical people or sales because of the high voltage.
a,open the red power switch and make sure again the safety key is not released.(if released,
please press down the key)
b,Press the “start” and ”speed +” key at one time until the safe key button has been turned on
as the direction on the button. then press the “mode” key
c,after the LED display finished, then press the “mode” key again.
d,the treadmill runs from the lowest speed to highest speed , meanwhile, the incline is also from
lowest to highest. Then treadmill stopped.
. The whole self-inspection process takes about 5 minutes.

- 12 -

- 13 -

- 14 -
Proofreading has been carefully done to the manual, if there are printing mistakes, please
kindly understand. If pictures and the real product doesn’t match, please take the product as the
final and correct one.
If any improvement on function and specification, please kindly understand if you are not
informed.
Part List

- 15 -
No.
Name
No.
Name
No.
Name
1
Meter
14
Frame foot pad
27
2
Meter Frame
15
Left End cap
28
3
Front Roller
16
Right End cap
29
4
Right knighthead
17
Deck
30
5
Left knighthead
18
Running Belt
31
6
Incline Motor
19
Real roller
32
7
Driver belt
20
Side Rail
33
8
Motor
21
Side Rail Foot Pad
34
9
Frame Tube
22
Handrail foam
35
10
Frame
23
inverter
36
11
Wheel
24
Hand Rail
37
12
Incline components
25
keyboard
38
13
Deck Tube
26
PCB
39
Table of contents
Other Durafit Treadmill manuals

Durafit
Durafit SPARK DFIHB003 Instruction Manual

Durafit
Durafit DFIHB002 User manual

Durafit
Durafit DFIHD001 User manual

Durafit
Durafit Heavy-Hike GV-4602F Instruction Manual

Durafit
Durafit AGILE User manual

Durafit
Durafit DFIHE002 User manual

Durafit
Durafit DFIHB001 Instruction Manual

Durafit
Durafit DFISA001 Instruction Manual

Durafit
Durafit Tiger User manual