manuals.online logo
Brands
  1. Home
  2. •
  3. Brands
  4. •
  5. dynarex
  6. •
  7. Mobility Aid
  8. •
  9. dynarex 10167 User manual

dynarex 10167 User manual

Reorder No. 10167
Manufactured for: Dynarex Corporation
10 Glenshaw Street • Orangeburg, NY 10962
USA • www.dynarex.com
Made in China
Your Dynarex Product is warrantied to be free of defects in
materials and workmanship for the lifetime of the product for the
original purchaser. This item was built to exacting standards and
carefully inspected prior to shipment. This Limited Lifetime
Warranty is an expression of our confidence in the materials and
workmanship of our products and our assurance to the consumer
of years of dependable service.
The Warranty shall not apply under the following conditions:
• Problems arising from normal wear
• Problems arising from failure to adhere to the product
instructions
• Problems arising from misuse, negligence, accident or
improper operation, maintenance or storage
• Problems arising from modifications or unauthorized repairs,
parts or attachments
• Products where the serial number has been removed or
defaced
• Problems with non-durable components, such as rubber
accessories, casters, and grips, which are subject to normal
wear and need periodic replacement
Dynarex shall not be liable for any consequential or incidental
damages whatsoever. Dynarex shall repair or replace defective
products at its option. The foregoing warranty is exclusive and in
lieu of other express warranties, if any, including the implied
warranties of merchantability and fitness of a particular purpose.
The remedy for any violation of the implied warranty shall be
limited to repair or replacement of the defective product pursuant
to the terms contained herein.
If you have a question about your Dynarex device or this
warranty, please contact an authorized Dynarex dealer.
SYMBOL GLOSSARY
For an explanation of symbols
used in Dynarex packaging, visit
dynarex.com/symbols.php
R191112
LIMITED LIFETIME WARRANTY
WEIGHT CAPACITY: 300 LB.
WARNING:
Cancer and Reproductive Harm
www.P65Warnings.ca.gov
Travel Walker
With 5″ Wheels
This product contains natural rubber
latex which may cause allergic
reactions in some individuals.
CUSTOM WALKER ADJUSTMENTSWALKER INSTRUCTIONS
Easy “pull up” trigger release for opening and closing.
IMPORTANT SAFETY NOTICE:
Your walker features flip up legs that can be attached to the
frame of the walker for easy storage. Be sure that when
the legs
are turned down for use as a walker, the leg pin is
inserted into
the lock collar as shown above. Be sure to
check the leg height
adjustment hole position when setting up or folding for storage in
the carry bag to be sure all hole adjustment are the same.
1 2
Travel Walker
LEG PIN
LOCK
COLLAR
GLIDE SKIS
Be sure glide ski is centered on leg and
facing forward with lip turned up at the
front as shown.
With your arm extended down, handle
should be at wrist height. With your hand
placed on the hand-grip, your elbow
should be flexed 20˚- 30˚.
CAUTION:
Be aware of the following:
• Electrical cords in way
• Liquids on floor
• Throw rugs
• Toys or debris
• Furniture
• Doors and door steps
• Gaps in floor
WARNING:
1. Use wheels on front legs only or on all four legs with
appropriate rear wheel brakes.
2. Do not push one side of the walker ahead and then other
side without lifting the walker first.
3. Use Dynarex accessories only. Use of other manufacturers’
accessories can result in improper fit and risk fall and/or
injury.
4. Do not use on stairs or escalators.
3 4
Step 1
Align the middle of your foot with
the back legs of the walker.
Step 2
Slide the walker forward and place
it comfortably in front of you.
Step 3
Carefully, walk forward one step
at a time.
Wheelchair to walker transfer
(with lower extremity injury to right leg or foot)
Three-point gait
(for walking walker)
Making certain wheels on the wheelchair are locked, lift your
body by pushing down on the armrests and carefully transfer
one hand at time to the walker.
Making certain wheels on the wheelchair are locked, lift your
body by pushing down on the armrests and carefully transferring
first the left hand,then the right hand to the walker. (If injury to left
leg or foot transfer the right hand first, followed by left.)
FOLDING
5
1. Pull up on release lever.
3. Fold the front frame legs, on both sides.
5. Fold legs up and insert into receptacle on frame. Repeat for
remaining legs.
4. To make the walker more compact for storage and transport,
identify push pin above leg collar, depress pin and pull leg
out of tube.
2. Fold the back frame legs, on both sides.
6

Other dynarex Mobility Aid manuals

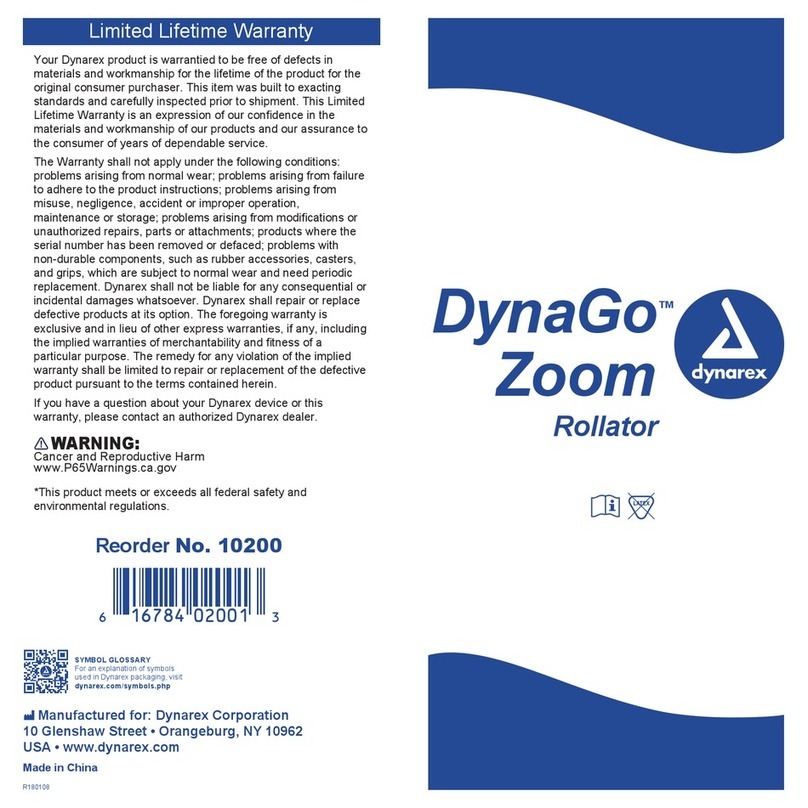
dynarex DynaGo Zoom User manual

dynarex

dynarex DynaGo Zoom User manual
dynarex 10702 User manual

dynarex

dynarex 10702 User manual
dynarex 12960 User manual

dynarex

dynarex 12960 User manual

dynarex 10165 User manual

dynarex

dynarex 10165 User manual
dynarex 10164 User manual

dynarex

dynarex 10164 User manual

dynarex 10555-2HB User manual

dynarex

dynarex 10555-2HB User manual

dynarex 10323 User manual

dynarex

dynarex 10323 User manual

dynarex Bari+Max Bariatric HD Commode User manual

dynarex

dynarex Bari+Max Bariatric HD Commode User manual

dynarex 10160 User manual

dynarex

dynarex 10160 User manual

dynarex 10350 User manual

dynarex

dynarex 10350 User manual
dynarex 12961 User manual

dynarex

dynarex 12961 User manual

dynarex Bari+Max 10374 User manual

dynarex

dynarex Bari+Max 10374 User manual
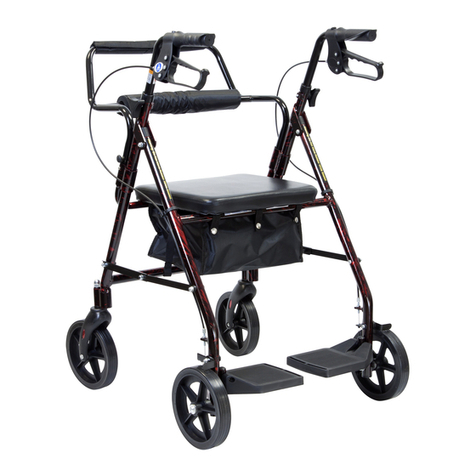
dynarex DynaGo Duo User manual

dynarex

dynarex DynaGo Duo User manual

dynarex 10460 User manual

dynarex

dynarex 10460 User manual
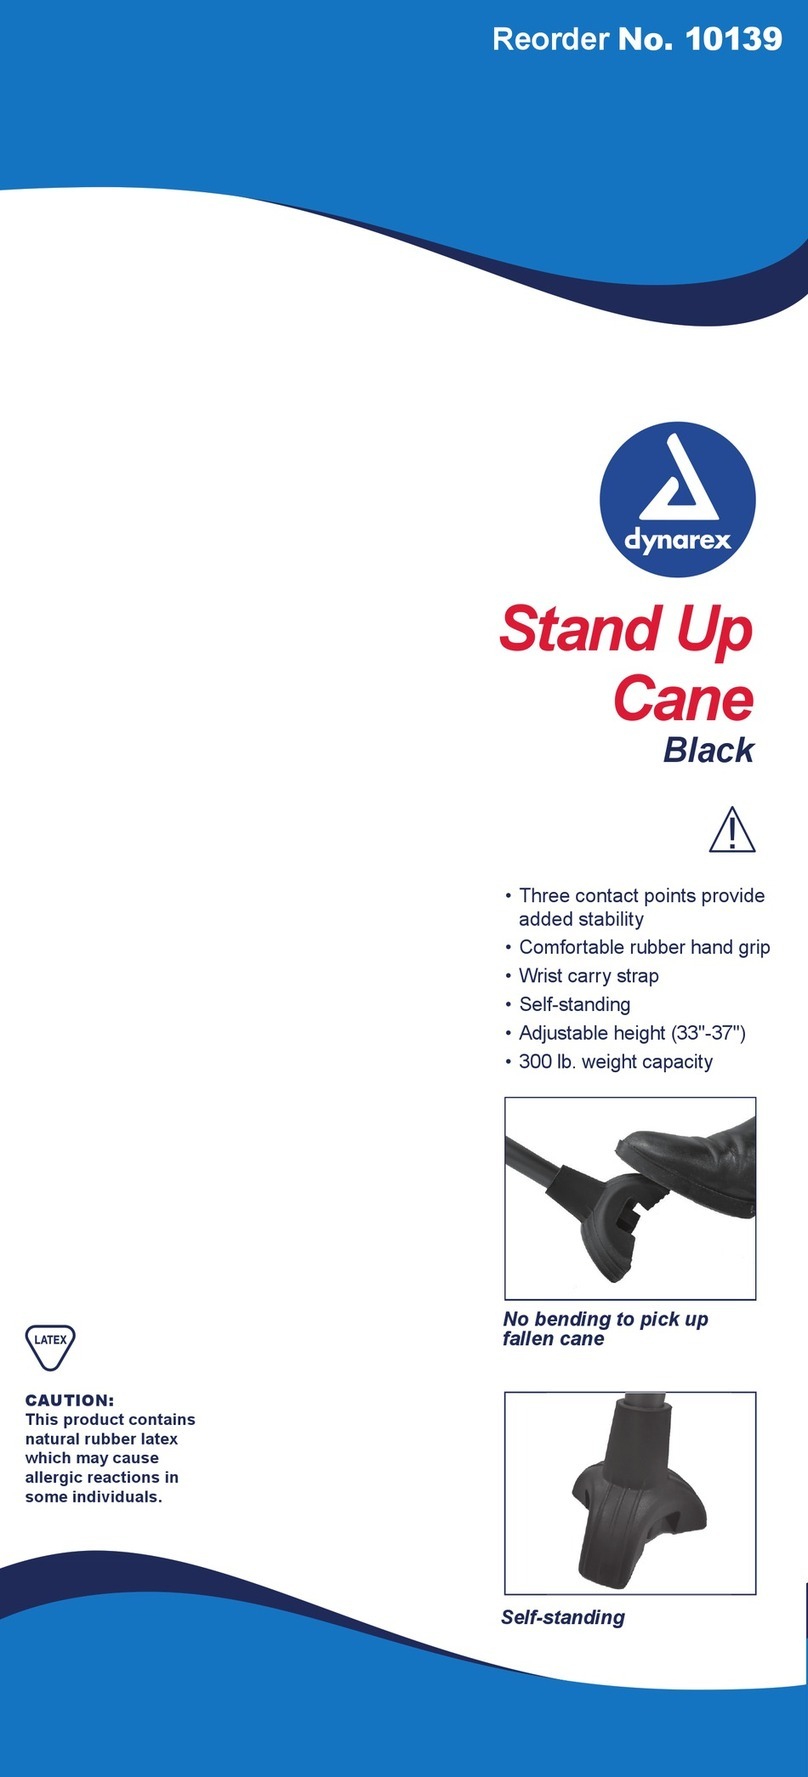
dynarex 10139 User manual

dynarex

dynarex 10139 User manual
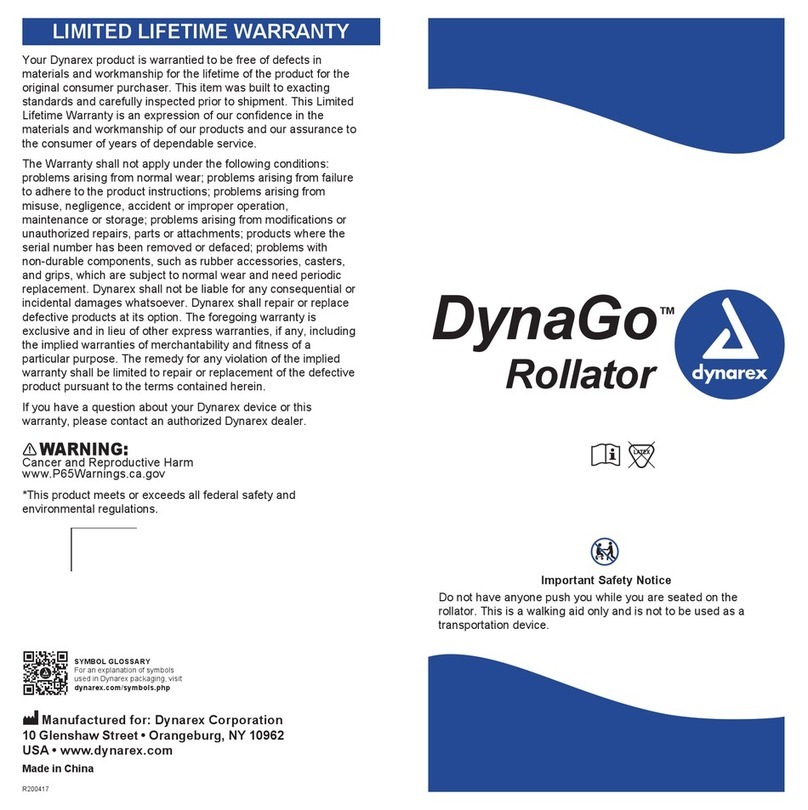
dynarex DynaGo User manual

dynarex

dynarex DynaGo User manual

dynarex Bari+Max Bariatric HD User manual

dynarex

dynarex Bari+Max Bariatric HD User manual

dynarex 10215 User manual

dynarex

dynarex 10215 User manual

dynarex Bari+Max Bariatric HD Commode User manual

dynarex

dynarex Bari+Max Bariatric HD Commode User manual

dynarex 10556 User manual

dynarex

dynarex 10556 User manual

Popular Mobility Aid manuals by other brands

Antar AT51031 instruction manual

Antar

Antar AT51031 instruction manual
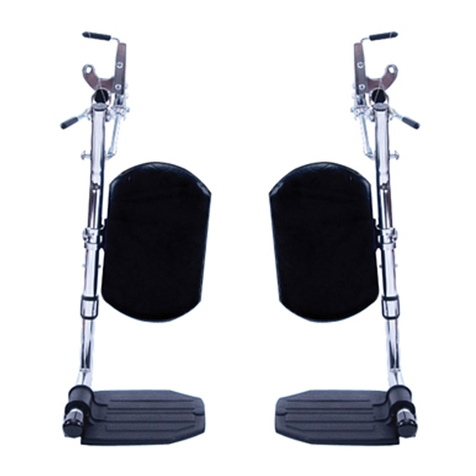
Invacare Articulating/Elevating Legrest Installation and operating instructions
Invacare

Invacare Articulating/Elevating Legrest Installation and operating instructions

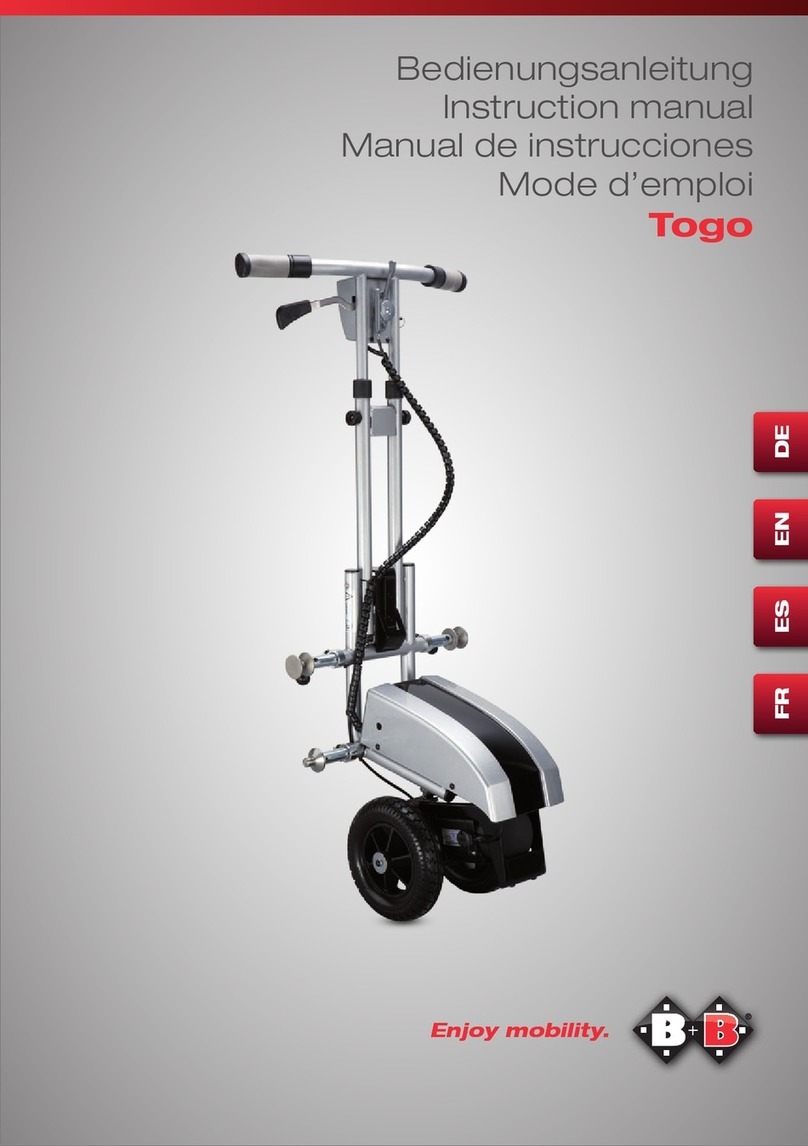
B+B Togo instruction manual

B+B

B+B Togo instruction manual

aidacare Atlanta Operation manual & product specification
aidacare

aidacare Atlanta Operation manual & product specification

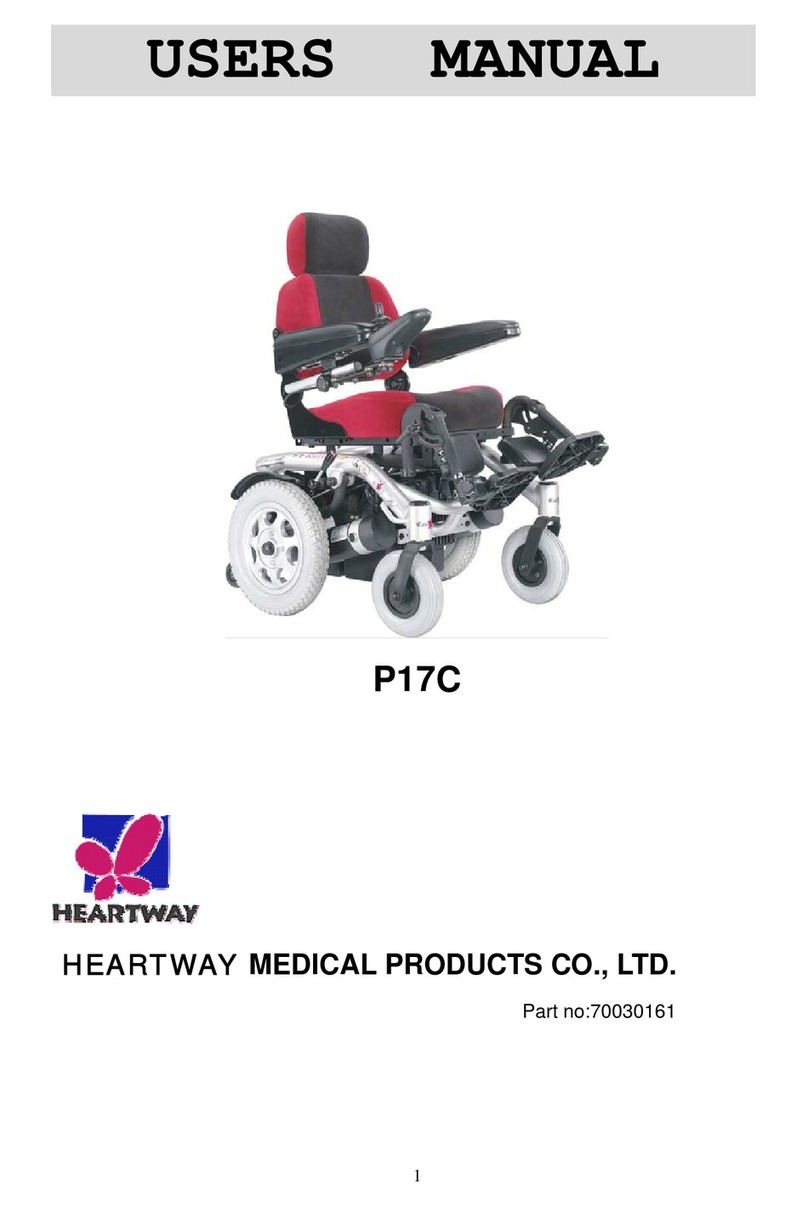
Heartway Medical Products P17C user manual
Heartway Medical Products

Heartway Medical Products P17C user manual

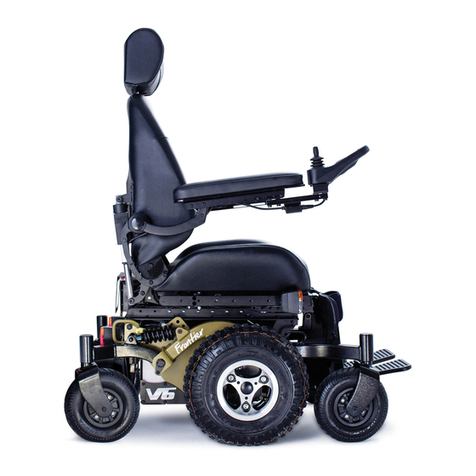
Magic Frontier V6 owner's manual

Magic

Magic Frontier V6 owner's manual
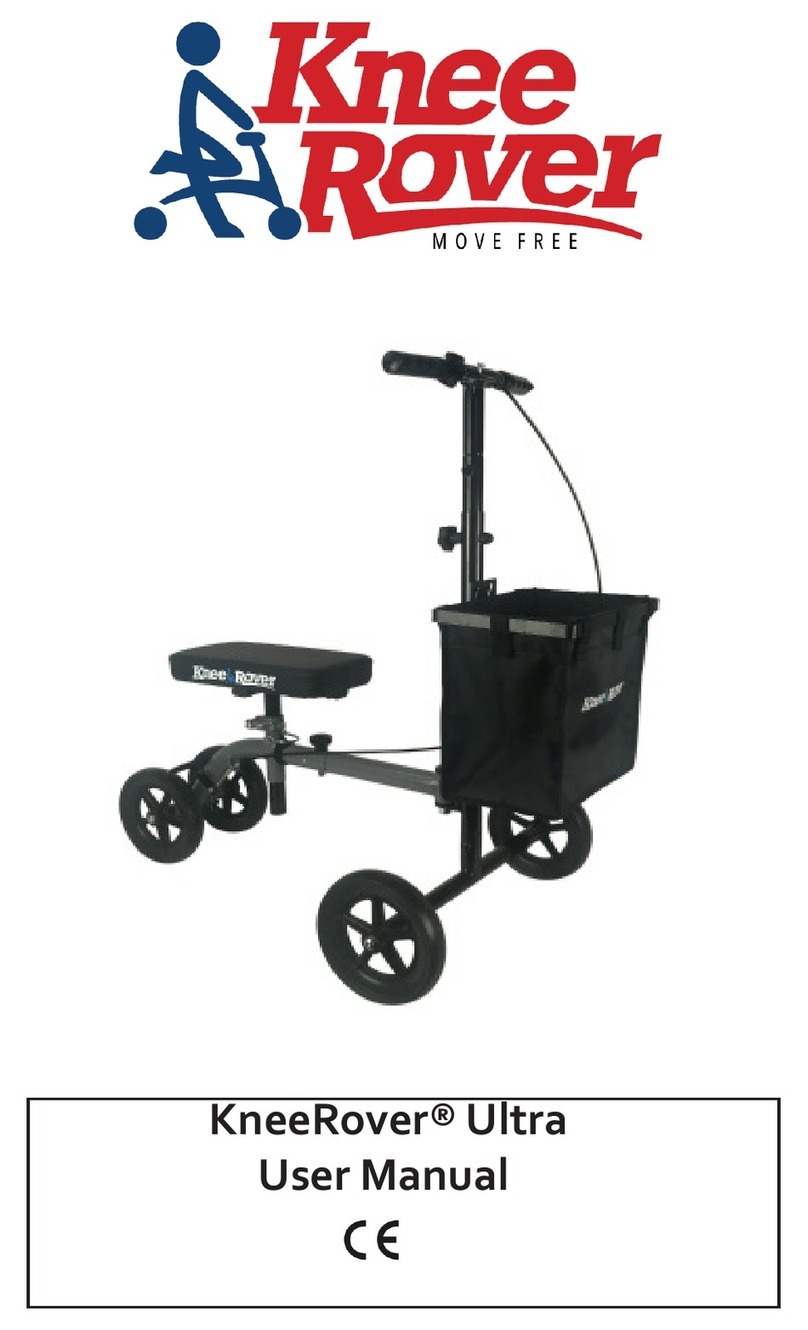
KneeRover Ultra user manual

KneeRover

KneeRover Ultra user manual

Acre Carbon Ultralight user manual

Acre

Acre Carbon Ultralight user manual

Jenx SUP-01-0 Series Instructions for use

Jenx

Jenx SUP-01-0 Series Instructions for use

Drive 11148N-4 manual

Drive

Drive 11148N-4 manual

Orliman EST-083 Use and maintenance instructions

Orliman

Orliman EST-083 Use and maintenance instructions

Rehaforum MEDICAL Actimo manual

Rehaforum MEDICAL

Rehaforum MEDICAL Actimo manual

Liftkar PTR instruction manual

Liftkar

Liftkar PTR instruction manual

aidapt VM705 Usage and maintenance instructions
aidapt

aidapt VM705 Usage and maintenance instructions

Graham Field Lumex FR565G Series Assembly and operating instructions
Graham Field

Graham Field Lumex FR565G Series Assembly and operating instructions

NRS Healthcare EasyFit Plus+ User instructions

NRS Healthcare

NRS Healthcare EasyFit Plus+ User instructions

Eagle Health Supplies 77111 Instruction Pamphlet
Eagle Health Supplies

Eagle Health Supplies 77111 Instruction Pamphlet

Invacare Top End T-5 Tennis Elite Price List and Order Form

Invacare

Invacare Top End T-5 Tennis Elite Price List and Order Form

manuals.online logo
manuals.online logoBrands
  • About & Mission
  • Contact us
  • Privacy Policy
  • Terms and Conditions

Copyright 2025 Manuals.Online. All Rights Reserved.