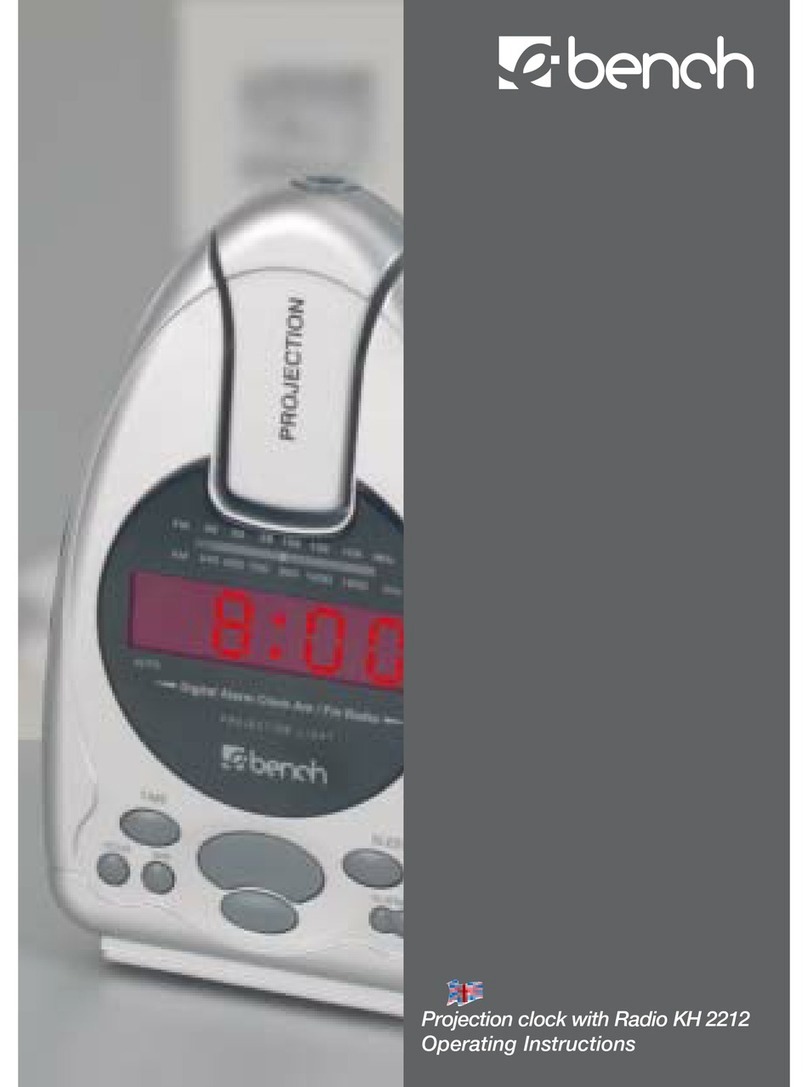
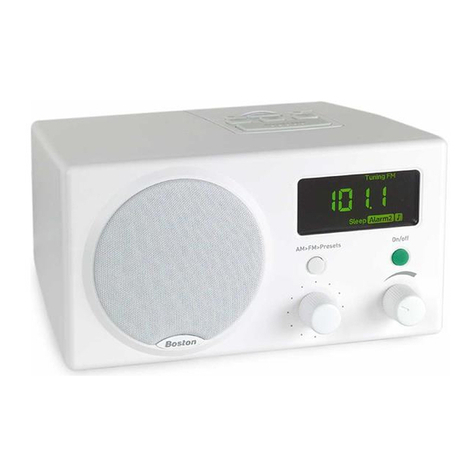
E-Bench KH 2217 User manual

IB_KH2217_E5158_UK_V3.qxd 17.07.2007 8:48 Uhr Seite 1

UK
KOMPERNASS GMBH · BURGSTRASSE 21 ·
D-44867 BOCHUM ·
www.kompernass.com
ID No.: KH2217-01/07-V3
IB_KH2217_E5158_UK_V3.qxd 17.07.2007 8:48 Uhr Seite 2

Projection Clock with Radio KH 2217
Operating instructions
IB_KH2217_E5158_UK_V3.qxd 17.07.2007 8:48 Uhr Seite 3

IB_KH2217_E5158_UK_V3.qxd 17.07.2007 8:48 Uhr Seite 4

KH 2217
2!
2@
2$
2%
2^ 2& 2*
3!
2#
3) 2(
IB_KH2217_E5158_UK_V3.qxd 17.07.2007 8:48 Uhr Seite 5

IB_KH2217_E5158_UK_V3.qxd 17.07.2007 8:48 Uhr Seite 6

IB_KH2217_E5158_UK_V3.qxd 17.07.2007 8:48 Uhr Seite 7

KH 2217
3% 3$
3@ 3#
3^
3&
3(
3*
4)
4!
4@
IB_KH2217_E5158_UK_V3.qxd 17.07.2007 8:48 Uhr Seite 8

- 3 -
Contents Page
Safety instructions 4
Intended use 6
Items supplied 6
Appliance overview 6
Technical data 8
Preparing for use 8
Providing electrical power 9
Using the clock 10
Using the radio 15
Cleaning the appliance 20
Disposing of the appliance 20
Warranty and Service 21
Importer 21
Read the operating instructions carefully before using the appliance
for the first time and preserve this booklet for later reference.
Pass this manual on to whoever might acquire the appliance at a
later date.
IB_KH2217_E5158_UK_V3.qxd 17.07.2007 8:48 Uhr Seite 3

- 4 -
Projection Clock
with Radio KH 2217
Safety instructions
To avoid fatal injury
through electric shock:
• Only use the appliance in
dry rooms.
• Ensure that fluids or for-
eign objects can never
enter into the appliance.
• Do not place objects con-
taining fluids, e.g. flower
vases, on the appliance.
To avoid burns and ot-
her injuries:
• Place the appliance at a
location where it will not
overheat itself. Never
cover the ventilation
slits!
• Do not place unprotec-
ted fire sources, such as
candles, on the device.
• Avoid additional heat
sources, e.g. solar radia-
tion, heaters, other ap-
pliances etc.!
• Do not allow children or
persons in need of con-
stant attention to use
the appliance unsuper-
vised. They are not always
able to correctly assess the
potential risks.
• When connecting the
appliance to a mains
power source use only
the power adapter sup-
plied with it.
• Ensure that the power
adapter is easily and
quickly accessible in the
event of an emergency
and place the cable so
that it cannot be stum-
bled over.
IB_KH2217_E5158_UK_V3.qxd 17.07.2007 8:48 Uhr Seite 4

- 5 -
• Check the state and
charge condition of the
inserted batteries at
least once a year.
• Wear protective gloves
in the event of having to
remove a leaking battery.
Battery contents can cause
chemical burns. Clean the
battery compartment
with a dry cloth.
Electro-magnetic fields
This appliance complies
with the legal limits for
electric smog, even within
the casing!
However, if you still have
doubts about installing it
in the bedroom:
• Place the appliance about
half a meter from the
bed.
At this distance the electro-
magnetic fields are no longer
effective even for electro-
sensitive people itself.
Note:
This appliance is equipped
with non-slip rubber feet.
Furniture upper surfaces
comprise of various materials
and are cleaned with various
types of polishes and/or
cleaning agents. Thus it can-
not be completely excluded
that some of these substan-
ces contain components
that could attack the rubber
pads and soften them. If
necessary, place an anti-slip
mat under the rubber pads
of the appliance.
Note:
In certain countries there
could be exceptional regula-
tions for the allocated radio
frequency ranges.
IB_KH2217_E5158_UK_V3.qxd 17.07.2007 8:48 Uhr Seite 5

- 6 -
Take note that you may not
exploit possibly received
radio services, pass them
on to third parties or im-
properly misuse them.
Intended use
The equipment is intended
for use as an alarm clock
using a signal tone or a
radio signal, and for receiv-
ing radio transmissions. All
other usages of or modifi-
cations to the appliance are
deemed to be improper use
and may result in serious in-
jury.
The manufacturer accepts
no liability for damages that
result from an improper use
of the appliance or that are
caused by an incorrect opera-
tion of it. The appliance is
not intended for commercial
use.
Items supplied
After unpacking, immedi-
ately check to determine
that all listed items are pre-
sent and that there are no
visible damages.
1 Projection Clock
1 Power adapter
1 Operating instructions/
Warranty leaflet
Batteries are not supplied.
Appliance overview
Display
Frequency display/Time
Frequency band display
FM/AM
Alarm time display
Alarm time 2 (AL2)
Signal tone alarm call
Info display for change
of batteries
Operation with power
adapter
Buttons locked
IB_KH2217_E5158_UK_V3.qxd 17.07.2007 8:48 Uhr Seite 6

- 7 -
Number of the selected
save position
Volume display VOL
Radio alarm call
Alarm time 1 (AL1)
Sleep Timer switched on
Display in radio operation
Button for sleep function
(SLEEP)
Button for saving radio
station / Button lock
(MEMORY KEY LOCK)
Button for alarm time
1 / Increase volume
(AL1/VOL+)
Button for alarm time
2 / Decrease volume
(AL2/VOL–)
Button for RADIO ON/OFF
2! Snooze button/Display
illumination (SNOOZE/
DISPLAY DIMMER)
2@ Button for changing
frequency band
(BAND AM/FM)
2# Button to seek saved radio
station/Automatically
save radio station
(MEM SCAN/A.M.S.)
2$ Button for radio station
search downwards
(DOWN)
2% Button for radio station
search upwards (UP)
2^ Button for save position
1/6, set alarm time 1
(MEM. 1/6, AL.1 SET)
2& Button for save position
2/7, set alarm time 2
(MEM. 2/7, AL.2 SET)
2* Button for save position
3/8, adjust minutes
(MEM. 3/8, MIN.+ SET)
2( Button for save position
4/9, adjust time
(MEM. 4/9, TIME SET)
3) Button for save position
5/10, adjust hours (MEM.
5/10, HOUR+ SET)
3! Loudspeakers
3@ Button for projection
of the time On/Off
(PROJECTION ON/OFF)
3# Rotatable projection lens
3$ Focusing slider (FOCUS)
IB_KH2217_E5158_UK_V3.qxd 17.07.2007 8:48 Uhr Seite 7

- 8 -
3% Adjustment wheel to
turn the time projection
(ROTATE PROJECTION)
3^ Button to turn the time
projection through 180°
(PROJECTION REVERSE)
3& Power adapter connec-
tion DC 7,5 V
3* Wire aerial
3( Battery compartment
cover
4) Reset button
4! Power adapter with plug
and cable
4@ Connector plug
Technical data
Battery operation:
4 x 1,5 V Type
Mignon/AA/LR6 (not supp-
lied) for radio operation,
display illumination and
projection
Mains operation:
DC 7,5 V 400 mA
Frequency range :
FM (USW) : 87,5–108,5 MHz
AM (MW) : 522–1656 kHz
Power adapter:
Input: 230 V ~ 50 Hz
30 mA
Output: DC 7,5 V
400 mA, 3 VA
Preparing for use
• Remove the projection
clock from the packaging.
• Place the projection clock
on a level surface.
• Position the projection
clock such that the pro-
jection lens 3# is directed
onto an empty surface.
The room must be darke-
ned for the time display to
be clearly visible on a wall
or ceiling.
IB_KH2217_E5158_UK_V3.qxd 17.07.2007 8:48 Uhr Seite 8

- 9 -
Providing electrical
power
Important:
Ensure that you have the
correct polarities with the
batteries and the power
adapter. False polarity will
damage the appliance.
The appliance can be opera-
ted as follows:
• only with batteries ,
• only with the power
adapter .
Inserting the batteries
You require four 1,5 V bat-
teries of the type
Mignon/AA/LR6.
1. Open the cover 3( of the
battery compartment on
the underside.
2. Insert the four batteries,
ensuring their position-
ings comply with the
polarity markings given
in the battery compart-
ment.
Make sure that the black
textile strip is positioned
under the batteries, this
will make a battery ex-
change easier.
3. Close the lid 3(, until it
engages.
• Exchange all four batteries
when the information in-
dicator for a battery re-
newal is displayed.
• Check the state and
charge condition of the
inserted batteries at least
once a year.
Note:
The saved radio stations will
be erased if the appliance is
without an electricity supply
for longer than ca. 30 sec-
onds. Provide electricity
either by means of the power
adapter or make sure you
complete the exchange of
batteries within 30 seconds.
IB_KH2217_E5158_UK_V3.qxd 17.07.2007 8:48 Uhr Seite 9

- 10 -
Connecting the power
adapter
Use only the power adapter
supplied with the appliance.
1. Insert the connector plug
4@ of the power adapter
4! into the power adapter
connection 3& on the
back of the appliance.
2. Insert the plug of the
power adapter into a
power socket with
230 V ~ 50 Hz.
On the display the symbol
for mains power opera-
tion is indicated.
Using the clock
Note:
To be able to adjust the
time, the clock radio must
be switched off.
Setting the time
1. Press the button 2( TIME
SET.
The time on the display
blinks.
Note:
Complete the adjustments
within 10 seconds. After
ca. 10 seconds the appliance
returns to its start setting.
The adjustments completed
to this point will be taken
over.
The button 3) HOUR+ SET
can be pressed numerous
times in succession or held
down firmly.
2. Press the button 3)
HOUR+ SET to set the
hours.
3. As soon as the desired
hour indication is shown
in the display release
the button.
The button 2* MIN+ SET
can be pressed numerous
times in succession or held
down firmly.
IB_KH2217_E5158_UK_V3.qxd 17.07.2007 8:48 Uhr Seite 10

- 11 -
4. Press the button 2*
MIN+ SET to set the
minutes.
5. As soon as the desired
minute indication is
shown in the display ,
release the button.
6. Press the button 2(
TIME SET or wait a few
seconds.
The programmed time will
be taken over.
Selecting the 12 hour or the
24 hour modus
Press and hold the button
2@ BAND for about 2 se-
conds.
In the display “24Hr” blinks to
indicate the 24-hour mode.
Within 10 seconds repea-
tedly press the button 2*
MIN+ SET to switch bet-
ween the 12-hour mode
(“12Hr” blinks) and the 24-
hour mode.
Press the button 2@ BAND
or wait a few seconds.
The selected mode is taken
over. In the 12-hour mode
the indicator PM appears
under the time display for
the hours of the after-
noon/evening.
Setting the alarm time
You can programme in two
different alarm times, AL1
and AL2.
Alarm times can only be
programmed with the radio
switched off.
1. Press the button 2^ AL1
SET.
The alarm time AL1 blinks.
The button 3) HOUR+ SET
can be pressed numerous
times in succession or held
down firmly.
2. Press the button 3) HOUR+
SET to set the hours.
3. As soon as the desired
hour indication is shown
in the display for alarm
time AL1, release the
button.
IB_KH2217_E5158_UK_V3.qxd 17.07.2007 8:48 Uhr Seite 11

- 12 -
The button 2* MIN+ SET
can be pressed numerous
times in succession or held
down firmly.
4. Press the button 2* MIN+
SET, to set the minutes.
5. As soon as the desired
minute indication is
shown in the display for
alarm time AL1,
release the button.
6. Press the button 2^ AL1
SET or wait a few seconds.
The programmed alarm
time will be taken over.
7. To programme in the
second alarm time, repeat
the steps 1 to 6.
8. However, instead of pres-
sing button 2^ AL1 SET,
press the button 2& AL2
SET.
Switching the alarm func-
tion on
Note:
If you wish to be woken by
the radio, programme in
both the desired sound vo-
lume and the radio station
for the alarm call in advan-
ce (see chapter "Adjusting
the volume").
With each push on the but-
tons AL1/VOL+ or
AL2/VOL– you switch
through the available alarm
options.
1. To switch on the alarm
call with signal tone, re-
peatedly press the button
AL1/VOL+ until the
bell symbol appears in
the field AL1 on the
display .
The alarm time is shown
on the display .
The signal tone becomes
louder the longer it sounds.
IB_KH2217_E5158_UK_V3.qxd 17.07.2007 8:48 Uhr Seite 12

- 13 -
2. To switch on the alarm
call with radio,repeatedly
press the button AL1/
VOL+, until the radio
symbol appears in the
field AL1 .
The alarm time is shown
on the display .
3. To switch off the alarm
function, repeatedly
press the button
AL1/VOL+ until a symbol
no longer appears in the
field AL1 .
The alarm time is none-
theless shown in the display
, but the signal tone or
radio does not sound at the
programmed time.
Note:
The alarm function is only
active when the bell symbol
or the radio symbol in
the fields AL1 or AL2
are visible.
The action steps described
are also valid for the button
AL2/VOL–.
To switch off the alarm func-
tion to the following day
To switch off the alarm
sound press one of the
following buttons:
• Button AL1/VOL+,
• Button AL2/VOL–,
• Button RADIO ON/OFF,
• Button SLEEP.
The switching off of the
alarm sounds is confirmed
by a signal tone, except
with the button RADIO
ON/OFF.
Snooze function
With the button 2! SNOOZE/
DISPLAY DIMMER you can
interrupt the alarm function
for a period of between 1
and 30 minutes, this period
being programmed by your-
self (see next section). The
factory setting is 9 minutes.
IB_KH2217_E5158_UK_V3.qxd 17.07.2007 8:48 Uhr Seite 13

- 14 -
On the expiration of this
period the alarm tone or
radio sounds again (Auto-
matic after-call). The function
can be repeated up to six
times. After that, the alarm
first sounds on the following
day.
The automatic after-call al-
lows itself to be individually
adjusted to between 1 and
30 minutes. The radio is
switched off and the auto-
matic after-call is not active.
1. Press and hold the but-
ton 2! SNOOZE/DISPLAY
DIMMER until SNO and the
minute indication appears
on the display.
2. Press the button 2* MIN+
SET to programme the
minutes.
3. As soon as the desired af-
ter-call period is display-
ed, release the button.
4. Press the button 2! SNOO-
ZE/DISPLAY DIMMER.
The programmed after-call
period is taken over.
Adjusting the display bright-
ness
Mains power operation:
1. Press the button 2!
SNOOZE/DISPLAY DIMMER
at intervals of 2 seconds.
The display brightness
changes itself as follows:
Bright>Medium>Dark>Bright
Battery operation:
To save energy, the display
illumination is deactivated
in battery operation.
1. Press the button 2!
SNOOZE/DISPLAY DIM-
MER.
The display is illuminated
for ca. five seconds.
Projection of the time
For the time display to be well
visible on a wall or ceiling, the
room must be darkened.
IB_KH2217_E5158_UK_V3.qxd 17.07.2007 8:48 Uhr Seite 14
Table of contents
Other E-Bench Clock Radio manuals

E-Bench
E-Bench KH 2185 User manual

E-Bench
E-Bench KH 2185 User manual

E-Bench
E-Bench KH 40 User manual

E-Bench
E-Bench KH 910 Instruction Manual

E-Bench
E-Bench KH 2254 User manual

E-Bench
E-Bench KH 380 User manual

E-Bench
E-Bench KH 2255 User manual

E-Bench
E-Bench KH 2237 User manual

E-Bench
E-Bench KH 2275 User manual

E-Bench
E-Bench KH 2295 User manual