6
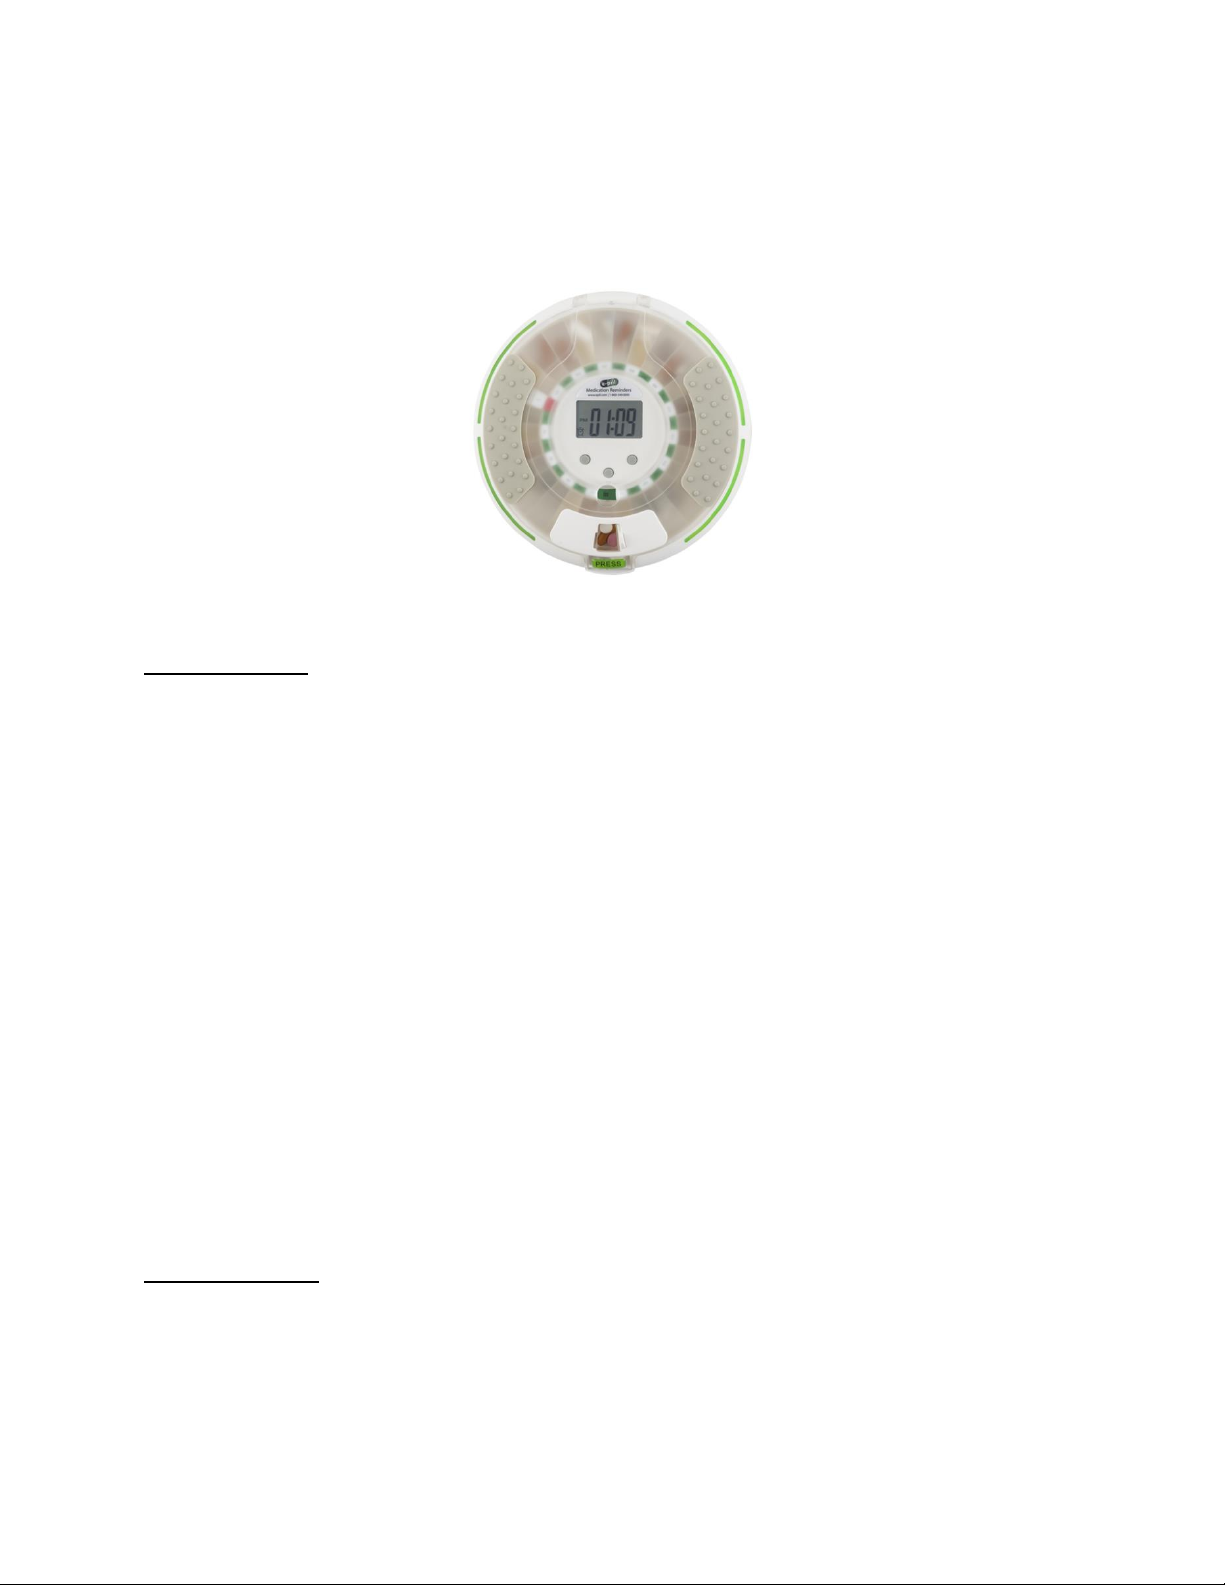
8. Turn MedSmart Voice Plus right side up.
9. Plug the power cord into the wall and into the dispenser.
10. On the front of the lid, push the PRESS button down until you hear a
click. The door is now unlatched. Lift up to open.
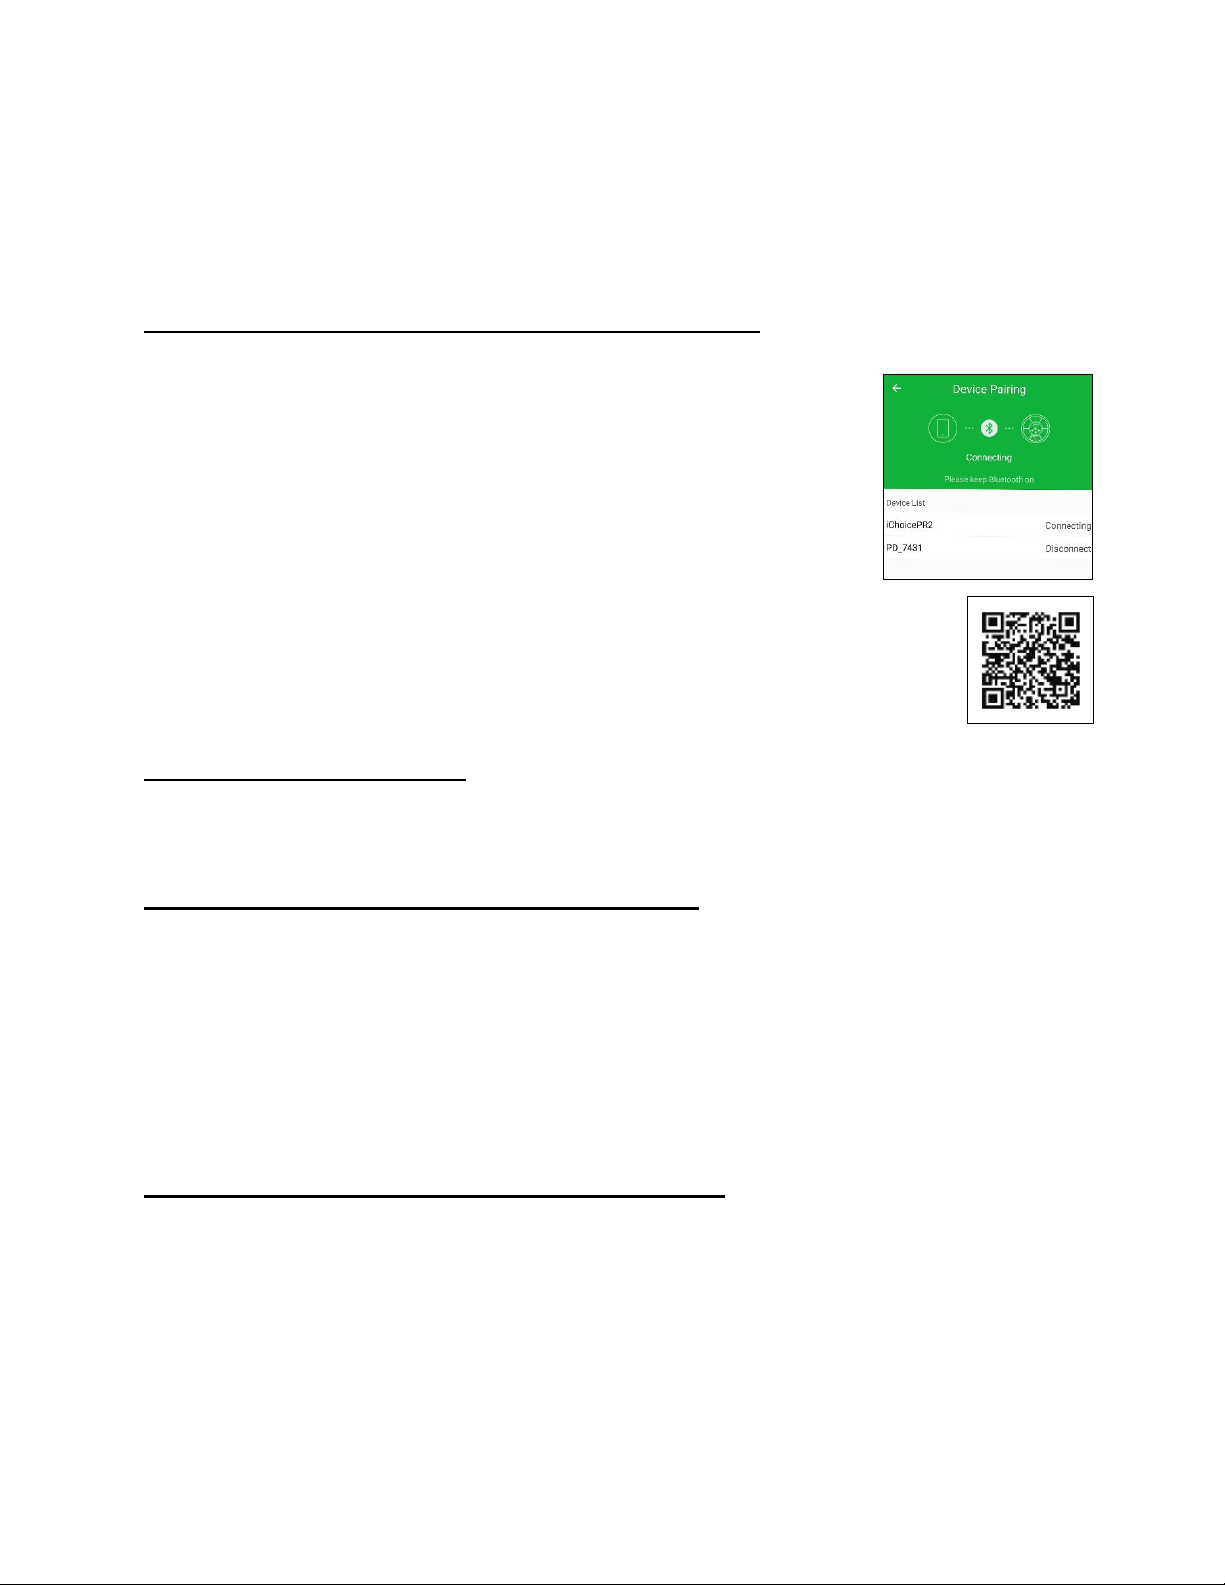
Download, Install, and Connect to a Smartphone
1. Search for “LeBox” on the App Store (iPhone) or Google Play (Android).
2. Download and Install the LeBox App.
3. Start the app. On the app’s homepage, tap the device
pairing icon. There are 2 ways to connect your pill
dispenser with a smartphone.
a. Tap Bluetooth Connect, then tap the name of
the device. (Your device’s name is shown on the
bottom of the dispenser. BT Name).
b. Or tap Quick Connect, and then scan the QR code on
the bottom of the pill dispenser.
4. Once connected, the pill dispenser will confirm with: “Phone
is Connected Successfully.”
CLOCK - Setting the Clock
1. The clock on MedSmart Voice Plus is set automatically as it pairs with a
smartphone. Check that the dispenser shows your current time.
ALARMS - Setting Alarms via the LeBox App
1. On the homepage, tap the Setting button.
2. Tap “Alarm Setting” to go into the setting mode.
3. Tap on Alarm 1-6 to set the alarm times.
4. Tap on “Time” and set alarm time (note AM/PM).
5. Tap “Confirm.”
6. Tap “Save”to save your alarm settings.
7. Turn on notifications by sliding the switch to the right (green).
Reviewing Dosage Records via the LeBox App
•Yellow circle on the date: Indicates the current date.
•Yellow date: Indicates prescription medication information for that date
has been added.
•Red dot beside the date: Indicates the patient has missed at least one
dose that day. This is triggered by a failure to dispense the scheduled
dose within 60 minutes of the set alarm time.