5
Setup Menu B: Carefully Go Through All of Menu B for Proper Setup
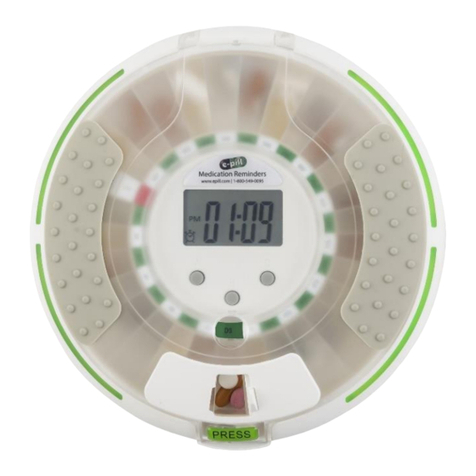
To access Menu B: Press and hold button 3 until ‘BEFORE’is displayed.
Menu B Settings: Before, After, Sound, Light, Filled, Batt, Secure, Hours, DLS,
Start, Stop, Record.
BEFORE: Allows dispensing of medication before the set alarm time. This
setting can be set from 5 minutes to 5 hours and is useful if needing to take a
dose earlier than scheduled in order to not miss important appointments or
events that may take you away from your dispenser. Note: Do not use this
function with someone who may get confused by its use.
Turn off: If this function is not required set to 00:00.
1. When in menu B, tap button 3 until ‘BEFORE’is displayed.
2. Tap button 2 (decrease) or 3 (increase) to set length of BEFORE time.
3. How to Use: When the patient is within the set of number minutes prior
to alarm time, turn the dispenser upside down (past 180°) and then
upright, 2 times in succession. The dispenser will then rotate, and the
next dose will become available. If a dose is taken early, the dispenser
will not activate again until the following medication is due.
AFTER: Alarm duration.
1. When in menu B, tap button 1 until ‘AFTER’is displayed.
2. Tap button 2 (decrease) or 3 (increase) to set the alarm’s duration.
SOUND: Alarm melody.
1. When in menu B, tap button 1 until ‘SOUND’is displayed.
2. Tap button 2 (decrease) or 3 (increase) to set the alarm’s melody:
a. 00 for silent (visual alarm only), 01 –04 for different melodies.
LIGHT: Visual alarm via a blinking red light.
1. When in menu B, tap button 1 until ‘LIGHT’is displayed.
2. Tap button 2 to turn off, button 3 to turn on.
FILLED: Displays number of doses left in the tray as ‘DOSES LEFT.’
1. When in menu B, tap button 1 until ‘FILLED’is displayed.
2. Tap button 2 (decrease) or 3 (increase) to set the exact number of
compartments filled in the medication tray.
3. When no doses remain ‘- - - -’is displayed.
BATT: Set the type of battery in the dispenser for optimal battery life.
