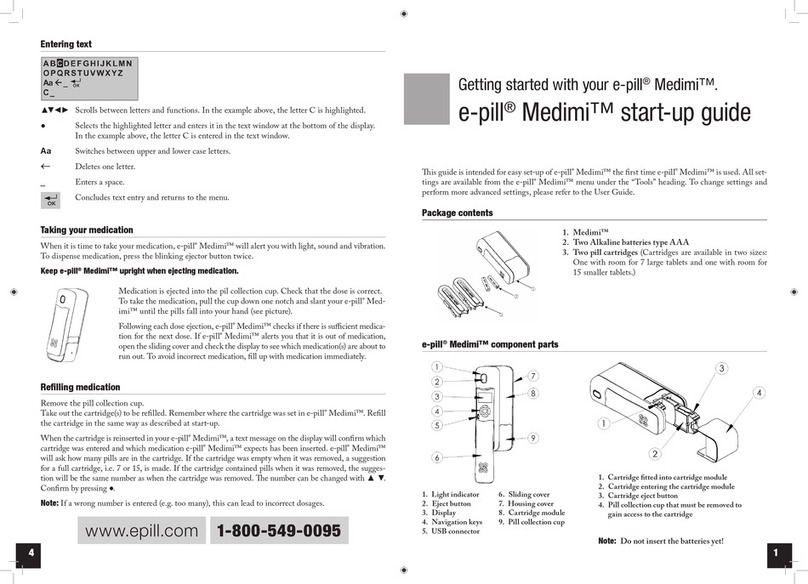
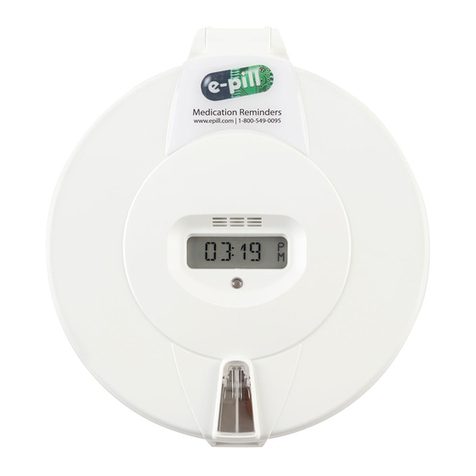
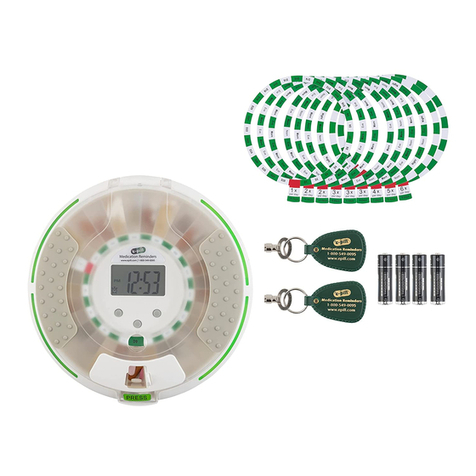
E-Pill MedTime Station Plus User manual

1
Instruction Manual
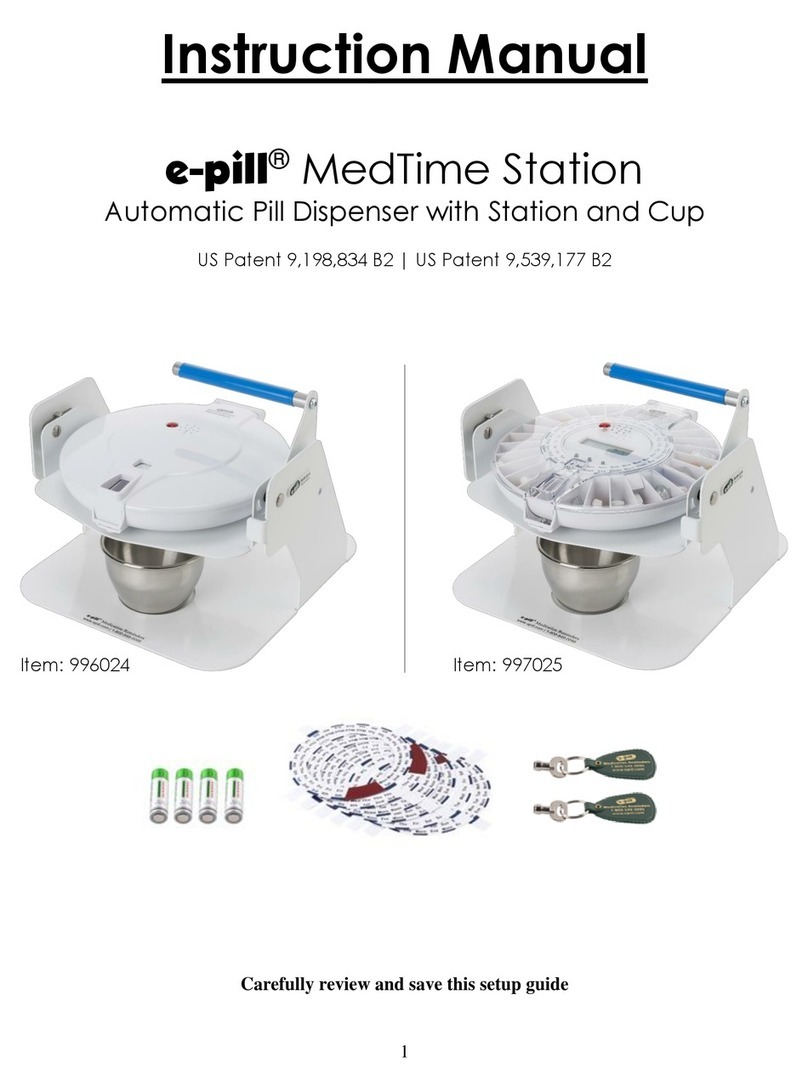
e-pill®MedTime Station Plus
Locked Automatic Pill Dispenser with Station
US Patent 9,027,787 B2
Carefully review and save this setup guide
Item 993050
Item 993040

2
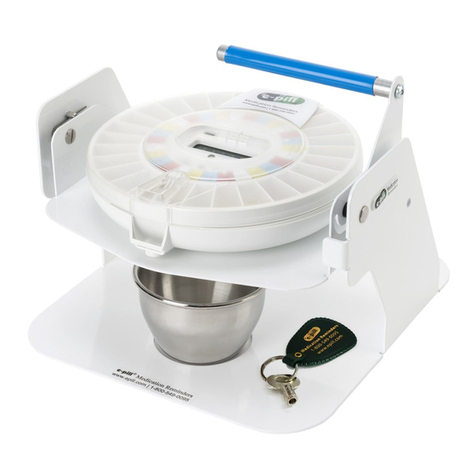
Station
(metal base)
To REMOVE the round pill dispenser from the metal Station
TURN the pill dispenser counter-clockwise until the e-pill logo is at 10
o’clock, then LIFT up
To SECURE the round pill dispenser to the metal Station
ALIGN the pill dispenser with the e-pill logo at 10 o’clock
TURN the pill dispenser clockwise until the e-pill logo is at 12 o’clock
To MOUNT the metal Station to a surface
The Station has 4 large suctions cups at each corner
To mount securely, push down firmly at each corner

3
Introduction
The e-pill®MedTime Station Plus locked automatic pill dispenser is designed
to remind and dispense pills according to the patient’s dosing schedule,
reminding by means of auditory alarm and flashing light. MedTime Station
Plus will make the correct dose available at the correct time, keeping all other
pills secure via a locked lid plus an additional Secure Mode feature. The metal
Station makes dispensing pills for those with limited dexterity easy. No more
spilled pills.
We recommend that you always keep the e-pill MedTime Station Plus locked.
Two keys are included - one key for the caregiver and one key as a backup. e-
pill MedTime Station Plus is locked but it is not tamperproof, therefore it should
NOT be used to administer pain medications or Schedule II/III drugs.
How it Works
At dose time the alarm will sound, and the internal tray will rotate, making the
correct dose available. Pull the Station’s blue handle to turn the dispenser
over as seen in the picture above to dispense - this will release the correct
dose and silence the alarm.
e-pill® MedTime Station Plus
Locked Automatic Pill Dispenser with Station

4
Components
+
-
-
-
+
-
+
Note: We recommend that you always keep e-pill
MedTime Station Plus locked. Two keys are
included: One key for the caregiver and one key as
a backup.
e-pill MedTime Station Plus can be locked but it
is not tamperproof and therefore should NOT be
used to administer Schedule II or III drugs or
any medications where the patient may try to
get to them by force.
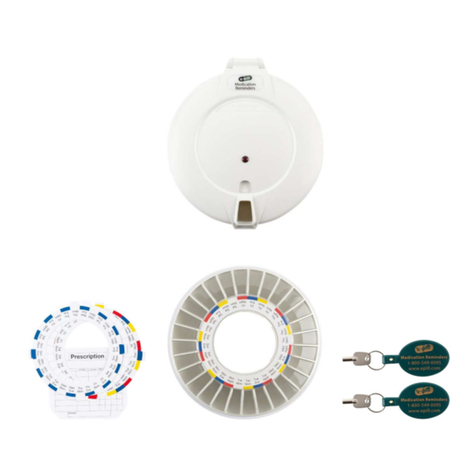
Dosage Template Set (1)
Item: 991038
Keys (2)
Item: 991022
AA Batteries (4)
Item: Not sold separately
Medication Tray (1)
Item: 992040
Stainless Steel Dose Cup (1)
Item: 992028
Station (1)
Item: 991024
Locked Automatic Pill Dispenser (1)
Item: 992020/992030

5
SETUP - STEP 1
Turning On and Opening e-pill MedTime Plus
1. Turn the pill dispenser upside down and remove the battery door
2. Remove the battery insulator strip to power on the dispenser
3. e-pill MedTime Plus is now on
4. Replace the battery door and turn the dispenser right-side up
5. Open the lid by placing your index finger on top of the clear shutter and
your thumb on the front catch. Press with your thumb and lift up.
Setup Menu A: Carefully Go Through All of Menu A for Proper Setup
Menu A Settings: Clock, Date, Doses, Alarms
CLOCK:
1. Tap button 1 until “CLOCK” is displayed
2. Tap button 2 (decrease) or 3 (increase) to set the correct time
DATE:
1. Tap button 1 until “DATE” is displayed
2. Wait until “YY” appears
3. Tap button 2 (decrease) or 3 (increase) to set the correct YEAR
4. Tap button 1 to move to the month “MM”
5. Tap button 2 (decrease) or 3 (increase) to set the correct MONTH
6. Tap button 1 to move to the month “DD”
7. Tap button 2 (decrease) or 3 (increase) to set the correct DAY
DOSES: The number of alarms needed per day
1. Tap button 1 until “DOSES” is displayed
2. Tap button 2 (decrease) or 3 (increase) to set the number of alarms
ALARMS: Alarms are to be set in order, the earliest alarm needs to be set first
1. Tap button 1 until “ALARMS” is displayed
2. Set the earliest alarm first (“1”) - button 2 (decrease) or 3 (increase)
3. Repeat for all alarms needed - button 1 to move to the next alarm,
buttons 2 and 3 to set the alarm time
SAVE and EXIT Menu A:
1. Tap and hold button 1 for a few seconds to save and exit Menu A
2. The display will switch between the current time and the current date

6
Setup Menu B: Carefully Go Through All of Menu B for Proper Setup
To access Menu B: Press and hold button 3 until “BEFORE” is displayed.
Menu B Settings: Before, After, Sound, Light, Filled, Batt, Secure, Hours, DLS,
Start, Stop, Record.
BEFORE: Allows dispensing of medication before the set alarm time. This
setting can be set from 5 minutes to 5 hours and is useful if needing to take a
dose earlier than scheduled in order to not miss important appointments or
events that may take you away from your dispenser. Note: Do not use this
function with someone who may get confused by its function or use.
Turn off: If this function is not required set to 00:00
1. When in menu B, tap button 3 until “BEFORE” is displayed
2. Tap button 2 (decrease) or 3 (increase) to set length of BEFORE time
a. How to Use: If this function has been set the user may access their
medication in advance by turning the dispenser upside down
(past 180°) and then upright 2 times in succession. The dispenser
will then rotate, and the next dose will become available. If
medication is taken before the normal time the dispenser will not
activate again until the following medication is due.
AFTER: Alarm duration. This setting can be set from 5 minutes to 5 hours.
1. When in menu B, tap button 1 until “AFTER” is displayed
2. Tap button 2 (decrease) or 3 (increase) to set alarm duration
SOUND: Alarm melody
1. When in menu B, tap button 1 until “SOUND” is displayed
2. Tap button 2 (decrease) or 3 (increase) to set alarm melody
a. 00 for silent (visual alarm only), 01 –04 for sound
LIGHT: Visual alarm
1. When in menu B, tap button 1 until “LIGHT” is displayed
2. Tap button 2 to turn off, button 3 to turn on
FILLED: Sets and enables the display warning “DOSES LEFT”
1. When in menu B, tap button 1 until “FILLED” is displayed
2. Tap button 2 (decrease) or 3 (increase) to set the exact number of
compartments filled in the medication tray
3. When no doses remain “- - - -“ is displayed
7
BATT: Sets the type of battery used for optimal battery life
1. When in menu B, tap button 1 until “BATT” is displayed
2. Tap button 2 or 3 to set battery type to “ALC” (alkaline/non-
rechargeable) or “NIMH” (rechargeable)
SECURE: Auto-locking Dispensing Door (blocks opening of clear shutter)
ON: The clear shutter in the front of the lid is always locked except at the
programmed alarm time plus the subsequent “AFTER” time (alarm duration)
OFF: The clear shutter in the front of the lid is never locked.
1. When in menu B, tap button 1 until “SECURE” is displayed
2. Tap button 2 to turn on, button 3 to turn off
a. If Secure is on, the clear shutter will lock two minutes after
medication has been dispensed (dispenser turned over)
HOURS: Use either a 12-hour clock (AM/PM) or 24-hour clock
The dispenser’s default uses the 24-hour clock
1. When in menu B, tap button 1 until “HOURS” is displayed
2. tap button 2 or 3 to set to:
a. 12 hour - “AM” or “PM” will be displayed next to the time
b. 24 hour - “AM” or “PM” will NOT be displayed next to the time
DLS: Set the dispenser to automatically adjust for daylight saving
1. When in menu B, tap button 1 until “DLS” is displayed
2. Tap button 2 or 3 to set to:
a. “OFF” to disable
b. “EU” for European Daylight Savings
c. “US” for United States Daylight Saving
START: Delay the time at which the dispenser will start to operate. Useful if
the dispenser is being filled, for example, by a pharmacy and is not being
delivered to the user until a later date.
1. When in menu B, tap button 1 until “START” is displayed
2. If you DO NOT need to use START which is the most common
a. Set (tap button 1 to move YY->MM->DD):
i. Year (YY) to 00 by taping button 2 to decrease
ii. Month (MM) to 01 by taping button 2 to decrease
iii. Day (DD) to 01 by taping button 2 to decrease
iv. Hour (HH) to 00 by taping 2 to decrease

8
3. If you DO need to use START, set the Year (YY), Month (MM), Date (DD)
and Hour (HH) to when you want e-pill MedTime Plus to wake up. Tap
button 2 (decrease) or 3 (increase) and button 1 to move to the next
setting.
STOP: Set the time at which the dispenser will stop to operate. Useful if two or
more dispensers are being used by a user in sequence and ensures that only
one dispenser is active at one time.
1. When in menu B, tap button 1 until “STOP” is displayed
2. If you DO NOT need to use STOP which is the most common
a. Set (tap button 1 to move YY->MM->DD):
i. Year (YY) to 99 by taping button 3 to increase
ii. Month (MM) to 12 by taping button 3 to increase
iii. Day (DD) to 31 by taping button 3 to increase
iv. Hour (HH) to 23 by taping button 3 to increase
3. If you DO need to use STOP, set the Year (YY), Month (MM), Date (DD)
and Hour (HH) to when you want e-pill MedTime Plus to go to sleep.
Tap button 2 (decrease) or 3 (increase) and button 1 to move to the
next setting.
RECORD: Will show the time at which the previous 28 doses were dispensed.
1. When in menu B, tap button 1 until “RECORD” is displayed – the time at
which the last dose was taken is also shown
2. Tap button 2 or 3 to show the previous dispensing times
SAVE and EXIT Menu B:
1. Press and hold button 1 for a few seconds to save and exit Menu B
2. The display will switch between the current time and the current date
SETUP - STEP 2
Filling the Tray
1. With the lid still open, remove the tray that is inside the dispenser. This
makes filling the tray easier.
2. e-pill MedTime Plus comes with three different dosing templates. The
template identifies the number of alarms per day and, very importantly,
the time of the day that you are filling the tray. The blank disc is used for
5 - 24 alarms per day. This disk has been intentionally left blank so it

9
can be tailored to align with the exact number of alarms set. Place the
correct template based on your needs on the tray, with the current day
of week and time placed directly at 6 o’clock.
3. Fill compartments counterclockwise with pills using the dosing
template as a guide. Note: If you take medications three (3) times per
day, the last compartment will be left empty.
Begin to Use
1. Align the tray in the dispenser: The next dose will be the first
compartment to the right of the compartment placed directly at 6
o’clock.
a. If set to operate in “SECURE” mode: (if not move to step 2)
i. Press and hold button 2 until “TRAY Z”is displayed
ii. The tray will then move clockwise (forward) ½ a
compartment to the correct position. The dividers between
the tray’s compartments is what locks the dispenser’s clear
shutter.
2. Close the lid
3. Turn the dispenser over and lock the dispenser. WARNING: When
locking/unlocking the cover do not turn the key more than 90 degrees.
Congratulations
All of SETUP –STEP 1 and all of SETUP –STEP 2 is complete.
Your e-pill MedTime Plus is now 100% setup.
Refilling the Tray
Resetting “DOSES LEFT” Count After Refilling the Tray
The FILLED function will reduce “DOSES LEFT” by 1 each time medications
are dispensed. Every time after the tray is refilled, it is required to reset the
FILLED setting to the exact number of doses placed in the medication tray.
1. Press and hold button 3 until “BEFORE” is displayed
2. Tap button 1 until “FILLED” is displayed
3. Tap button 2 (decrease) or 3 (increase) to set the exact number of
compartments filled in the medication tray
4. The number of “DOSES LEFT”displayed will now be the same as the
number entered in “FILLED”. When no doses remain “- - - -“ is displayed.

10
General Information
Secure Mode: Additional Details
When operating in secure mode the clear shutter in the lid of the e-pill
MedTime Plus only unlocks when the alarm is going off. The clear shutter
automatically locks again two (2) minutes after the dose has been dispensed.
Note: The shutter automatically locks by the dispenser turning the tray
clockwise (forward) ½ a compartment to the correct position. The dividers
between the tray’s compartments is what locks the dispenser’s clear shutter.
Diagnostic Test
The rotation, light and sound functions can be tested and demonstrated by
pressing and holding all three buttons down until TEST is displayed.
1. Tap button 1 to test the light
2. Tap button 3 to start a whole alarm-sequence test:
a. The display will show “DEMO”, the tray will move one half section
to the open position, the alarm will sound and the light will flash.
b. “TAKE MED” will be displayed for 20 seconds
c. Pick the dispenser up and turn it over to demonstrate dispensing
the medication after which “CLOSE” will then be displayed and the
tray will move forward ½ a section to the closed position.
i. If the dispenser is not picked up, after 20 seconds “CLOSE”
will be displayed and the tray will move forward ½ a
section to the closed position.
3. Press and hold button 1 for a few seconds to leave the Test function
Batteries Change
When the battery capacity is less than 20% the horizontal display will show
“LOWBATT”in sequence with the date and time.
Changing batteries:
1. After changing the batteries all of your settings will be saved EXCEPT
the current time.
2. To set the correct current time:
a. Tap button 1 until “CLOCK” is displayed
b. Tap button 2 (reverse) or 3 (forward) to set the correct time
c. Press and hold button 1 for a few seconds to save and exit

11
Error Handling
ERROR 01 or ERROR 04 or ERROR 08:
The alarm will sound continuously in the event of the dispenser failing to
rotate properly. This might be caused by an obstruction between the body of
the dispenser and the internal tray. If an obstruction exists, it needs to be
cleared immediately. Once the error has been resolved the error message can
be deleted by taping button 3.
ERROR 10:
A battery level of 0%. All the batteries need to be replaced.
Dispenser Left Upside Down
If the dispenser is upside down when the alarm occurs, the alarm will sound
as normal but the internal tray will not move until the dispenser is turned
upright. If more than one alarm time has passed while the dispenser has been
upside down, the dispenser will make available the correct medication.
Medication
Only tablets or capsules suitable for swallowing should be placed in the
medication tray. DO NOT load the tray with nitroglycerine, liquid, injectable or
patch medications. If in doubt, please check with your pharmacist.
Battery Types
4 AA Alkaline batteries are supplied with the dispenser and will last up to 1
year. Uncommon: To use rechargeable AA batteries, set BATT to “NIMH”.
1. Press and hold button 3 until “BEFORE” is displayed
2. Tap button 1 until “BATT” is displayed
3. Tap button 2 or 3 to set “NIMH”
4. Press and hold button 1 for a few seconds to save and exit
Station (metal base) is Sliding
The Station has 4 large suctions cups at each corner. To mount securely, push
down firmly at each corner
Cleaning
Wipe with a damp cloth. The tray may be washed (after being removed from
the dispenser) in warm water or in a dish washer at maximum 158 degrees
Fahrenheit (70 C).

12
Transport
If the dispenser is sent by mail or carried onto an airplane it is important that
all the batteries are removed from the dispenser.
Assessment and Observations
1. The e-pill MedTime Plus is a medication reminder and is not suitable for
everyone; a patient assessment is important.
2. Users who wilfully try to get at their medication by force will eventually
damage the unit. Problems occur due to misuse/interference in which
case the user may not be suitable for the dispenser. This automatic pill
dispenser should not be used for Schedule II or III medications or any
medications where the patient may try to get to them by force.
3. e-pill MedTime Plus is locked but it is not tamperproof, therefore should
NOT be used to administer pain medications or Schedule II/III drugs.
4. The dispenser’s lock should only be turned ¼ of a turn. Over-turning
with a heavy hand can cause the lock or case to break.
5. When replacing the tray do not force the tray around while it is in the
dispenser. Always lift-up when replacing.
Technical Information
Dimensions: Length 7.5 inches/Width 7.1 inches/Height 2.2 inches
Weight: 1.08 lbs with batteries
Compartment volume: 18 aspirins sized tablets
Power: 6V (4 x AA Alkaline or 4 x AA NiMH batteries)
Battery life: Up to 1 year
US Patent: 9,027,787 B2 dated May 12, 2015 applies

13
Follow us on:
e-pill, LLC
49 Walnut Street, Bldg. 4
Wellesley, MA 02481, USA
United States: 1-800-549-0095
International: +1-781-239-2941
www.epill.com
Disclaimer
Organizing medications correctly, setting and assigning alarm/dose times and determining what medications go into
each slot is the responsibility of you, your caregiver, and/or your health care provider. This e-pill Medication
Reminder is only a supplement to any memory system that you currently use to remind yourself to take medications.
The user maintains full responsibility to administer medication at the appropriate times and to keep the device
secure and locked. e-pill, LLC assumes no responsibility for any incidental or consequential damages, including
without limitation, damages or injuries resulting from malfunction of the product. e-pill, LLC’s liability shall under no
circumstances exceed the amount paid by the user for the dispenser.
Other manuals for MedTime Station Plus
3
This manual suits for next models
2
Table of contents
Other E-Pill Medical Equipment manuals

E-Pill
E-Pill MedGlider HOME PLUS User manual

E-Pill
E-Pill MedTime Station Plus User manual

E-Pill
E-Pill MedTime SAFE User manual

E-Pill
E-Pill MedTime Station Plus User manual

E-Pill
E-Pill MedSmart Voice Plus User manual

E-Pill
E-Pill MedSmart User manual

E-Pill
E-Pill MedTime Station User manual

E-Pill
E-Pill Medimi 862101 User manual

E-Pill
E-Pill MedTime 991019 User manual

E-Pill
E-Pill ALRT User manual