manuals.online logo
Brands
  1. Home
  2. •
  3. Brands
  4. •
  5. Earthworks Audio
  6. •
  7. Microphone
  8. •
  9. Earthworks Audio PM40T User manual

Earthworks Audio PM40T User manual

For more information, please visit
www.earthworksaudio.com or call 1-603-654-2433.
PIANO MICROPHONE SYSTEM FOR TOURING
PM40T
2 PianoMic™ Telescoping Bars with Attached Microphone Heads
1 Microphone Electronics Box
1 Leather Pouch for Electronics Box
2 Felt pads with Adhesive Backing
1 Carrying Case
YOUR PURCHASE INCLUDES
Thank you for purchasing the
Earthworks PM40T Touring PianoMic System!
Before setting up the microphone, pull back all existing settings and EQ. By doing this, you will have a
baseline understanding of how our microphones sound, and will then be able to adjust accordingly.
CAUTION – the microphone heads and goosenecks are permanently attached to the center section
of the PianoMic™ telescoping tube and cannot be moved, or removed. The distance between the two

 Remove the two PianoMic™ telescoping bars from the case. Notice that on each of the two
telescoping bars, there is a special XLR type connector. There is a rotating collar next to the special
XLR type connector on the telescoping bar that has a cable coming out of one end.
2. Rotate the collar on the XLR connector so it is snug against the connector cover, but not too tight.
3. 

4. Now, take the two PianoMic™ telescoping sections and mate the connectors just like you would

together until you hear a “click.” If you do not hear a click, then change the position of the rotating
collar and try to mate the two sections again.
5. Once you have heard the click when mating the two sections, rotate the collar until it is firmly

firmly attached and will not be loose or wiggle.
 To disassemble the PianoMic, rotate the collar between the XLR connectors the full distance from its
mating half until it is snuggly against the right connector body.
2. 
Do not pull apart holding onto the telescoping tubes.
3. Collapse the telescoping bars and place them in the carrying case along with the electronics box
and leather pouch. Now you’re ready to take your PianoMic™ to the next gig.
GETTING STARTED
ASSEMBLING THE
PM40T
DISASSEMBLING
THE PM40T
 Check that all items are included with your PianoMic™ System by using the list of “Items Enclosed”
on the first page of this manual.
2. Remove the PianoMic™ telescoping bar from the case and loosen the two clutches on either side of
the two microphone goosenecks.
3. Extend both sides of the bar so that it is wider than the piano.
4. If you desire a more snug fit with the lid closed or if vibration becomes an issue, install one of the
enclosed felt pads on the support brackets.
5. With the bar fully extended and the clutch adjusted where there is still a little friction, place the
support bracket on the edge of the piano case opposite you. Then push on the bar until the
PianoMic™ is the correct length to allow the support bracket to easily rest on the edge of the piano
case nearest to you.
Once you have positioned the PianoMic™ center section, tighten both clutches to insure that the
PianoMic™ bar stays in place.
7. With the PianoMic™ in place, you can move the flex arms attached to the microphone heads several
inches to the left or to the right to achieve your desired placement.
8. With the PianoMic™ placed inside the piano and the microphones properly positioned you are ready
to connect the PianoMic™ cable to the electronics box. Notice that the top of each microphone
head has a number. These numbers correspond to the numbers on the bottom of the electronics
box. Depending upon how the PianoMic™ is placed in the piano the high strings will be indicated

numbers on the mic heads for both the high and low strings and remember that they correspond to
the numbers on the bottom of the electronics box.
9. 

System comes with the necessary hardware to install the electronics box in either of these two ways.
• Pouch Attached to Piano Leg: The enclosed leather pouch has Velcro straps that allow it to be
attached to the leg of a piano. The pouch is open at the top and the bottom has a strap to prevent
the electronics box from falling out of the bottom. There is an opening at the bottom of the pouch

inputs.
• Electronics Box Attached to Mic Stand Bracket: The electronics box has a threaded insert in the
bottom of the box that will mate with the threads on a standard microphone stand. By this method,
the electronics box can be mounted to a short mic stand to keep it above floor level, if desired.
SETTING UP
The small tip on many of our microphones allows them to capture the highest frequencies of
your sound. Please be gentle and considerate when handling the microphones with these tips.
The random incidence microphones in the PianoMic system do not work like conventional
microphones. The pickup pattern is completely different. Therefore, microphone placement
techniques that are used with conventional microphones will most likely not apply when using the PM40T.
Start by placing the mic heads 2-3 inches above the strings and 2-3 inches in front of the dampers.
Then listen! If you don't like what you hear, then experiment with other mic placements.
IMPORTANT NOTICES
SPECIFICATIONS PM40T
Frequency Response 
Polar Pattern 
Sensitivity 
Power Requirements 
Peak Acoustic Input 
Output 
Minimum Output Load 
Noise 
Mic Gooseneck Length 4.875 inches
Rod Length Assembled 

Rod Length Separated 
Carrying Case Dimensions 

Weight 
WARRANTY 




WE'RE HERE TO
HELP


37 Wilton Rd. Milford, NH 03055


earthworksaudio.com
© 2020 Earthworks, Inc
If you encounter issues while using your Earthworks Audio microphone, please make sure that:
• The telescoping bar is secured onto the body of the piano.
• The electronics box is secure wherever you have placed it.
• The XLR connection from the telescoping bar to the eletronics box is active and strong.
• The microphone heads are positioned at an appropriate distance from the sound source.
• External noise in your recording environment is kept to a minimum.
• Your recording space is at room temperature and free of dust.
If your issue persists after checking, please contact us via our website.
TROUBLESHOOTING

Other Earthworks Audio Microphone manuals

Earthworks Audio QTC30 User manual

Earthworks Audio

Earthworks Audio QTC30 User manual

Earthworks Audio SR30 User manual

Earthworks Audio

Earthworks Audio SR30 User manual

Earthworks Audio M23 User manual

Earthworks Audio

Earthworks Audio M23 User manual

Earthworks Audio QTC50 User manual

Earthworks Audio

Earthworks Audio QTC50 User manual

Earthworks Audio DM20 User manual

Earthworks Audio

Earthworks Audio DM20 User manual

Earthworks Audio SR3314 User manual

Earthworks Audio

Earthworks Audio SR3314 User manual

Earthworks Audio SR25 User manual

Earthworks Audio

Earthworks Audio SR25 User manual

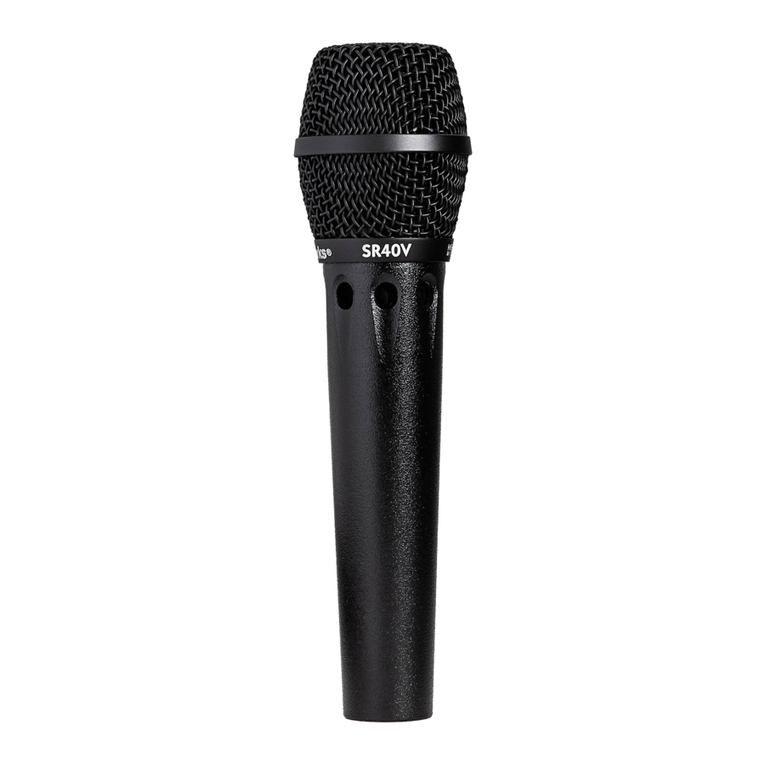
Earthworks Audio SR40/HC User manual

Earthworks Audio

Earthworks Audio SR40/HC User manual

Earthworks Audio QTC40 User manual

Earthworks Audio

Earthworks Audio QTC40 User manual

Earthworks Audio FW430 User manual

Earthworks Audio

Earthworks Audio FW430 User manual

Earthworks Audio SR30 User manual

Earthworks Audio

Earthworks Audio SR30 User manual

Earthworks Audio ICON PRO XLR User manual

Earthworks Audio

Earthworks Audio ICON PRO XLR User manual

Earthworks Audio QTC40 User manual

Earthworks Audio

Earthworks Audio QTC40 User manual

Earthworks Audio M23 User manual

Earthworks Audio

Earthworks Audio M23 User manual

Earthworks Audio SR25mp User manual

Earthworks Audio

Earthworks Audio SR25mp User manual

Earthworks Audio C30 User manual

Earthworks Audio

Earthworks Audio C30 User manual

Earthworks Audio ETHOS User manual

Earthworks Audio

Earthworks Audio ETHOS User manual

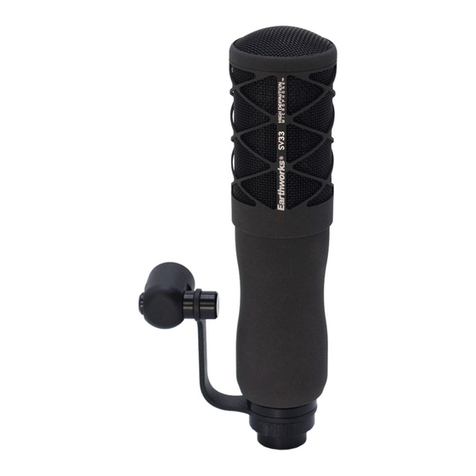
Earthworks Audio SV33 User manual

Earthworks Audio

Earthworks Audio SV33 User manual

Earthworks Audio ETHOS User manual

Earthworks Audio

Earthworks Audio ETHOS User manual

Earthworks Audio QTC50 User manual

Earthworks Audio

Earthworks Audio QTC50 User manual

Earthworks Audio TC20 User manual

Earthworks Audio

Earthworks Audio TC20 User manual

Earthworks Audio SR20LS User manual

Earthworks Audio

Earthworks Audio SR20LS User manual

Earthworks Audio SR20LS User manual

Earthworks Audio

Earthworks Audio SR20LS User manual

Earthworks Audio ICON PRO User manual

Earthworks Audio

Earthworks Audio ICON PRO User manual

Popular Microphone manuals by other brands

Motorola solutions PMMN4038 user guide

Motorola solutions

Motorola solutions PMMN4038 user guide

Shure Microflex MX400S user guide

Shure

Shure Microflex MX400S user guide

Beyerdynamic Opus 89 Product information

Beyerdynamic

Beyerdynamic Opus 89 Product information

Audio Technica PRO 49Q Specifications

Audio Technica

Audio Technica PRO 49Q Specifications

Neumann.Berlin MA 1 quick guide

Neumann.Berlin

Neumann.Berlin MA 1 quick guide

Kenwood KMC-35 instruction manual

Kenwood

Kenwood KMC-35 instruction manual

Monacor PDM-300 quick guide

Monacor

Monacor PDM-300 quick guide

Monacor TXA-100HT quick guide

Monacor

Monacor TXA-100HT quick guide

Samson QKICK owner's manual

Samson

Samson QKICK owner's manual

Samson CM15P owner's manual

Samson

Samson CM15P owner's manual

Astatic GN10VP manual

Astatic

Astatic GN10VP manual

Monacor img Stage Line ECM-190USB manual

Monacor

Monacor img Stage Line ECM-190USB manual

Zoom iQ7 Operation manual

Zoom

Zoom iQ7 Operation manual

Samson MTR201 owner's manual

Samson

Samson MTR201 owner's manual

Sennheiser Evolution E 906 Instructions to user

Sennheiser

Sennheiser Evolution E 906 Instructions to user

Nady Systems HM-45 user guide

Nady Systems

Nady Systems HM-45 user guide

Sennheiser ME 80 Instructions for use

Sennheiser

Sennheiser ME 80 Instructions for use

Neumann TLM 49 operating instructions

Neumann

Neumann TLM 49 operating instructions

manuals.online logo
manuals.online logoBrands
  • About & Mission
  • Contact us
  • Privacy Policy
  • Terms and Conditions

Copyright 2025 Manuals.Online. All Rights Reserved.