manuals.online logo
Brands
  1. Home
  2. •
  3. Brands
  4. •
  5. EFD
  6. •
  7. Dispenser
  8. •
  9. EFD UltraSaver 1200 User manual

EFD UltraSaver 1200 User manual

ULTRASAVER™USER GUIDE
®
A NORDSON COMPANY
USA: 800-556-3484
In the UK: 0800 585733
In Mexico: 001-800-556-3484
1200 •1215
Setting up the ULTRASAVER™
Filling barrels
1
2
3
4
5
67
8
9
Note: Clean, dry, filtered air is required to meet warranty. If necessary,
use five-micron filter regulator (not supplied – order #2000F755).
1. Connect ULTRASAVER (or filter regulator where required) to plant
air supply.
2. If appropriate, connect ULTRASAVER to filter regulator.
Press air hose firmly into fittings to connect.
3. Set plant air supply (or filter regulator) within 80 to 100 psi
(5.4 to 7.0 bar).
4. Plug in the foot pedal.
5. Set voltage selector switch to the proper value.
6. Connect power cord.
7. Attach the hose support to desired side of the ULTRASAVER.
8. Position barrel adapter hose in the support and connect to
the ULTRASAVER’s output.
9. Turn power switch on (rear panel).
Thin, pourable fluids
Twist on a tip cap and pour fluid in.
If appropriate, insert the SmoothFlow™ piston.
Carefully press the piston down (use a pen or pencil)
until it contacts the fluid.
Attach barrel to barrel adapter assembly.
Invert barrel, replace tip cap with selected dispense tip.
Thick or non-leveling materials
Same procedure as with thin, pourable fluids EXCEPT:
Spoon fluid into the barrel with a spatula. (If packed
in a 1/10 gallon cartridge, try loading the barrel with a
caulking gun.)
Note: Move the fluid toward the bottom of the barrel
by pressing the SmoothFlow™ piston. Squeeze barrel
sides slightly to allow trapped air to escape.
Solvents,
cyanoacrylates
or anaerobics
Same procedure as with thin,
pourable fluids EXCEPT:
Use the blue LV Barrier™.
Place barrier in the TOP of the
barrel reservoir.
Allow air between barrier and
fluid. (Do not contact the blue
barrier to the fluid.)
1/2 max. fill
Air gap
LV Barrier™
Caulking gun
or spatula
2/3
max.
fill
2/3
max.
fill
THICK fluid settings
30
5
5
3
30
5
5
3
5
Press the mode switch
so the yellow light is lit.
Hold the barrel at 45˚.
Place tip on work surface.
Use the foot pedal to
control flow.
THIN fluid settings
1. Set air pressure
to 30 psi
2. To fill tip, set mode switch to steady
(yellow light on) and press foot pedal.
3. If dots are required, reset mode switch to green.
Set time at #3, adjust as necessary.
1. Set air pressure to 2 psi
2. Set time at #3
3. If drop forms at tip,
turn vacuum control
counter-clockwise until
drop disappears.
Note: Settings are general recommendations. For best results, test settings for your specific application.
How to make DOTS Time range adjustments – special setups
Most applications work best with ULTRASAVER’s
default time setting (shipped with 0.010 – 1.000
momentary). However, for special setups the
ULTRASAVER’s time range may be adjusted with
the rotary switch located under the plug in the
bottom panel of the cabinet.
To change the time range, rotate the switch
to the desired setting using a small screwdriver.
Replace plug.
In maintained mode, the foot pedal must remain
depressed throughout the entire dispense cycle.
Releasing the pedal during a cycle will interrupt
the cycle.
In momentary mode, the foot pedal can be
pressed and immediately released, and the cycle
will continue. If the pedal is pressed again during
a cycle, the dispenser will stop.
Time range
in seconds
Switch
Setting
Foot pedal
Mode
0 0.005 – 0.200 Momentary
1 0.010 – 1.000 Momentary
2 0.050 – 10.000 Momentary
3 0.100 – 20.000 Momentary
4 0.015 – 30.000 Momentary
5 0.005 – 0.200 Maintained
6 0.010 – 1.000 Maintained
7 0.050 – 10.000 Maintained
8 0.100 – 20.000 Maintained
9 0.015 – 30.000 Maintained
How to make STRIPES
GREEN
YELLOW
MODE SWITCH
MODE SWITCH
Press the mode switch
so the green light is lit.
Hold the barrel at 45˚.
Place tip on work surface.
Press the foot pedal to
repeat the same size dot.
+
+
+
+
0
1
2
3
4
5
6
7
8
9
10
10
R
R
psi
psi
100 x kPa
100 x kPa
bar
bar
0
0
50
50
100
100
10
10
90
90
40
40
30
30
20
20
60
60
70
70
80
80
0
0
1
1
2
2
3
3
4
4
5
5
6
6
7
7
1200
656964
Technical specifications
Input voltage: 100-120/208-240 VAC, 50/60 Hz, 8VA max.
Fuse rating: 80 mA, 250V, Type T
Air input 80 – 100 psi (5.5 – 6.9 bar)
pressure: Use only clean, dry, filtered air –
minimum 20 micron
Air output 1200: 0 – 100 psi (0 – 6.9 bar)
pressure: 1215: 0 – 15 psi (0 – 1.03 bar)
Dimensions: 4-3/4" w x 6" h x 5-1/2" d
(120.7mm x 152.4mm x 139.7mm)
Weight: 2.78 lbs. (1.26 kg)
Enclosure rating: NEMA 1 or IP100
Time ranges: 0.005 – 0.200 seconds
0.010 – 1.000 seconds (momentary, default)
0.050 – 10.000 seconds
0.100 – 20.000 seconds
0.015 – 30.000 seconds
Dispense pressure gauge
+
+
0
1
2
3
4
5
6
7
8
9
10
R
psi
100 x kPa
bar
0
50
100
10
90
40
30
20
60
70
80
0
1
2
34
5
6
7
Fuse
T 80mA 250V 100-120/208-240 VAC
50/60 Hz 8 VA max.
115V
Model No.
Serial No.
Providence, RI 02914 U.S.A.
Telephone:(401) 434-1680
1200
656964
Dispense pressure
regulator
Air output
quick-connect
Barrel vacuum
control
Time control Mode switch
Exhaust
Air input
quick-connect
Foot pedal
receptacle
Input
voltage
selector
switch
Fuse holder
Power switch
Power cord
receptacle
Headquarters:
977 Waterman Avenue, East Providence, RI 02914-1342 USA
USA: 800-556-3484 Mexico: 001-800-556-3484
Telephone: 401-434-1680 Fax: 401-431-0237
e-mail: [email protected] www.efd-inc.com
Unit 14, Apex Business Centre, Boscombe Road
Dunstable, Bedfordshire LU5 4SB UK
Telephone: 01582 666334 Fax: 01582 664227
Freephone: 0800 585733 From Ireland: 00800 8272 9444
Sales and service of EFD dispensers and dispensing components are available through EFD authorized distributors in over 30 countries. Please contact EFD U.S.A. for specific names and addresses.
©2006 EFD, Inc. 1200-MAN-01 v010606
®
A NORDSON COMPANY
EFD Two Year Limited Warranty
For assistance or to order EFD ULTRA dispensing components, contact your local EFD authorized distributor.
All components of EFD dispensers are warranted to the original end user for
two years from date of purchase.
Within the period of this warranty, EFD will repair or replace free of charge
any defective component on return of the part, or the complete dispenser,
prepaid to the factory.
In no event shall any liability or obligation of EFD arising from this warranty
exceed the purchase price of the equipment. Before using, user shall deter-
mine the suitability of the product for his intended use, and user assumes all
risk and liability whatsoever in connection therewith. This warranty is valid
only when clean, dry, filtered air is used.
EFD makes no warranty whatsoever of merchantability or fitness for a
particular purpose. In no event shall EFD be liable for incidental or
consequential damages.
This equipment is regulated by the European Union under WEEE Directive (2002/96/EC).
See www.efd-inc.com for information about how to properly dispose of this equipment.

This manual suits for next models

1

Other EFD Dispenser manuals

EFD 1000XL User manual

EFD

EFD 1000XL User manual

EFD ULTIMUS V User manual

EFD

EFD ULTIMUS V User manual

EFD 900 User manual

EFD

EFD 900 User manual

EFD 2000XL User manual

EFD

EFD 2000XL User manual

EFD HP4X User manual

EFD

EFD HP4X User manual

EFD 1500XL User manual

EFD

EFD 1500XL User manual

EFD Ultra 1400 Series User manual

EFD

EFD Ultra 1400 Series User manual

EFD Ultra 325TT User manual

EFD

EFD Ultra 325TT User manual

EFD Ultra 2400 Series User manual

EFD

EFD Ultra 2400 Series User manual

EFD HP7X User manual

EFD

EFD HP7X User manual

EFD Nordson v051806 Manual

EFD

EFD Nordson v051806 Manual

EFD 800 User manual

EFD

EFD 800 User manual

EFD Ultra 2400 Series User manual

EFD

EFD Ultra 2400 Series User manual

EFD Ultra 870 Series User manual

EFD

EFD Ultra 870 Series User manual

Popular Dispenser manuals by other brands

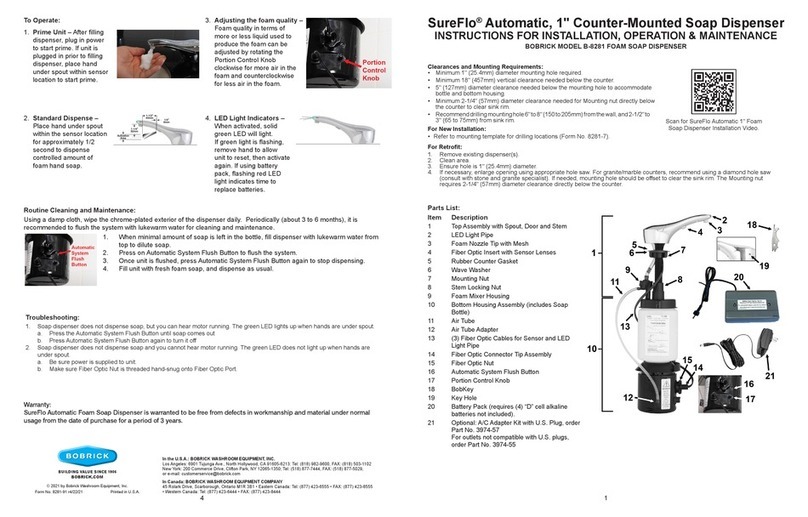
Bobrick SureFlo B-8281 Instructions for installation, operation, maintenance

Bobrick

Bobrick SureFlo B-8281 Instructions for installation, operation, maintenance

FROST 199-W Installation guidelines

FROST

FROST 199-W Installation guidelines

Adhesive Dispensing TS9150 user guide

Adhesive Dispensing

Adhesive Dispensing TS9150 user guide

AGA marvel ML24BT Installation, operation and maintenance instructions

AGA marvel

AGA marvel ML24BT Installation, operation and maintenance instructions

Tork Matic H1 Service and parts manual

Tork

Tork Matic H1 Service and parts manual

Sartorius Microsart e.motion 16713 BO operating instructions

Sartorius

Sartorius Microsart e.motion 16713 BO operating instructions

Wayne Reliance G6101D Installation & operation

Wayne

Wayne Reliance G6101D Installation & operation

Croydex PA680150E owner's manual

Croydex

Croydex PA680150E owner's manual

Pulsarlube E series user manual

Pulsarlube

Pulsarlube E series user manual

lancer IBD44 Series Operation manual

lancer

lancer IBD44 Series Operation manual

Sartorius rLine 5-200ul LS Technical  user's manual

Sartorius

Sartorius rLine 5-200ul LS Technical user's manual

Curtis Cafe Primo Cappuccino 3 user guide

Curtis

Curtis Cafe Primo Cappuccino 3 user guide

Brasstech 0314 installation instructions

Brasstech

Brasstech 0314 installation instructions

DEMA 693T FOAM STATION II Installation instruction

DEMA

DEMA 693T FOAM STATION II Installation instruction

Xibu DISINFECT manual

Xibu

Xibu DISINFECT manual

ASI 0388 manual

ASI

ASI 0388 manual

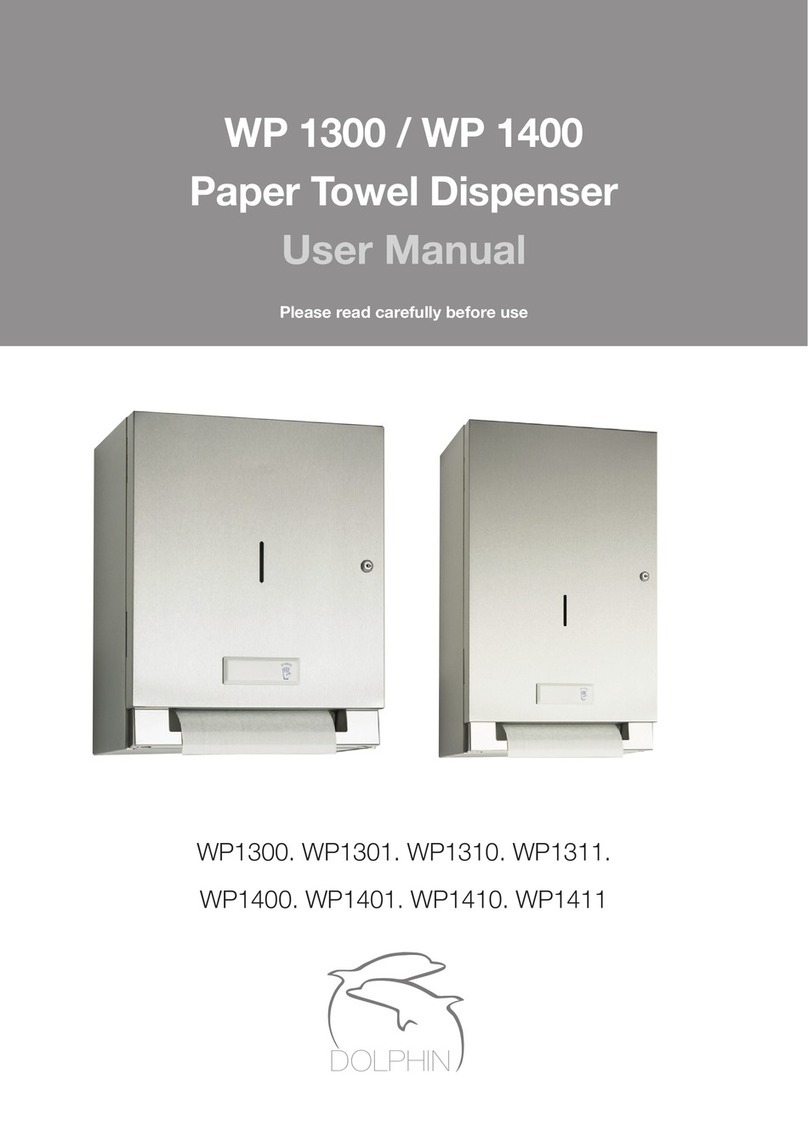
Dolphin WP1300 user manual

Dolphin

Dolphin WP1300 user manual

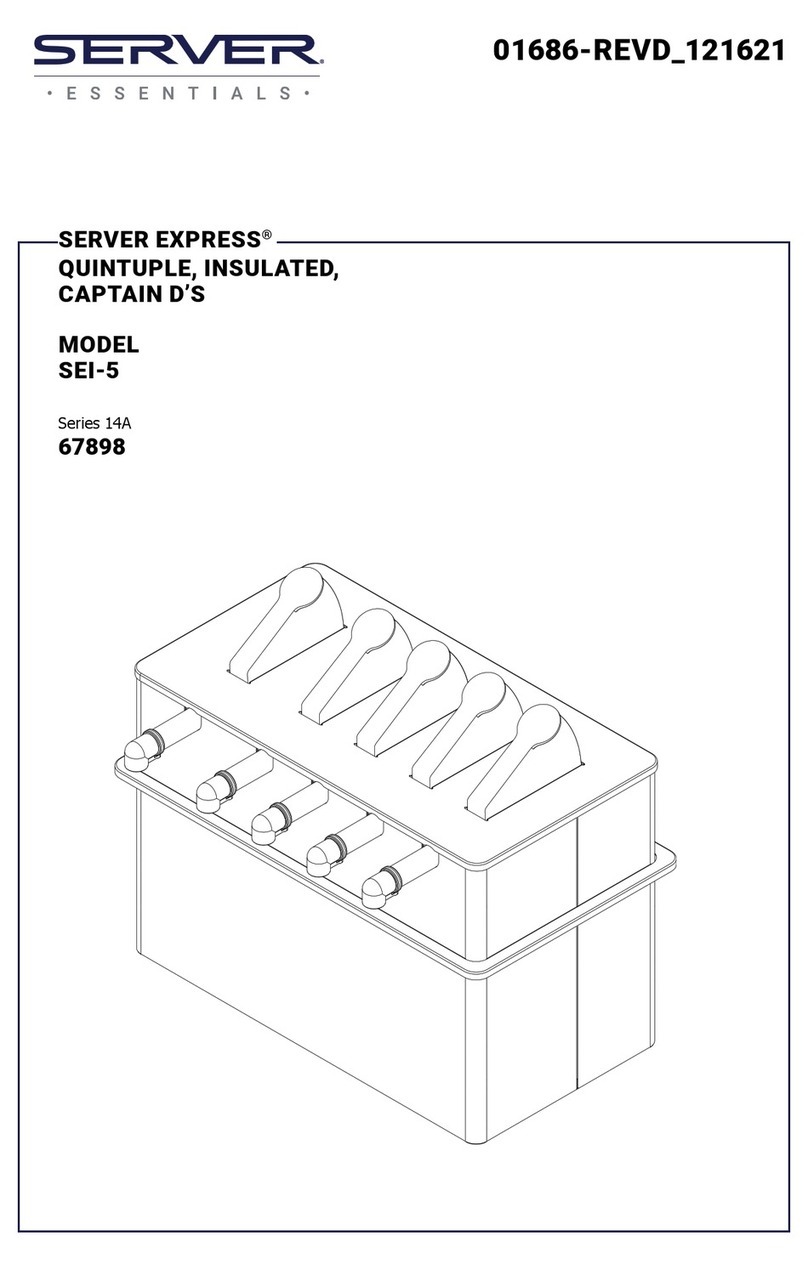
Server Express SEI-5 manual

Server

Server Express SEI-5 manual

manuals.online logo
manuals.online logoBrands
  • About & Mission
  • Contact us
  • Privacy Policy
  • Terms and Conditions

Copyright 2025 Manuals.Online. All Rights Reserved.