7
Refit the glass panel ensuring that the unsupported edge of
the glass is facing downwards. Take care not to damage the
ceramic fuel bed when fitting. Secure using four M6 screws
previously removed. Now fit the hood. This is provided sepa-
rately. Remove all protective packaging materials. Carefully
attach using two No8 x 5/16 self tapping screws (also pro-
vided within loose parts) in the positions shown in figure 12.
Do not overtighten. Now fit the decorative front coal piece.
This is intended to sit flush in front of the glass panel in
order to complete the realistic coal fuel effect.
Attach the strip using two M4 screws in the positions shown
in figure 13. Take care not to damage the ceramic part of the
component.
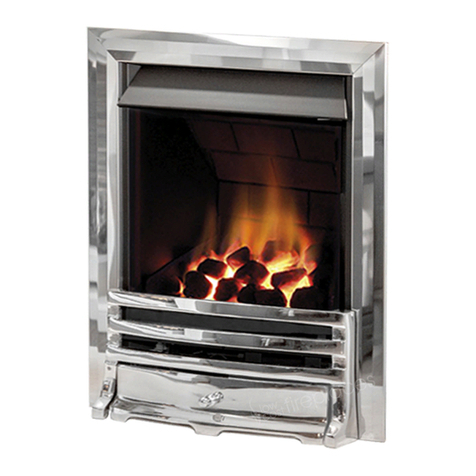
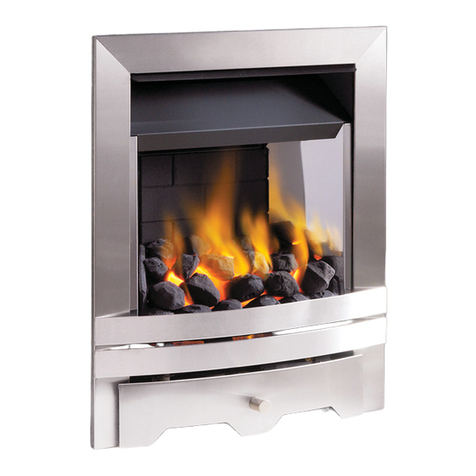
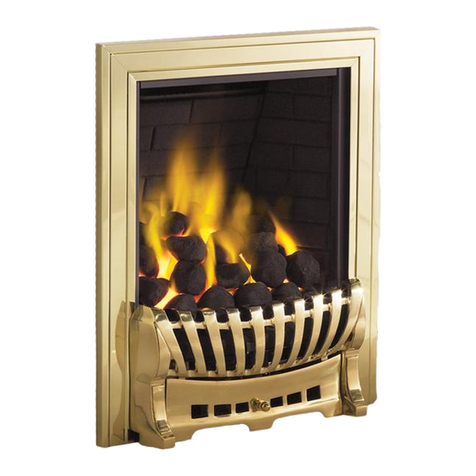
The appliance is supplied either with a one piece or three
piece decorative frame.
For one piece frames : The appliance is supplied with a one
piece decorative frame that is attached to the front of the fire-
box with the magnets provided. Place the decorative fire-
front in front of the fire and slide the ashpan door into
place. The firefront shown in these instructions may be dif-
ferent to the one supplied with the appliance.
For three piece frames : The side pieces of the clip on
assembly should be pushed into position first, followed by
the top bar (shown in figure 14), which should overlap the
sides.
Important Note : Due to the possibility of sharp edges, care
should be taken when handling the three piece frame com-
ponents. The use of protective gloves is recommended.
Place the firefront into position in front of the fire and slide
the ashpan door into place. Do not use any other firefront
other than the one supplied with this appliance. The firefront shown in these instructions may differ from the one sup-
plied with the appliance.
The pilot is visible through the viewing hole which is located at the lower left hand side
of the fuel bed. The fire features a ‘twin spark’ ignition system to aid lighting, Push
the control knob in fully and turn anti-clockwise through both of the SPARK positions,
keeping fully depressed, hold there for a few seconds. If the fire has not been used for
some time, hold the knob in this position for longer, to allow any air in the pipes to
be purged. Continue turning anti-clockwise through the spark clicks to the nine
o’clock position, ensuring the pilot has lit. If not, return the knob clockwise, and
repeat.
When the pilot lights after one of the two sparks, keep the knob depressed in the nine
o’clock position for approximately ten seconds. Now release the knob and the pilot
should stay alight. If the pilot is extinguished during use, wait three minutes before
repeating the ignition procedure.
To achieve the HIGH setting, push the control knob in slightly and continue turning
anti-clockwise to the high position. The main burner should light after a few seconds. To decrease the setting to LOW,
push the knob in slightly and turn the control knob clockwise to the low setting. To turn to the pilot only position from
the HIGH or LOW positions, press the control knob in, and return to the nine o’clock position and release. To turn the
fire OFF, keep the knob pressed in, return to the off position and release.
The pilot is visible through the viewing hole which is located at the lower left hand side
of the fuel bed.
Push the slide control knob fully downwards to the SPARK position, and hold there for
approximately ten seconds. Now release the knob and the pilot should stay alight. When
the pilot light has established, release the slide control knob and it will return to the LOW
flame setting. If the pilot is extinguished during use, wait three minutes before repeat-
ing the ignition procedure.
To achieve the HIGH setting, move the slide control knob upwards to the HIGH flame set-
ting. The fire can also be set to operate anywhere between HIGH and LOW by moving the
control knob to an intermediate position.
To turn the fire OFF, move the slide control knob upwards fully to the position marked
‘O’.
©2012 Focal Point Fires plc.
9.3 FINAL ASSEMBLY
Figure 12
Figure 13
Figure 14
9.4 OPERATING THE APPLIANCE - MANUAL CONTROL MODELS
9.5 OPERATING THE APPLIANCE - SLIDE CONTROL MODELS
GB IE
Figure 16
Figure 15

