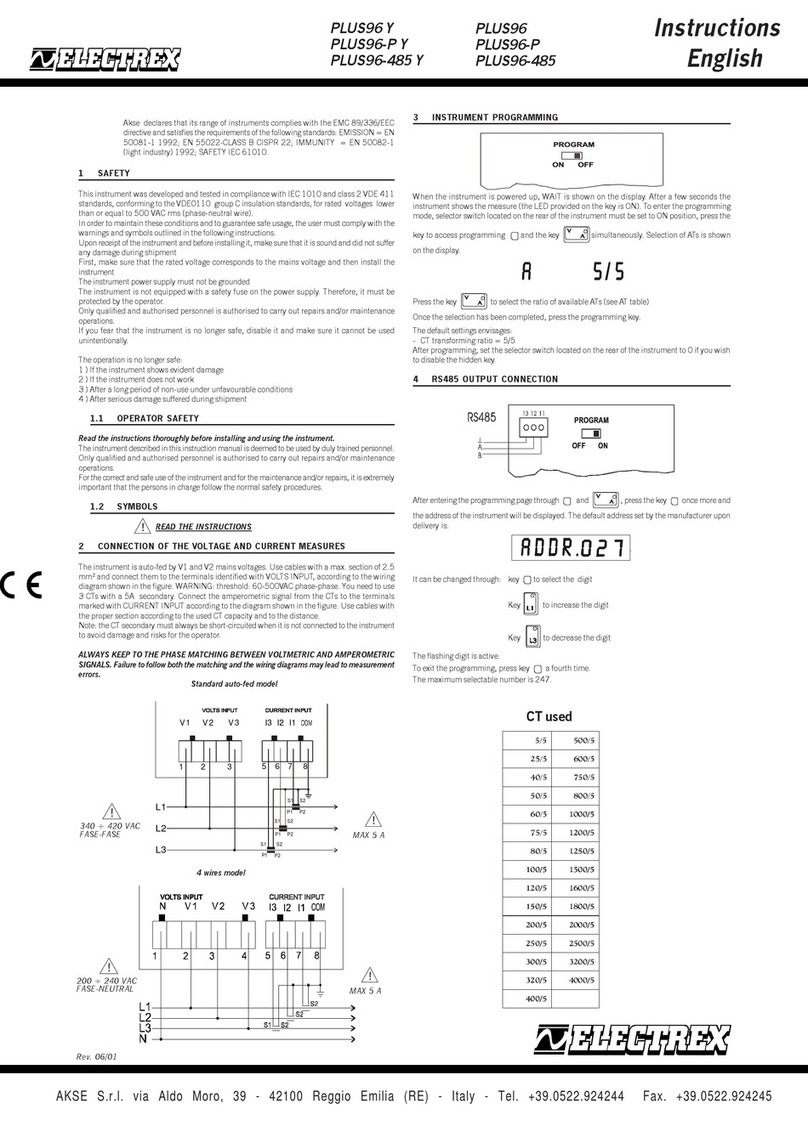
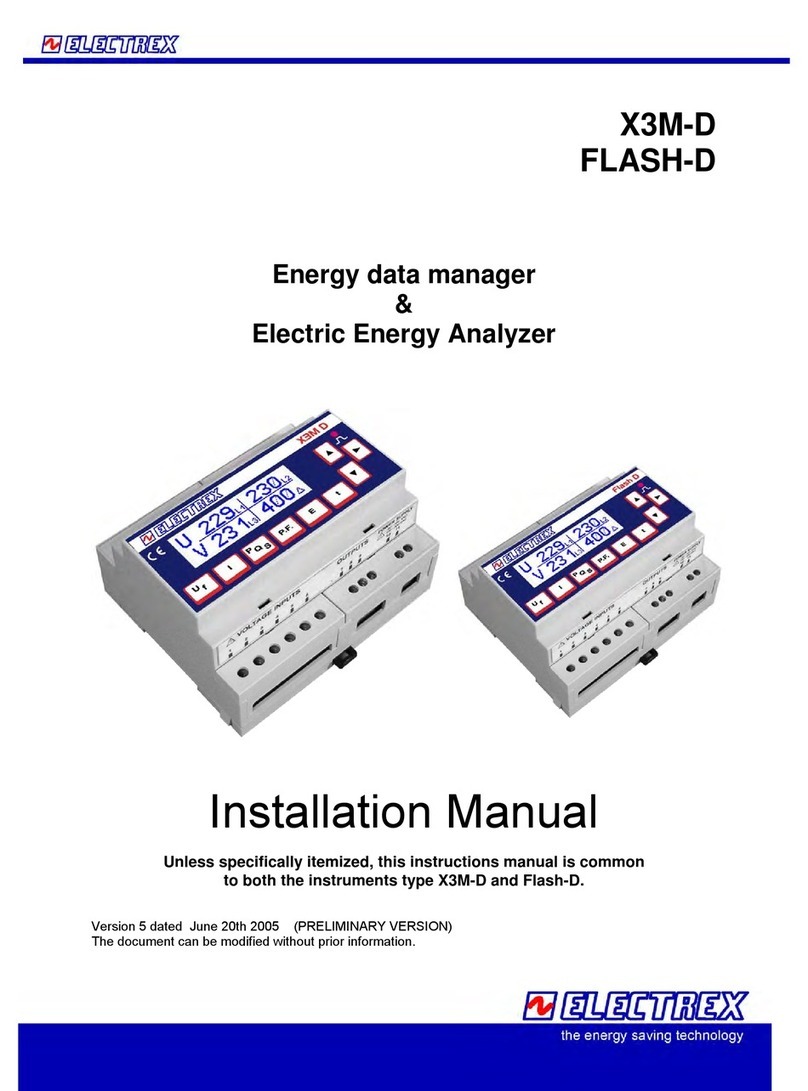
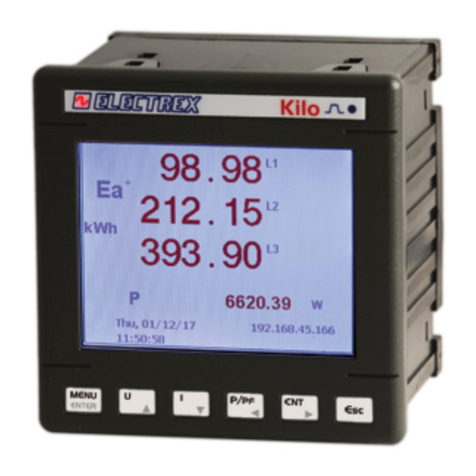
Electrex ATTO D4 DC User manual

Subject to modification without notice. Edition 06-10-2010
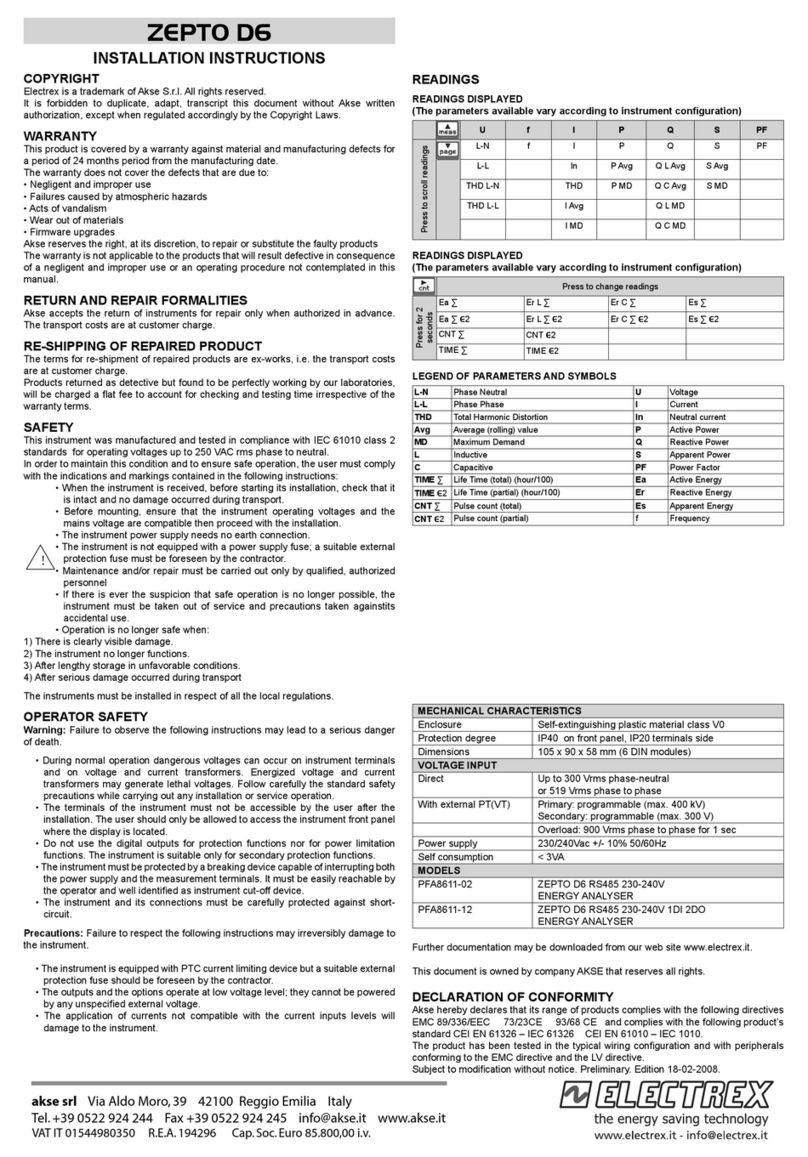
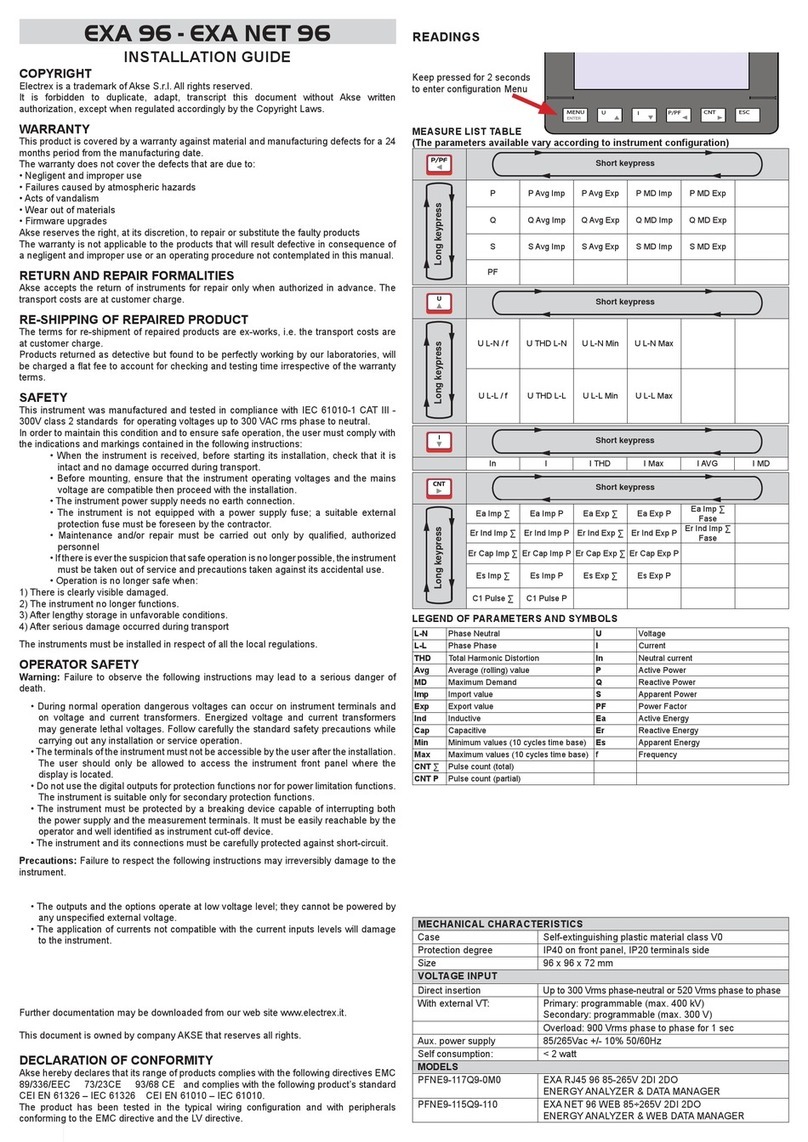
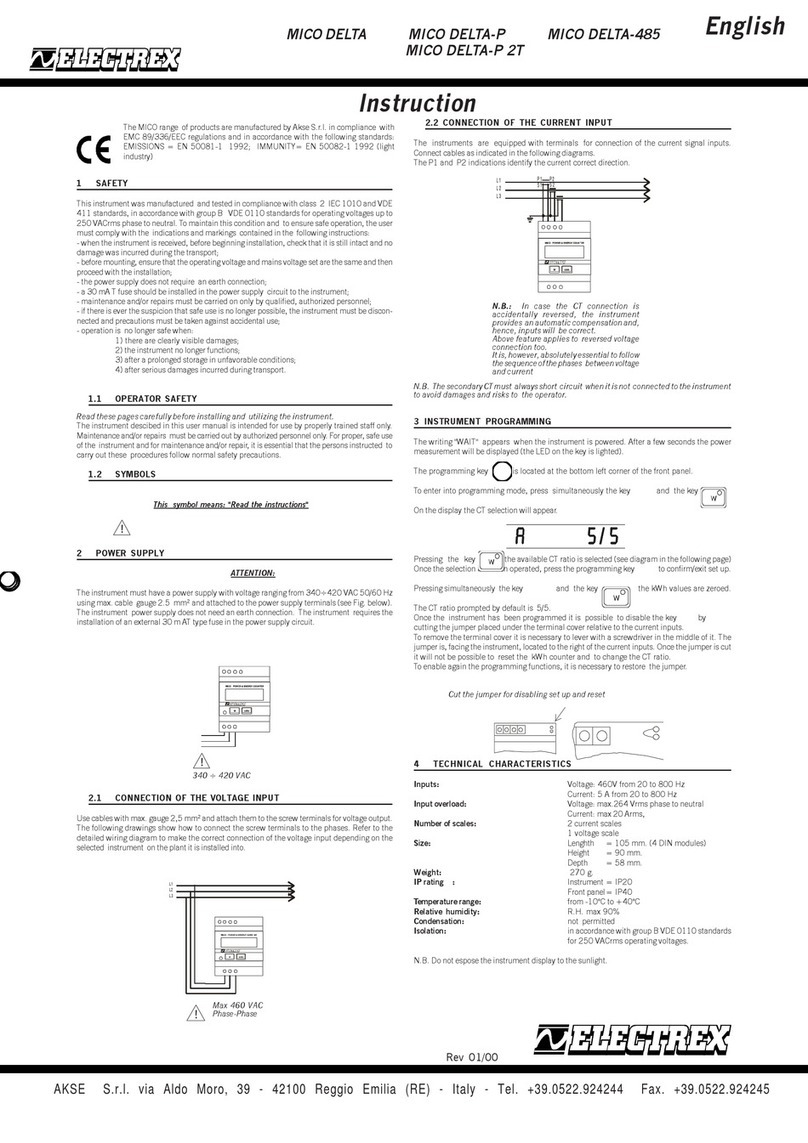
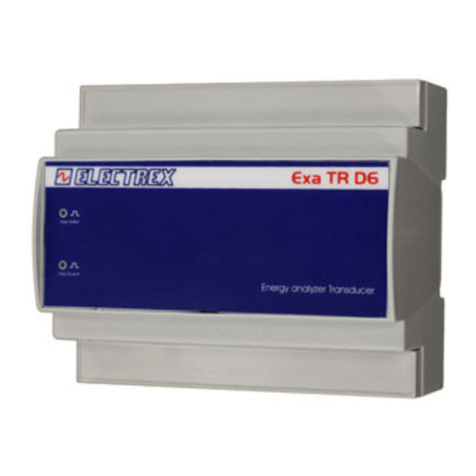
MECHANICAL CHARACTERISTICS
Enclosure Self-extinguishing plastic material class V0
Protection degree IP40 on front panel
Dimensions 70 x 90 x 58 mm (4 DIN modules)
VOLTAGE INPUT
Direct Up to 300 V
max 360 V
Power supply 230/240Vac +/- 10% 50/60Hz
Self consumption < 3VA
MODELS
PFA7471-02 ATTO D4 DC RS485 230-240V
ENERGYANALYSER
PFA7471-12 ATTO D4 DC RS485 230-240V 1DI 2DO
ENERGYANALYSER
COPYRIGHT
Electrex is a trademark of Akse S.r.l. All rights reserved.
It is forbidden to duplicate, adapt, transcript this document without Akse written
authorization, except when regulated accordingly by the Copyright Laws.
WARRANTY
This product is covered by a warranty against material and manufacturing defects for a 24
months period from the manufacturing date.
The warranty does not cover the defects that are due to:
• Negligent and improper use
• Failures caused by atmospheric hazards
• Acts of vandalism
• Wear out of materials
• Firmware upgrades
Akse reserves the right, at its discretion, to repair or substitute the faulty products
The warranty is not applicable to the products that will result defective in consequence of
a negligent and improper use or an operating procedure not contemplated in this manual.
RETURN AND REPAIR FORMALITIES
Akse accepts the return of instruments for repair only when authorized in advance. The
transport costs are at customer charge.
RE-SHIPPING OF REPAIRED PRODUCT
The terms for re-shipment of repaired products are ex-works, i.e. the transport costs are
at customer charge.
Products returned as detective but found to be perfectly working by our laboratories, will
be charged a flat fee to account for checking and testing time irrespective of the warranty
terms.
SAFETY
This instrument was manufactured and tested in compliance with IEC 61010-1 CAT III-
300V class 2 standards for exercise voltages up to 300 Vac rms phase to neutral.
In order to maintain this condition and to ensure safe operation, the user must comply with
the indications and markings contained in the following instructions:
• When the instrument is received, before starting its installation, check that it is
intact and no damage occurred during transport.
• Before mounting, ensure that the instrument operating voltages and the mains
voltage are compatible then proceed with the installation.
• The instrument power supply needs no earth connection.
• The instrument is not equipped with a power supply fuse; a suitable external
protection fuse must be foreseen by the contractor.
• Maintenance and/or repair must be carried out only by qualified, authorized
personnel
•Ifthereiseverthesuspicionthatsafeoperationisnolongerpossible,theinstrument
must be taken out of service and precautions taken againstits accidental use.
• Operation is no longer safe when:
1) There is clearly visible damage.
2) The instrument no longer functions.
3) After lengthy storage in unfavorable conditions.
4) After serious damage occurred during transport
The instruments must be installed in respect of all the local regulations.
OPERATOR SAFETY
Warning: Failure to observe the following instructions may lead to a serious danger of
death.
• During normal operation dangerous voltages can occur on instrument terminals and
on voltage and current transformers. Energized voltage and current transformers
may generate lethal voltages. Follow carefully the standard safety precautions while
carrying out any installation or service operation.
• The terminals of the instrument must not be accessible by the user after the installation.
The user should only be allowed to access the instrument front panel where the
display is located.
• Do not use the digital outputs for protection functions nor for power limitation functions.
The instrument is suitable only for secondary protection functions.
• The instrument must be protected by a breaking device capable of interrupting both
the power supply and the measurement terminals. It must be easily reachable by the
operator and well identified as instrument cut-off device.
• The instrument and its connections must be carefully protected against short-circuit.
Precautions: Failure to respect the following instructions may irreversibly damage to the
instrument.
• The instrument is equipped with PTC current limiting device but a suitable external
protection fuse should be foreseen by the contractor.
• The outputs and the options operate at low voltage level; they cannot be powered by
any unspecified external voltage.
• The application of currents not compatible with the current inputs levels will damage
to the instrument.
Further documentation may be downloaded from our web site www.electrex.it.
This document is owned by the company AKSE that reserves all rights.
DECLARATION OF CONFORMITY
Akse hereby declares that its range of products complies with the following directives EMC
89/336/EEC 73/23CE 93/68 CE and complies with the following product’s standard
CEI EN 61326 – IEC 61326 CEI EN 61010 – IEC 61010.
The product has been tested in the typical wiring configuration and with peripherals
conforming to the EMC directive and the LV directive.
!
ATTO D4 DC
INSTALLATION INSTRUCTIONS The instrument will be distributed with the following default configuration
PAGE MENU DISPLAYED AVAILABLE PARAMETERS DEFAULT
PASSWORD 0000 ... 9999 0000
RS485 RS 485 ADDRESS 1 ... 247 27
Comm. Speed 2400, 4800, 9600, 19200, 38400 38400
Data Bit 7 o 8 8
Parity N = no parity, E = parity equal, O = parity
unequal N
Bit of stop 1 o 2 2
NETWORKExport NO, YES NO
I FS 1 ... 10000 00010
SHUNT 60 or 100 60
VR 400000/999 1/1
AVG-MD TIME (note n.2)
POWERS 1...60 (minutes) 15
CURRENTS 1...60 (minutes) 8
ALARM 1 / A (note n.11)
MODE (note n.3) Normal, DERIV NORMAL
TYPE (note n.4) MAX, MIN MIN
MEAS (note n.5) Controlled measure. See table n.1 for the
register selection. 200
THRE (note n.5) Threshold value. 0
ALARM 1 / B
HYST 1...100 (%) 1
DELAY 1...99 (seconds) 1
AVG (note n.6) 1...99 (seconds) 1
OUT (note n.7) Normal, Hold, Pulse-L, Pulse-S NORMAL
ALARM 2 / A (note n.11)
MODE (note n.3) Normal, DERIV NORMAL
TYPE (note n.4) MAX, MIN MIN
MEAS (note n.5) Controlled measure. See table n.1 for the
register selection. 200
THRE (note n.5) Threshold value. 0
ALARM 2 / B
HYST 1...100 (%) 1
DELAY 1...99 (seconds) 1
AVG (note n.6) 1...99 (seconds) 1
OUT (note n.7) Normal, Hold, Pulse-L, Pulse-S NORMAL
ALARM 3 / A (note n.11)
MODE (note n.3) Normal, DERIV NORMAL
TYPE (note n.4) MAX, MIN MIN
MEAS (note n.5) Controlled measure. See table n.1 for the
register selection. 200
THRE (note n.5) Threshold value. 0
ALARM 3 / B
HYST 1...100 (%) 1
DELAY 1...99 (seconds) 1
AVG (note n.6) 1...99 (seconds) 1
OUT (note n.7) Normal, Hold, Pulse-L, Pulse-S NORMAL
ALARM 4 / A (note n.11)
MODE (note n.3) Normal, DERIV NORMAL
TYPE (note n.4) MAX, MIN MIN
MEAS (note n.5) Controlled measure. See table n.1 for the
register selection. 200
THRE (note n.5) Threshold value. 0
ALARM 4 / B
HYST Normal, DERIV 1
DELAY MAX, MIN 1
AVG (nota n.6) Controlled measure. See table n.1 for the
register selection. 1
OUT (nota n.7) Threshold value. NORMAL
DIGITAL OUT 1 (note n.8)
MODE PULSE, ALARM, REMOTE PULSE
POLARITY NO, NC NO
PULSE OUT 1
MEAS (note n.9) P-IMP, P-EXP P-IMP
PRIMARY (note n.10) YES, NO YES
WEIGHT 1...100000000 (Wh/100) 100000
WIDTH 50ms...1S 500
DIGITAL OUT 2 (note n.8)
MODE PULSE, ALARM, REMOTE PULSE
POLARITY NO, NC NO
PULSE OUT 2
MEAS (note n.9) P-IMP, P-EXP P-EXP
PRIMARY (note n.10) YES, NO YES
WEIGHT 1...100000000 (Wh/100) 100000
WIDTH 50ms...1S 500

Holding Registers
Address
n° Register
Type
Description
Value
100 2 I Primary - Voltage Divider from 1 to 400000 V
102 1 I Secondary - Voltage Divider from 1 to 999 V
103 1 I Bottom Scale - Shunt from 1 to 10000 A
104 1 I Output - Shunt 60 or 100 mV
105 1 B Insertion mode Bit 7 = Enables Export
106 1 I Integration Time for Power from 1 to 60 min
107 1 I Integration Time for Current from 1 to 60 min
109 1 B Life Timer 2 (partial) Bit 0-1 = Input command selection (0-4, 0=disables external
command)
Bit 4 = Command from channel alarm (0= command from
digital input, 1=command from alarm)
Bit 7 = inverts command polarity (0=counts if command is
active, 1=counts if command is not active)
110 1 B Energy Counters set 1 (totals) Bit 0-1 = command input selection
Bit 4 = Command from channel alarm
Bit 7 = inverts command polarity
111 1 B Energy Counters set 2
(partials) Bit 0-1 = command input selection
Bit 4 = Command from channel alarm
Bit 7 = inverts command polarity
112 2 F Multiplier CNT1 If 0, disables pulse counter CNT1
120 2 I Measure unit CNT1 4 characters ASCII from 0x30 to 0x39 and from 0x41 to
0x5A
128 1 I Total counters set symbol 2 characters ASCII from 0x30 to 0x39 and from 0x41 to
0x5A
129 1 I Partial counters set symbol 2 characters ASCII from 0x30 to 0x39 and from 0x41 to
0x5A
135 1 I Pulse output 1 measure
selection Bit 0-2 = Power Index (0=Pimp, 4=Pexp)
Bit 7 = Value on secondary Shunt es: 0x00, 0x01,
0x02...=primary;
0x80, 0x81, 0x82…=secondary
136 1 I Pulse length output 1 from 50 to 1000 ms
137 2 I Pulse weight output 1 in Wh/100, from 1 to 100000000
139 1 I Pulse output 2 measure
selection Bit 0-2 = Power Index (0=Pimp, 4=Pexp)
Bit 7 = Value on secondary Shunt
140 1 I Pulse length output 2 from 50 to 1000 ms
141 2 I Pulse weight output 2 in Wh/100, from 1 to 100000000
151 1 B Configuration DI 1 Bit 0 = Closing - minimum period (0=5ms, 1=50ms)
Bit 4 = Opening - minimum period (0=5ms, 1=50ms)
Bit 11 = Inverts the state (does not have any action on the
pulse counting function; the counter will increment always
on the contact closing)
es:
0x0000 -> max pulse freq. = 100Hz (straight)
0x0011 -> max pulse freq. = 10Hz (straight)
0x0811 -> max pulse freq. = 10Hz (inverted)
155 1 B Configuration DO 1 Bit 0-1 = Mode (0=modbus command, 1=alarm, 2=pulse)
Bit 7 = Normaly closed
156 1 B Configuration DO 2 Bit 0-1 = Mode (0=modbus command, 1=alarm, 2=pulse)
Bit 7 = Normaly closed
159 1 I Type of measure selection on
alarm 1 IR address for connecting the alarm. From 200 to 390 (or
490)
160 1 I Mode alarm 1 Bit 0-3 = Alarm modality
0 = Normal 1 = 1/3 (takes the measure from the next two
addr from the one programmed)
2 = 3/3 (takes the measure from the next two addr from
the one programmed)
3 = Unbalanced (takes the measure from the next two
addr from the one programmed)
4 = Varation (delta) related to the average value on floating
window
Bit 4 = Direction (polarity):
0 = Min (neg if derived)
1 = Max (pos if derived)
Bit 8-11 = Driving output modality
0 = Normal
1 = Short pulse (100mS) - Does not influence IR/HR (as
mode 0)
2 = Long pulse (500mS) - Does not influence IR/HR (as
mode 0)
3 = Hold
Bit 12-14 = Output logic selection
Bit 12 = Output port operator
0 out = Aor B
1 out = Aand B
Bit 13 = port operator A(0=OR, 1=AND)
Bit 14 = port operator B (0=OR, 1=AND)
161 1 I Logic combination alarm 1 Bit 0-3 = Input port Aalarm channel
Bit 4-7 = Input port Adigital inputs
Bit 8-11 = Input port B alarm channel
Bit 12-15 = Input port B digital inputs
162 1 I Integration time alarm 1 If Mode=Variation: Amplitude of the range of integration for
the calculation of average (from 1 to 99 sec)
163 1 I Hysteresis alarm 1 0-99 %
164 1 I Delay alarm 1 0-99 s (bit 0-7=activation delay, bit 8-15=deactivation
delay?)
165 2 F Threshold alarm 1 In percentage if Mode=Imbalance or Mode=Variation.
Is automatically rounded to the number of digits edited by
keyboard.
167 1 I Type of measure selection on
alarm 2
168 1 I Mode alarm 2
169 1 I Logic combination alarm 2
170 1 I Integration time alarm 2
171 1 I Hysteresis alarm 2
172 1 I Delay alarm 2
173 2 F Threshold alarm 2
215 1 I Serial port transmission delay from 10 to 1000 ms
INPUT REGISTERS
Address
n° Registri
Type *
Description
Symbol
Unit
220 2 F Phase to Neutral Voltage, RMS Amplitude U1N [V]
232 2 F Phase Current, RMS Amplitude I1 [A]
240 2 F PhaseActive Power (+/-) P1 [W]
284 2 F Internal Temperature, °C T [°C]
286 2 F Internal Temperature, °F T [°F]
288 2 F Phase to Neutral Voltage, RMS Amplitude, MIN U1N MIN [A]
294 2 F Phase to Neutral Voltage, RMS Amplitude, MAX U1N MAX [A]
312 2 F Phase Current, RMSAmplitude, MAX I1 MAX [A]
320 2 F PhaseActive Power, Import, MAX P1+ MAX [A]
326 2 F PhaseActive Power, Export, MAX P1- MAX [A]
332 2 F Phase Current, RMS Amplitude, AVG I1 AVG [A]
338 2 F Phase Current, RMSAmplitude, MD I1 MD [A]
344 2 F Total imported active power, AVG P+ AVG [W]
352 2 F Total exported active power, AVG P- AVG [W]
360 2 F Total imported active power, MD P+ MD [W]
368 2 F Total exported active power, MD P- MD [W]
376 2 F External Pulse Counter, With Weight, Total counter or Tariff T1 CNT1 S
384 2 F External Pulse Counter, With Weight, Partial Counter or Tariff T2 CNT1 P
392 2 I External Pulse Counter, Total counter or Tariff T1 CNT1 S [-]
400 2 I Lifetimer, Total counter TIME S [s]
402 2 I External Pulse Counter, Partial Counter or Tariff T2 CNT1 P [-]
410 2 I Lifetimer, Partial Counter or Conditional Counter TIME P [s]
428 2 I Total imported active energy, Partial Counter or Tariff T2 Ea P + [kWh/10]
436 2 I Total exported active energy, Partial Counter or Tariff T2 Ea P - [kWh/10]
492 1 B Digital Inputs Status DI [-]
494 1 B Alarms Status (simple) ALS [-]
495 1 B Alarms Status (combined) ALC [-]
528 4 I Total imported active energy, Partial Counter or Tariff T2 Ea P + [Wh/10]
544 4 I Total exported active energy, Partial Counter or Tariff T2 Ea P - [Wh/10]
216 1 B Serial port: flags of swap Byte alto sempre uguale a byte basso.
0x01 Swap bytes
0x02 Swap word
0x04 Swap dwords
0x08 Swap words in floats
0x10 Swap bytes in floats
0x80 BCD Mode (not yet!)
217 1 I Serial port: speed 0=2400, 1=4800, 2=9600, 3=19200, 4=38400
221 1 B Digital Output command Bit 0 = Output 1, Bit 1 = Output 2
Bit 2 = Output 3, Bit 3 = Output 4
223 1 B Combined Alarm Status Bit 0 = Channel 1, Bit 1 = Channel 2
Bit 2 = Channel 3, Bit 3 = Channel 4
226 1 I Instrument Reset Writing of the word “0xDEAD” will cause the restart
230 1 B Reset Counters set 1 (total) Bit 0 = Ea Imp, Bit 4 = Ea Exp, Bit 8 = CNT1
231 1 B Reset Counters set 2 (partial) Bit 0 = Ea Imp, Bit 4 = Ea Exp, Bit 8 = CNT1
235 1 B Set to zero AVG powers Bit 0 = P Imp, Bit 4 = P Exp
236 1 B Set to zero MD powers Bit 0 = P Imp, Bit 4 = P Exp
237 1 B Set to zero AVG currents Bit 0 = I1
238 1 B Set to zero MD currents Bit 0 = I1
239 1 B Set to zero min/max Us Bit 0 = max U1, Bit 4 = min U1
240 1 B Set to zero min/max Ud Bit 0 = max U1, Bit 4 = min U1
241 1 B Set to zero min/max I Bit 0 = max I1
242 1 B Set to zero min/max Pimp Bit 0 = max P1
243 1 B Set to zero min/max Pexp Bit 0 = max P1
*F Float IEEE754
I Integer
B Bitmapped
Subject to modification without notice. Edition 06-10-2010
F Float IEEE754
I Integer
B Bitmapped
F Float IEEE754
I Integer
B Bitmapped

ALARM SETTING EXAMPLES
NOTE n.2
POWERS Integration time of the average value (AVG) and max. value (MD) for power (from 1
to 60 minutes)
CURRENTS Integration time of the average value (AVG) and max. value (MD) for power (from 1
to 60 minutes)
NOTE n.3
NORMAL Classic alarm with reference to a fixed or max / min threshold, with applicable
hysteresis and delay. The “ AVG” parameter is not used.
DERIV The “THRE” parameter becomes a percentage value.
The instantaneous value applied to the alarm on “MEAS“ will be compared with its
averaged value obtained depending on the time set on “AVG”.
When the instantaneous value combined to the alarm differs in “more then“ (if set
“MAX”) or in “less then“ (if set “MIN”) compared to the average value (“AVG”) of the
percentage set on “THRE”, the alarm triggers. With applicable hysteresis and delay.
The “AVG” parameter is used.
NOTE n.4
MAX Alarm configuration in “excess” according to the conditions set.
MIN Alarm configuration in “excess” according to the conditions set.
NOTE n.5
MEAS Indicates on which register (and on which measure) the alarm is reported.
See table n.1 (Input Register).
THRE Alarm threshold in absolute value, except the “DERIV” value where the value inserted
becomes a percentage.
NOTE n.6
AVG Parameter to be used in the sole “DERIV” mode. Floating window amplitude ( in se-
cods) used for creating a reference value to which compare the instantaneous value.
NOTE n.7
NORMAL The output remains exited during all the alarm, after all it falls.
HOLD The output remains exited untill the manual reset made through Modbus
PULSE-L The output generates a 500ms pulse on the alarm triggering.
PULSE-S The output generates a 100ms pulse on the alarm triggering.
NOTE n.8
PULSE Enables output function as impulsive
ALARM Enables output function as alarm
REMOTE Enables output function through Modbus Protocol
NO Normally open
NC Normally closed
NOTE n.9
P-IMP Imported Active Power (Energy)
P-EXP Exported Active Power (Energy)
NOTE n.10
YES Refered to the primary of the CT
NO Refered to the secondary of the CT
NOTE n.11
ALARM 1 Alarm associated to the physic output DIGITAL OUT 1 (DO1, terminal 8)
ALARM 2 Alarm associated to the physic output DIGITAL OUT 2 (DO2, terminal 9)
ALARM 3 MODBUS only alarm
ALARM 4 MODBUS only alarm
In order that the output “DIGITAL OUT 1” gets excited and remains such during all the
alarm (latching): when the Average Active Power (MEAS 344) exceeds the value of 100
kW, hysteresis 5% and delay of 5 seconds, set the parameters as in the table below:
ALARM 1 / A
MODE (note n.2) Normal, 1-OF-3, 3-OF-3, DERIV, UNBAL NORMAL
TYPE (note n.3) MAX, MIN MAX
MEAS (note n.4) Controlled measure. See table n.1 for the
register selection 344
THRE (note n.4) Threshold value 100000
ALARM 1 / B
HYST 1...100 (%) 5
DELAY 1...99 (seconds) 5
AVG (note n.5) 1...99 (seconds) 1
OUT (note n.6) Normal, Hold, Pulse-L, Pulse-S NORMAL
DIGITAL OUT 1 MODE PULSE, ALARM, REMOTE ALARM
POLARITY NO, NC NO
In order that the output “DIGITAL OUT 1” gets excited and remains such during all the
alarm (latching): when the Average Active Power (MEAS 344) falls below the value of 90
kW, hysteresis 5% and delay of 5 seconds, set the parameters as in the table below:
ALARM 2 / A
MODE (nota n.2) Normal, 1-OF-3, 3-OF-3, DERIV, UNBAL NORMAL
TYPE (nota n.3) MAX, MIN MIN
MEAS (nota n.4) Controlled measure. See table n.1 for the
register selection 344
THRE (nota n.4) Threshold value 90000
ALARM 2 / B
HYST 1...100 (%) 5
DELAY 1...99 (seconds) 5
AVG (nota n.5) 1...99 (seconds) 1
OUT (nota n.6) Normal, Hold, Pulse-L, Pulse-S NORMAL
DIGITAL OUT 2 MODE PULSE, ALARM, REMOTE ALARM
POLARITY NO, NC NO
Subject to modification without notice. Edition 06-10-2010

akse srl Via Aldo Moro, 39 42124 Reggio Emilia Italy
P.I. 01544980350 R.E.A. 194296 Cap. Soc. Euro 85.800,00 i.v.
DIGITAL INPUTS
Power supply voltage
(external) from 10 to 30
Vdc
Current absorbed : from 2 to 10mA
Max. counting frequency: 10 or 100Hz
Note: for the gas counter, a galvanic insulated
divider following ATEX normative, is needed.
Digital optically insulated outputs,
transistor based, (NPN) following standard
DIN 43864.
Max voltage applicable 27 Vdc
Max commutable current: 27mA
C
10
1
11
2
12
AUX
IN/OUT
!
Common
12
11
10
DO2
DO1
DI (+)
20
19
DI (-)
+
19
-
20
AUX
IN/OUT
!
INPUT OUTPUT CONNECTIONS
(ONLY FOR VERSION PFA7471-12)
SHUNT CONNECTED BEFORE SHUNT CONNECTED AFTER
The instrument is equipped with a separate power supply. The power supply terminals
are number as 17 e 18. The max cross-section of the wires is of 2,5 mm2if flexible and 4
mm2if rigid.
POWER SUPPLY AND SERIAL LINE CONNECTION
Voltage connection - Use cables with max cross-section of 2,5 mm2if flexible 4 mm2if rigid and connect them to the terminals marked voltage input on the instrument according to the
applicable diagrams that follow.
Connessioni amperometriche
Use SHUNT with a suitable primary range and a 60 o 100 mV secondary. Connect the SHUNT to terminals signed with I1 (S1 e S2) (current input) as in the diagram.
VOLTAGE AND CURRENT CONNECTION
S1 S2 S1 S2 S1 S2 A B
T
10 11 12
17 18 19 20U1 U2 U3 N
I1 I2 I3 RS-485 AUX
AUXVOLTAGE INPUT POWER
LN
FUSE
(50mAT)
230 ÷ 240 V ±10%
Serial RS485 port AB
T
+-3456AB
T
10 11 12
17 18 19 20+1415-
RS-485 AUX
AUXVOLTAGE INPUT POWER
CURRENT INPUT
+
-SHUNT
+-3456AB
T
10 11 12
17 18 19 20+1415-
RS-485 AUX
AUXVOLTAGE INPUT POWER
CURRENT INPUT
+
-SHUNT
INPUT AND OUTPUT CONNECTION EXAMPLES
S1 S2 S1 S2 S1 S2 A B
T
10 11 12
17 18 19 20U1 U2 U3 N
I1 I2 I3 RS-485 AUX
AUXVOLTAGE INPUT POWER NO
C
NC
NO
C
NC
Max
27 Vdc
27 mA
(-) (+)
230 Vac
FROM:
- TRANSDUCER WITH CONTACT CLEAN
- GME
- STATE ON-OFF
- STATE ALARMS
R
e
l
a
y
R
e
l
a
y
Power
Supply
S1 S2 S1 S2 S1 S2 A B
T
10 11 12
17 18 19 20U1 U2 U3 N
I1 I2 I3 RS-485 AUX
AUXVOLTAGE INPUT POWER
Es.
Input M8 Supervisor
12C C34
(-)(+)
(-) (+) (+)
Es. PLC
Out PLC
Comune
Subject to modification without notice.
Edition 06-10-2010
Made
in Italy
Pensato, progettato e prodotto in Italia
Engineered and manufactured in Italy
Other Electrex Measuring Instrument manuals
Electrex
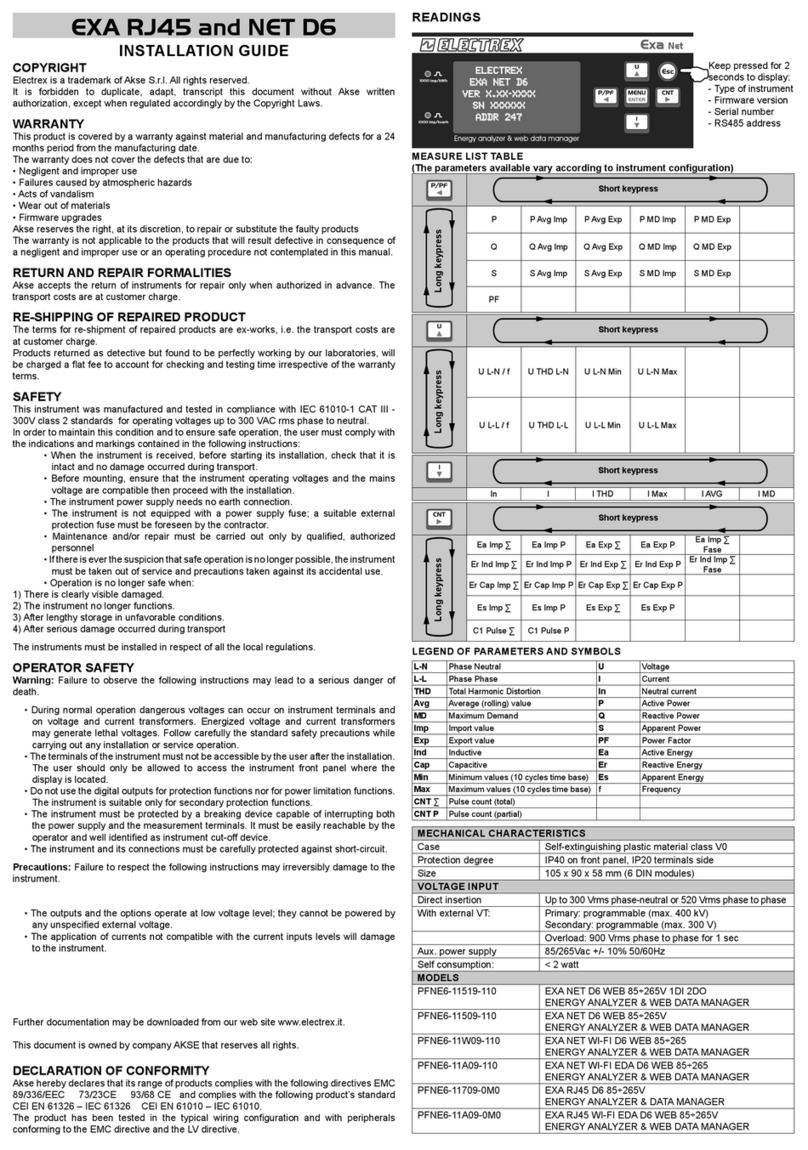
Electrex KILO User manual
Electrex
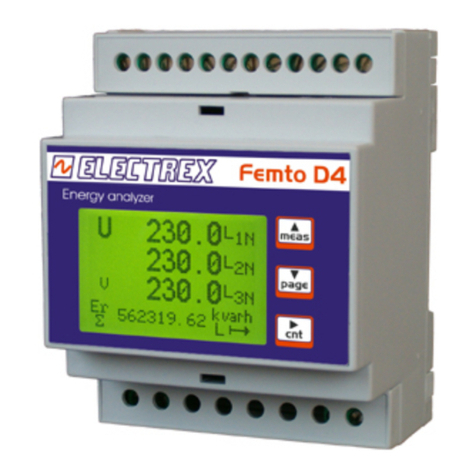
Electrex NET D6 User manual
Electrex
Electrex FEMTO D4 70A User manual

Electrex
Electrex ZEPTO D6 User manual
Electrex
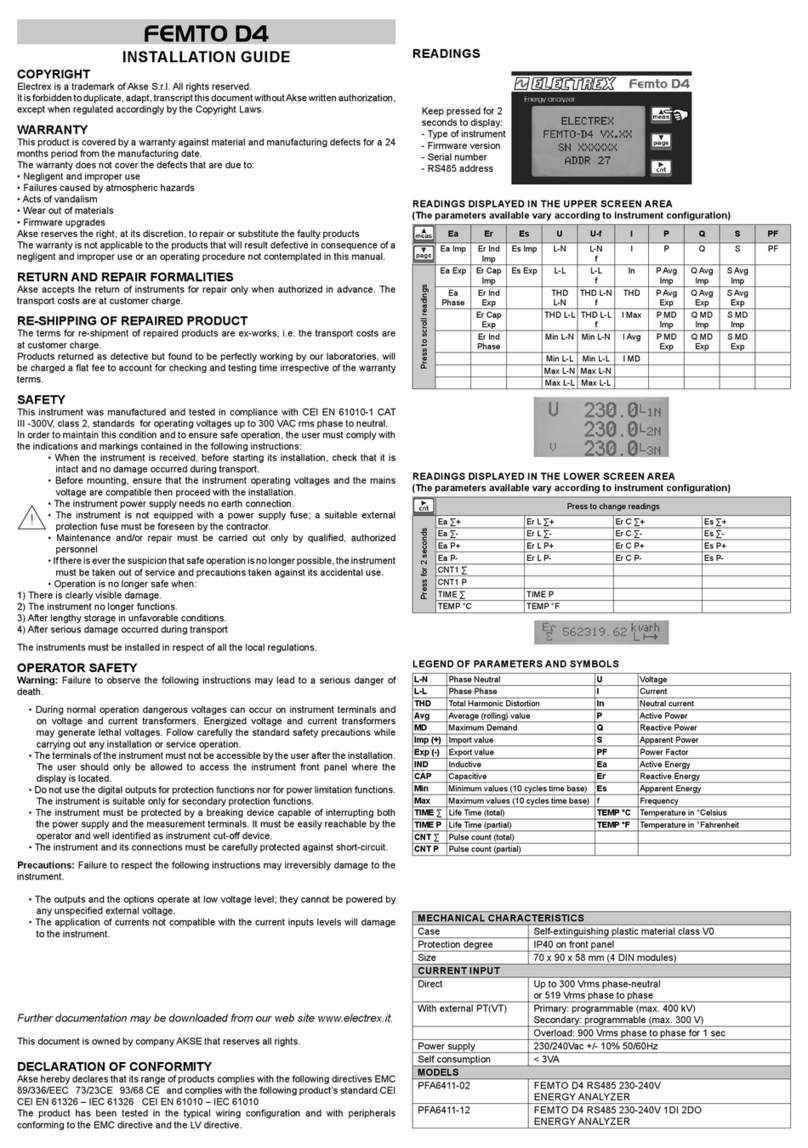
Electrex Femto D4 User manual

Electrex
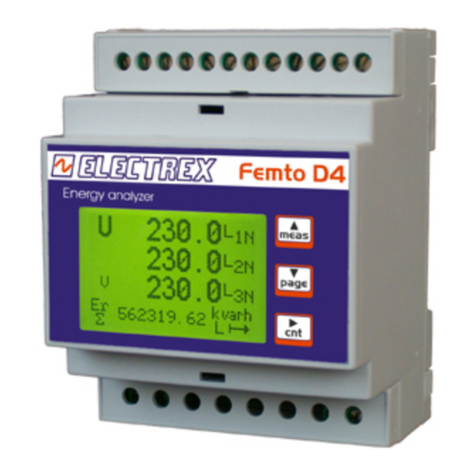
Electrex FEMTO D4 User manual
Electrex
Electrex FEMTO D4 DC User manual
Electrex
Electrex FEMTO 96 User manual
Electrex
Electrex KILO F RJ45 User manual

Electrex
Electrex MICO User manual
Popular Measuring Instrument manuals by other brands
Klein Tools
Klein Tools MM6000 instruction manual

PCE Instruments
PCE Instruments PCE-CM 40 user manual
Michelin
Michelin 12290 Operation instructions
PCE Instruments
PCE Instruments PCE-LD 1 instruction manual
PCB Piezotronics
PCB Piezotronics ICP 301A11 Installation and operating manual
Beha-Amprobe
Beha-Amprobe 4930890 user manual
