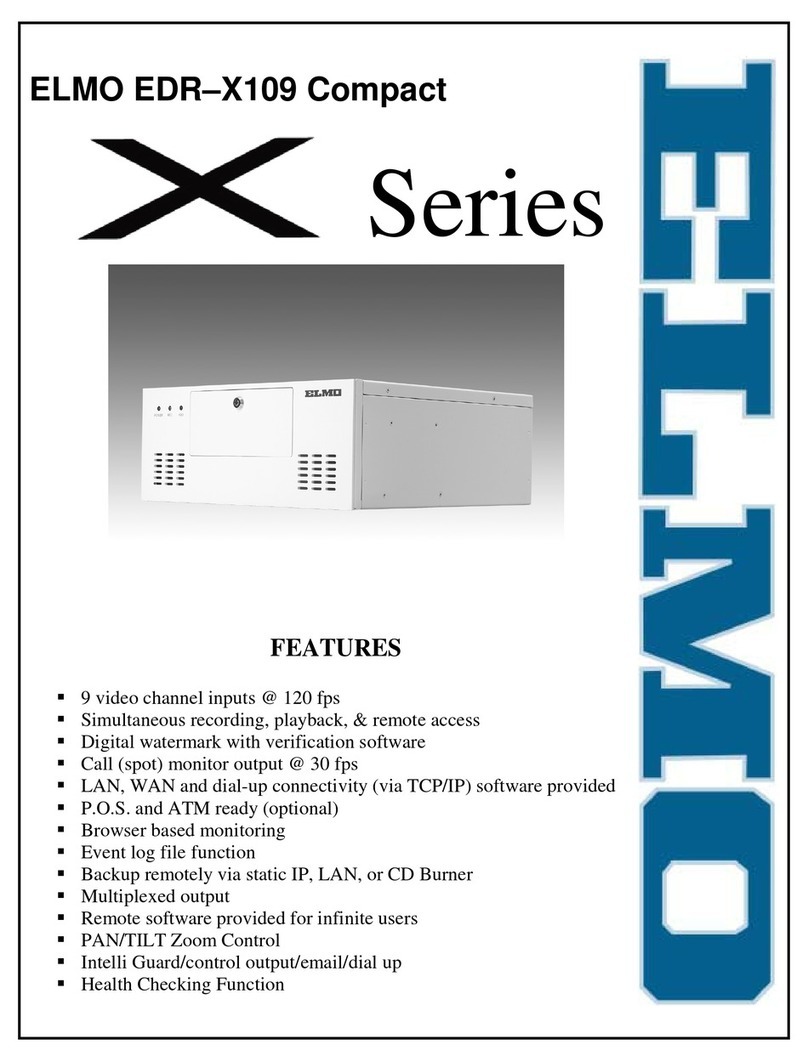
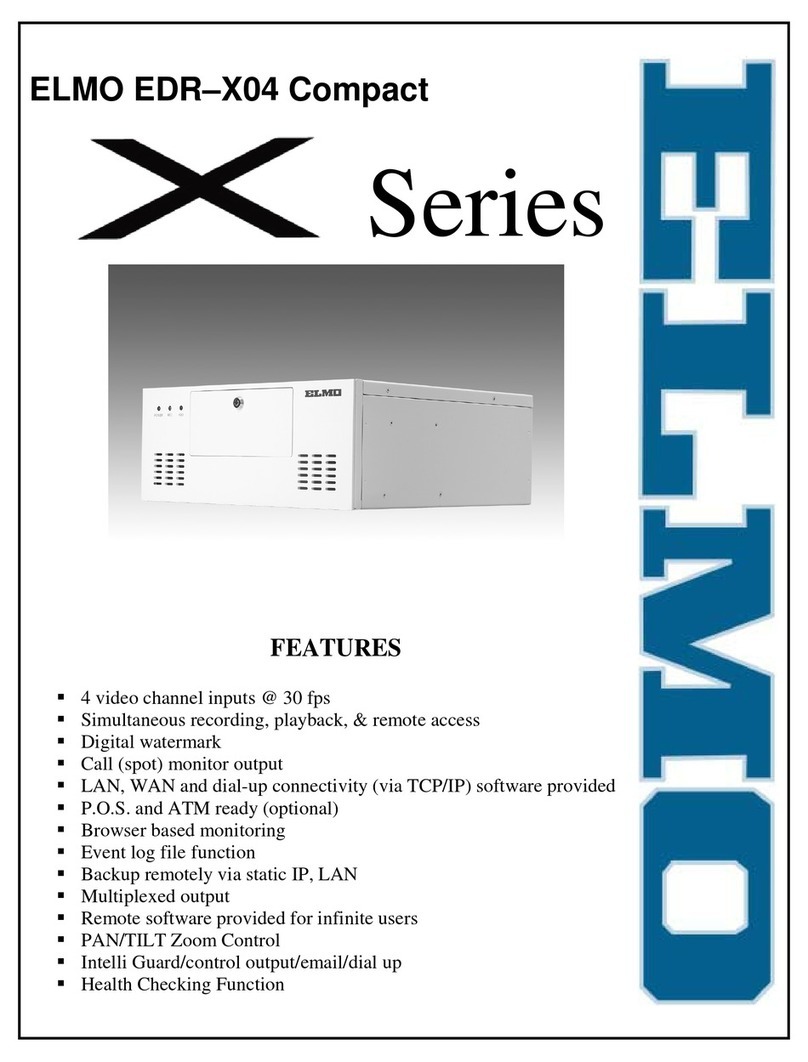
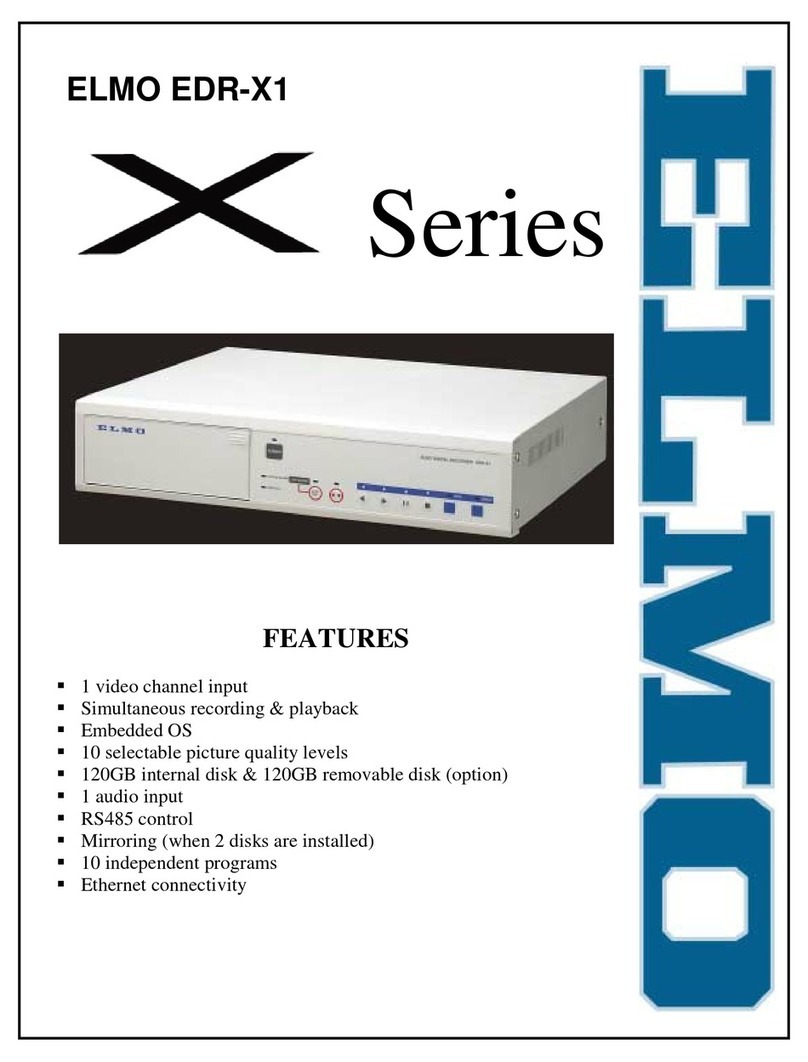
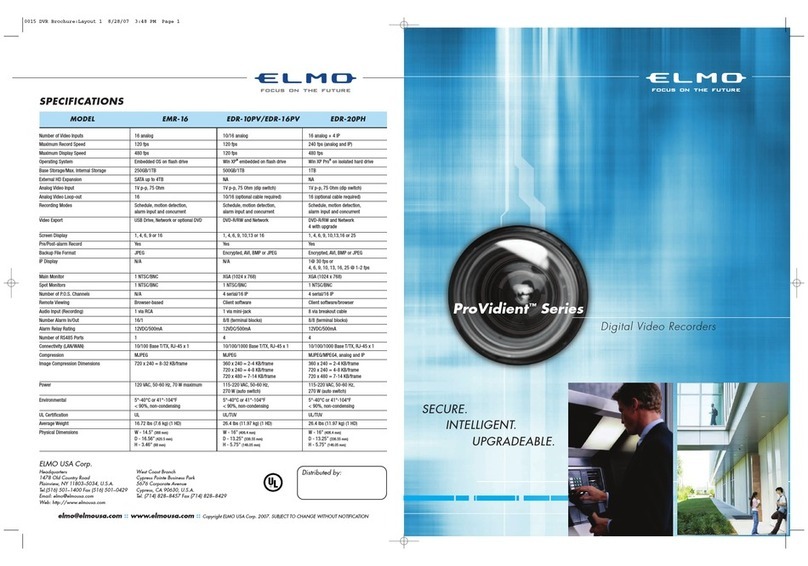
Elmo EDR-X04 User manual

User Manual for Server and Remote
Version 2003E
Toll Free: 1 800 947 3566
http://www.elmousa.com/
X-Series
Digital Video Recorders
EDR-X04
EDR-X109
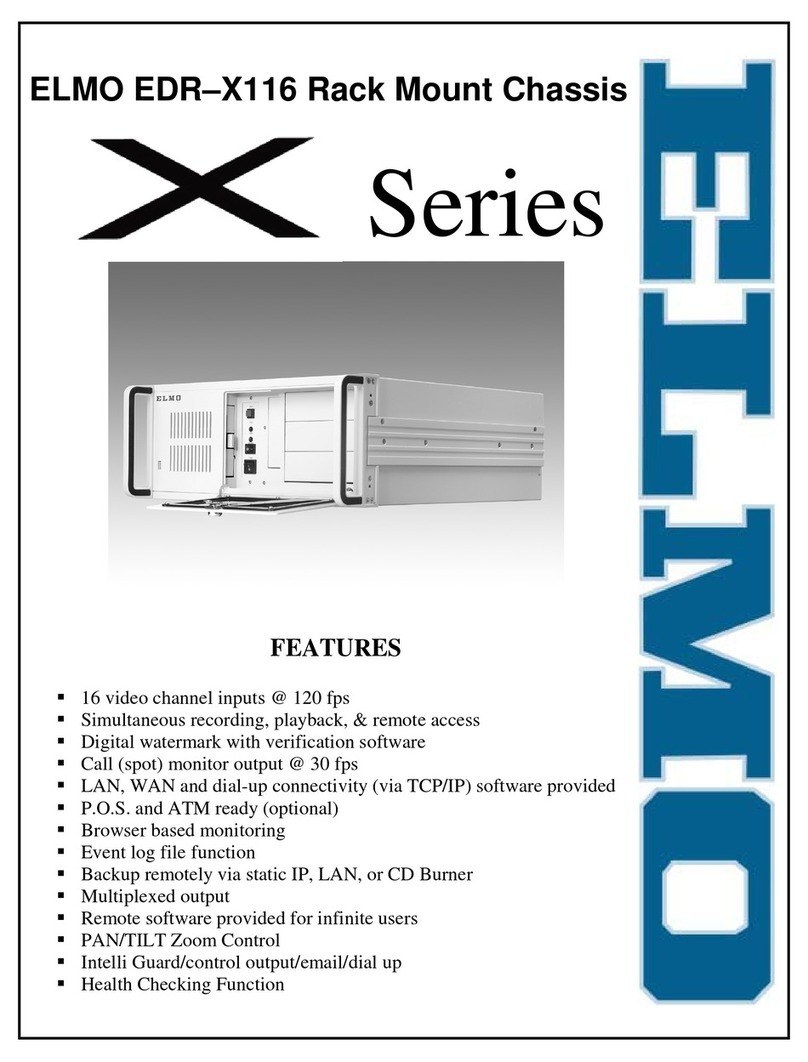
EDR-X116
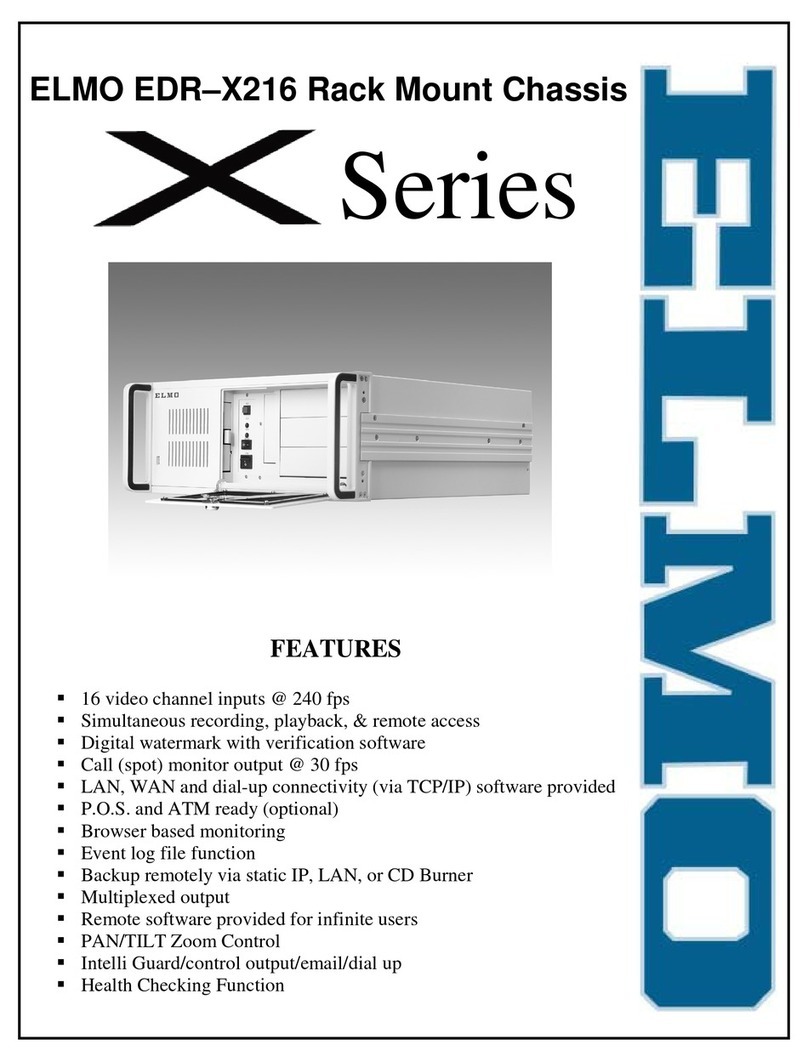
EDR-X216
EDR-
X
416

1
ELMO Server & Remote User Manual – Version 2003
E
ELMO Mfg. Corp.
1478 Old Country Road Plainview, NY 11803
http://www.elmousa.com/
TABLE OF CONTENTS
1.0 Introduction: ...........................................................................................................................................3
1.01 Limited Warranty..................................................................................................................................3
1.1 General Information..............................................................................................................................3
1.11 Precautions...........................................................................................................................................4
1.2 Unpacking ..............................................................................................................................................5
1.3 ELMO Back View ..................................................................................................................................6
1.4 Connecting Serial Cable........................................................................................................................7
1.5 Log in to the ELMO Server software:...................................................................................................8
2.0 Main Screen or Default Screen:............................................................................................................9
3.0 Hardware Setup.....................................................................................................................................10
5.0 Schedule Setup:....................................................................................................................................13
6.0 Screen Division Setup..........................................................................................................................14
7.0 Communication Setup: ........................................................................................................................15
8.0 Site Information...................................................................................................................................16
9.0 Password Setup......................................................................................................................................18
10.0 Audio Setup ........................................................................................................................................19
11.0 System Setup: .....................................................................................................................................20
12.0 Scheduling a Local or Remote Backup..............................................................................................22
13.0 Storage Setup: .....................................................................................................................................24
14.0 E-Map Setup: ......................................................................................................................................25
15.0 View Log Records: .............................................................................................................................26
16.0 Search Mode........................................................................................................................................27
16.1 Search Controls – Main Buttons........................................................................................................28
16.1 Bookmark ...........................................................................................................................................34
16.2 Saving Recorded Video on Floppy Disk or CD..................................................................................35
16.3 Saving an event on CD Drive (AVI or Encrypted).............................................................................36
16.4 Format CDR/CDRW..........................................................................................................................37
17.0 Introduction – ELMO Remote Software:..........................................................................................39
17.1 Installing ELMO Remote: ..................................................................................................................39
17.2 Getting Started....................................................................................................................................41
17.21 Creating a Connection......................................................................................................................42
17.22 Multi-Site Function: ........................................................................................................................45

2
ELMO Server & Remote User Manual – Version 2003
E
ELMO Mfg. Corp.
1478 Old Country Road Plainview, NY 11803
http://www.elmousa.com/
17.3 Search Screen: ...................................................................................................................................46
17.3 Search Screen: ...................................................................................................................................47
17.4 Setup Menu.........................................................................................................................................49
17.5 Setup Configuration: .........................................................................................................................49
18.0 ELMO Web Security Software...........................................................................................................51
19.0 Intelligent Guard:...............................................................................................................................53

3
ELMO Server & Remote User Manual – Version 2003
E
ELMO Mfg. Corp.
1478 Old Country Road Plainview, NY 11803
http://www.elmousa.com/
1.0 Introduction:
Thank you for purchasing our ELMO Series Digital Video Recorder (DVR), a product of ELMO Mfg. Corp’s Digital
Video Recording Technology. This manual will guide you through the setup, installation, and use of all our ELMO
systems.
Please read this manual thoroughly!
If you have questions or concerns that cannot be solved by consulting this manual, please visit our web site at
http://www.elmousa.com/.
1.01 Limited Warranty
ELMO warrants this product to be in compliance with its own plans and specifications and to be free from defects in
materials and workmanship under normal use and service for all parts excluding the Hard Drives for a period of (or
the equivalent of) three (3) years after the original purchase date. During this period ELMO will replace parts at no
charge; however, labor costs will be charged after one (1) year.
Hard Drive !Parts + Labor = 1 year warranty
Other parts !Parts + Labor = 1st year only*
!Parts = 2nd & 3rd year
* N.B.: Compact (CP) units are warranted for only one (1) year, parts and labor.
This warranty excludes costs for initial technical adjustments (setup) which are the responsibility of the dealer from
whom you purchased the unit. It also excludes damages due to misuse or neglect. Damages resulting from
electrostatic discharge (ESD) will not be warranted.
This warranty does not cover damages beyond ELMO Mfg. Corp’s control. In no event shall ELMO be liable for any
direct, indirect or consequential damages, loss of anticipated profits, loss of time or any other losses incurred by the
buyer in connection with the purchase, installation, operation or failure of this product. We, ELMO and its agents,
are not responsible for viruses. Users should install anti-virus software on their DVMS, at their own risk. For more
details on the limitations of this warranty, contact your distributor.
For TECHNICAL ASSISTANCE Dial: 1-800-947-3566.
TO OBTAIN SERVICE YOU MUST:
1. Arrange for delivery of your equipment to ELMO, 1478 Old Country Road Plainview, NY 11803
2. All shipments should be shipped prepaid, insured and properly packaged (preferably in the original packaging)
and accompanied by a letter outlining the defect.
3. Supply your warranty registration, bill of sale, or other evidence of purchase date.
NOTE: The DVR must be used with an Uninterruptible Power Supply (rated at a minimum
of 500 watts), with range protection. Failure to do so will void all warranties!
1.1 General Information
This product is the product of ELMO’s advanced technology and has passed extensive reliability and compatibility
tests.
Copyright of this manual belongs to ELMO, and may not be reprinted or reproduced without prior written
permission.
If you need to modify or repair your system, we recommend that you contact a Certified ELMO Dealer/Installer;
otherwise the system warranty will be voided. Should you have any problems or questions with our product, contact
your local ELMO Dealer/Installer.
This product is certified for domestic and industrial use: CE certified for Europe, and FCC certified for the USA.
4
ELMO Server & Remote User Manual – Version 2003
E
ELMO Mfg. Corp.
1478 Old Country Road Plainview, NY 11803
http://www.elmousa.com/
1.11 Precautions
♦ Please avoid these conditions when selecting a location for your system:
− Excessive heat, such as direct sunlight or heating appliances;
− Moisture, dust, and smoke;
− Magnetic fields or electrical waves;
− Below freezing temperatures;
− Obstruction to system ventilation hole.
♦ Before installing this system, please ensure that:
− The power is switched off. (**Do not plug the DVR unit in.)
− There is enough room for the system and its connecting cables.
− The system is placed on an even surface.
− The system is not placed near any electronic equipment (e.g., microwave, radio, or any type of wireless
equipment such as telephones or cell phones).

5
ELMO Server & Remote User Manual – Version 2003
E
ELMO Mfg. Corp.
1478 Old Country Road Plainview, NY 11803
http://www.elmousa.com/
1.2 Unpacking
♦ Place the box on a flat, clean surface.
♦ Remove the box by pulling and lifting the system up with both hands. Place the system down carefully.
♦ Read the User Manual thoroughly before installing!
♦ Make sure all parts have been included as listed:
a) X-Series ELMO Server
b) Electrical cord for AC
c) Keys
d) Keyboard
e) Mouse
f) ELMO digital manual
g) Telephone cord (16 Channel Only)
h) ELMO DVR Watchdog Cable

6
ELMO Server & Remote User Manual – Version 2003
E
ELMO Mfg. Corp.
1478 Old Country Road Plainview, NY 11803
http://www.elmousa.com/
1.3 ELMO Back View

7
ELMO Server & Remote User Manual – Version 2003
E
ELMO Mfg. Corp.
1478 Old Country Road Plainview, NY 11803
http://www.elmousa.com/
1.4 Connecting Serial Cable
! WARNING !
! WARNING !! WARNING !
! WARNING !
REAR
Please connect the serial cable to the port
Connect to Com 1 Connect to RS-232
Serial Cable
The following will not work if the serial cable is not connected as in the above figure:
1. Sensor Function
2. Control Function
3. PAN/TILT Function
4. External Monitor Output
" If the serial cable is not connected, DVR will not work properly, or will restart
every 10 minutes.
" Check to see that the serial cable is appropriately connected to the
connectors.

8
ELMO Server & Remote User Manual – Version 2003
E
ELMO Mfg. Corp.
1478 Old Country Road Plainview, NY 11803
http://www.elmousa.com/
1.5 Log in to the ELMO Server software:
When starting ELMO Server software, users are asked to enter a user name and password. The default
user name is ELMO; default password is ELMO. Under Windows 2000TM and Windows XPTM, users can
also use our virtual keyboard by clicking on the keyboard.
Upon entering ELMO Server software, it is highly recommended that the user change their login user
name and password: please refer to ‘Password Setup’, Section 18.

9
ELMO Server & Remote User Manual – Version 2003
E
ELMO Mfg. Corp.
1478 Old Country Road Plainview, NY 11803
http://www.elmousa.com/
2.0 Main Screen or Default Screen:
Main Screen
1. Time and Date – Displays current time and date.
2. Login/Logout – Log in to set up system, hardware, view cameras, search, etc.
3. Search – Displays Search menu which includes playback, search, and/or save file for backup by its date,
time, and camera.
4. Setup – Displays Setup menu, which includes settings for hardware, motion, passwords, screen division,
modem, system setup, and site information.
5. POS – Launches POS Integration software (if installed; please refer to section 20).
6. Storage – Displays the percentage of space remaining on the current drive.
7. Power – Allows user to exit the ELMO software (Administrator permission required).
8. Camera – Click the number of the camera you wish to display on the screen.
9. Sensor and Control: User can activate control or see sensor status.
10. Screen Division – Select the desired camera screen division (see screen below).
11. Help - Displays a Help menu window.
Displays four cameras Displays 6 cameras in one larger image
Displays nine cameras Displays 10 cameras in two larger images
Displays 13 cameras in one larger image Displays all 16 cameras
Displays selected single picture or
screen division without any menu bars
(right click to return to menus). Displays cameras on quad screen in a
sequence (1-4, 5-8, 9-12, 13-16). To return
to default mode, click on the screen.
1
2
3
6
11
5
4
10 7
8
9

10
ELMO Server & Remote User Manual – Version 2003
E
ELMO Mfg. Corp.
1478 Old Country Road Plainview, NY 11803
http://www.elmousa.com/
3.0 Hardware Setup
Hardware Setup Screen
1. Camera Setup – Settings for each camera
" [Setup] – Checkmark to include (enable or disable) camera.
" [Cam No./Name] – Assign number for each camera for ELMO matrix if installed and name to each camera.
" [Sensor] – Enable a sensor number that will trigger the camera to record if set off.
" [Motion] - Enter the camera number(s) to be associated to the camera that detects motion. When detected,
the appropriate cameras will be recorded.
" [P/T] – Check if camera is Pan/Tilt/Zoom.
" [Type] – Select the make of the PTZ camera (only available if P/T is checked).
2. External Monitor – If external monitor is being used, check the cameras that are to be displayed on that
monitor. Cameras are displayed in sequence.
" [Select Time (sec)] – Enter the interval (in seconds) between the display of each camera.
3. Sensor Setup (Applicable only if sensors are available and being used)
" [Enable] – Check to activate sensor input.
" [NC/NO] – Click button to select type of sensor connection (enable sensor as NC or NO)
(NC = Normally Closed; NO = Normally Open)
" [Post Recording By Sensor Or Motion] - The time to begin recording after a sensor detects motion or Post-
Alarm.
1 3
4
2

11
ELMO Server & Remote User Manual – Version 2003
E
ELMO Mfg. Corp.
1478 Old Country Road Plainview, NY 11803
http://www.elmousa.com/
4. Control Setup (applicable only if controls are available and being used)
" [Enable] – Check to activate and use specified control.
" [Name] – Assign a name to each control.
" [Active Time] – Designated time when the control is active (default is continuous 00:00-24:00). If sensor is
triggered outside the specified time, it will be ignored.
" [Sensor] – Specify which sensor is associated with the control (use commas to separate sensors if more
than one sensor)
" [Dwell (Sec)] – Enter the length of time (in seconds) the control is to be turned on, when activated by
sensor(s) or manually on the display screen mode.

12
ELMO Server & Remote User Manual – Version 2003
E
ELMO Mfg. Corp.
1478 Old Country Road Plainview, NY 11803
http://www.elmousa.com/
4.0 Motion Setup
Motion Setup Screen
1. Camera: Click on a numbered button to define motion settings for a selected camera.
2. Target Zone: Define up to five detection zones per camera for triggering motion recording.
3. Individual Camera Motion Setting:
" Sensitivity: Adjust the sensitivity in the detection zone by using the scroll arrow.
" Alarm: Triggers an audible indicator when motion is detected within specified zone.
" Area Clear: Will clear all detection zones for a selected camera.
" Area Draw: Will draw a detection zone covering the whole area for a selected camera.
" Brightness / Hue / Contrast: Adjust the brightness, hue and contrast of each selected camera.
" Color: Adjusts the color of the selected camera.
" Default: Return to the default settings.
4. Recording Frame Rate per Camera (sec): Each camera’s recording rate is adjustable. (Note: If you
increase the speed of a certain camera, the speed of the other cameras will be decreased with 9 & 16
channel systems.)
5. Setup for all Cameras:
" Area Clear: Will clear all detection zones for all cameras.
" Area Draw: Will draw a detection zone covering the entire area for all cameras.
1
2 3
4 5

13
ELMO Server & Remote User Manual – Version 2003
E
ELMO Mfg. Corp.
1478 Old Country Road Plainview, NY 11803
http://www.elmousa.com/
" Screen size: Set screen size from 160x120 to 320x240, or 640 x 480.
" Quality: Set screen quality from 100%, 80%, 60%, 40%, or 20% (Highest, Higher, High, Low, or Lowest).
" Transfer Quality: Set the quality of the image transferred 100%, 80%, 60%, 40%, 20% (Highest, Higher,
High, Low, and Lowest).
" Color of Motion Area: Select the color of motion detection area in the display mode and in the motion
setup window between green or red.
" Full Screen When Motion: Select from multi to full screen when activity is detected.
" Set Quad Rotation Time: Once selected, cameras will rotate through quad screens on a specified delay
time. To activate this function, user has to go to the main display page and click on Quad and Rotation
buttons.
5.0 Schedule Setup:
Schedule Setup
1. Camera: Click on a numbered button to define motion-settings for a selected camera.
2. Calendar: To enter recording settings (in Simple mode Weekend, Saturdays, and Sundays/Holidays; the time
[hours] settings will be the same)
a. Camera: Click on the desired camera to enter recording settings
b. Weekday: Set the recording mode for weekdays (C-continuous; S-sensor; M-motion; P- pre-alarm).
c. Saturday: Set the recording mode for Saturday (C-continuous;, S-sensor; M-motion; P- Pre-alarm).
d. Sunday/Holiday: Set the recording mode for Sundays and for holiday(s).
3. Advance Mode: Switch to Advance Mode.
1
2
3
4
5
6

14
ELMO Server & Remote User Manual – Version 2003
E
ELMO Mfg. Corp.
1478 Old Country Road Plainview, NY 11803
http://www.elmousa.com/
Advance Mode
4. Record Mode:
"
""
"
Continuous: Check for continuous recording (Note: If this function is selected, all other recording settings
will be canceled).
"
""
"
Sensor: Check to have sensor-active recording.
"
""
"
Motion: Check to have motion-active recording.
"
""
"
Pre-Alarm: This will allow user to set up the camera for pre-alarm for five seconds.
5. Copy To: Click here to copy recording setting to one or to all of the other cameras.
6. Set Holiday: Allows you to select a specific date in which you would like to program your recording (i.e. you
may not want continuous recording on a holiday, therefore you are able to schedule recording time). In this
screen, you are also able to select the ability to have this holiday setting “rotate” or repeat itself on weekly,
monthly or yearly basis. The default setting is continuous recording.
6.0 Screen Division Setup
Screen Division
1. Screen Divisions: Choose the screen/split division (this allows you to hide any camera).
2. Camera Selection: Select camera to be placed on the screen division.
3. Large Screen: You can select the larger screens for magnification among the 6, 10, 13 division.
4. Default: Initiate default.
4ch 6ch 9ch 10ch 13ch 16ch
1
2
3

15
ELMO Server & Remote User Manual – Version 2003
E
ELMO Mfg. Corp.
1478 Old Country Road Plainview, NY 11803
http://www.elmousa.com/
7.0 Communication Setup:
Communication Setup
1. Type of Connection: LAN, PSTN, ISDN, Leased Circuit (router) can be used for remote connection. ISDN or
Leased circuit with router connection is possible, and ISDN or PSTN can be used to connect to a DVR without
a router directly. If you don’t use a remote connection click on ‘No Connection’.
2. Emergency Setup:
a) Motion for Emergency Message: When motion is detected at the selected camera(s) an
emergency message is sent to the programmed phone number(s) or IP address(es). Emergency
monitor must be running at indicated IP address(es).
b) Sensor for Emergency: If the sensor detects any signal it will send an alarm to the center with
the captured image during the designated time. (You can assign the external sensor numbers.)
c) Emergency Phone Numbers: When you use PSTN for connection you can assign up to 2 phone
numbers for an emergency connection. If the first attempt to connect fails, the second number will
be dialed.
d) Transfer Time: When connection has been made, you can assign the time in seconds to transfer
the image to the Center PC. (If any other signal is detected during the transfer, the DVR will
transmit the image again.)
e) Emergency IP Address: Enter the IP address in ‘Emergency IP Address’, to connect to a
designated site. (Under LAN, Leased Circuit connection.)
3. Live Video Stream Bandwidth: This allows user to control the bandwidth of the data transfer over the
network.
4. Frequency of call-out (0:00-24:00): In the 24-hr period users can set the number of emergency call-outs.
1
2
3
4

16
ELMO Server & Remote User Manual – Version 2003
E
ELMO Mfg. Corp.
1478 Old Country Road Plainview, NY 11803
http://www.elmousa.com/
8.0 Site Information
Site Information
1. Server ID: Enter the Server ID, location, model, version, distributor, and the purchase date. It is important that
you enter the Server ID and also remember its code for remote viewing (when you try to connect to the site
from a remote location, the system will check the site code and password together. If either the code or the
password is incorrect then you will be disconnected from the site).
2. Display Camera Status Bar: This bar displays the main screen if selected.
3. Display Control Status Bar: This bar displays occurrence of sensor signal.
4. Display Sensor Status Bar: This bar displays the current status of control in Surveillance mode (On or Off).
5. Display Motion Detection Grid: This displays the ‘On’ or ‘Off’ status of detection in motion detection mode.
6. Image Transfer to Floppy Disk: If you select this function, the DVR will store the data in JPEG mode onto a
floppy disk. If you don’t select this function, it will save the image in BMP format.
7. Clock Display Format: Allows you to format how time is displayed. Select the type of display you want.
When trying to synchronize time/date in either 24-hour or AM/PM format, user must go to Windows Setup.

17
ELMO Server & Remote User Manual – Version 2003
E
ELMO Mfg. Corp.
1478 Old Country Road Plainview, NY 11803
http://www.elmousa.com/
8. Sensor Type: Select ‘8 SENSOR’ to use 8 sensors, and ’16 SENSOR’ to use 16 sensors. The appropriate
number of sensor buttons will be displayed in the Surveillance mode when you chose ‘Sensor Type'. You’ll be
able to see the correct number of buttons in ‘Hardware Setup’ and ‘Communication Setup’.
9. Enable Intelli-Search Tool tip: This will allow the user to see intuitive highlight of each button in Search
mode.
10. Daylight Savings Time: This is to adjust the time on the ELMO Server. The user can only adjust forward, not
backward. Backward adjustment only works in Windows setup, and Windows must then be re-booted.
11. Export Setting and Import Setting: These two functions allow technicians to download or upload
customized settings for ELMO Server. For example, if more than one site requires the same settings, users
can upload settings from the first site to the Server software for use on the second site.

18
ELMO Server & Remote User Manual – Version 2003
E
ELMO Mfg. Corp.
1478 Old Country Road Plainview, NY 11803
http://www.elmousa.com/
9.0 Password Setup
Password Setup
1. Available Users: This box lists user accounts that currently exist. Click on a user name to view its setup
and/or camera viewing permissions.
2. User Setup: After the Add User button is selected enter the desired user name, password and password
confirmation; then click the OK button to add the information to the available users list. It is also possible to
change the user name and password by selecting the desired user name in the available users list.
3. Setup List and Camera: When a user name is selected or first created, the permissions for setup and
camera viewing must be set. To give a user access to all Cameras and/or Setup options, place a check in the
corresponding Enable All check box. (Admin: when this function is enabled, user can exit to the computer
Desktop with CTRL+SHIFT+ALT+F4).
NOTE: At least one User Account must be created with Password Setup permission upon entering Setup
for the first time.
2
3
1

19
ELMO Server & Remote User Manual – Version 2003
E
ELMO Mfg. Corp.
1478 Old Country Road Plainview, NY 11803
http://www.elmousa.com/
10.0 Audio Setup
Audio Setup
1. Audio Settings
a) Audio Save Enable: After selecting the camera for which sound is to be recorded, click on ‘Audio Save
Enabled’. The sound data, via microphone, will be recorded together with the video data. The sound data
will be recorded when the video recording begins. The sound data will not be recorded if the video data is
not being recorded at the same time. Sound cards must be installed in order to record sound data.
b) Audio Playback Enable: After selecting the camera to be played, click on ‘Audio Playback Enabled’. The
sound will be played with the video signal on.
2. Camera: Select the camera for which to save and play the sound. Currently, sound data can be recorded only
on one channel. You can choose the camera for which you wish to record the sound.
2
1
Other manuals for EDR-X04
1
This manual suits for next models
4
Table of contents
Other Elmo DVR manuals

Elmo
Elmo EDR-X1 User manual

Elmo
Elmo EDR-X04 User manual

Elmo
Elmo EDR-X1 Troubleshooting guide

Elmo
Elmo EDR-X109 Compact User manual

Elmo
Elmo EDR-X216 User manual

Elmo
Elmo EDR-X116 User manual

Elmo
Elmo ProVidient EMR-16 User manual

Elmo
Elmo ProVidient EMR-16 User manual

Elmo
Elmo SUV-CAM BWV User manual

Elmo
Elmo EDR-X109 Compact User manual