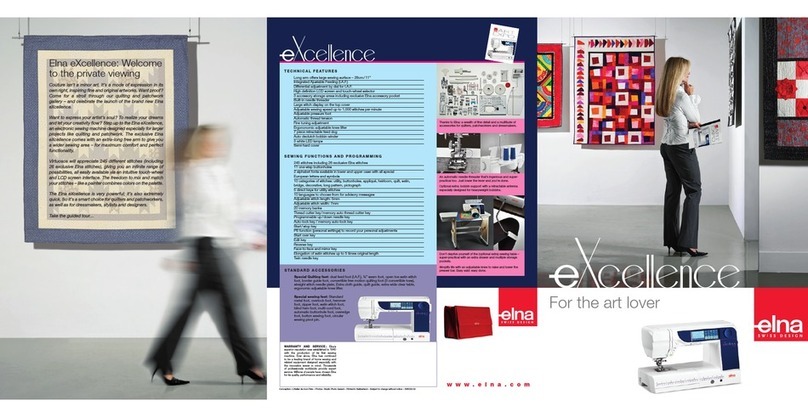
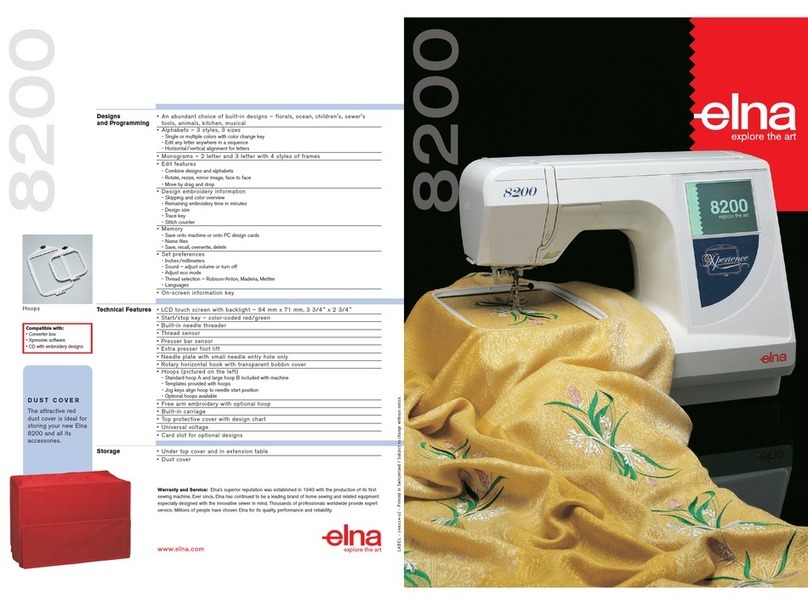
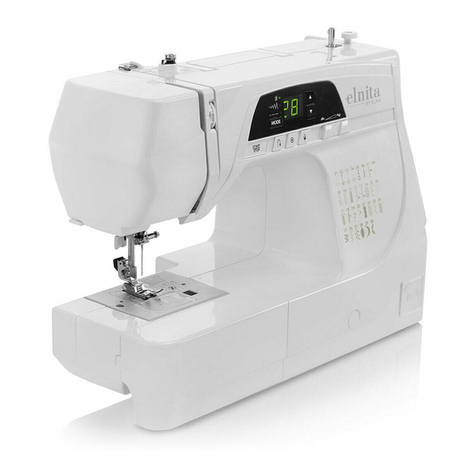
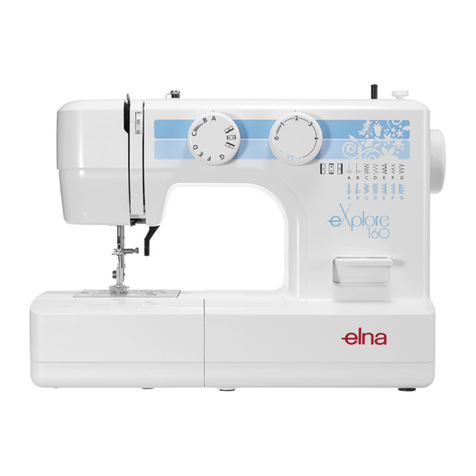
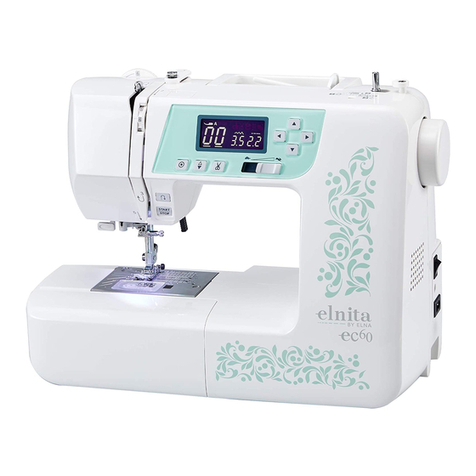
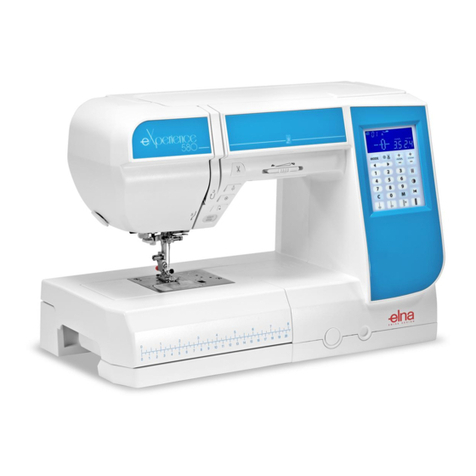
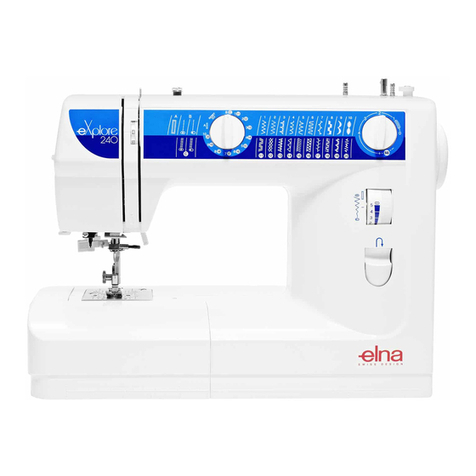
ELNA 740 EXCELLENCE - User manual

| instruction book |
eXcellence 740

IMPORTANT SAFETY INSTRUCTIONS
This appliance is not intended for use by persons (including children) with reduced physical, sensory or
mental capabilities, or lack of experience and knowledge, unless they have been given supervision or
instruction concerning use of the appliance by a person responsible for their safety.
Children should be supervised to ensure that they do not play with this sewing machine.
When using an electrical appliance, basic safety precautions should always be followed, including the
following:
This sewing machine is designed and manufactured for household use only.
Read all instructions before using this sewing machine.
DANGER— To reduce the risk of electric shock:
1. An appliance should never be left unattended when plugged in. Always unplug this sewing
machine from the electric outlet immediately after using and before cleaning.
WARNING—To reduce the risk of burns, fire, electric shock, or injury to persons:
1. Do not allow to be used as a toy. Close attention is necessary when this sewing machine is used
by or near children.
2. Use this appliance only for its intended use as described in this owner’s manual.
Use only attachments recommended by the manufacturer as contained in this owner’s manual.
3. Never operate this sewing machine if it has a damaged cord or plug, if it is not working properly, if
it has been dropped or damaged, or dropped into water.
Return this sewing machine to the nearest authorized dealer or service center for examination,
repair, electrical or mechanical adjustment.
4. Never operate the appliance with any air opening blocked. Keep ventilation openings of this
sewing machine and foot controller free from accumulation of lint, dust and loose cloth.
5. Never drop or insert any object into any opening.
6. Do not use outdoors.
7. Do not operate where aerosol (spray) products are being used or where oxygen is being
administered.
8. To disconnect, turn all controls to the off (“O”) position, then remove plug from outlet.
9. Do not unplug by pulling on cord. To unplug, grasp the plug, not the cord.
10. Keep fingers away from all moving parts. Special care is required around the sewing machine
needle and/or cutting blade.
11. Always use the proper needle plate. The wrong plate can cause the needle to break.
12. Do not use bent needles.
13. Do not pull or push fabric while stitching. It may deflect the needle causing it to break.
14. Switch this sewing machine off (“O”) when making any adjustment in the needle area, such as
threading the needle, changing the needle, threading the bobbin or changing the presser foot, and
the like.
15. Always unplug this sewing machine from the electrical outlet when removing covers, lubricating, or
when making any other adjustments mentioned in this owner’s manual.
SAVE THESE INSTRUCTIONS
USA only
Your machine comes equipped with a polarized plug (one prong wider than the other). A polarized plug
reduces the risk of electrical shock. This plug is intended to fit into a polarized outlet. If the plug does
not fit fully into the outlet, reverse the plug. If it still does not fit, contact a qualified electrician to install
the proper outlet. Do not modify the plug in any way.
Use only foot control Model 21371.
Please note that on disposal, this product must be safely recycled in accordance with relevant National legislation
relating to electrical/electronic products. If in doubt please contact your retailer for guidance. (European Union only)


Printed in Taiwan
858-800-322

1
TABLE OF CONTENTS
GETTING READY TO SEW
Names of Parts ......................................................................... 2
Standard Accessories ............................................................... 3
Presser Foot and Accessory Definitions ................................ 4-5
Extension Table ......................................................................... 6
Accessories Storage ................................................................. 6
In the extension table ................................................................ 7
Side cover ................................................................................. 7
Assembling the Extra Wide Table ............................................. 8
Using the Cloth Guide ............................................................... 8
Knee Lifter ................................................................................. 9
Connecting the Power Supply ................................................. 10
Machine Operating Buttons .................................................... 11
Start/stop button ................................................................... 11
Reverse button ..................................................................... 11
Auto-lock button ................................................................... 11
Up/Down needle button ........................................................ 12
Thread cutter button ............................................................. 12
Jog dial ................................................................................. 12
Confirm button ...................................................................... 12
Function Keys .................................................................... 13-14
Selecting the Patterns ............................................................. 15
Help key .................................................................................. 16
Customizing Machine Settings ........................................... 17-20
Screen brightness ................................................................ 17
Buzzer sound ....................................................................... 17
Sub window display time ...................................................... 18
Resumption setting .............................................................. 18
Language selection .............................................................. 18
Touch panel calibration ........................................................ 19
Reset all stitches to factory default settings ......................... 20
Deleting stored pattern combinations ................................... 20
Resetting all to default .......................................................... 20
Controlling Sewing Speed ....................................................... 21
Speed control slider ............................................................. 21
Foot control .......................................................................... 21
Adjusting the Foot Pressure .................................................... 22
Dropping the Feed Dog ........................................................... 22
Raising and Lowering the Presser Foot .................................. 23
Changing the Presser Foot ..................................................... 24
Removing the presser foot ................................................... 24
Attaching the presser foot .................................................... 24
Removing and Attaching the Foot Holder ............................... 24
Removing the foot holder ..................................................... 24
Attaching the foot holder ...................................................... 24
Setting for Dual Feed Sewing ................................................. 25
Attaching the dual feed foot ................................................. 25
Setting the dual feed device ................................................. 25
Disengaging the dual feed device ........................................ 26
Removing the dual feed foot ................................................ 26
Using the Seam Guides .......................................................... 27
Turning a square corner ....................................................... 27
Centimeter/Inch Quick Measurements .................................... 27
Balancing Thread Tension ....................................................... 28
Balanced thread tension ...................................................... 28
Manual thread tension adjustment ....................................... 28
Correcting Distorted Stitch Patterns ........................................ 29
Changing Needles .................................................................. 30
Needle Definitions ................................................................... 31
Setting the Spool of Thread .................................................... 32
Extra spool pin ..................................................................... 32
Removing the Bobbin .............................................................. 32
Winding the Bobbin ................................................................. 33
Inserting the Bobbin ................................................................ 34
Threading the Machine ........................................................... 35
Built-in needle threader ........................................................ 36
Drawing Up the Bobbin Thread ............................................... 37
UTILITY STITCHES
Straight Stitch .......................................................................... 38
Starting to sew ..................................................................... 38
Securing seam ..................................................................... 38
Changing sewing direction ................................................... 38
Adjusting the needle drop position ....................................... 39
Adjusting the stitch length .................................................... 39
Programming My Personal Settings ....................................... 40
Restoring the default settings ............................................... 40
Variety of straight stitches ....................................................... 41
Straight stitch with left needle position ................................. 41
Lock-a-Matic stitch ............................................................... 41
Locking stitch ....................................................................... 41
Sewing from the Edge of Thick Fabric .................................... 42
Gathering ................................................................................ 42
Zipper Sewing .................................................................... 43-45
Rolled Hem ............................................................................. 46
Zigzag Stitch ........................................................................... 47
Adjusting the stitch width ...................................................... 47
Adjusting the stitch length .................................................... 47
Overcasting with Zigzag Stitch ................................................ 48
Satin Stitch Applique ............................................................... 48
3-Step Zigzag .......................................................................... 49
Mending a Tear ....................................................................... 49
Serpentine Stitch ..................................................................... 49
Blind Hemming ........................................................................ 50
Buttonholes ............................................................................. 51
Square (Sensor) buttonholes .......................................... 52-54
Corded buttonhole ................................................................ 55
Adjusting the buttonhole width ............................................. 56
Adjusting the buttonhole stitch density ................................. 56
Memory buttonhole .............................................................. 57
Round end and fine fabric buttonholes ................................ 58
Keyhole buttonholes ............................................................. 58
Stretch buttonholes .............................................................. 59
Bound (sensor) buttonhole .............................................. 60-61
Button Sewing ......................................................................... 62
Triple stretch stitch .................................................................. 63
Stretch stitch ........................................................................... 63
Overcasting stitch ................................................................... 63
Knit stitch................................................................................. 64
Overcasting stitch ................................................................... 64
Shell Tuck................................................................................ 65
Super Overlock Stitch ............................................................. 65
Darning............................................................................... 66-67
Bartacks .................................................................................. 68
Eyelet ...................................................................................... 69
PATCHWORK AND QUILTING
Patchwork Piecing .................................................................. 70
Quilt Stitches ........................................................................... 70
Sewing with the Dual Feed Device ......................................... 71
Quilting .................................................................................... 72
Straight Stitch Needle Plate .................................................... 72
Buttonhole Applique ................................................................ 73
Applique .................................................................................. 74
Patchwork Stitches ................................................................. 74
Basting .................................................................................... 75
Free Motion Quilting ................................................................ 76
Stippling Stitches .................................................................... 77
DECORATIVE SEWING
Pintucks................................................................................... 78
Fagoting .................................................................................. 78
Fringing ................................................................................... 79
Drawn Work ............................................................................ 79
Smocking ................................................................................ 80
French Knots ........................................................................... 81
Scallop .................................................................................... 81
Cording (3-strand cording) ...................................................... 82
Cording (1-strand cording) ...................................................... 82
Satin Stitches .......................................................................... 83
Sewing Border Designs with the Border Guide Foot .............. 83
Circle Sewing .......................................................................... 84
Twin Needle Sewing .......................................................... 85-86
Twin Needle Hem .................................................................... 87
PROGRAMMING A PATTERN COMBINATION
Single Repeat with Memory Auto-Lock ................................... 88
Pattern Combination ............................................................... 89
Sewing the Pattern Combination from the Beginning ............. 90
Sewing the Current Pattern from the Beginning ..................... 90
Programming Automatic Thread Cutting ................................. 91
Checking Properties of a Pattern Combination ....................... 91
Bridge Stitches ........................................................................ 92
MONOGRAMMING
Selecting a Letter Style ........................................................... 93
Selecting a Character ............................................................. 93
Programming a Monogram ..................................................... 94
EDITING A PTTERN COMBINATION
How to Preview the Combined Sequence .............................. 95
Editing ..................................................................................... 95
Uniformly Adjusting Stitch Width or Length ............................. 96
Individually Adjusting Stitch Width or Length .......................... 97
STORING AND RECALLING A PATTERN COMBINATION
Permanent Memory ................................................................ 98
Overwriting Memory ................................................................ 98
Recalling Memory ................................................................... 99
Deleting an Individual Memory ................................................ 99
CARE AND MAINTENANCE
Cleaning the Hook Race, Feed Dog and Thread Cutter
Mechanism ......................................................................... 100
Reattaching Bobbin Holder and Needle Plate ...................... 100
Problems and Warning Signals ...................................... 101-102
Troubleshooting .................................................................... 103

2
GETTING READY TO SEW
Names of Parts
1 Take-up lever
2 Foot pressure dial
3 Reference chart
4 Top cover
5 Foot storage compartment
6 Bobbin thread cutter
7 Bobbin winder stopper
8 Bobbin winder spindle
9 Hole for extra spool pin
10 Spool holder
11 Spool pin
12 Thread tension dial
13 Thread cutter
14 Face plate
15 LCD screen
16 Touch panel
17 Jog dial
18 Confirm button
19 Side storage compartment
20 Speed control slider
21 Thread cutter button
22 Up/Down needle button
23 Auto-lock button
24 Knee lifter socket
25 Fine adjustment screw
26 Reverse button
27 Start/stop button
28 Centimeter/inch quick measurements
29 Extension table (accessory storage)
30 Circular sewing pivot points
31 Needle clamp screw
32 Needle
33 Zigzag foot A
34 Hook cover plate release button
35 Hook cover plate
36 Needle plate
37 Foot holder
38 Built-in needle threader
39 Buttonhole lever
40 Dual feed device
41 Carrying handle
42 Flywheel (always turn toward you)
43 Dual feed adjusting dial
44 Drop feed lever
45 Machine socket
46 Foot control jack
47 Power switch
48 Presser foot lifter
1
2
3
45
6
7
8
9
10
11
12
13
14
15
16
17
18
19
20
21
22
23
24
25
2627
32
33
30
31
37 34
36 35
48
47
46
45
44
43
42
40
38
2829
39
41

3
Standard Accessories
1 Zigzag foot A (set on the machine)
2 Overlock foot C
3 Hemmer foot D
4 Zipper foot E
5 Satin stitch foot F
6 Blind hemming foot G
7 Multi-cord foot H
8 Overedge foot M
9 Automatic buttonhole foot R
10 Screwdriver
11 Screwdriver key
12 Set of needles
13 Lint brush
14 Seam ripper (Buttonhole opener)
15 Spool holder (large, set on the machine)
16 Spool holder (small)
17 Bobbins (4 total, 1 in machine)
18 Quilt guide
19 Scant 1/4” foot O2
20 Button sewing foot T
21 Open toe satin stitch foot F2
22 Felt cushion
23 Dual feed foot AD
24 Knee lifter
25 Spool supporter
26 Extra spool pin
27 Touch panel stylus
28 Border guide foot
29 Convertible free motion
quilting foot QB- H (with closed-toe foot)
30 Open-toe foot
31 Clear view foot
32 Foot control
33 Straight stitch needle plate
34 Power cable
35 Cloth guide
36 Semi-hard fabric cover
37 Extra wide table
38 Circular sewing pivot pin
39 Instruction book
123 4
5678
910 11 12
13 14 15
17
16
18 19 20
21 22 23
25 26 27
28
29
30 31
32 33 34 35
36 37
24
38
* The circular sewing pivot pin is stored in the
storage compartment inside the side cover.
39

4
Presser Foot and Accessory Definitions
A: Standard Metal Foot
This foot comes attached to your machine. It is mainly
used for straight stitches and zigzag stitches longer than
1.0. The button locks the foot in a horizontal position
helping to sew over multiple layered seams.
C: Overlock Foot
Prevent fabric edges from raveling by finishing the edge
with a zigzag stitch. The brush on the foot helps the stitch
lie flatter and reduces puckering.
Use with medium weight fabrics.
D: Hemmer Foot
Insert the fabric into the spiral on this foot. The spiral rolls
the fabric, creating a rolled hem. An easy, professional
way to sew hems.
E: Zipper Foot
Use when sewing zippers into place. The grooves on the
underside ensure the foot glides over the zipper coil.
Attach either to the left or right of the needle to sew each
side of the zipper.
F: Satin Stitch Foot
The cutout on the underside of the foot is designed to
accommodate dense stitch formation.
Ideal when sewing satin and decorative stitches.
F2: Open toe Satin Stitch Foot
Ideal for precision embroidery, applique, cutwork and
monogramming. The cutout on the underside of the foot
accommodates satin stitching and the open front ensures
greater visibility while sewing.
G: Blind Hem Foot
The guide on the foot helps ensure that the needle
catches one or two fibers of the hem, resulting in an
invisible hemline.
H: Multi-Cord Foot
Design your own braids or trims. Place one to three cord
in the foot and sew over cord(s) for a simple couching
method. Or sew over one cord with a zigzag to gather
heavier weight fabrics.
O2: Scant 1/4” Foot
Accuracy is the key to successful patchwork/quilt sewing.
Sewn from 3.5 needle position; the edge of the foot
provides a perfect 1/4” seam guide. Or use 4.5 needle
position and achieve the desirable scant 1/4” often re-
quested by quilters.
M: Overedge foot
This foot is specially designed to simulate professional
style overlocking. The wires on the foot effectively prevent
the fabric edge from puckering or rolling.

5
R: Automatic Buttonhole Foot
Place button in foot to determine the buttonhole size. The
machine will automatically sew the corresponding
buttonhole.
T: Button Sewing foot
No matter the shape, in one quick and easy Special
properties of foot are open front and grips on the
underside.
QB-H: Convertible Free Motion Quilting Foot
This foot is used for all free-motion quilting techniques
such stippling, embroidery.
The height of this foot can be adjustable, and the toe of
foot can be convertible to open-toe or clear view.
Open-toe Foot
The open-toe foot gives you more visibility when you sew
free-motion quilting.
Clea View Foot
The clear view foot is specialized for zig-zag stitch free-
motion quilting.
Quilt Guide
The quilt guide is helpful when sewing parallel, evenly
spaced rows stitching.
Border Guide Foot
This transparent foot has parallel guidelines to sew evenly
spaced rows of decorative stitches.
AD:Dual Feed Foot
This is a special foot for hard-to-feed materials. This foot
effectively prevents fabrics from shifting and puckering.
It is great for quilting and matching plaids.
Circular Sewing Pivot Pin
The free arm has holes that are 1.8 cm apart from each
other. Use this pivot pin to secure the fabric and sew
prefect curves or circles or large scallops.
Straight Stitch Needle Plate
Skipped stitches or puckered fabric? The small needle
entry hole in this plate prevents the needle from pushing
you fabric underneath the needle plate. (Must use center
needle position.)

6
Extension Table
The extension table provides an extended sewing area
and can be removed for free arm sewing.
1 Extension table
To detach:
Draw the table out to the left.
To attach:
Slide the table on the base and push the table to the
right.
Free-arm sewing
Free-arm sewing is used for stitching sleeves, waist-
bands, pant legs or any other tubular garments.
It is also useful for darning socks or mending knees or
elbows.
Accessories Storage
The accessories can be conveniently stored in the foot
storage compartment under the top cover and in the
extension table.
Under the top cover
1 Open toe satin stitch foot F2
2 Scant 1/4” foot O2
3 Button sewing foot T
4 Overedge foot M
5 Clear view foot
6 Open-toe foot
7 Convertible free motion quilting foot QB-H
8 Foot holder
9 Touch panel stylus
1
2
35
6
7
8
9
1
4

7
2 Zigzag foot A (set on the machine)
3 Overcasting foot C
4 Hemmer foot D
5 Satin stitch foot F
6 Multi-cord foot H
7 Blind hem foot G
8 Automatic buttonhole foot R
9 Zipper foot E
10 Circular sewing pivot pin
Storage compartments can be tilted forward for
easy access.
Side Cover
Pull down side cover to open.
1 Side cover
1
In the Extension Table
Accessories are stored inside the extension table.
Pull lid to open the storage box.
1 Screwdriver
2 Screwdriver key
3 Dual feed foot AD
4 Set of needles
5 Extra spool pin
6 Bobbins
7 Border guide foot
8 Seam ripper
9 Cloth guide
10 Spool supporter
11 Spool holder (large)
12 Spool holder (small)
13 Lint brush
14 Quilt guide
15 Straight stitch needle plate
* The needle plate can be stored in the compartment
A of the extension table.
12
34
56
789
10 12 1311
14
23
4
5
6
7
8
9
10
15
A

8
Using the Cloth Guide
Remove the extension table and attach the extra wide
table.
Attach the cloth guide to the free arm by pushing the cloth
guide down to snap it in place.
Slide the cloth guide to the desired position.
Place the fabric with its edge against the cloth guide and
sew.
1 Cloth guide
2 Free arm
Peel off the backing paper from the rubber soles and
attach to the bottom of the legs.
1 Rubber sole
2 Leg
3 Setscrew
Attach the 6 legs to the table top with the setscrews.
4 Table top
Place the assembled table to the machine as shown.
Slide the table to the right until the table catches the pin
on the backside of the free arm.
Adjust the height of the table top by turning the adjusting
screw.
5 Adjusting screw
Assembling the Extra Wide Table
4
3
2
1
5
1
2

9
1
1
2
3
4
Knee Lifter
The knee lifter is extremely helpful when sewing patchwork,
quilting etc, since it allows you to handle the fabric while
your knee controls the presser foot.
Attaching the knee lifter
Match the ribs on the knee lifter with the notches in the
knee lifter socket and insert the knee lifter.
1 Knee lifter
2 Knee lifter socket
Adjusting the knee lifter
The angle of the knee lifter can be adjusted to fit you.
Loosen the setscrew and slide the angle bar in or out to
adjust the angle of the knee lifter.
Tighten the setscrew to secure the angle bar.
3 Setscrew
4 Angle bar
Using the knee lifter
Push the knee lifter with your knee to easily move the
presser foot up and down.
You can control how high the foot rises by the amount of
knee pressure you exert.
NOTE:
Do not touch the knee lifter while stitching, otherwise the
fabric will not be fed smoothly.

10
Connecting the Power Supply
First make sure the power switch is off.
Insert the machine plug of the power supply cord into the
machine socket.
Insert the power supply plug into the wall outlet, and turn
the power switch on.
1 Power switch
2 Machine plug
3 Machine socket
NOTES:
Make sure to use the power supply cord that came with
the machine.
If you turn off the power switch, wait for 5 seconds
before turning it on again.
WARNING:
While in operation, always keep your eyes on the sewing
area, and do not touch any moving parts such as the
thread take-up lever, flywheel or needle.
Always turn off the power switch and unplug the
machine from the power supply:
- when leaving the machine unattended.
- when attaching or removing parts.
- when cleaning the machine.
Do not place anything on the foot control.
If you wish to use the foot control, pull out the cord from
the foot control and insert the pin connector into the jack
on the machine.
1 Foot control cord
2 Pin connector
Insert the machine plug of the power supply cord into the
machine socket.
Insert the power supply plug into the wall outlet, and turn
the power switch on.
CAUTION:
Do not pull the foot control cord beyond the red mark.
3 Red mark
Operating Instructions:
The symbol “O” on a switch indicates the “off” position of
the switch.
For the U.S.A. only
Polarized plug (one blade wider than the other):
To reduce the risk of electric shock, this plug is intended
to fit in a polarized outlet only one way. If it does not fit
fully in the outlet, reverse the plug. If it still does not fit,
contact a qualified electrician to install the proper outlet.
Do not modify the plug in any way.
1
3
2
1
3
2

11
Machine Operating Buttons
1 Start/stop button
Press this button to start or stop the machine.
The machine starts running slowly for the first few
stitches, it then runs at the speed set by the speed
control slider. The machine runs slowly as long as this
button is pressed.
The button will turn red when the machine is running,
and green when it has been stopped.
Pressing and holding this button while sewing will slow
down the sewing speed and the machine will stop
when the button is released.
NOTE:
The start/stop button cannot be used when the foot
control is connected to the machine.
The machine will not start if the presser foot is up and
the LCD screen shows message (A) or (B).
Lower the presser foot and start the machine.
2 Reverse button
When sewing pattern number D1, D4, 9-11, 94 or 153-
156 the machine will sew in reverse as long as the
reverse button is pressed.
If you press the reverse button when sewing any other
patterns, the machine will immediately sew locking
stitches and automatically stop.
When the foot control is not connected and pattern D1,
D4, 9-11, 94 or 153-156 is selected, the machine will
sew in reverse at the slowest speed as long as the
reverse button is pressed.
3 Auto-lock button
When sewing pattern number D1, D4, 9-11, 94 or 153-
158, the machine will immediately sew locking stitches
and automatically stop when the auto-lock button is
pressed.
When sewing all other patterns, the machine will sew
to the end of the current pattern, sew locking stitches
and stop automatically.
3
2
1
(A)
(B)

12
4 Up/Down needle button
Press this button to bring the needle bar up or down.
The machine will stop with the needle up or down
depending on the position set by this button.
The LED signal is turned on when the down position is
selected.
NOTE:
The machine will always stop with the needle up after
sewing buttonholes, darning and monograms.
If you press the up/down needle button when the presser
foot is at the extra lifted position, the LCD screen will
advise you to lower the foot.
5 Thread cutter button
Press this button after finishing sewing and the machine
will trim the threads automatically.
The LED signal blinks while cutting threads.
NOTES:
Use the thread cutter on the face plate when cutting
specialized threads or threads #30 or thicker.
Clean the auto thread cutter mechanism regularly to
avoid malfunction due to built up lint.
Avoid using a paper-cored spool with the auto thread
cutter. When nearly empty, they may not unwind
smoothly and cause the thread to bunch up or slip when
using the memory auto thread cutter (refer to page 13).
Do not pull the fabric if auto thread cutting fails and the
thread tangles. Turn the power switch off and remove
the needle plate to remove the tangled threads (refer to
page 100).
6 Jog dial
The jog dial is used for selecting stitch patterns,
characters and certain settings.
Turn the jog dial clockwise or counterclockwise with your
fingertip to browse patterns or settings.
7 Confirm button
Press the confirm button to select the desired pattern or
settings.
4
5
6
7
LED signal

13
Function Keys
1 Select mode key (refer to page 15)
Press this key to open the group selection window.
2 Monogram key (refer to page 93)
Press this key to select one of 2 letter styles available.
3 Direct pattern selection keys
Press one of 5 keys to select a straight or zigzag stitch.
4 Memory save/recall key (refer to page 98)
Press this button to register or recall programmed pattern
combinations.
5 Memory auto thread cut key (refer to page 91)
Press this key before sewing, if you wish to cut the
threads automatically after finishing sewing with a locking
stitch.
When programming a pattern combination, press this key
after the last programmed pattern to cut the threads
automatically after finishing sewing.
The LED signal on the thread cutter button (refer to page
12) will turn on when the auto thread cutter key is
pressed.
6 Memory auto-lock key (refer to page 88)
Press this key after the last memorized pattern.
The machine will automatically lock the stitch off and then
stop when finishing sewing.
7 Clear key (refer to page 95)
Press this key to delete the last memorized pattern.
Press and hold this key until the buzzer sounds to delete
the whole pattern combination.
8 Set key (refer to page 17)
Press this key to open the machine setting window for
customizing the machine settings.
9 Twin needle key (refer to page 85)
Press this key when sewing with a twin needle.
10 Elongation key (refer to page 83)
Press this key to elongate satin stitch patterns.
11 Mirror image key (refer to pages 88, 89)
Press this key to sew a mirror image of the selected pat-
tern.
12 Help key (refer to page 16)
Press this key to view information on the selected pattern.
13 Memory key (refer to pages 88, 89)
Press this key to memorize the selected pattern.
Up to 50 patterns can be memorized.
14 Stitch width adjusting key (refer to pages 39, 47, 56)
Press this key to alter the stitch width.
15 Stitch length adjusting key (refer to pages 39, 47, 56)
Press this key to alter the stitch length.
16 Edit key (refer to page 95)
Press this key to edit the programmed pattern combina-
tions.
12
3
4
9
14
5
10
11
16
12
13
6
8
7
15

14
17 Face to face key (refer to page 96)
When this key is pressed after selecting a stitch, the stitch will be flipped vertically (as it appears on the stitch chart)
and symbol will appear in the LCD screen.
Stitches that are compatible with this key are identified on the stitch chart with a shaded background.
18 My personal setting key (refer to page 40)
Override the factory settings by changing width/needle position or length. Press this key after changing settings. Press
“M” key. New setting will now be saved as the default setting with symbol in LCD screen.
19 Start over key (refer to page 90)
Pressing the start over key allows you to sew the programmed patterns from the beginning.
18
17
19

15
The stitch patterns are classified into 10 groups.
To select the desired stitch pattern, refer to the reference
chart inside the top cover to identify the stitch group and
pattern number.
When turning the power switch on, the LCD screen will
show the straight stitch D1 selected.
Press the mode key and the group selection window will
open.
1 Mode key
2 Group selection window
Turn the jog dial clockwise or counterclockwise to browse
through the groups.
3 Jog dial
NOTE:
To close the group selection window, press the cross
mark with the touch panel stylus.
4 Cross mark
Press the confirm button in the center of the jog dial to
select the group enclosed with a frame, or press the icon
of the desired group with the touch panel stylus.
5 Confirm button
6 Touch panel stylus
The pattern selection window will open.
Turn the jog dial and press the confirm button, or press
the stitch icon to select the desired stitch pattern.
The LCD screen will display the pattern number and stitch
image, along with information such as stitch width and
length, recommended foot, foot pressure and tension
setting.
7 Stitch image
8 Pattern number
9 Information
NOTE:
A message window will be displayed for briefly when
certain stitch pattern is selected.
CAUTION:
Do not press the surface of the LCD screen with hard or
sharp objects like pencils, screwdrivers or the like. Use
the touch panel stylus to press the LCD screen.
Selecting the Patterns
1
2
4
3
9
8
7
5
6

16
Help key
Pressing this key will show alternative applications and
useful information for the following stitch patterns:
1 Help key
When one of the above patterns is selected, the “?” mark
is displayed.
2 “?” mark
Example: Stitch pattern D1 is selected.
When you press the help key, the following will be dis-
played on the LCD screen.
The first page shows the zigzag foot A and quilting guide
bar for quilting.
NOTES:
Use the jog dial or press the help key to scroll through
the pages.
To close the help window, press the clear key.
The second page shows the rolled hem foot D for rolled
hemming applications.
NOTE:
Arrow marks indicate that there are previous and next
pages to be displayed.
3 Arrow marks
The third page shows the zipper foot E for zipper sewing
applications.
Pages A1 to A6 and D1 to D6 show step-by-step
instructions on how to engage and disengage the dual
feed device.
1
2
33
Other manuals for 740 EXCELLENCE -
2
Table of contents
Other ELNA Sewing Machine manuals

ELNA
ELNA 8300 - LEAFLET User manual

ELNA
ELNA 664PRO - User manual

ELNA
ELNA 664PRO - User manual

ELNA
ELNA 505 User manual

ELNA
ELNA eXcellence 780 User manual

ELNA
ELNA 2002 User manual

ELNA
ELNA 745 - User manual

ELNA
ELNA 9500 - LEAFLET User manual

ELNA
ELNA 792D User manual

ELNA
ELNA eXcellence 790PRO User manual

ELNA
ELNA Sew Green User manual

ELNA
ELNA 5100 - User manual

ELNA
ELNA eXperience 580 User manual

ELNA
ELNA 8600 User manual

ELNA
ELNA 6005 heirloom edition User manual

ELNA
ELNA eXtend 864air User manual

ELNA
ELNA Cover Pro 2000CPX Troubleshooting guide

ELNA
ELNA 845 - Wiring diagram

ELNA
ELNA XPRESSIVE 2 User manual

ELNA
ELNA 8007 Owner's manual