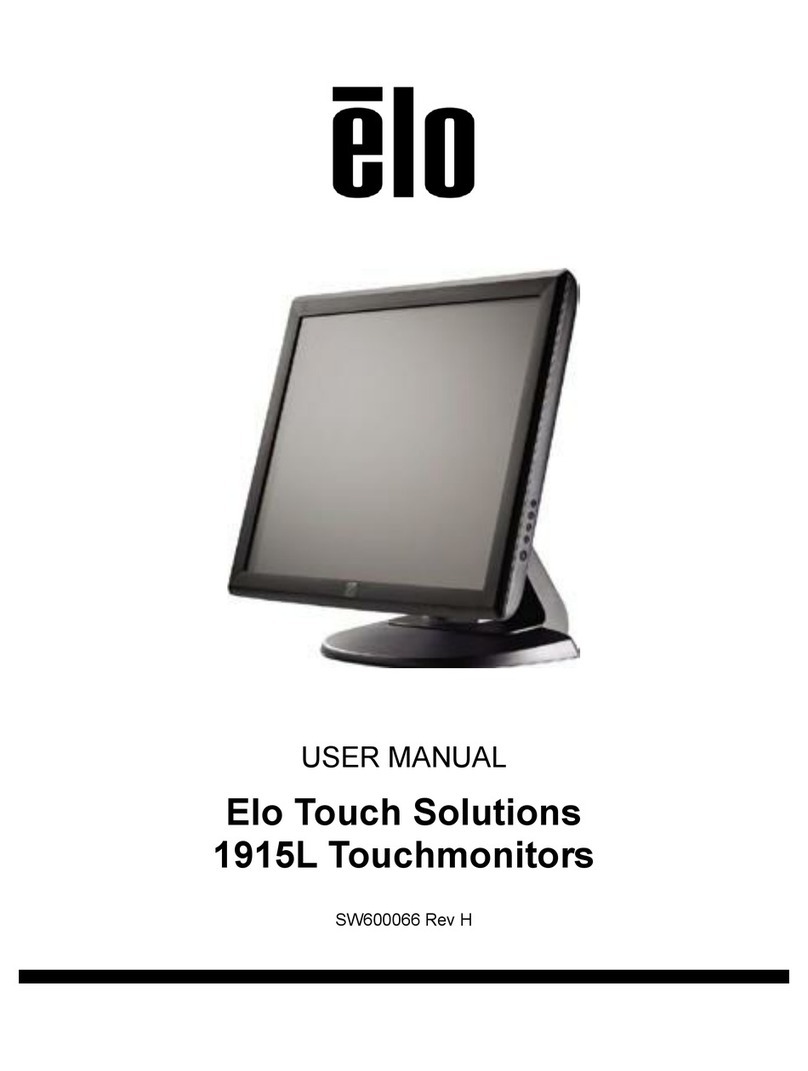
Elo Touch Solutions 1915L User manual

USER MANUAL
Elo Touch Solutions
1915L Touchmonitors
SW600066 Rev G

User Manual: 1915L
SW600066 Rev G, Page 2 of 35
Copyright © 2016 Elo Touch Solutions, Inc. All Rights Reserved.
No part of this publication may be reproduced, transmitted, transcribed, stored in a retrieval system, or translated
into any language or computer language, in any form or by any means, including, but not limited to, electronic,
magnetic, optical, chemical, manual, or otherwise without prior written permission of Elo Touch Solutions, Inc.
Disclaimer
The information in this document is subject to change without notice. Elo Touch Solutions, Inc. and its Afffiliates
(collectively "Elo") makes no representations or warranties with respect to the contents herein, and specifically
disclaims any implied warranties of merchantability or fitness for a particular purpose. Elo reserves the right to
revise this publication and to make changes from time to time in the content hereof without obligation of Elo to
notify any person of such revisions or changes.
Trademark Acknowledgments
AccuTouch, CarrollTouch, Elo, Elo (logo), Elo Touch, Elo Touch Solutions, Elo TouchSystems, IntelliTouch, iTouch,
SecureTouch, TouchTools and VuPoint are trademarks of Elo and its Affiliates. Windows is a trademark of
Microsoft Corporation.
User Manual: 1915L
SW600066 Rev G, Page 3 of 35
Table of Contents
Chapter 1: Introduction..............................................................................4
Chapter 2: Installation................................................................................6
Chapter 3: Operation................................................................................15
Chapter 3: Technical Support .................................................................26
Chapter 4: Safety & Maintenance ...........................................................28
Chapter 5: Regulatory Information.........................................................30
Chapter 6: Warranty Information ............................................................34

User Manual: 1915L
SW600066 Rev G, Page 4 of 35
Chapter 1: Introduction
Product Description
Your new touchmonitor combines the reliable performance of touch technology with the latest
advances in LCD display design. This combination of features creates a natural flow of
information between a user and your touchmonitor.
This LCD monitor incorporates 19” color active matrix thin-film-transistor (TFT) liquid crystal
display to provide superior display performance. Amaximum resolution of SXGA 1280 x 1024
is ideal for displaying graphics and images. Other outstanding designs that enhance this LCD
monitor’s performance are Plug & Play compatibility, and OSD (On Screen Display) controls.
Precautions
Follow all warnings, precautions and maintenance as recommended in this user manual to
maximize the life of your unit and prevent risks to user safety. See the Safety & Maintenance
chapter for more information.
This manual contains information that is important for the proper setup and maintenance of the
unit. Before setting up and powering on your new touchmonitor, read through this manual,
especially the Installation and Operation chapters.

User Manual: 1915L
SW600066 Rev G, Page 5 of 35
About the Product
Your LCD Desktop Touchmonitor is a 19” SXGATFT color display with the following features:
• The internal microprocessor digitally controls auto-scanning, for horizontal scan
frequencies between 31.5 KHz and 80 KHz, and vertical scan frequencies between 56.3 Hz
and 75.0 Hz. In each frequency mode, the microprocessor-based circuitry allows the
monitor to function at the precision-of a fixed frequency.
• High contrast color TFT LCD display supports resolutions up to SXGA 1280 x 1024. It is
Compatable with VGA, SVGA, XGA, SXGA (non-interlaced) and most Macintosh
compatible color video cards.
• Power management system conforms to VESA DPMS standard.
• Supports DDC2B for Plug & Play compatibility.
• Advanced OSD control for picture quality adjustment.
• Detachable stand for wall-mounting application.
• Integrated touch screen function.

User Manual: 1915L
SW600066 Rev G, Page 6 of 35
Chapter 2: Installation
Unpacking the Touchmonitor
Open the carton and verify that the following items are present:
Touchmonitor with removable protective sheet for its face
User Manuals CD
Quick Install Guide
VGA cable
USB cable
Serial cable (excluded in APR and Intellitouch Plus models)
Power cable
oJapanese power cable and adapter/terminal,
oChina, Taiwan, and/or Korean power cable, or
oUS and/or European power cable

User Manual: 1915L
SW600066 Rev G, Page 7 of 35
Touch Interface Connection
Note: Before connecting the cables to your touchmonitor and PC, be sure that the
computer and touchmonitorare turned off.
For APR and IntelliTouch Plus model only
1. Connect one end of the power cord to the monitor and the other end to the outlet.
2. Connect one end of either the touchscreen serial(RS232) cable or the touch screen USB
cable (but not both) to the rear side of the computer and the other end to the LCD monitor.
Tighten by turning the two thumb screws clockwise to ensure proper grounding (USB cable
does not have thumb screws).
3. Connect one end of the video cable to the rear side of computer and the other to the LCD
monitor. Tighten by turning the two thumb screws clockwise to ensure proper grounding.
4. Press the power button on the front panel to turn the monitor power on.
Powercord SerialCableVideoCableUSBCable

User Manual: 1915L
SW600066 Rev G, Page 8 of 35
Product Overview
Main Unit
Rear View

User Manual: 1915L
SW600066 Rev G, Page 9 of 35
Installing the Touch Technology Software Drivers
Some software installation is required for your iTouch Plus touchmonitor to work with your
computer. No additional drivers are required for your projected-capacitive touchmonitor, it uses
Windows HID drivers.
The drivers for the Windows 7 and XP systems are available on the Elo Touch Solutions
website.
Visit www.elotouch.com for:
The most up-to-date touch driver versions
Additional touch driver information
Detailed touch driver installation guides
Touch drivers for other operating systems

User Manual: 1915L
SW600066 Rev G, Page 10 of 35
Select the applicable driver from the Elo Touch Solutions website and download:
For Windows 7 installations, double-click on EloSetup Installer

User Manual: 1915L
SW600066 Rev G, Page 11 of 35
After accepting the end-user license agreement, the system will initialize to setup installation of
drivers.
To complete setup, reboot system by clicking on “Reboot Now” button. Click on “One More
Minute” if more time is needed with increments of 1 minute.
Note: System will automatically reboot when “Time left” counter reaches “0”.

User Manual: 1915L
SW600066 Rev G, Page 12 of 35
For Windows XP installations, double-click on the icon from the desktop
Click on “Unzip” button to unzip files.

User Manual: 1915L
SW600066 Rev G, Page 13 of 35
Select one or more of the drivers to install. Click on “Next”

User Manual: 1915L
SW600066 Rev G, Page 14 of 35
After accepting the end-user license agreement, the drivers will finish installing.
Reboot your computer after the installation is complete.

User Manual: 1915L
SW600066 Rev G, Page 15 of 35
Chapter 3: Operation
About TouchmonitorAdjustments
There will most likely be no need to be adjust your touchmonitor. However, variations in video
output and application may require adjustments to optimize display quality.
For best performance, your touchmonitor should be operating in its native resolution, 1280 x
1024 at 80k-75 Hz. Use the Display control panel in Windows to select the 1280 x 1024
resolution.
Operating in other resolutions will degrade video performance.
All adjustments you make to the controls are automatically memorized. This feature saves you
from having to reset your choices every time you unplug or power your touchmonitor off and
on. If there is a power failure, your touchmonitor settings will not default to the factory
specifications.

User Manual: 1915L
SW600066 Rev G, Page 16 of 35
On-Screen Display (OSD)
Four OSD buttons are on the side of the monitor.
These can be used to adjust various display parameters.
The buttons and their functionality are:
Button Function when OSD is not displayed: Function when OSD is displayed:
Menu Display OSD main menu Return to previous OSD menu
Display OSD Brightness submenu Decrease value of selected parameter /
select previous menu item
Display OSD Contrast submenu Increase value of selected parameter /
select next menu item
Select Auto Adjust Select parameter for adjustment /
select submenu to enter

User Manual: 1915L
SW600066 Rev G, Page 17 of 35
The OSD buttons control an on-screen graphical user interface, which displays on top
of your input video. This allows for intuitive adjustment of the following display
parameters:
Parameter Available Adjustment
Brightness Increase/decrease monitor brightness
Default: Maximum
Contrast Increase/decrease monitor contrast
Default: Best gray-shade performance
Clock Allows fine adjustments of the panel’s pixel dot clock
Only applicable for VGA input video
Phase Allows fine adjustments of the panel’s pixel dot clock phase
Only applicable for VGA input video
Auto Adjust
Automatically adjusts the system clock to the input analog VGA video
signal, affecting the H-position, V-position, Clock, and Phase menu
items
Only applicable for VGA input video
H-position Moves the image horizontally on the display in single-pixel increments
Default: Centered
Only applicable for VGA input video
V-position Moves the image vertically on the display in single-pixel increments
Default: Centered
Only applicable for VGA input video
Aspect Ratio
Switches the scaling method between Full Scaling and Maintain Aspect
Ratio
Default: Full Scaling
Full Scaling – scales the X- and Y-dimensions of the input video (up or
down as needed) to the display’s native resolution.
Fill To Aspect Ratio – Assuming a landscape orientation and an input
video with aspect ratio smaller than 1024 x 768 for the 15-inch or 1280 x
1024 for the 17-inch, scales the Y-dimension of the input video (up or
down as needed) to the display’s Y-resolution, and scales the X-
dimension to maintain the input video’s aspect ratio (and fills the rest of
the display with equal black bars on the left and right).
The touchscreen may need recalibration when switching between
Aspect Ratio options.
Sharpness Adjusts sharpness of the displayed images
Default: No sharpness adjustment
Only applicable at non-native input video resolutions
Color
Temperature
Selects the display’s color temperature. The available color
temperatures are 9300K, 7500K, 6500K, 5500K, and User Defined. If
the User Defined option is selected, the user can change the color
temperature by changing individual R, G, and B gains on a scale from 0
to 100.
Default: User Defined with R, G, and B all set to 100

User Manual: 1915L
SW600066 Rev G, Page 18 of 35
OSD Timeout
Adjusts how long a period of OSD button inactivity the touchmonitor will
wait before closing the OSD. The adjustable range is between 5 and 60
seconds.
Default: 15 seconds
OSD Language
Selects which language the OSD information is displayed in. The
available languages are: English, French, Italian, German, Spanish,
Simplified Chinese, Traditional Chinese, and Japanese
Default: English
Volume Adjusts the volume of the internal speakers and headphone output
Mute Toggles the audio output between Muted and Not Muted
Default: Not Muted
Recall Defaults Selecting “Recall Defaults” restores all factory default settings for OSD-
adjustable parameters (except OSD Language) and for Preset Video
Mode timings.
Video Source
The monitor continually scans for active video on the VGA and DVI
connectors. This adjustment selects which of those input ports should
be given priority to be displayed.
The options are: VGA Priority, DVI Priority
Default: DVI Priority
All touchmonitor adjustments made through the OSD are automatically memorized as
soon as they are entered. This feature saves you from having to reset your choices
every time the touchmonitor is unplugged or powered off and on. If there is a power
failure, the touchmonitor settings will not default to the factory specifications.
OSD and Power Lockouts
Press and hold the “Menu” and “Up” buttons for two seconds to enable/disable the
OSD Locking feature. When the OSD Locking is enabled, pressing any of the Menu,
Up, Down, or Select keys will have no effect on the system.
Press and hold the “Menu” and “Down” buttons for two seconds to enable/disable the
Power Locking feature. When the Power Locking is enabled, pressing the power
switch will have no effect on the system.

User Manual: 1915L
SW600066 Rev G, Page 19 of 35
Preset Modes
To reduce the need for adjustment for different modes, the monitor has default
setting modes that are most commonly used as given in the table below. If any of
these display modes are de- tected, the monitor automatically adjusts the picture size
and centering. When none of the mode is matched, the user can store their preferred
modes in the user modes. The monitor is capable of storing up to 7 user modes. The
only condition to store as a user mode is the new display information must have 1
KHz difference for horizontal frequency or 1 Hz for vertical frequency or the sync
signal polarities are different from the default modes.
Item
1
2
Resolution
640 x 350
720 x 400
Type
VGA
VGA
H.Scan(KHz)
31.468
31.468
V. Scan(Hz)
70.09
70.08
Polarity
+/-
-/+
3 640 x 480 VGA 31.468 59.94 -/-
4 640 x 480 MAC 66 35 66 -/ -
5 640 x 480 VESA 72 37.861 72.809 -/ -
6 640 x 480 VESA 75 37.5 75 -/-
7 800 x 600 VESA 56 35.156 56.25 +/+
8 800 x 600 VESA 60 37.879 60.317 +/+
9 800 x 600 VESA 75 46.875 75 +/+
10 800 x 600 VESA 72 48.077 72.188 +/+
11 832 x 624 MAC 75 49.71 74.53 -/-
12 1024 x 768 VESA 60 48.363 60.004 -/-
13 1024 x 768 SUN 65 52.45 65 -/-
14 1024 x 768 VESA 70 56.476 70.069 -/-
15 1024 x 768 VESA 75 60.023 75.029 +/+
16 1280 x 1024 VESA 60 63.981 60 +/+
17 1280 x 1024 VESA 75 79.976 75.025 +/+
18 1152 x 864 VESA 75 67.5 75 +/+
19 1280 x 960 VESA 60 60 60 +/+
Power Management System
The monitor is equipped with the power management function which automatically
reduces the power consumption when not in use.
Mode Power Consumption
On < 50 Watts
Sleep < 3 Watts

User Manual: 1915L
SW600066 Rev G, Page 20 of 35
Off < 1 Watt
We recommend switching the monitor off when it is not in use for a long time.
NOTE: The monitor automatically goes through the Power Management
System (PMS) steps when it is idle. To release the monitor from PMS
state, press any key on the keyboard or move mouse.
Display
Angle
For viewing clarity, you can tilt the LCD forward (up to -5 degrees) or backward (up to
90 degrees.)
CAUTION: In order to protect the LCD, be sure to hold the base when adjusting the
LCD, and take care not to touch the screen.
Table of contents
Other Elo Touch Solutions Touch Panel manuals

Elo Touch Solutions
Elo Touch Solutions E607608 User manual

Elo Touch Solutions
Elo Touch Solutions ESY15i2 User manual

Elo Touch Solutions
Elo Touch Solutions ET3243L User manual

Elo Touch Solutions
Elo Touch Solutions 1519L User manual

Elo Touch Solutions
Elo Touch Solutions 1523L User manual

Elo Touch Solutions
Elo Touch Solutions 17" X-Series User manual
Popular Touch Panel manuals by other brands

Clevertouch
Clevertouch Plus Basic functions guide

Kramer
Kramer KT-107S quick start guide

Avalue Technology
Avalue Technology LPC-1231 Quick reference guide

Avalue Technology
Avalue Technology RITY153 Quick reference guide

Emerson
Emerson RXi quick start guide

IEI Technology
IEI Technology AFL-9652 Series user manual