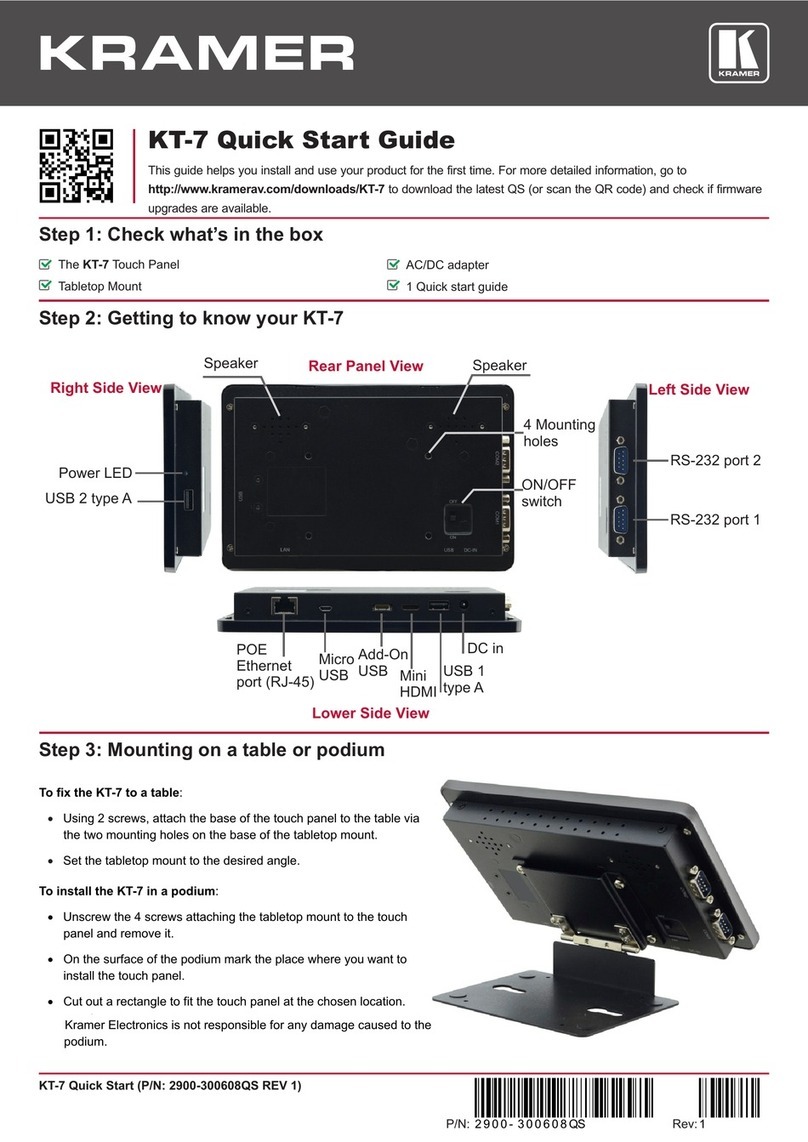
Step 3: Mounting the KT-107S
Mounting on a table using one of the following options:
Portable Mount: place the tabletop mount on the table. Connected cables remain visible and the table remains intact.
Secure Mount: secure the tabletop mount to the table as follows:
1. Measure the exact location on the surface of the table where you want to install the KT-107S.
2. Drill a hole in the table and optionally cut the cable pass-through opening according to the cut-out dimensions defined in the
user manual.
3. Secure the tabletop mount to the table using the M5x60 secure screw.
4. Connect the Ethernet port to a PoE-enabled source. Optionally, you can connect the power adapter too (as backup).
5. Replace the appropriate cover and place the KT-107S over the tabletop mount (the Touch Panel is magnetically held in
place), by first inserting the lower part of the Touch Panel then carefully laying the KT-107/KT-107RB in place.
6. Wait for the Home-page to load and then secure the KT-107S to the tabletop mount from the rear side (using 2 M2x4
screws, supplied with the unit).
7. Optionally, lock the tabletop mount with a Kensington locker (not supplied).
Mounting on the wall:
Before mounting KT-107S on a wall, install an in-wall junction box (recommended boxes are listed in the user manual)
1. Attach the on-wall mount unit to the installed junction box (top side up see indication arrows on unit).
Connect Ethernet and/or power cables and optionally, insert the right-angle USB cable (supplied) for connecting to an
adjacent external USB device.
2. Screw the 4 wall-mounting screws (supplied) through the screw openings.
The various screw openings fit various types of wall junction boxes.
3. On the rear side of the KT-107S, remove the screw cover and the cover and set aside.
4. Attach the panel mount plate to the rear side of the KT-107S (using 4 M2x4 screws, supplied).
