Sensor KNX VOC/TH-UP Touch 1
Sensor KNX VOC/TH-UP Touch • Version: 30.11.2021 • Technical changes and errors excepted. • Elsner Elektronik GmbH • Sohlengrund 16 • 75395 Ostelsheim • Germany • www.elsner-elektronik.de • Technical Service: +49 (0) 7033 / 30945-250
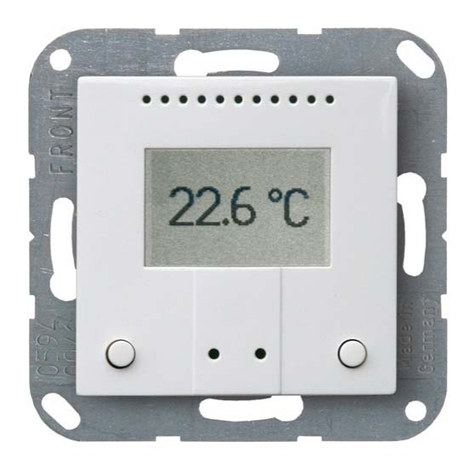
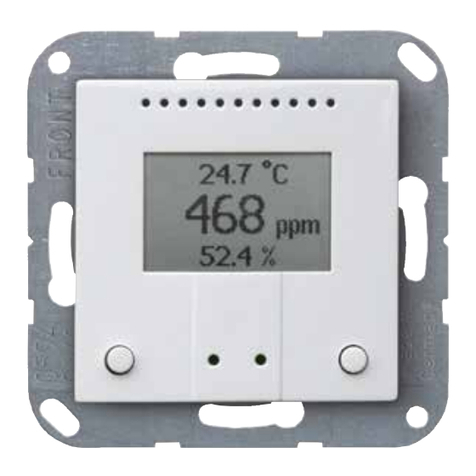
KNX VOC/TH-UP Touch
Combined Indoor Sensor
Technical specifications and installation instructions
Item numbers 70970 (white), 70973 (black)
1. Description
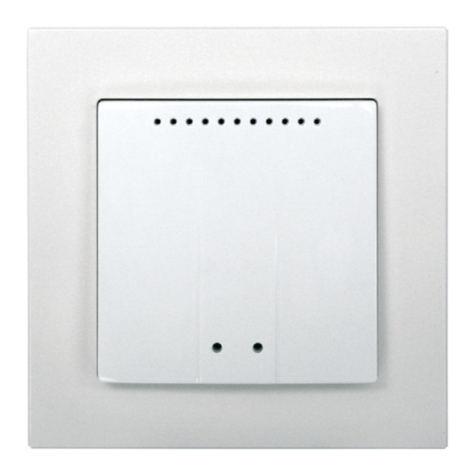
The Sensor KNX VOC/TH-UP Touch measures volatile organic compounds in
the room air, temperature and humidity and calculates the dew point. The sensor
can receive external measured values via the bus and process them with the own
data to overall values (mixed values, e. g. room average). The KNX VOC/TH-UP
Touch offers two push buttons that may be used for changing the ambient tem-
perature (target value), for switching between operating modes or as free pro-
grammable bus push buttons.
The KNX VOC/TH-UP Touch provides switching outputs with adjustable thres-
hold values. The switching outputs and further communication objects can be lin-
ked by AND and OR logic gates. Additionally, an integrated actuating variable com-
parator can compare and output values that are received via communication
objects.
Integrated PI controllers allows for control of a ventilation (depending on VOC con-
centration and air humidity) and a heating/cooling system (depending on tempe-
rature). The KNX VOC/TH-UP Touch can emit a warning to the bus as soon as
the area of optimum comfort (according to DIN 1946) is left.
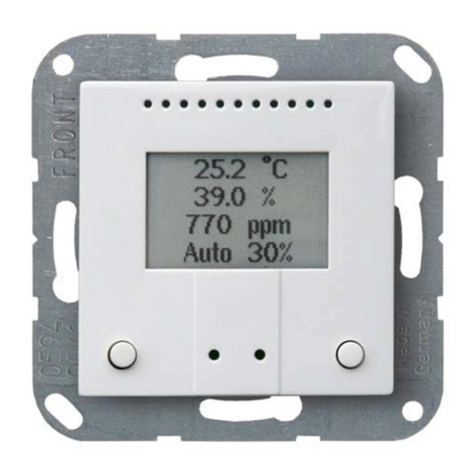
The integrated display shows the own values and data received from the bus (e.g.
date, time). The device is completed with a frame of the switching series installed
in the building and thus merges with the interior.
Functions:
• Measurement of VOC (volatile organic compounds) in the air. In this
process, an air quality value in CO2equivalents is calculated via an
algorithm from the sum signal of all compounds included in the mixed gas.
• Measurement of temperature and air humidity (absolute and relative),
calculation of the dew point
•Mixed values from own measured values and external values (proportions
can be set in percentage)
•Display 1-3 rows (own values or values received from the bus) or display of
temperature control (see Mode display and manual temperature controller)
•2 push buttons. Configuration as bus push button or for changing ambient
temperature and switching between operating modes (see Change ambient
temperature with the buttons)
•PI controller for heating (one or two step) and cooling (one or two step)
depending on temperature. Control according to separate target values or
basic target temperature
•PI controller for ventilation depending on humidity and VOC
concentration: dehumidification/humidification (one step) or
dehumidification (one or two step)
•Threshold values can be adjusted per parameter or via communication
objects: 3 × temperature, 2 × humidity, 4 × VOC
•4 AND and 4 OR logic gates with each 4 inputs. Every switching incident
as well as 16 logic inputs in the form of communication objects, may be used
as inputs for the logic gates. The output of each gate may optionally be
configured as 1 bit or 2 x 8 bits
•2 actuating variable comparators for output of minimum, maximum or
average values. Each with 5 inputs (for values received via communication
objects)
Configuration is made using the KNX software as of ETS 5. The product file can
be downloaded from the ETS online catalogue and the Elsner Elektronik website
on www.elsner-elektronik.de in the “Service” menu. There you will also find
the product manual.
1.1. Scope of delivery
• Housing with display
• Base plate
You will need in addition (not supplied):
• Device socket according to DIN 49073
• Frame (for element 55 x 55 mm), suitable for the switching programme used
in the building
1.2. Technical specifications
The product conforms with the provisions of EU guidelines.
1.2.1. Accuracy of the measurement
Measurement variations from permanent sources of interference (see chapter Ins-
tallation position) can be corrected in the ETS in order to ensure the specified ac-
curacy of the sensor (offset).
To ensure a correct VOC measurement, the device must be installed in a wind-
proof socket.
When measuring temperature, the self-heating of the device is considered by
the electronics. The heating is compensated by the software.
1.2.2. Measuring ranges of different gases (CO2 equivalents)
Corresponding VOC concentrations for specific representatives
* corresponding concentration range based on lab measurements at gas mixing system with synthetic air at 50% r.h. and RT
2. Installation and commissioning
Installation, testing, operational start-up and troubleshooting should
only be performed by an authorised electrician.
CAUTION!
Live voltage!
There are unprotected live components inside the device.
• Inspect the device for damage before installation. Only put undamaged
devices into operation.
• Comply with the locally applicable directives, regulations and provisions
for electrical installation.
• Immediately take the device or system out of service and secure it against
unintentional switch-on if risk-free operation is no longer guaranteed.
Use the device exclusively for building automation and observe the operating ins-
tructions. Improper use, modifications to the device or failure to observe the ope-
rating instructions will invalidate any warranty or guarantee claims.
Operate the device only as a fixed-site installation, i.e. only in assembled condition
and after conclusion of all installation and operational start-up tasks, and only in
the surroundings designated for it.
Elsner Elektronik is not liable for any changes in norms and standards which may
occur after publication of these operating instructions.
2.1. Installation position
The Sensor KNX VOC/TH-UP Touch is installed on a device socket.
May be installed and operated in dry interior rooms only.
Avoid condensation.
When selecting an installation location, please ensure that the measurement re-
sults are affected as little as possible by external influences. Possible sources of in-
terference include:
• Direct sunlight
• Drafts from windows and doors
• Draft from ducts which lead from other rooms or from the outside to the
junction box in which the sensor is mounted
• Warming or cooling of the building structure on which the sensor is
mounted, e.g. due to sunlight, heating or cold water pipes
• Connection lines and ducts which lead from warmer or colder areas to the
sensor
Measurement variations from permanent sources of interference can be corrected
in the ETS in order to ensure the specified accuracy of the sensor (offset).
To ensure a correct VOC measurement, the device must be installed in a windproof
socket.
2.2. Composition
2.2.1. Housing
2.3. Assembly of the sensor
First of all fit the windproof socket with connection. Also seal inlet pipes to avoid
infiltration.
Screw the base plate onto the socket and position the frame of the switching pro-
gramme. Connect the bus line +/- to the black-red plug.
Pin the housing with the notches on to the metal frame, so that device and frame
are fixed.
3. Commissioning
Never expose the device to water (e.g. rain) or dust. This can damage the electro-
nics. You must not exceed a relative humidity of 95%. Avoid condensation.
After the bus voltage has been applied, the device will enter an initialisation phase
lasting a few seconds. During this phase no information can be received or sent via
the bus.
4. Addressing of the device at the bus
The device is supplied with the bus address 15.15.255. You can program another
address into the ETS by overwriting the 15.15.255 address or by teaching via the
programming button.
5. Display and operation at the device
Detailed specifications for the display and the use of the push buttons are set in the
ETS.
Basically the display can show a two-row or three-row text (e. g. for measured va-
lues) or a temperature controller. You can switch between the two types by pres-
sing one of the buttons, if this has not been disabled in the ETS.
5.1. Mode display and manual temperature controller
Depending on the ETS setting selected, the mode display will only display show
the current target value, or the base target value setting with scale display. The ma-
nually adjustable range can be set in the ETS.
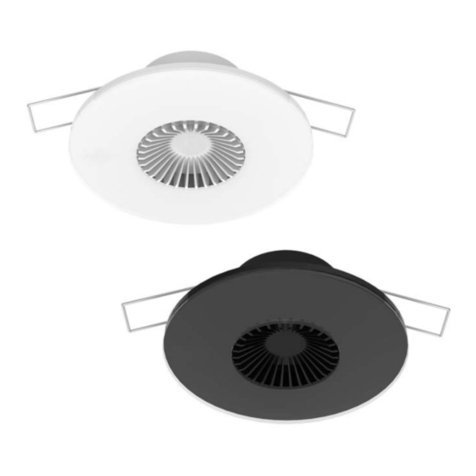
Housing Plastic material
Colours • similar to RAL 9005 jet black
• similar to RAL 9010 pure white
Mounting on device socket according to DIN 49073
Degree of protection IP 20
Dimensions Housing approx. 55 x 55 (W x H, mm), moun-
ting depth approx. 8 mm, base plate approx.
71 x 71 (W x H, mm)
Total weight approx. 68 g
Ambient temperature Operation 0…+50°C, storage -10…+60°C
Ambient air humidity 10...95% RH, avoid bedewing
Operating voltage KNX bus voltage
Bus current max. 20 mA
Data output KNX +/- bus terminal plug
Group addresses max. 254
Allocations max. 254
Communication
objects
224
VOC measurement
range
400...2000 ppm
VOC resolution 1 ppm
Temperature measure-
ment range
0…+50°C
Temperature resolution 0.1°C
Humidity measurement
range
0% RH …95% RH
Humidity resolution 0.1%
Humidity drift ± 0.5% RH per year in normal air
Compound Formula Range*
(ppm)
Potential sources of pollu-
tants indoors
Carbon monoxide CO 0-10 Car exhaust, fuel-based heating,
cooking appliances, smoking
Methane CH40-200 Natural gas
Propane C3H80-20 Fuel-based heating, cooking
appliances, cleaners
Ethyl alcohol C2H6O 0-3 Cosmetics, cleaners, disinfec-
tants, detergents, paints, coa-
tings, breath
Acetaldehyde C2H4O 0-20 Adhesives, coatings, plastics,
lubricants, ripening of fruits
Methylethylketone C4H8O 0-20 Adhesives, coatings, plastics,
lubricants
Toluene C7H80-5 Paints, coatings, cleaners, deter-
gents, smoking, polyurethane lac-
quers
Fig. 1: Sectional drawing.
The Sensor KNX VOC/TH-UP Touch fits into a
standard socket (Ø 60 mm, depth 42 mm).
The frame is not included!
Installation depth
27 mm
Mounting depth
8 mm
4
6
5
7
1
2
3
4
Fig. 2
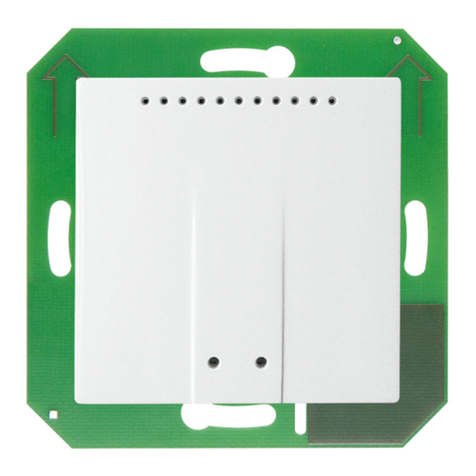
1 Base plate
2 Openings for air circulation
3 Touch sensitive buttons
4 Catches
5 KNX terminal BUS +/-
6 Programming button (recessed) for teaching device
7 Programming LED (recessed)
EN


