eltherm ELTC/L-15 User manual

www.eltherm.com
P.: +49 2736 4413-0
F.: +49 2736 4413-50
eltherm GmbH
Ernst-Heinkel-Strasse 6 -10
57299 Burbach, Germany
BU-108
Revision 1
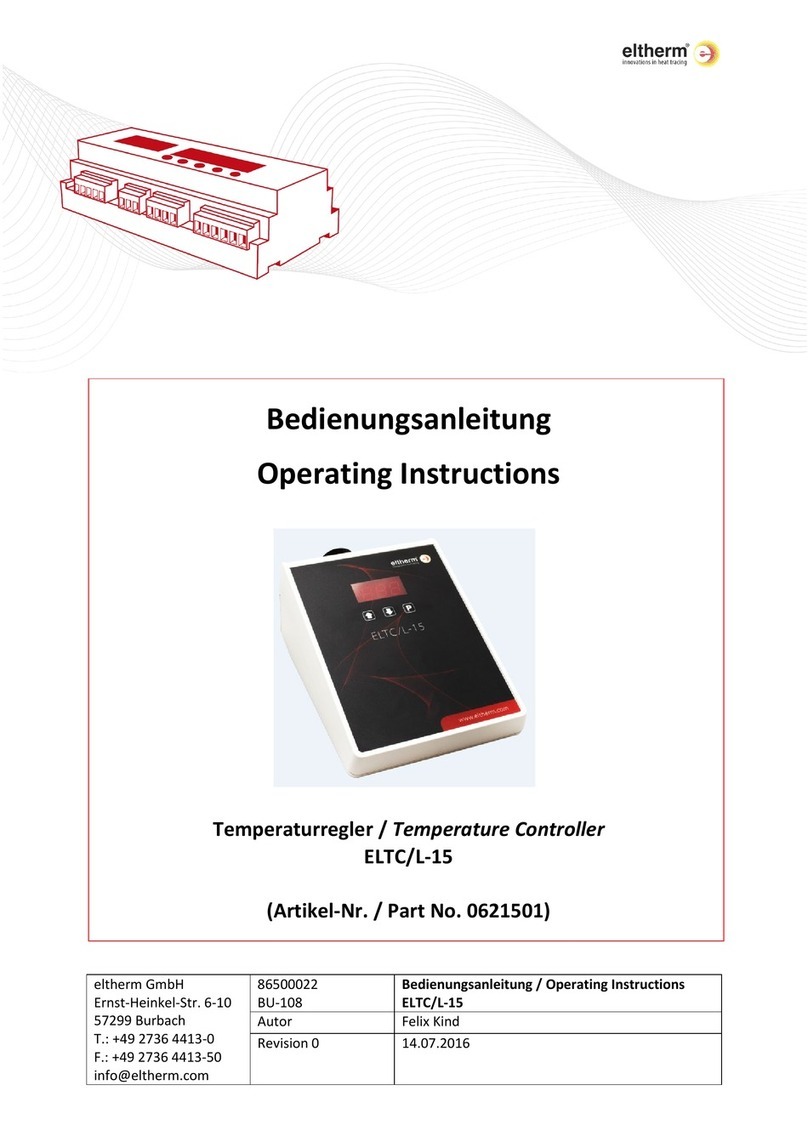
ELTC/L-15
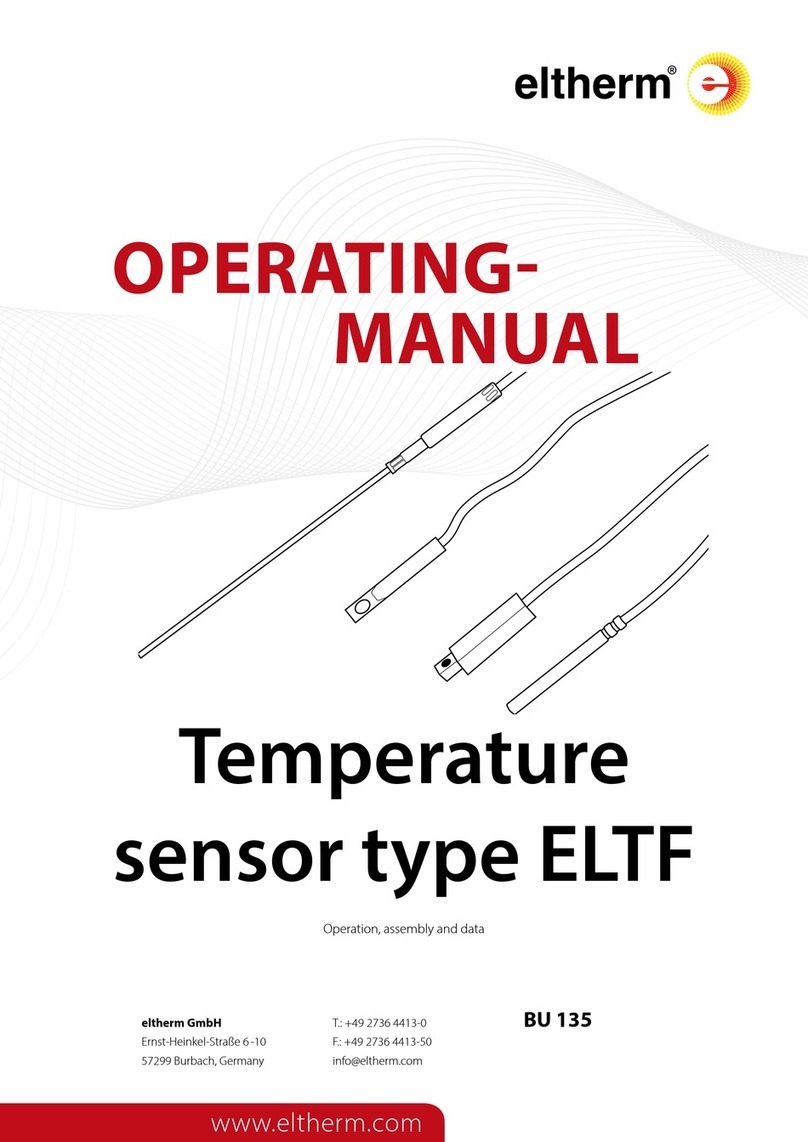
Temperature controller up to 999°C
with ramp mode
as tabletop unit
OPERATION-
MANUAL

2
CONTENT
INTRODUCTION 3
RECEIPT OF GOODS 3
SCOPE OF DELIVERY 3
STORAGE 3
DISPOSAL 3
FUNCTIONAL DESCRIPTION & TECHNICAL DATA 4
FUNCTIONAL DESCRIPTION 4
TECHNICAL DATA 4
Dimensions 4
Integral sockets 4
CONNECTION PLAN 5
SPECIAL NOTES 5
Installation and safety information 5
OPERATION 6
OPERATING PANEL 6
Selecting and changing parameters 6
Protection against unauthorized operation 6
Error messages 6
Ramp status codes 6
PARAMETERS AND THEIR MEANING 7
Notes on commissioning 8
RAMP MODES 8
Declaration of Conformity 9
NOTES 9
DOWNLOADS 10
RESERVATION
Subject to technical changes. Changes, errors and misprints do not constitute grounds for claims for damages.
For safety components and systems, the assembly instructions as well as the relevant and currently valid standards and regulations must be
observed.
eltherm GmbH
Ernst-Heinkel-Str. 6-10
57299 Burbach
T.: +49 2736 4413-0
F.: +49 2736 4413-50
Document:
8643050621501
BU-108
Operation manual
ELTC/L-15 temperature controller up to
999°C with ramp mode as tabletop unit
Author: Felix Kind Date: 14.07.2016
Revision: 1Julian Engel Date: 19.10.2023
For proper and safe use of the ELTC/L-15 temperature cont-
roller, please follow these instructions.
Please keep these instructions for future reference (e.g. in
the system documentation).

3
www.eltherm.com
Contact us: +49 2736 4413-0 • info@eltherm.com
Operation manual
ELTC/L-15
BU-108
Revision 1
Particularly important points in these instructions are indicated by the following symbols:
RECEIPT OF GOODS
Upon receipt of the goods, check the controllers and acces-
sories and compare the information on the type plate with
the information on the delivery bill to ensure that the correct
material has been delivered.
STORAGE
DISPOSAL
SCOPE OF DELIVERY
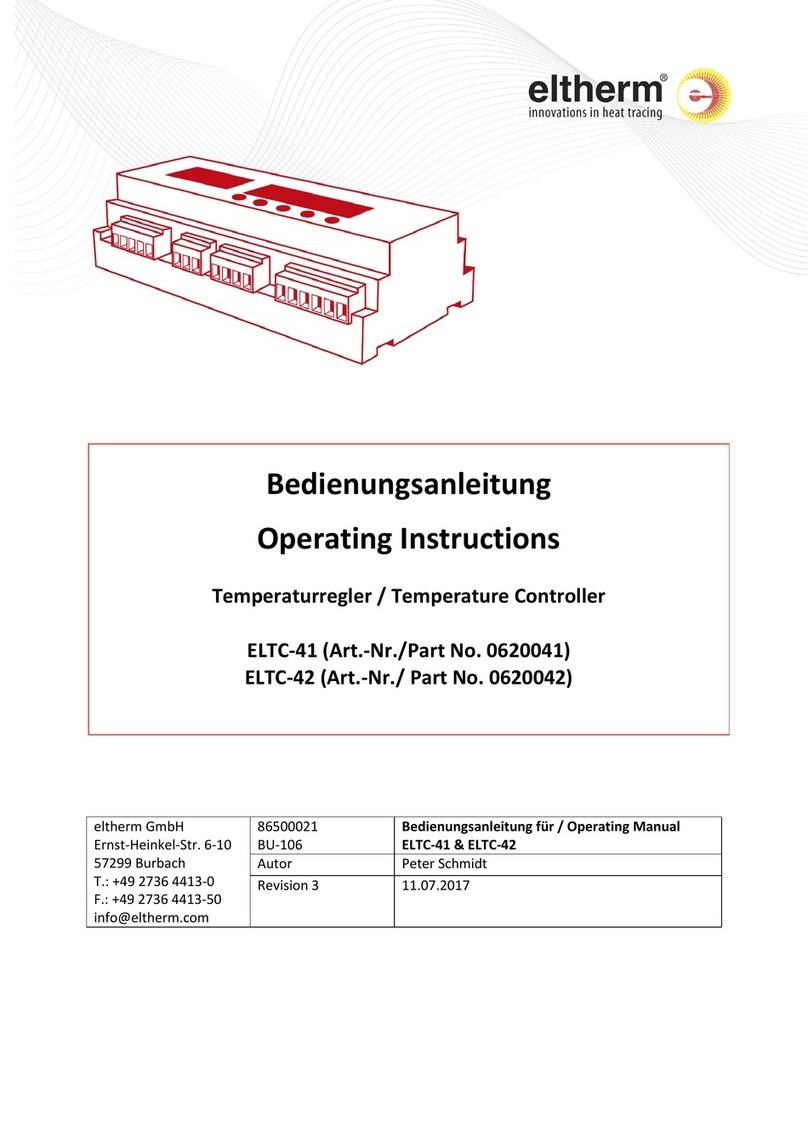
The scope of delivery of the article includes:
INTRODUCTION
Display conventions
ATTENTION
indicates a potentially dangerous situation.
If not avoided, there is a risk of damage or malfunction.
DANGER
indicates an extremely dangerous situation.
If it is not avoided, there is a danger to life or at least a high risk of
serious injury.
WARNING
indicates a potentially dangerous situation.
If it is not avoided, there is a risk of injury or at least a high risk of
damage.
NOTE
important information and instructions for safe, eective and envi-
ronmentally sound use.
i
NOTE
Storage should be in a dry place at an ambient temperature
of -30°C to 60°C.
i
NOTE
The WEEE logo (shown above) indicates that this product
should not be disposed of with other waste.
For more information on disposal and
and recovery of waste electrical and electronic equipment
For more information on the disposal and recovery of waste
electrical and electronic equipment (WEEE) and collection
points, please contact your local waste management com-
pany or the manufacturer from whom you purchased the
product.
i
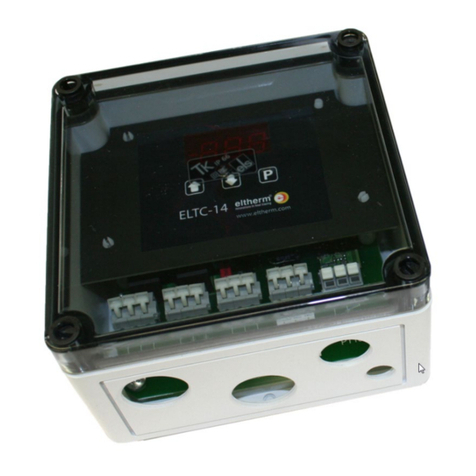
The electronic temperature controller of the ELTC type series is a controller with digital display in a desktop enclosure with C14
type plug and integral sockets for connection of pluggable laboratory heaters (e.g. heating jackets and heating tapes) as well as
for temperature sensors (3-wire or 2-wire Pt100 or thermocouple type K). With output relay K1 and programmable temperature
ramp.
The temperature measured with a Pt100 temperature sensor or a thermocouple type K is processed and displayed by a micro-
controller.
After an actual value/setpoint comparison, the output relays are then switched according to the conguration.
Qty. Item
1 Pcs. Temperature controller
1 Pcs. Operation manual DE & EN
1 Pcs. Quick guide at housing bottom DE & EN
1 Pcs. 2 m cold device connection cable 3x1.0 mm²

4
70 mm
180 mm
125 mm
FUNCTIONAL DESCRIPTION & TECHNICAL DATA
TECHNICAL DATA ELTC/L-15 (Art. 0621501)
Nominal voltage 90…260 VAC, 50/60 Hz
Power consumption max. 5 W
Relays K1 10 A res./ max 250 VAC (closing contact)
Operating temperature -25 to +55 °C
Storage temperature -30 to +60 °C
Humidity max. 80 %
Setting range -50 to +410 °C with Pt100 / -50 to +999 °C with thermocouple type K
Display range -50 to +999 °C
Accuracy ±1 K, ±2 Digits with Pt100 / ± 0.5 % F.S. (with thermocouple type K)
Display LED, red, 11mm
Sensor connection Pt100 2-wire, Pt100 3-wire & thermocouple type K
Measuring current / cable length max. 1 mA / 140 m with 0,5 mm² or 280 m with 1 mm² (10 Ohm)
Housing material ABS, white
Housing dimension 125 x 70 x180 mm (WxHxD)
Protection class IP 20
Type of mounting Tabletop unit
Weight approx. 0,7 kg
Dimensions
Integral sockets
FUNCTIONAL DESCRIPTION
If the actual value (P01) falls below the setpoint (P10 minus hysteresis P11), relay K1 switches the heating on. In the event of
sensor errors, relay K1 switches the heating line off or on, depending on the configuration of the controller.
C14 integral socket
for mains supply
Binder 693 integral socket 3+PE
for heater connection
0,5 mm² integral socket
for plug thermocouple type K
Binder 723 integral socket
for Pt100

5
www.eltherm.com
ELTC/L-15
+
-
Pt100
T.C.
+
-
1 2 3 PE
1 2 3 PE
1
1
2
2
3
3
rd
rd
C14
- +
- +
Contact us: +49 2736 4413-0 • info@eltherm.com
Operation manual
ELTC/L-15
BU-108
Revision 1
CONNECTION PLAN
SPECIAL NOTES
Installation and safety information
ATTENTION
• Electrical connection / commissioning must be carried
out by a qualied electrician.
• The relevant local safety regulations must be observed.
Observe the connection values according to the type
plate and these instructions.
• When selecting the installation site, observe the IP
protection class and permissible operating temperature.
Locations protected from direct precipitation and sunlight
are advantageous.
• Operation only with closed cover, tightened screw con-
nections / blind plugs and installed seals.
Avoid damage, tensile stress, kinking and torsion of the
connected lines.
• The sensor lines must be shielded when extended, the
shielding must be grounded on one side near the cont-
roller. The cable must not be laid parallel to lines carrying
mains voltage. The total line resistance must not exceed
10 ohms.
• Make sure that the connection terminals have the correct
size and dimensioning to accommodate the conductors.
DANGER
A residual current circuit breaker is required for each circuit.
DANGER
Before starting work on heating or connection lines or ter-
minals, make sure that the corresponding circuit is switched
o and secured against unintentional reconnection
ATTENTION
• Persons involved in installations and testing of electrical
trace heating systems should be appropriately qualied to
perform the required actions
• Electrical heat-tracing systems should be installed under
the direction of a qualied electrician who has completed
supplemental training on electrical heat-tracing systems
• Critical work, such as making connections or terminations,
should be performed only by qualied personnel
NOTE
After switching on the controller, the display shows the
current actual value.
i
Terminal Connection
X1.1
X1.2 Common connection neutral (N)
X1.3
X2.1 Mains supply input (L)
X2.2 Heater connection A
X2.3 Heater connection B
X3.1
X3.2 Common connection protective earth
X3.3 (PE)
X4.1 -connection thermocouple
X4.2 +connection thermocouple
X5.1 Connection Pt100 (white)
X5.2 Connection Pt100 (red)
X5.3 Connection Pt100 3-wire compensation
(not necessary with 2-wire)

6
P
1 42
OPERATION
After switching on, the type number ("L15") and software
version of the device appear and after approx. three seconds
the measured actual value. If the "P" key is pressed briey, the
"Set" display appears and then the setpoint value is displayed
with an automatic return after 5 seconds. If the "P" key is pres-
sed for approx. 3 seconds, the parameter list "P10" is display-
ed. If the "P" key is held down for a further 3 seconds, " dC" for
degrees Celsius or " dF" for degrees Fahrenheit is displayed.
Protection against unauthorized operation
The control setpoints can basically be set without restriction,
provided they are not limited by "P13/P14". All other parame-
ters are protected by a code.
If a code is required, the display shows "C00". Use the arrow
keys " / " to set the required code number "C42" and
conrm with "P".
After approx. 1 minute without pressing any key, the code is
requested again.
Error messages
In the event of an error, the display shows an error code. Sen-
sor errors are displayed with a delay of approx. 10 seconds.
Error codes
• E01 = Sensor short circuit or temperature < -60°C
• E02 = Sensor interruption or temperature > 410°C
• E03 = 3rd wire is missing or R ≥ 10Ω
• E04 = thermocouple fault
• E07 = Error relay K1 open
• E08 = Error relay K1 short circuit
• E09 = Internal error
• C00 = Protected parameters, code entry required
With errors E07 to E09, further operation of the device is
prevented.
Keys
" " = Increase values
" " = Decrease values
"P" = Programming key
LEDs in Display
"1" = Control relay ON
"2" = Ramp ON
"4" = Alarm relay activated (=switched OFF)
A ashing of the LEDs indicates a function delay.
OPERATING PANEL
Selecting and changing parameters
To reach the parameter list, "P" must be pressed for approx. 3
seconds until "P10" appears in the display.
Press„P"for 3 seconds
Parameter no. appears
Press„ /“
Select parameters
Press„P“
Parameter value appears
Press„ /“
Change parameters
Press„P“
New value saved, back to parameter no.
Press„ /“ till„P01“ or T > 1 minute
Exit input mode
Ramp status codes
• rF0 = Ramp completed correctly
• rF1 = Ramp cancelled & cooled down in controlled manner
• rF2 = Bandgap alarm occured at least one time
• rF3 = Ramp cancelled
The ramp status„rF“ is displayed alternating to the parameter
„P01“ (3 s„P01“, 1 s Rampenstatus). The ramp state information
can be cleared by pressing key„P“.
Autoscrolling
If you hold down the arrow keys " / ", the values continue
to scroll automatically.

7
www.eltherm.com
Contact us: +49 2736 4413-0 • info@eltherm.com
Operation manual
ELTC/L-15
BU-108
Revision 1
PARAMETERS AND THEIR MEANING
In [...] the factory settings are indicated.
Parameter Meaning and range
P01
Actual value display only
P10
Control setpoint range P13...P14, [5°C]
P11
Switching hysteresis range 2...P41-1K, [2K]
P12
Minimum standstill
time (relay K1)
0..30.0 min., [0.0 min],
resolution 0,1 min.
P13
Maximum adjustable
setpoint
range P14...+950°C, [+950°C]
P14
Smallest adjustable
setpoint
range -50°C...P13, [0°C]
P20
Sensor type
0 = Pt100, 3-wire, °C (resolution 1K)
[1] = Pt100, 2-wire, °C (resolution 1K)
2 = Pt100, 3-wire, °F (resolution 2°F)
3 = Pt100, 2-wire, °F (resolution 2°F)
4 = Thermocouple K, °C (resolution 1K)
5 = Thermocouple K, °F (resolution 2°F)
P21
Sensor correction -30...+10K, [0]
P30
Overtemperature alarm P31...999°C, [999°C]
P31
Undertemperature alarm -60...P30, [-60°C]
P32
Alarm delay in
operation
0...99 min., [0.0 min.]
resolution 0,1 min.
P33
Alarm delay after
switch-on
0...500 min., [0 Min.]
P34
Alarm relay mode 0...5 without function
P40
Ramp function
0 = Ramp inactive
[1] = Ramp active
P41
Band alarm-hysteresis range P11+1...11K, [5K]
P50 (Start value)
Ramp setpoint 1
Nop, 0...950°C [100°C],
Nop=inactive
P51
Time for rampe 1 1..999 Min., [30 Min],
P52
Ramp setpoint 2 Nop, 0...950°C [100°C]
P53
Time for rampe 2 1..999 Min., [30 Min],
P54
Ramp setpoint 3 Nop, 0...950°C [100°C]
Parameter Meaning and range
P55
Time for rampe 3 1..999 Min., [30 Min],
P56
Ramp setpoint 4 Nop, 0...950°C [100°C]
P57
Time for rampe 4 1..999 Min., [30 Min],
P58
Ramp setpoint 5 Nop, 0...950°C [100°C]
P59
Time for rampe 5 1..999 Min., [30 Min],
P60
Ramp setpoint 6 Nop, 0...950°C [100°C]
P61
Time for rampe 6 1..999 Min., [30 Min],
P62
Ramp setpoint 7 Nop, 0...950°C [100°C]
P63
Time for rampe 7 1..999 Min., [30 Min],
P64
Ramp setpoint 8 Nop, 0...950°C [100°C]
P65
Time for rampe 8 1..999 Min., [30 Min],
P66
Ramp setpoint 9 Nop, 0...950°C [100°C]
P67
Time for rampe 9 1..999 Min., [30 Min],
P68 (End value)
Ramp setpoint 10 Nop, 0...950°C [100°C]
P70
Display of the current
Ramp setpoint
-60…999°C
P71
Display of the current
Ramp phase
0 = Ramp o
1 = reaching set point 1
2 = reaching set point 2
.
.
.
10 = reaching set point 10
8
ATTENTION
The settings of the controller must be checked during
commissioning.
NOTE
The temperature control device and the temperature sen-
sor(s) should be calibrated against the factory setting during
commissioning if necessary.
i
Notes on commissioning RAMP MODES
Ramp start
Press the„ " key for >5 seconds, LED„2“ lights up continuous-
ly.If the current temperature is below the value stored for P50,
it is first heated up to this value. Then the stored ramp func-
tion (P50...P68) starts. If the current temperature is above the
value stored for P50, the ramp function starts with the current
temperature. After reaching the last stored ramp value, LED„2“
goes out, then the set temperature setpoint (P10) is appro-
ached and permanently maintained.
Pause
Press„ “ key for >5 seconds, LED„2“ flashes in a regular cycle.
Current temperature is held permanently. Pressing the„ “
key again for >5 seconds continues the ramp.
Controlled cancellation of ramp
Press„ ”and„ “ keys simultaneously for >5 seconds, LED„2“
flashes alternately long / short. Starting from the current tem-
perature, the ramp is now run down with the last deposited
falling branch. After reaching the last ramp value, LED„2“, goes
out, then the set temperature setpoint (P10) is approached
and permanently maintained.
Immediate cancellation of amp
Press„ ”and„ “ keys simultaneously for >5 seconds, LED
„2“ flashes alternately long / short. Press the„ and„ “ keys
again simultaneously for >5 seconds, LED„2“ goes out. The
ramp function is now inactive, the set temperature setpoint
(P10) is approached and permanently maintained.

9
www.eltherm.com
Contact us: +49 2736 4413-0 • info@eltherm.com
Operation manual
ELTC/L-15
BU-108
Revision 1
Declaration of Conformity
We declare that the described product fully complies with Di-
rectives 2014/35/EU, 2014/30/EU and 2011/65/EU. If you need
a detailed declaration of conformity, please contact us.
Parameter Own settings
P50
P51
P52
P53
P54
P55
P56
P57
P58
P59
P60
P61
P62
P63
P64
P65
P66
P67
P68
NOTES
Parameter Own settings
P10
P11
P12
P13
P14
P20
P21
P30
P31
P32
P33
P34
P40
P41

www.eltherm.com
eltherm GmbH
Headquarters
Ernst-Heinkel-Straße 6 -10
57299 Burbach, Germany
T.: +49 2736 4413-0
F.: +49 2736 4413-50
8643050621501 Operation manual ELTC/L-15 (BU-108) EN - Subject to technical changes
You can find helpful downloads for this or other products
under the following link:
https://eltherm.com/downloads
DOWNLOADS
Other manuals for ELTC/L-15
1
Table of contents
Other eltherm Temperature Controllers manuals

eltherm
eltherm ELTF User manual

eltherm
eltherm ELTC-14 User manual

eltherm
eltherm ELTC-14P User manual

eltherm
eltherm Ex-TC It Series User manual

eltherm
eltherm ELTC-14 User manual

eltherm
eltherm ELTC/H-14 User manual

eltherm
eltherm ELTC-15 User manual

eltherm
eltherm ELTC-14P User manual

eltherm
eltherm ELTC-41 User manual

eltherm
eltherm ELTC-W User manual