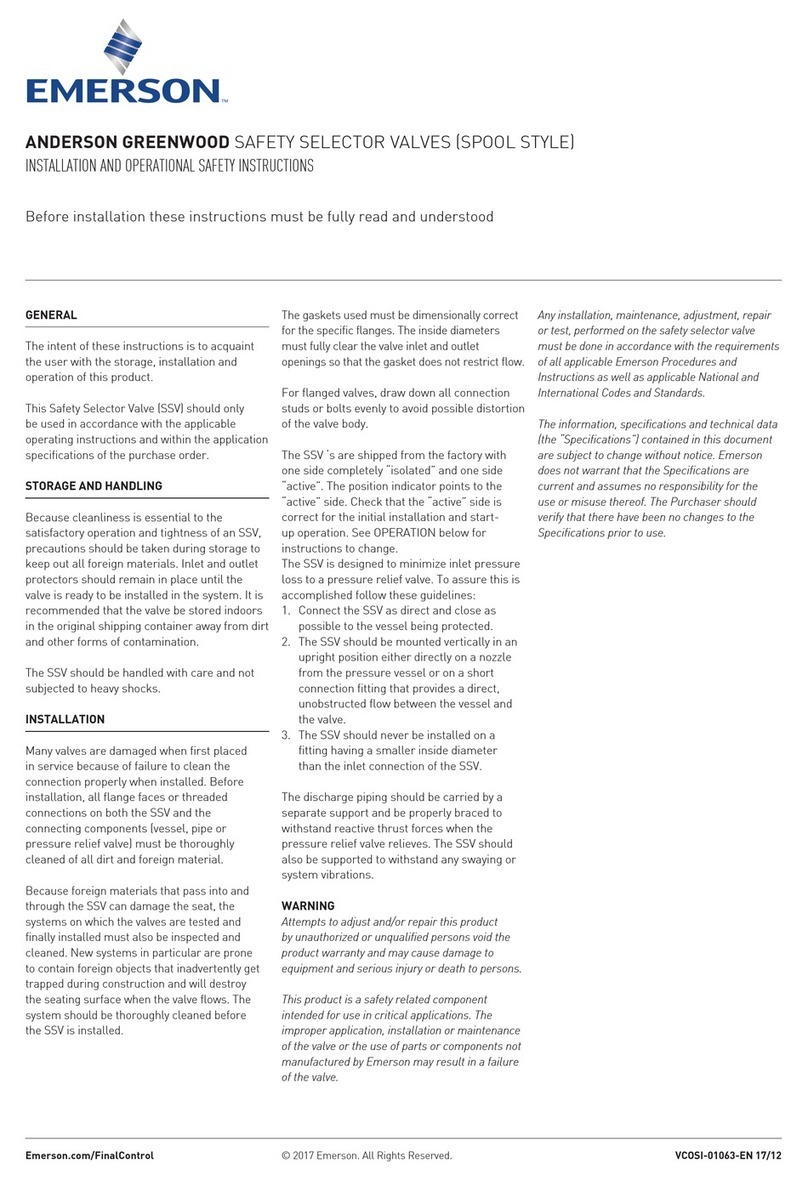
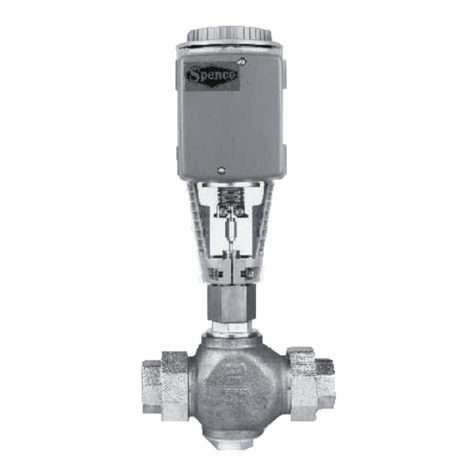
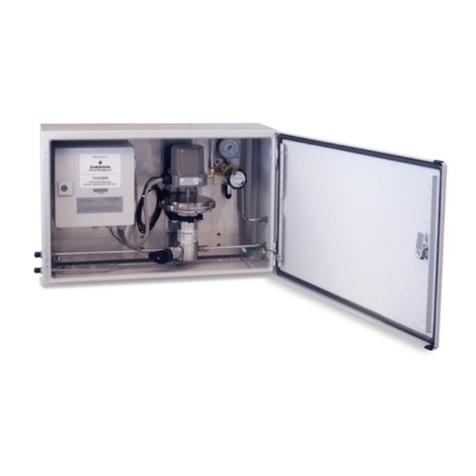
Emerson Fisher VS100 Series User manual
Other Emerson Control Unit manuals
Emerson
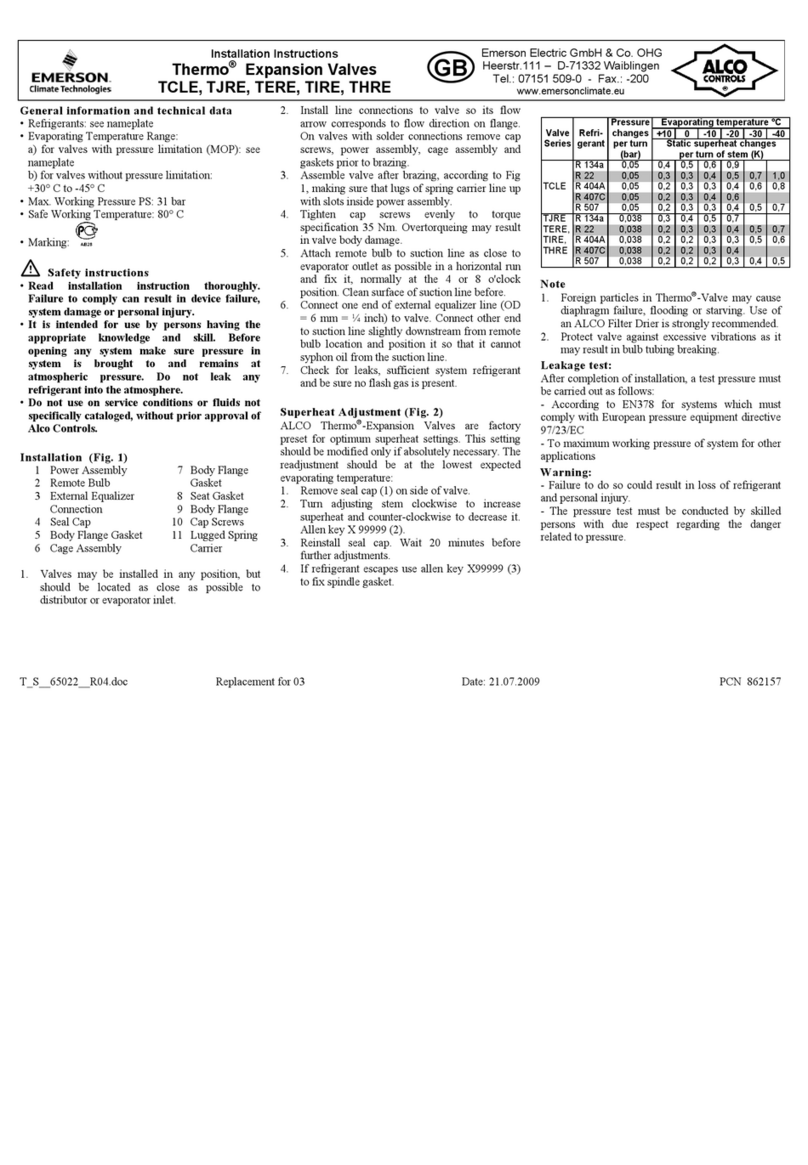
Emerson Thermo TCLE Series User manual
Emerson
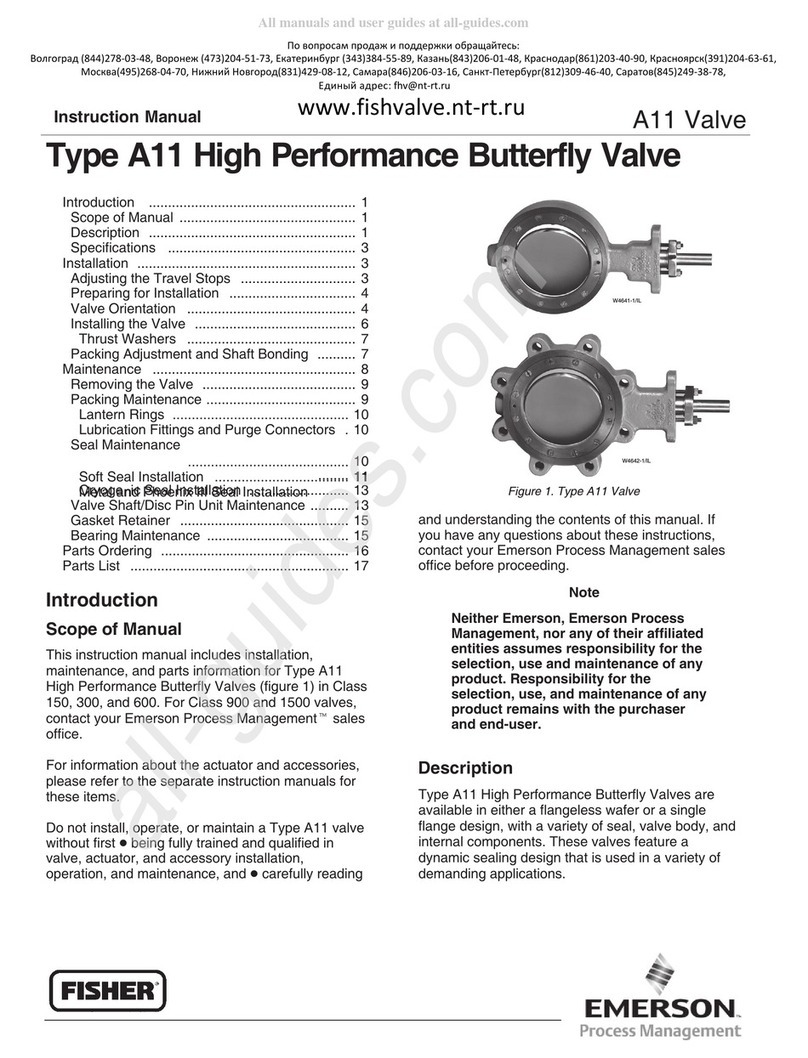
Emerson Fisher A11 User manual

Emerson
Emerson Crosby HSJ Series Manual
Emerson
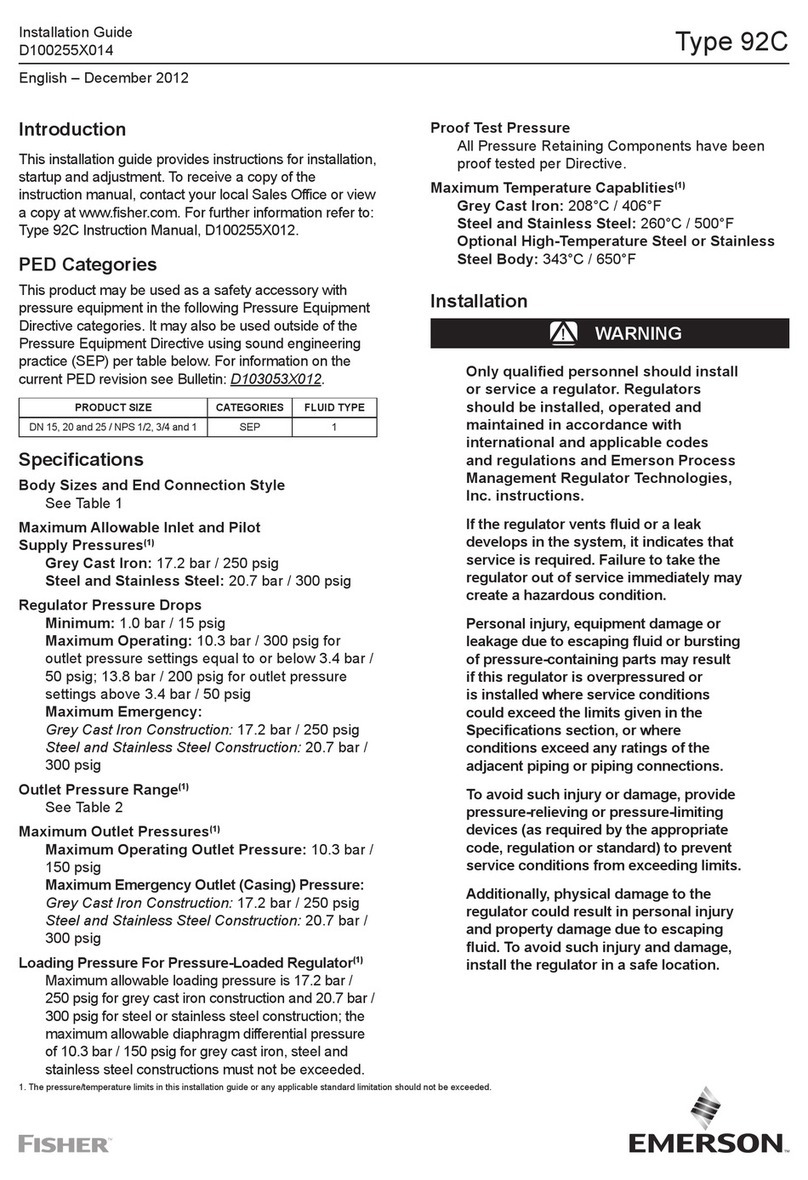
Emerson Fisher 92C User manual
Emerson
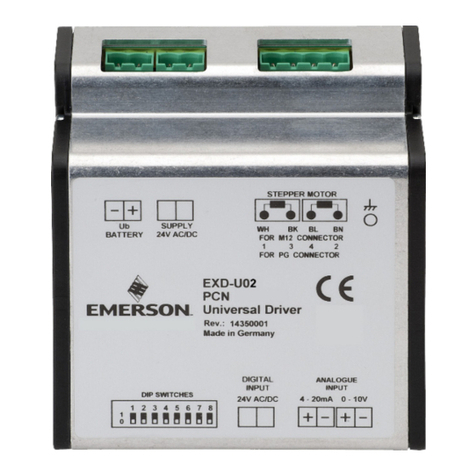
Emerson EXD-U02 User manual
Emerson
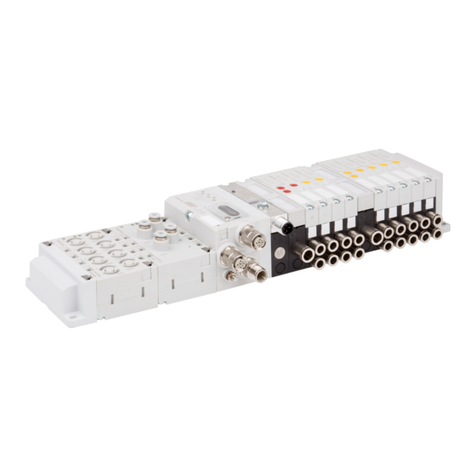
Emerson AVENTICS AV User manual
Emerson
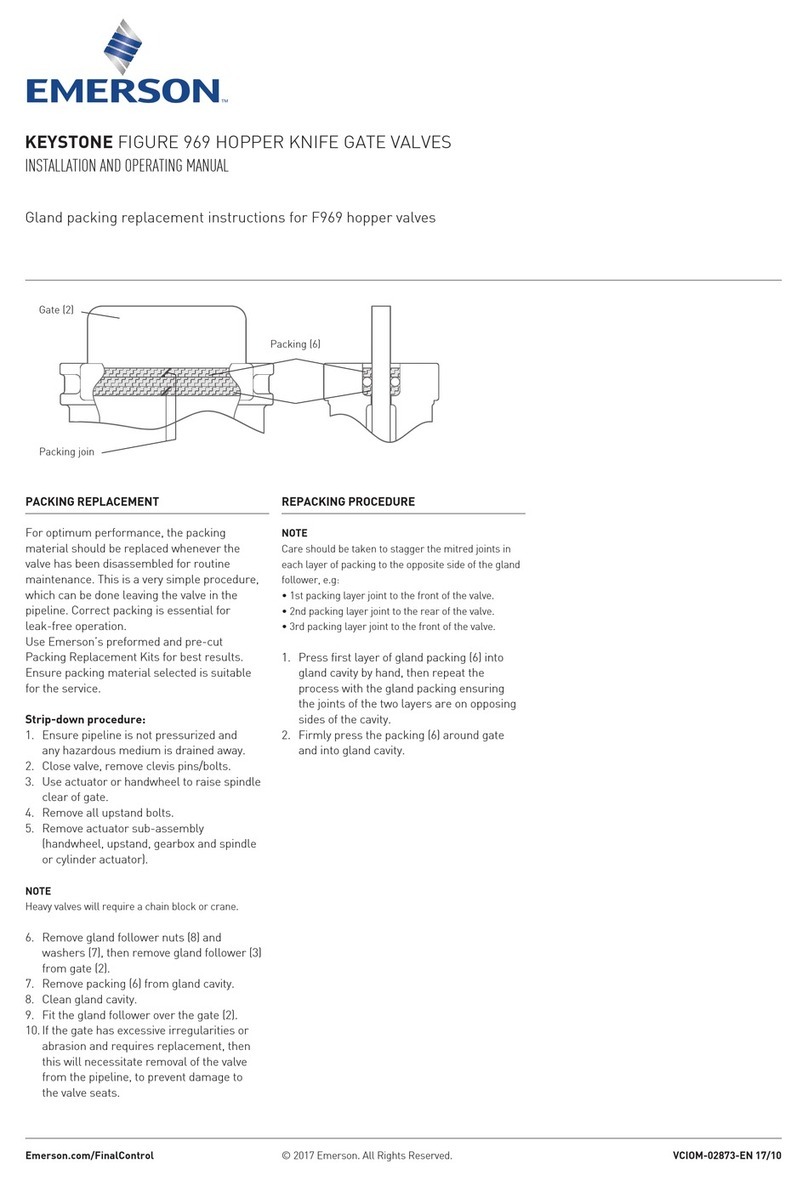
Emerson Keystone Figure 969 Hopper User manual

Emerson
Emerson White Rodgers 36H Series User manual
Emerson
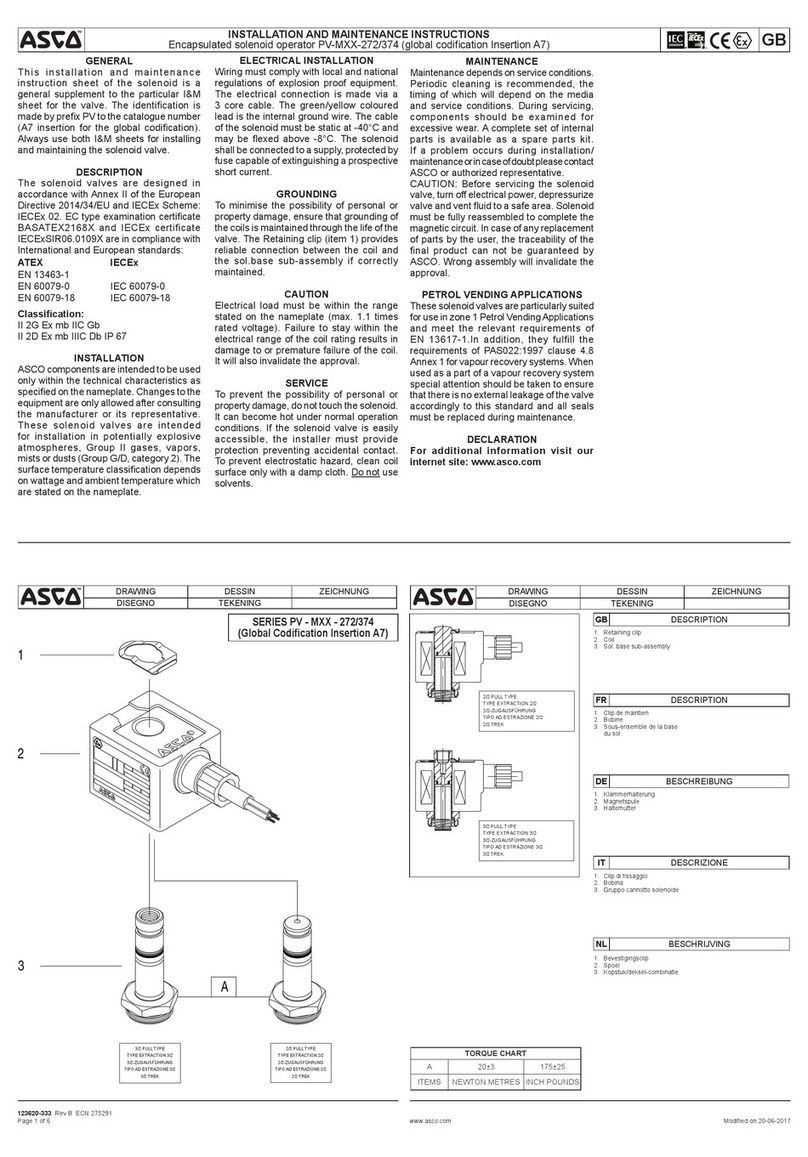
Emerson Asco PV-MXX-272/374 Series User manual
Emerson
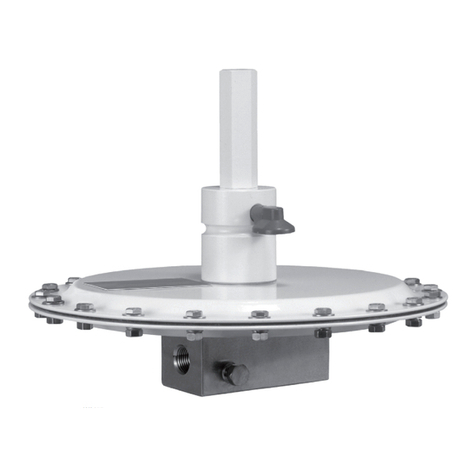
Emerson ACE95jr User manual
Emerson
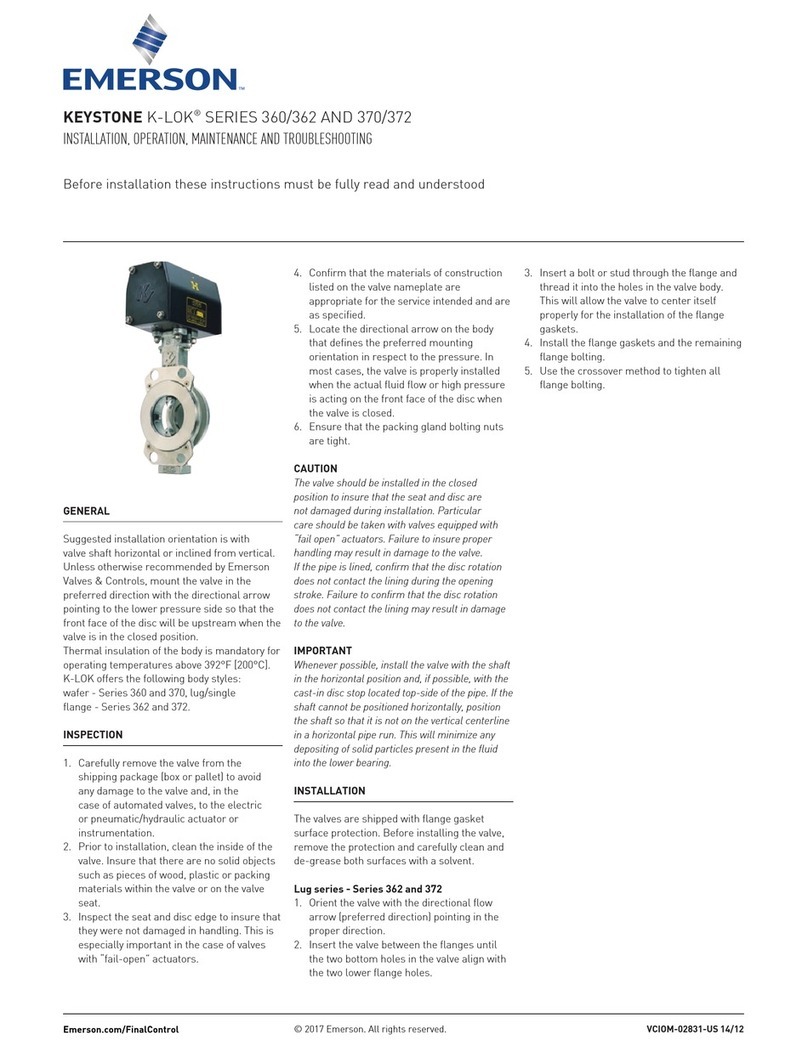
Emerson Keystone K-Lok 360 Series Operating instructions
Emerson
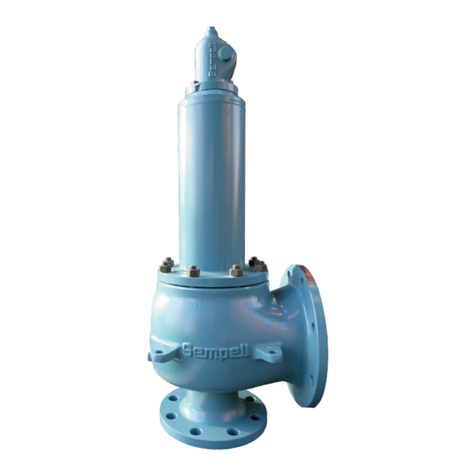
Emerson Sempell series User manual

Emerson
Emerson Clarkson ZP300 User manual
Emerson
Emerson AVENTICS User guide
Emerson
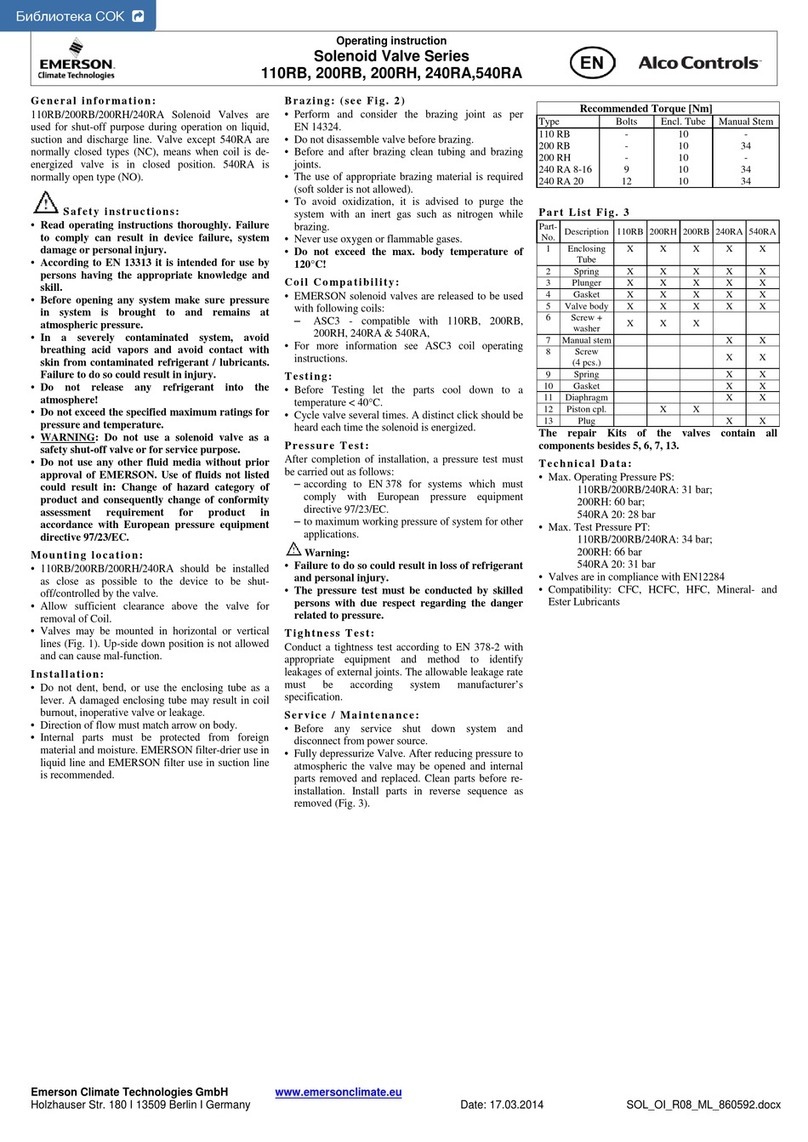
Emerson Alco Controls 110RB User manual
Emerson
Emerson Daniel 700 Series Quick start guide

Emerson
Emerson Fisher V280 User manual
Emerson
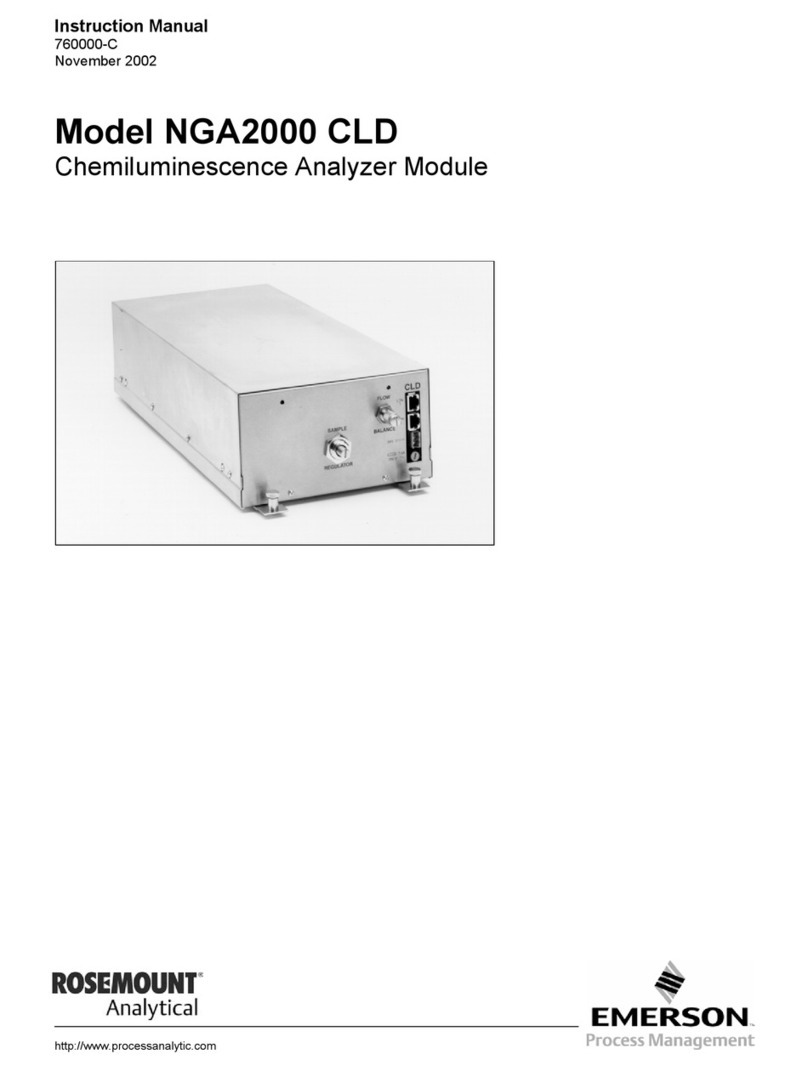
Emerson Rosemount Analytical NGA2000 CLD User manual
Emerson
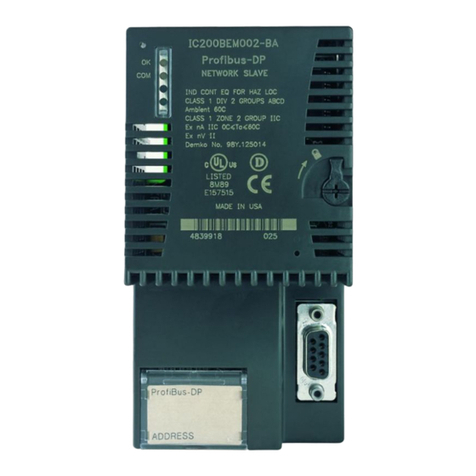
Emerson PACSystems VersaMax IC200BEM002 User manual
Emerson
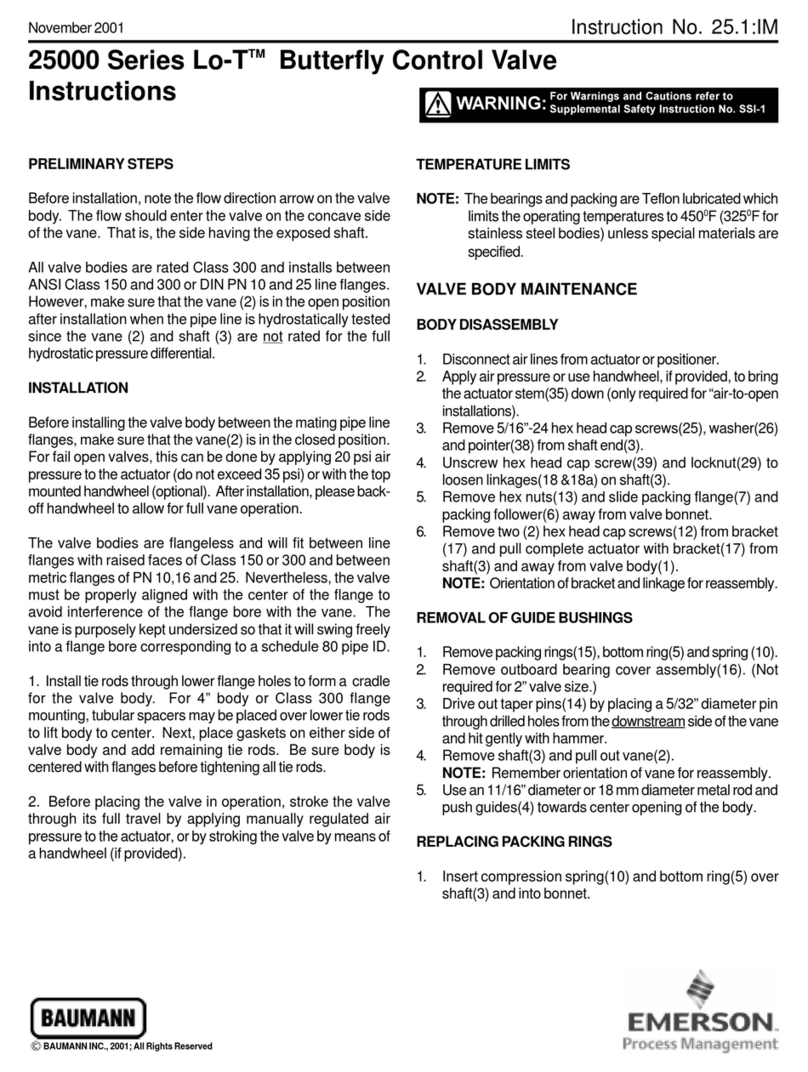
Emerson Baumann 25000 Lo-T Series User manual
Popular Control Unit manuals by other brands

Festo
Festo Compact Performance CP-FB6-E Brief description

Elo TouchSystems
Elo TouchSystems DMS-SA19P-EXTME Quick installation guide

JS Automation
JS Automation MPC3034A user manual

JAUDT
JAUDT SW GII 6406 Series Translation of the original operating instructions

Spektrum
Spektrum Air Module System manual

BOC Edwards
BOC Edwards Q Series instruction manual

KHADAS
KHADAS BT Magic quick start

Etherma
Etherma eNEXHO-IL Assembly and operating instructions

PMFoundations
PMFoundations Attenuverter Assembly guide

GEA
GEA VARIVENT Operating instruction

Walther Systemtechnik
Walther Systemtechnik VMS-05 Assembly instructions

Altronix
Altronix LINQ8PD Installation and programming manual
