manuals.online logo
Brands
  1. Home
  2. •
  3. Brands
  4. •
  5. Emerson
  6. •
  7. Measuring Instrument
  8. •
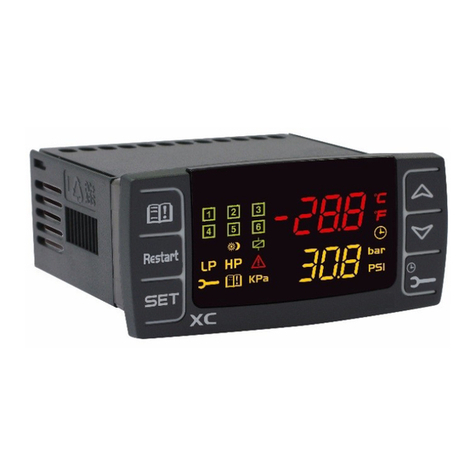
  9. Emerson E2 User manual

Emerson E2 User manual

Document Part # 026-4240 Rev 0 10-FEB-2015 Page 1 of 9
©2015 Emerson Climate Technologies Retail Solutions, Inc. This document may be photocopied for personal use.
Visit our website at http://www.emersonclimate.com/ for the latest technical documentation and updates.
PART 1: Device Setup
This document contains set up information for the E2 and
XM678D V.2.5. For additional information, refer to
Emerson Retail Solutions Typical Installation Details Binder
(Asia Pacific Technical Services). For installation and
operation information, refer to the XM678D manual
(P/N 026-1219).
Setting the Address on XM678D Using the CX660 Keyboard
1. Press + at the same time for five seconds to open the first level programming. The display
will stop flashing once it has entered programming mode.
2. Navigate through the parameters by pressing or until Adr appears on the screen.
3. Press and assign the corresponding address for the device by pressing or .
Figure 1 - XM678D and CX660 Keyboard
Figure 2 - CX660 Keyboard
E2 and 678D V.2.5 Set Up Guide
Quick Start Guide
Document Part # 026-4240 Rev 0 10-FEB-2015 Page 2 of 9
©2015 Emerson Climate Technologies Retail Solutions, Inc. This document may be photocopied for personal use.
Visit our website at http://www.emersonclimate.com/ for the latest technical documentation and updates.
4. Press to save changes.
5. To exit, press + or wait for a few seconds without pressing any button; the display will start
flashing.
E2 Serial Port Setup
1. Log into the E2 controller by pressing the button.
2. Enter USER in the Username field and press .
3. Enter PASS in the Password field and press .
4. Press , , , (General Controller Info).
5. Press twice to move to the C3: Serial tab.
6. Press to highlight the COM2 Connection parameter.
6.a. Press (LOOK UP) and select MODBUS-1 (if MODBUS-1 is being used, select MODBUS-2
or MODBUS-3 connection).
6.b. Press to set the configuration.
6.c. Set the MODBUS connection as follows:
(Press to select options and to set the configuration.)
• COM2 Baud: 19.2K Baud
• COM2 Data Size: 8
• COM2 Parity: None
• COM2 Stop Bits: 1
7. Press to save changes.
8. Press to go back to the Home screen.
Note: The XM MODBUS Connection must be set to 19.2K Baud.
Figure 3 - C3: Serial Tab
Document Part # 026-4240 Rev 0 10-FEB-2015 Page 3 of 9
©2015 Emerson Climate Technologies Retail Solutions, Inc. This document may be photocopied for personal use.
Visit our website at http://www.emersonclimate.com/ for the latest technical documentation and updates.
Part 2: Adding the XM678D Controller in E2
1. Press , , , (Connected I/O Boards and Controllers).
2. Press once to move to the C3: ECT tab. Highlight the XM678D application and enter the desired
number of devices under Quantity.
3. Press to save changes.
4. Press to go back to the Home screen.
Part 3: Commissioning the XM678D Controller
1. Press , , , to open the Network Summary screen.
Figure 4 - C3: ECT Tab
Document Part # 026-4240 Rev 0 10-FEB-2015 Page 4 of 9
©2015 Emerson Climate Technologies Retail Solutions, Inc. This document may be photocopied for personal use.
Visit our website at http://www.emersonclimate.com/ for the latest technical documentation and updates.
2. Press to highlight the XM678D controller to be commissioned and press .
3. If a Select Network box appears on the screen, select the MODBUS number where you configured the
device and press .
4. Select the address for the device and press .
Note: The MODBUS device address must be the same as the address assigned on the device.
Figure 5 - Network Summary Screen
Figure 6 - MODBUS Device Address
Document Part # 026-4240 Rev 0 10-FEB-2015 Page 5 of 9
©2015 Emerson Climate Technologies Retail Solutions, Inc. This document may be photocopied for personal use.
Visit our website at http://www.emersonclimate.com/ for the latest technical documentation and updates.
5. The screen for setting the physical address will appear. Press to continue.
6. Press to save the assigned address.
7. Press to go back to the Home screen.
8. Press , , , to open the Network Summary screen.
9. Wait for a few seconds and XM678D should appear Online.
10.Repeat this process for other devices.
Figure 7 - Device Address Setup
Figure 8 - XM678D Commissioning to the E2 Controller
Document Part # 026-4240 Rev 0 10-FEB-2015 Page 6 of 9
©2015 Emerson Climate Technologies Retail Solutions, Inc. This document may be photocopied for personal use.
Visit our website at http://www.emersonclimate.com/ for the latest technical documentation and updates.
Part 4: Associating the XM678D to the XM Circuit
1. From the Home screen, press , to open the System Configuration menu.
2. Press to open the Network Setup menu.
Figure 9 - System Configuration Menu
Figure 10 - Network Setup Menu
Document Part # 026-4240 Rev 0 10-FEB-2015 Page 7 of 9
©2015 Emerson Climate Technologies Retail Solutions, Inc. This document may be photocopied for personal use.
Visit our website at http://www.emersonclimate.com/ for the latest technical documentation and updates.
3. Press to open the Controller Associations menu.
4. Select the XM Circuit.
5. Press to confirm.
6. Select the XM678D device to be associated to the XM circuit.
7. Press (LOOK UP).
8. Press to confirm.
9. The XM678D device is now associated to the XM Circuit.
10.Repeat this process for other XM678D controllers.
11.Press to confirm and save changes.
12.Press to go back to the Home screen.
Figure 11 - Controller Associations Menu
Figure 12 - XM678D Device Selection
Document Part # 026-4240 Rev 0 10-FEB-2015 Page 8 of 9
©2015 Emerson Climate Technologies Retail Solutions, Inc. This document may be photocopied for personal use.
Visit our website at http://www.emersonclimate.com/ for the latest technical documentation and updates.
Part 5: Suggested Starting Values
Note: Parameters with “-”are site specific.
Table 1 - Suggested Starting Values
XM Retail Solutions Device Description Starting
Electronic Expansion Valve
FtY Refrig Type XM Kind Of Gas -
PMU Pressure Unit XM Pressure Measurement Unit -
Atu Autotune SH XM Min. Stable Superheat n
AMS Auto Superheat XM Adaptive Superheat Enable n
SSH Superheat SP XM Bottom Of The Regulation Band 9
Pb SH TR XM Top Of The Regulation Band 36
rS SH TR Offset XM Re-Positioning Regulation Band -3.6
inC SH I-Gain XM Speed & Deviations 220
PA4 Sens Min Pres XM Probe @ 4mA See Notes
P20 Sens Max Pres XM Probe @ 20mA See Notes
oPE Start % XM Starting Valve % -
SFd Start Dur XM Start Valve Duration -
FRC Fast Recov Cont XM Valve Closing Speed Below Set Point 0
LSt Valve Min Steps XM Min. Valve Steps -
USt Valve Max Steps XM Max. Valve Steps -
ESt Extra Steps XM Extra Step When Closing Valve -
Sr Step Rate XM Step Rate -
CPP Max Phase Cur XM Current Per Phase -
CHD Hold Phase Cur XM Current To Maintain Position -
HSF Motor Movement XM Kind Of Motor Movement -
teP Valve List XM Pre-set Valve List -
teU Valve Type XM Valve Type Used -
Regulation
HY HY/TR XM Top Of The Regulation Band 18
int I-Gain Case XM Speed & Deviations 220
CrE Continuous Reg XM Enables Stable Control Y
Temp Unit XM Units For Display C
Fan
FnC Fan Mode XM Fan Operating Mode -
FSt Fan Delay XM Fan Stop Temperature -
This document may be photocopied for personal use.
Visit our website at http://www.emersonclimate.com/ for the latest technical documentation and updates.
Join Emerson Retail Solutions Technical Support on Facebook. http://on.fb.me/WUQRnt
The contents of this publication are presented for informational purposes only and they are not to be construed as warranties or guarantees, express or implied, regarding the products or services described herein or their use or
applicability. Emerson Climate Technologies Retail Solutions, Inc. and/or its affiliates (collectively “Emerson”), reserves the right to modify the designs or specifications of such products at any time without notice. Emerson does
not assume responsibility for the selection, use or maintenance of any product. Responsibility for proper selection, use and maintenance of any product remains solely with the purchaser and end-user.
026-4240 10-FEB-2015 Emerson is a trademark of Emerson Electric Co. ©2015 Emerson Climate Technologies Retail Solutions, Inc. All rights reserved.
Document Part # 026-4240 Rev 0 10-FEB-2015 Page 9 of 9
Notes:
- For XM678D Version 2.5, probes are Retail Solutions type.
- The same Engineering Unit must be used in the PA4 and P20 parameters as set in the device. See example
below:
•If a PP11 transducer is connected to an XM678D, Prn set to rEL and PMU (PNU in device) set to Bar, the ff.
procedures should be done:
a. PA4= -0.5
b. P20= 11
•To change the pressure reading on screen from bar to psi, the ff. procedures should be done in order:
a. Set PNU to psi
b. Set PA4= -7
c. Set P20= 161

Other manuals for E2

15

This manual suits for next models

1

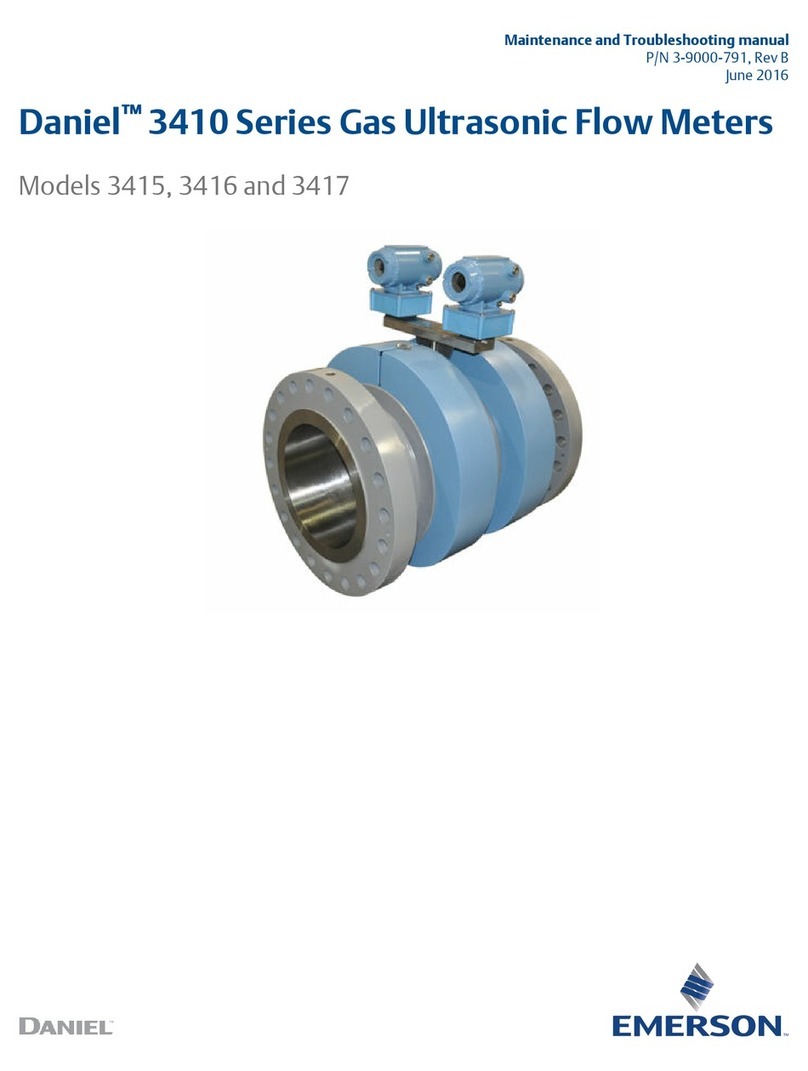
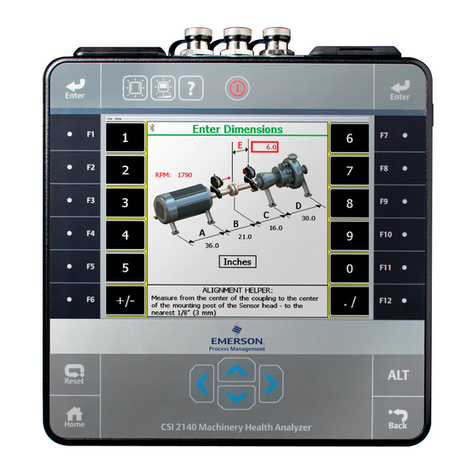
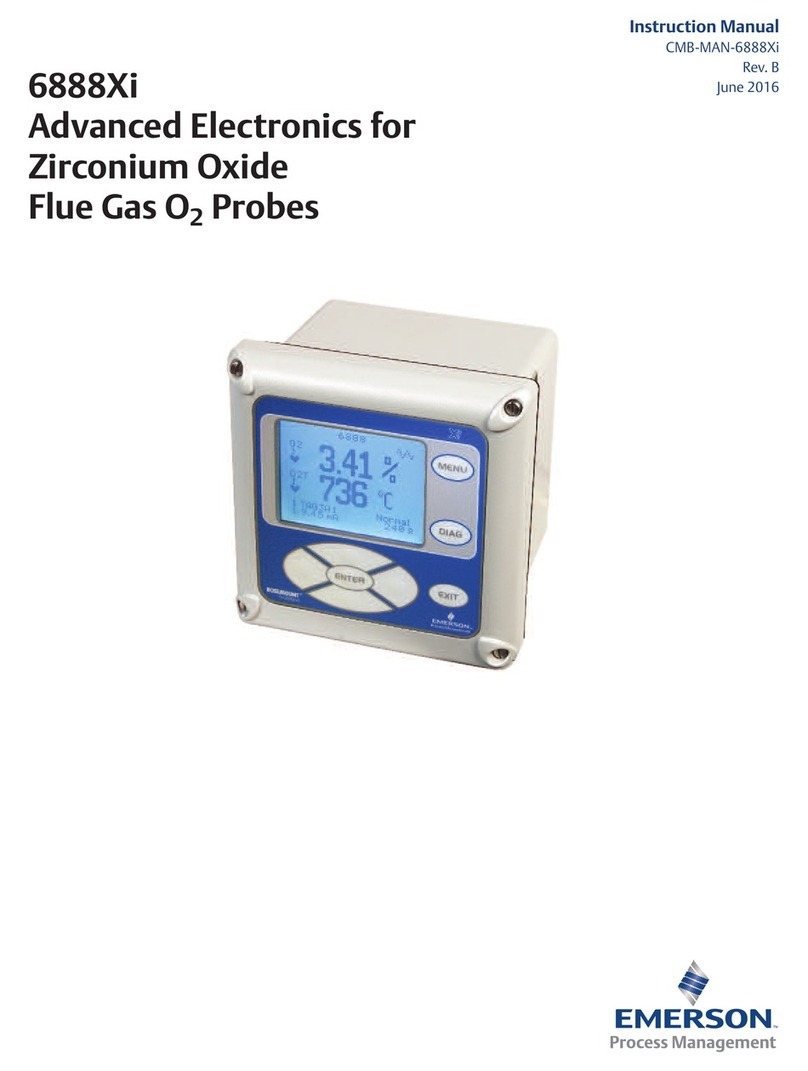
Other Emerson Measuring Instrument manuals
Emerson Rosemount 8600D Series User manual

Emerson

Emerson Rosemount 8600D Series User manual

Emerson Micro Motion FDM User manual

Emerson

Emerson Micro Motion FDM User manual

Emerson Rosemount CT5100 User manual

Emerson

Emerson Rosemount CT5100 User manual

Emerson Micro Motion 7827 Operation manual

Emerson

Emerson Micro Motion 7827 Operation manual

Emerson Rosemount 753R User manual

Emerson

Emerson Rosemount 753R User manual
Emerson Rosemount 1595 User manual

Emerson

Emerson Rosemount 1595 User manual

Emerson Micro Motion User manual

Emerson

Emerson Micro Motion User manual

Emerson Rosemount Analytical X-STREAM Enhanced... How to use

Emerson

Emerson Rosemount Analytical X-STREAM Enhanced... How to use

Emerson Rosemount 3818 Programming manual

Emerson

Emerson Rosemount 3818 Programming manual

Emerson Rosemount OPM3000 User manual

Emerson

Emerson Rosemount OPM3000 User manual

Emerson ROSEMOUNT 5300 User guide

Emerson

Emerson ROSEMOUNT 5300 User guide

Emerson Rosemount 6888C User manual

Emerson

Emerson Rosemount 6888C User manual

Emerson TopWorx 4310 User manual

Emerson

Emerson TopWorx 4310 User manual

Emerson Rosemount CT5100 User manual

Emerson

Emerson Rosemount CT5100 User manual

Emerson Clarity II User manual

Emerson

Emerson Clarity II User manual

Emerson Rosemount 8800D Series User manual

Emerson

Emerson Rosemount 8800D Series User manual

Emerson Rosemount 585 Annubar User manual

Emerson

Emerson Rosemount 585 Annubar User manual

Emerson Rosemount 2230 User manual

Emerson

Emerson Rosemount 2230 User manual

Emerson Hydrastep 2468 series User manual

Emerson

Emerson Hydrastep 2468 series User manual

Emerson Rosemount 8782 User manual

Emerson

Emerson Rosemount 8782 User manual

Emerson Rosemount 6888A User manual

Emerson

Emerson Rosemount 6888A User manual

Emerson 3200 Manual

Emerson

Emerson 3200 Manual

Emerson Rosemount 1154DH User manual

Emerson

Emerson Rosemount 1154DH User manual

Emerson Micro Motion SGM Quick guide

Emerson

Emerson Micro Motion SGM Quick guide

Popular Measuring Instrument manuals by other brands

Tektronix 321 A instruction manual

Tektronix

Tektronix 321 A instruction manual

ABB EXGP installation guide

ABB

ABB EXGP installation guide

Chauvin Arnoux CA 8345 user manual

Chauvin Arnoux

Chauvin Arnoux CA 8345 user manual

Agilent Technologies U1701B User's and service guide

Agilent Technologies

Agilent Technologies U1701B User's and service guide

Ele 29-3729 operating instructions

Ele

Ele 29-3729 operating instructions

Sonel KT-128 user manual

Sonel

Sonel KT-128 user manual

TELEDYNE API 465M user manual

TELEDYNE API

TELEDYNE API 465M user manual

BUSCH VACTEST TPP 900 instruction manual

BUSCH

BUSCH VACTEST TPP 900 instruction manual

Panasonic AG-RT850P Service manual

Panasonic

Panasonic AG-RT850P Service manual

LOVATO ELECTRIC DMG600 installation manual

LOVATO ELECTRIC

LOVATO ELECTRIC DMG600 installation manual

RedBack Lasers 2L360 instruction manual

RedBack Lasers

RedBack Lasers 2L360 instruction manual

Keysight Technologies 86120D user guide

Keysight Technologies

Keysight Technologies 86120D user guide

Picotest P2104A Documentation

Picotest

Picotest P2104A Documentation

GE DINAMAP ProCare Service manual

GE

GE DINAMAP ProCare Service manual

PTC Instruments 511A-Type A manual

PTC Instruments

PTC Instruments 511A-Type A manual

Thermo Scientific TSQ 8000 Evo user guide

Thermo Scientific

Thermo Scientific TSQ 8000 Evo user guide

YHequipment RHW-80v instructions

YHequipment

YHequipment RHW-80v instructions

Hanna Instruments HI97734 instruction manual

Hanna Instruments

Hanna Instruments HI97734 instruction manual

manuals.online logo
manuals.online logoBrands
  • About & Mission
  • Contact us
  • Privacy Policy
  • Terms and Conditions

Copyright 2025 Manuals.Online. All Rights Reserved.