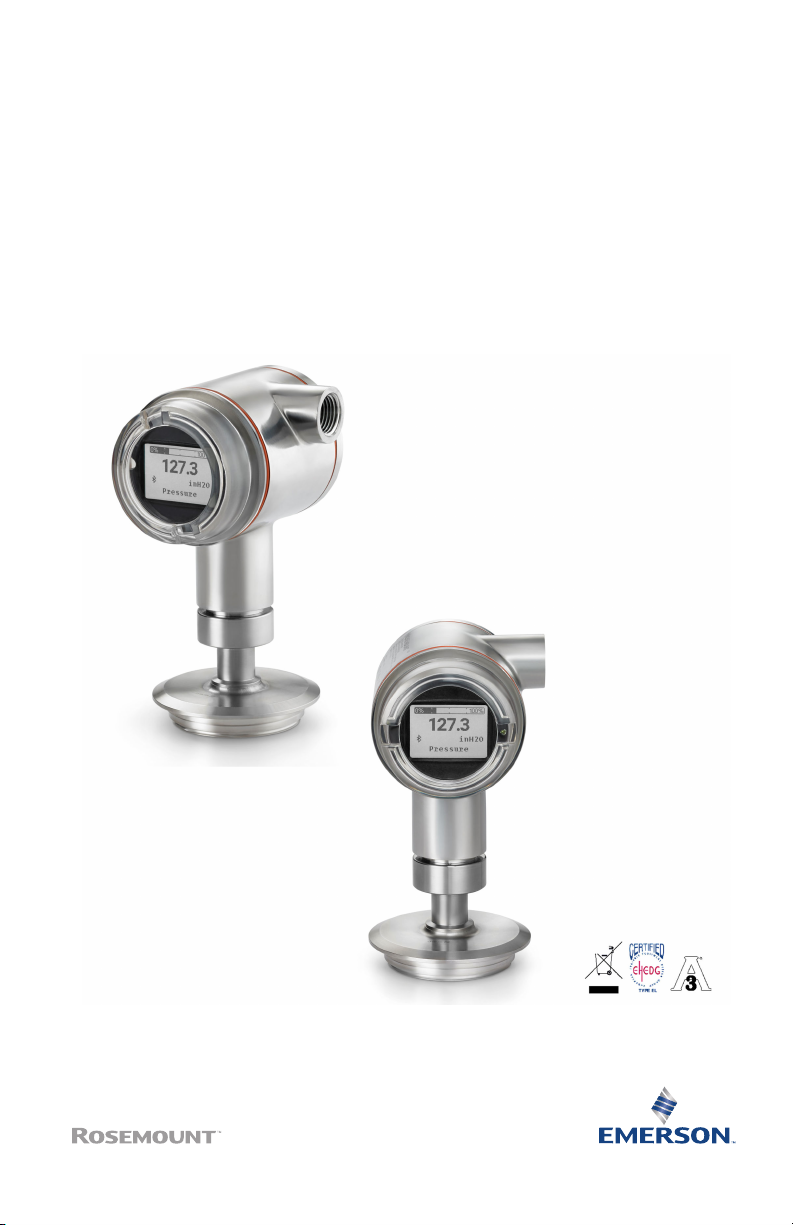
Emerson Rosemount 3051HT User manual
Other Emerson Transmitter manuals

Emerson
Emerson Rosemount 3051SF Series User manual

Emerson
Emerson Rosemount Oxymitter 4000 User manual

Emerson
Emerson Rosemount OCX 8800 User manual

Emerson
Emerson Rosemount 3051S Series User manual

Emerson
Emerson Rosemount 248 User manual

Emerson
Emerson Rosemount 1066 User manual

Emerson
Emerson Fisher C1 User manual

Emerson
Emerson Rosemount 2051CF series User manual

Emerson
Emerson Micro Motion 1600 User manual

Emerson
Emerson Rosemount 708 User manual

Emerson
Emerson Rosemount OCX 8800 User manual

Emerson
Emerson Rosemount 3051 User manual

Emerson
Emerson Rosemount 4088B MultiVariable User manual

Emerson
Emerson Rosemount 248 User manual

Emerson
Emerson Fisher 4210 User manual

Emerson
Emerson Rosemount 2090 Configuration guide

Emerson
Emerson Rosemount 1057 User manual

Emerson
Emerson MICRO MOTION 2700 Quick guide

Emerson
Emerson Rosemount 2051 User manual

Emerson
Emerson Rosemount ET310C User manual


Popular Transmitter manuals by other brands


Dejero
Dejero EnGo 3x manual

Rosemount
Rosemount 4600 Reference manual

Speaka Professional
Speaka Professional 2342740 operating instructions

trubomat
trubomat GAB 1000 instruction manual

Teledyne Analytical Instruments
Teledyne Analytical Instruments LXT-380 instructions

Rondish
Rondish UT-11 quick start guide