manuals.online logo
Brands
  1. Home
  2. •
  3. Brands
  4. •
  5. Endura
  6. •
  7. Door Lock
  8. •
  9. Endura Trilennium SmartKey Series User manual

Endura Trilennium SmartKey Series User manual

Trilennium∏SmartKey™ Retrot
• Phillips Screwdriver
Tools Required:
STEP 1: REMOVE THE HANDSET FROM THE DOOR PANEL
Remove the screws from the interior escutcheon,
securing the handset to the door panel. Be sure to hold
the exterior escutcheon so it does not fall.
NOTE: There are loose pieces within the handset that
may fall out.
STEP 2: REMOVE THE OLD KEY CYLINDER AND MOUNT
Remove the screws securing the mount into the
escutcheon plate and set them aside. Remove the mount
and lock cylinder from the handset.
• SmartKey Cylinder with (2) Keys
• Retaining Clip
• #8 x 3/8" Self-Tapping Screw
• SmartKey Mounting Bracket
Kit Includes:
STEP 3: INSTALL THE NEW CYLINDER MOUNT
a. Align the new mount into the escutcheon as
shown above. Use the screws removed from the
previous mount to secure the new mount into the
escutcheon.
b. Remove the key from the new lock cylinder.
Insert the lock cylinder into the mount from the
exterior of the escutcheon plate with the smooth
side towards the bottom of the mount and the
raised portions on the top and side.
STEP 3 (CONT.): INSTALL THE NEW CYLINDER MOUNT
STEP 4: REINSTALL THE HANDSET ONTO THE DOOR PANEL
Exterior First:
• Place the escutcheon gasket over the inside face of the
escutcheon.
• Guide the cylinder tailpiece and spindle into the respective hubs
in the hardware.
• Hold in place
Interior Next:
• Align the receiving slot in the thumbturn with the cylinder
tailpiece.
• Guide the spindle into the hub in the hardware.
• Secure with the two #10-32 mounting screws from interior to
exterior. Do not overtighten.
Cylinder
Tailpiece
Escutcheon
Gasket
Spindle
Spindle
#10-32
Mounting
Screws
• All three lock bolts should engage strikes as door is closed.
• Turn thumbturn 90° to extend bolts (all three) an additional 1/2" to deadbolted position.
• Rotate interior lever downward to disengage bolts and open door. Bolts can also be moved to latched position by turning thumbturn.
• Engage deadbolt again. From the exterior, conrm that the lever cannot rotate and disengage the latches (door is deadbolted). With
key, conrm that the door can be unlocked and then opened by rotating the lever downward.
c. Insert the retaining clip into the groove on the
cylinder as shown above.
d. Secure the lock cylinder and retaining clip with
the #8 x 3/8" self-tapping screw.
Groove
STEP 5: CHECK FUNCTION OF THE HANDSET AND LOCK
8817 W. Market St., Colfax, NC 27235
1.800.334.2006 www.enduraproducts.com

Other Endura Door Lock manuals

Endura EntrySync User manual

Endura

Endura EntrySync User manual

Endura Trilennium 3070 Guide

Endura

Endura Trilennium 3070 Guide

Endura TRILENNIUM Guide

Endura

Endura TRILENNIUM Guide

Endura Trilennium 3000 Guide

Endura

Endura Trilennium 3000 Guide

Endura Trilennium 3020 Guide

Endura

Endura Trilennium 3020 Guide

Popular Door Lock manuals by other brands
Bravura Elite Series Quick Install instructions

Bravura

Bravura Elite Series Quick Install instructions

Assa Abloy h.e.s. 9200 Series Installation & operating instructions
Assa Abloy

Assa Abloy h.e.s. 9200 Series Installation & operating instructions

Yale Assure Lock 2 Plus manual

Yale

Yale Assure Lock 2 Plus manual

Kwikset Signature Series Austin 720AUL 11P CP Quick installation guide
Kwikset

Kwikset Signature Series Austin 720AUL 11P CP Quick installation guide

WALDIS CAWI SMARTCAM operating instructions

WALDIS

WALDIS CAWI SMARTCAM operating instructions

HATO TA-100 operating manual

HATO

HATO TA-100 operating manual

BANKSTON Edition Office Pull 01 installation instructions

BANKSTON

BANKSTON Edition Office Pull 01 installation instructions

Schlage Everest Service manual

Schlage

Schlage Everest Service manual

Hawking HV-GL-7761 operation instruction

Hawking

Hawking HV-GL-7761 operation instruction

Samsung SHS-H505 user manual

Samsung

Samsung SHS-H505 user manual

ESP EZ-TAG2 user manual

ESP

ESP EZ-TAG2 user manual

Henis Electronic Technology BH100 user manual

Henis Electronic Technology

Henis Electronic Technology BH100 user manual

AGB ECLIPSE 3.2 SELF Assembly instructions
AGB

AGB ECLIPSE 3.2 SELF Assembly instructions

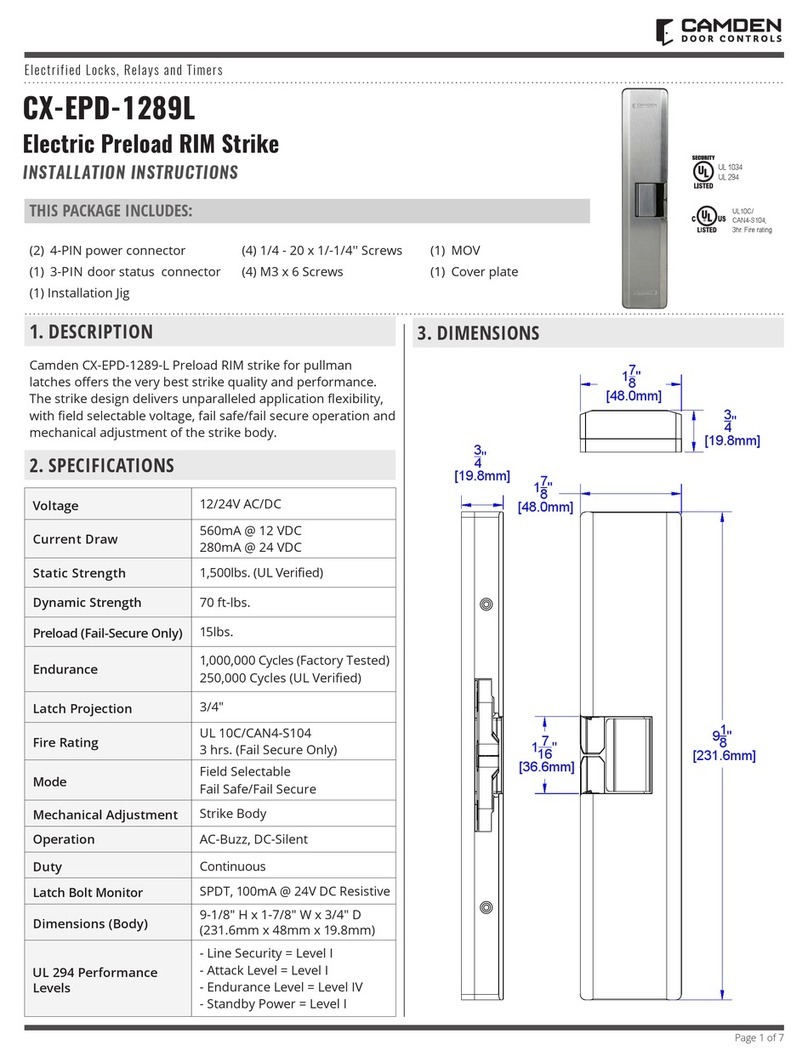
CAMDEN CX-EPD-1289L installation instructions
CAMDEN

CAMDEN CX-EPD-1289L installation instructions

PDQ 5100 Series instruction sheet

PDQ

PDQ 5100 Series instruction sheet
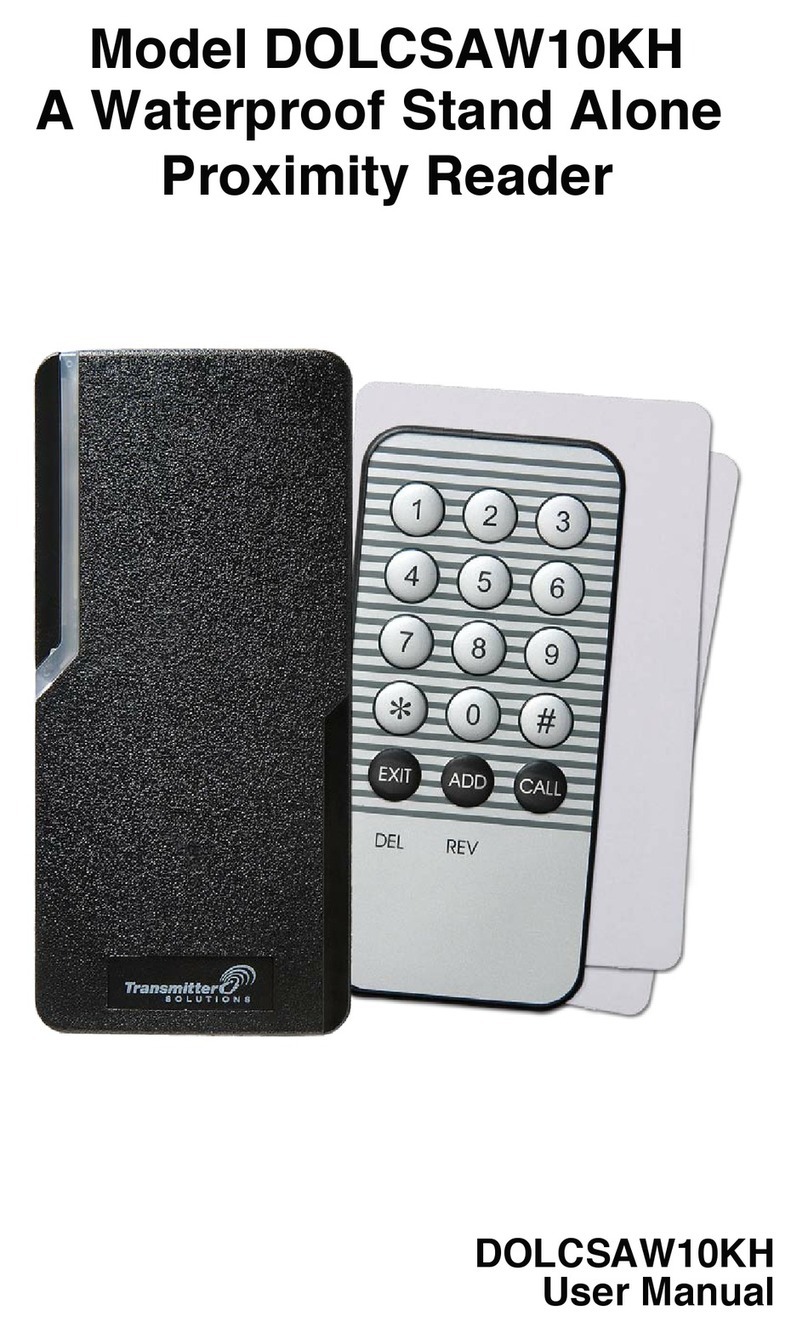
Transmitter Solutions DOLCSAW10KH Quick reference programming guide
Transmitter Solutions

Transmitter Solutions DOLCSAW10KH Quick reference programming guide

Weiser Smartcode 10 installation guide
Weiser

Weiser Smartcode 10 installation guide

Assa Abloy Valencia Hola user manual

Assa Abloy

Assa Abloy Valencia Hola user manual

manuals.online logo
manuals.online logoBrands
  • About & Mission
  • Contact us
  • Privacy Policy
  • Terms and Conditions

Copyright 2025 Manuals.Online. All Rights Reserved.