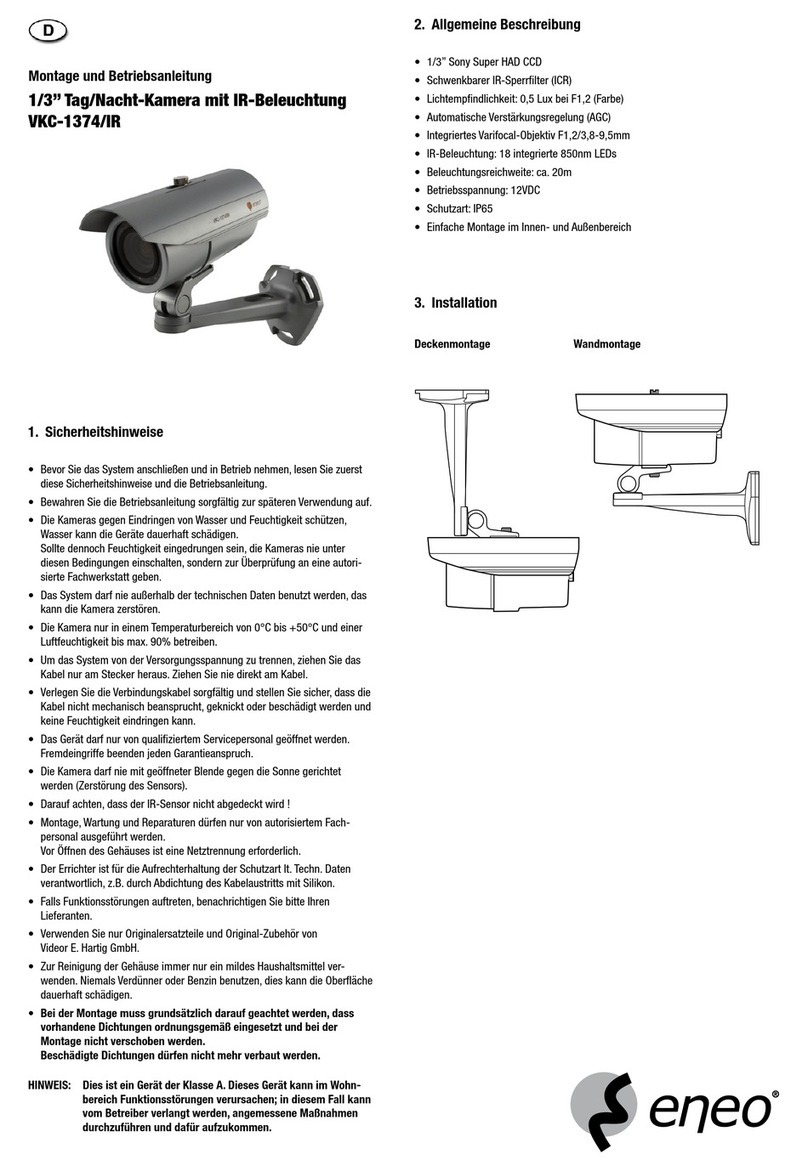
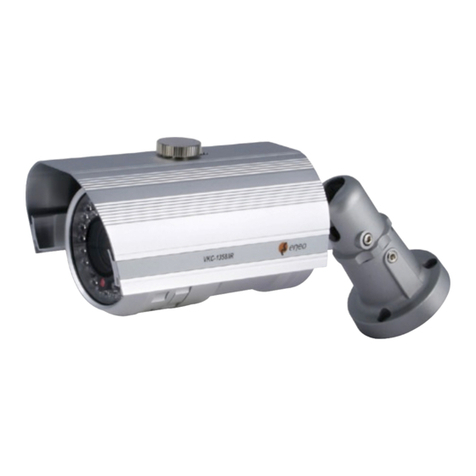
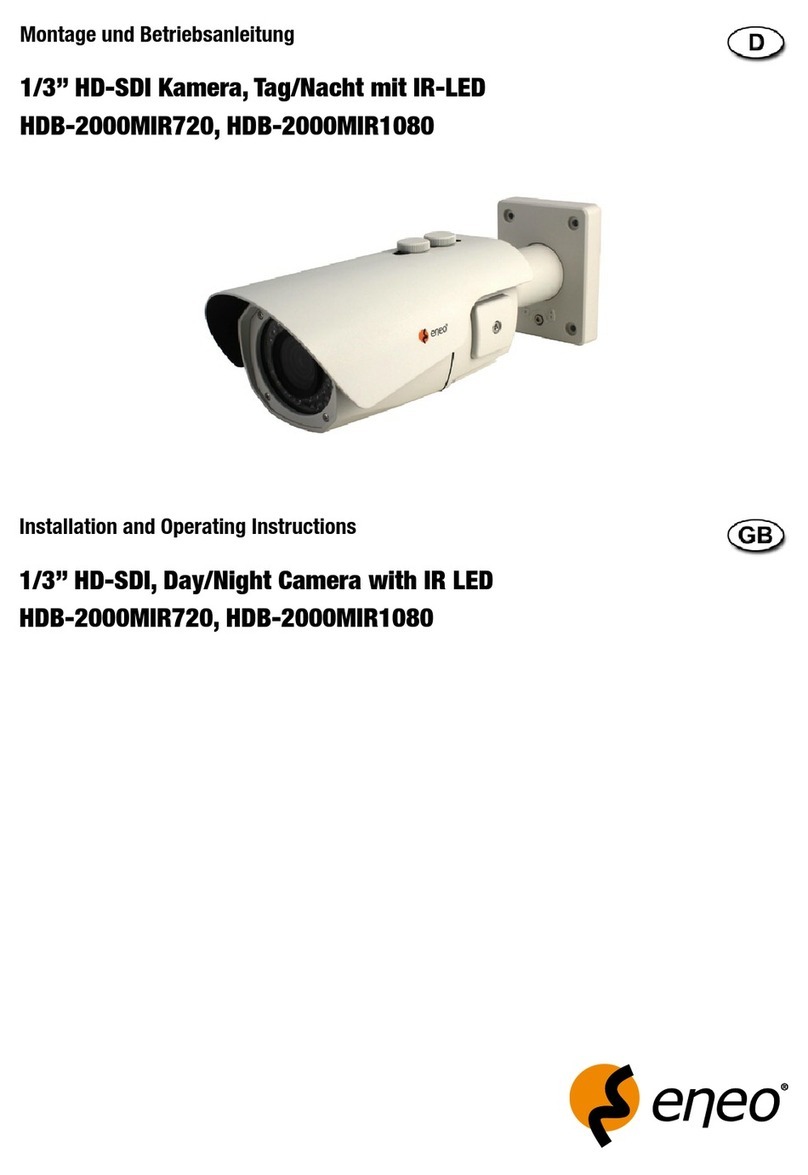
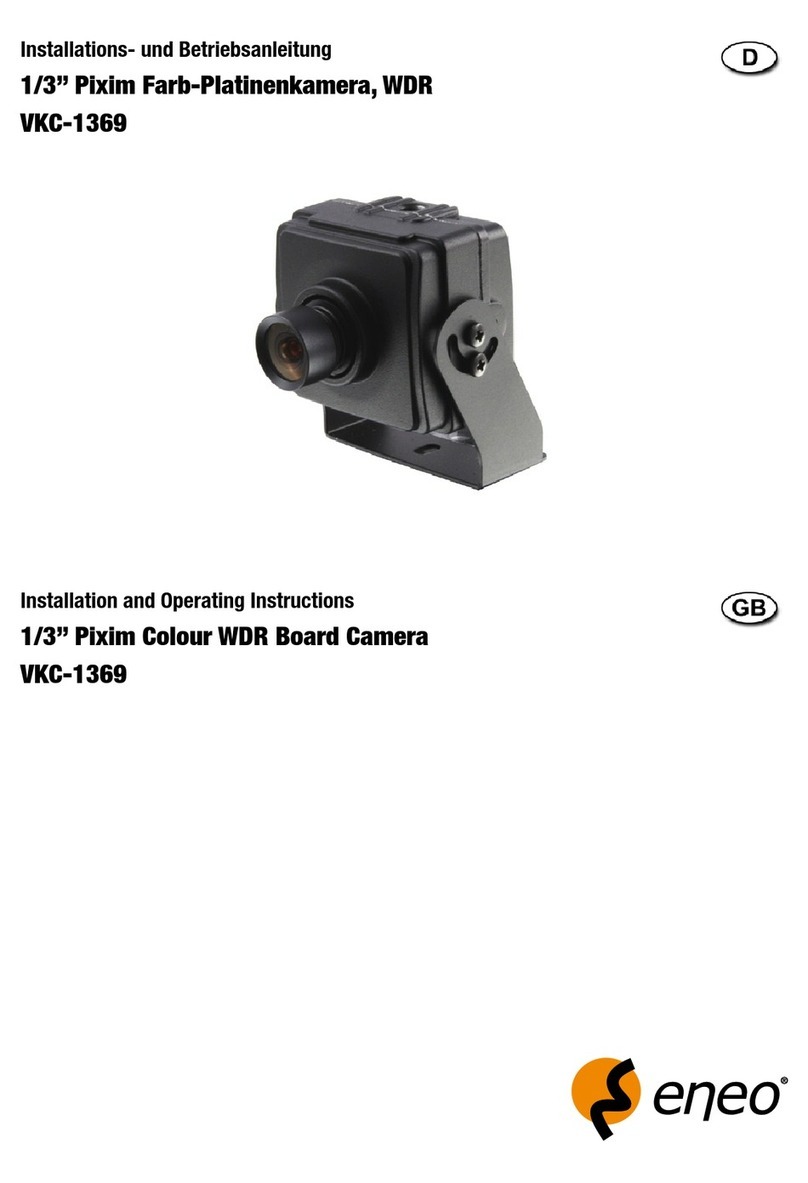
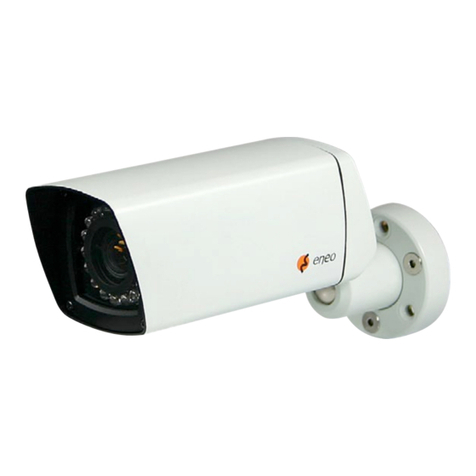
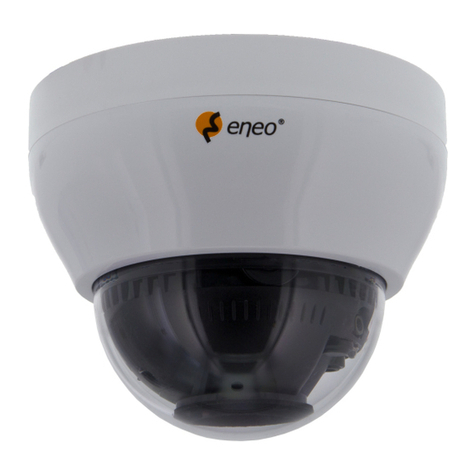
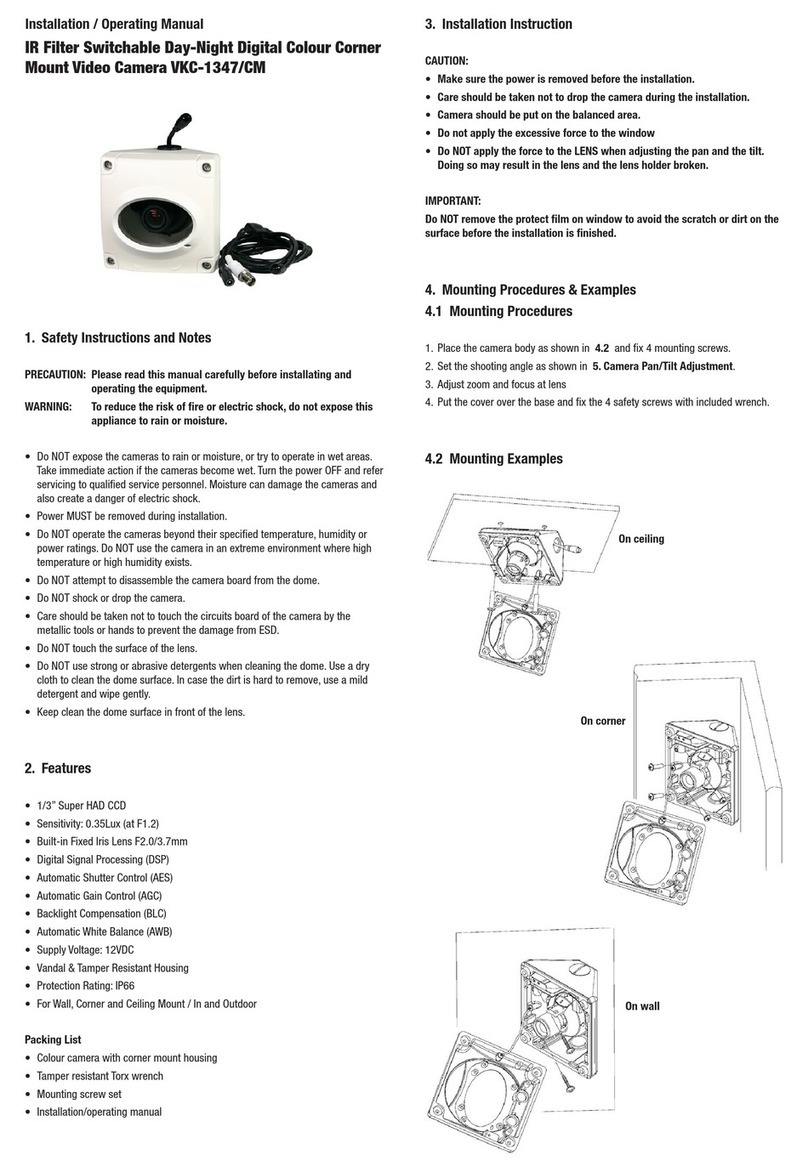
Eneo HDC-2180Z03 D User manual

Quick Installation Guide
1/2.9“ HDCCTV AF Zoom Camera
HDC-2180Z03
DE
EN
FR
PL
RU

22
Inhalt
Inhalt..........................................................................................................................................2
Sicherheitshinweise ................................................................................................................3
Lieferumfang ............................................................................................................................3
Produktbeschreibung und Anschlüsse...............................................................................3
Installation ................................................................................................................................4
Kamera Konfiguration ............................................................................................................5
Zugriff auf das Konfigurationsmenü.......................................................................5
SYMBOL Beschreibungen für die Joystick-Bedienung .........................................6
OSD Hauptmenü.....................................................................................................................6
Weitere Informationen ...........................................................................................................9

3
DE
EN
FR
PL
RU
3
DE
EN
FR
PL
RU
Produktbeschreibung und Anschlüsse
ⓐFenster
ⓑObjektivring
ⓒVorderer Gehäusekörper
ⓓGewindeeinsatz (oben und unten)
ⓔHinterer Gehäusekörper
ⓐ
ⓑ
ⓒ ⓓ ⓔ
Lieferumfang
Sicherheitshinweise
Bitte beachten Sie auch die beiliegenden Sicherheitshinweise und lesen Sie diese
Anleitung vor Inbetriebnahme sorgfältig durch.
Wichtige Hinweise sind mit einem Achtungsymbol gekennzeichnet.
• 1x FULL HD AF Zoom Kamera
• 1x Installations- und Betriebsanleitung

44
ⓕOSD Joystick
ⓖVideo Ausgangsbuchse (BNC)
ⓗStromversorgungsanschluss
ⓘRS-485 / IR Anschluss
ⓙHD-SDI Ausgangsbuchse
ⓕ ⓖ
ⓗ ⓘ ⓙ
Technische Spezifikationen
Schutzart (IP / IK):
Temperaturbereich (Betrieb):
Leistungsaufnahme:
Abmessungen:
Gewicht:
keine Angabe
-10°C ~ +50°C
10.5 max.
74mm x 72mm x 95mm
0,3kg
Installation
Die Kamera verfügt über 1/4" Gewindeeinsätze an der Ober- und Unterseite zur
Montage auf einem Stativ, einer Wand oder der Decke mit der entsprechenden
Halterung.
ACHTUNG: Verwenden Sie diese Kamera niemals
1) im Wasser.
2) in Bereichen mit Erschütterungen und Vibrationen, die zu Problemen
mit der Auto Fokus Funktion führen.
Die Kamera kann mit 12VDC oder 24VAC, doppelte Spannungsversorgung betrie-
ben werden.

5
DE
EN
FR
PL
RU
5
DE
EN
FR
PL
RU
Am 12VDC-Anschluss ist es nicht nötig, auf die Polung zu achten. Primäre und se-
kundäre Masse sind vollständig voneinander isoliert, um mögliche Probleme durch
Erdungsschleifen zu vermeiden. Ihr großer Betriebsspannungsbereich von 10,5V-
30V für Gleichspannung und 12-28,8V für Wechselspannung erlaubt zusätzliche
Flexibilität bei der Installation.
Bei Verwendung einer 12VDC oder 24VAC Spannungsversorgung gehen Sie bitte
wie folgt vor:
• Stellen Sie vor der Installation sicher, dass die Stromzufuhr unterbrochen ist.
• Schließen Sie die Stromversorgung in der korrekten Reihenfolge an.
Schließen Sie zuerst die Niederspannungsleitung (12VDC bzw. 24VAC) an und ste-
cken Sie erst danach das Netzteil in die Steckdose, um fehlerhafte Resets aufgrund
von Spannungsschwankungen und Beschädigungen durch Überspannung (auf-
grund der Lastfreiheit) zu vermeiden.
Kamera Konfiguration
Zugriff auf das Konfigurationsmenü
Zugriff und Steuerung des Konfigurationsmenüs können über den OSD Joystick an
der Kamera und einen Service Monitor erfolgen.
Fünf Befehle stehen mit dem Joystick zur Verfügung.
Die Darstellung des OSD kann sich je nach Modell unterscheiden.

66
SYMBOL Beschreibungen für die Joystick-Bedienung
▲,▼,◄,►zeigt die Richtung der Joystick-Betätigung an.
♦ bedeutet, den Joystick-Hebel für 1,5 Sekunden nach unten gedrückt
zu halten
Im Menü verwenden Sie ▲,▼ zur Bewegung im Menü, ◄,►zum
Ändern der Einstellungen, und drücken Sie ● zum Auswählen oder
Bestätigen.
OSD Hauptmenü
Zum Aufrufen des Menüs
halten Sie ● für etwa
1 Sekunde gedrückt.
MAIN Werkein-
stellung Beschreibung
ZOOM/FOCUS - Zur Einstellung von FOCUS MODE (Fokus Modus),
D-ZOOM (Digitaler Zoom), LENS REFRESH (Au-
tomatische Objektiv Initialisierung) und LENS INIT.
(Objektiv Initialisierung).
MENU V2.0
1. ZOOM/FOCUS ↵
2. EXPOSURE ↵
3. SCENE ENHANCE NORMAL
4. 3D-NR MID
5. DAY/NIGHT EXT↵
6. PICT ADJUST ↵
7. SPECIAL ↵
8. SYSTEM ↵
9. EXIT SAVE&EXIT ↵

7
DE
EN
FR
PL
RU
7
DE
EN
FR
PL
RU
MAIN Werkein-
stellung Beschreibung
EXPOSURE - Zur Einstellung des EXPOSURE Mode (Belichtungs-
modus), BRIGHTNESS (Helligkeit), SENS-UP, AGC
und DEBLUR.
SCENE
ENHANCE
NORMAL SCENE ENHANCE bietet mehrere Möglichkeiten das
Video in unterschiedlichen Umgebungen, mit den
Einstellungen NORMAL, WDR, D-WDR, BLC und
HLC zu verbessern.
NORMAL – Optimiert für normale Innen- und Außen-
anwendung bei guten Lichtverhältnissen.
WDR – Verbessert die Sicht in über- und unterbe-
lichteten Bereichen durch doppelte Bildaufzeichnung
mit langer und kurzer Belichtung. Bei aktiviertem
WDR wird die Bildrate durch die doppelte Aufzeich-
nung halbiert.
Es können die WDR Level LOW (niedrig), MID (mit-
tel) und HIGH (hoch) gewählt werden. Dieser Modus
sollte mit Bedacht gewählt werden, da in manchen
Umgebungen Qualitätsverlust durch Überkompensa-
tion entstehen kann.
D-WDR – Verbessert die Sicht durch Gain-Kompen-
sation in dunklen Bereichen. Entsprechend kann in
diesen Bereichen verstärktes Rauschen auftreten.
BLC – Verbessert die Sichtbarkeit von dunklen
Objekten vor hellen Hintergründen. Außerhalb des
BLC-Fensterbereichs kann es zu Übersättigung kom-
men. BLC hat ein Zielfenster für die Kompensation
und dessen Größe und Position kann über H-POS,
V-POS, H-SIZE und V-SIZE eingestellt werden.
HLC – Schneidet die Highlight Bereiche mit einer
schwarzen Maske aus und entfernt sie aus der
Kompensation.
3D-NR MID 3D-NR ist eine fortschrittliche und mächtige zeitba-
sierte Rauschreduktions-Technologie mittels überwa-
chen des Rauschens über mehrere Frames
und dem resultierenden Abgrenzen und Entfernen
bei schwachem Licht.

88
MAIN Werkein-
stellung Beschreibung
3D-NR MID Höhere Einstellungen reduzieren das Rauschen stär-
ker, führen aber zu einem Verlust von Schärfe und
dem Auftreten von Wisch- und Bewegungsunschär-
fe-Effekten bei schnellen Objekten und schwachem
Licht.
DAY/NIGHT EXT für
IR-LED
AUTO
ohne IR-
LED
Zur Einstellung der Tag/Nacht-Umschaltung auf EXT,
AUTO, COLOR oder B/W.
SMART IR kann in den Menüs von EXT, AUTO und
B/W eingestellt werden, um die Sättigung bei starker
IR-Beleuchtung zu reduzieren.
Das Einstellen von SMART IR in einem Menü wirkt
auch auf die anderen Menüs. Null (0) schaltet
SMART IR ab und High reduziert die Sättigung stark.
Ecken werden jedoch entsprechend dunkler.
IR LED Control(AUTO/OFF) ist nur für Modelle mit IR
LED verfügbar. Wenn IR LED auf OFF steht, wird IR
LED deaktiviert, aber TAG oder NACHT wird weiter-
hin vom eingebauten Helligkeitssensor bestimmt.
EXT – Wird verwendet, wenn die Tag/Nacht-
Umschaltung von einem externen Helligkeitssensor
vorgegeben wird. Eine Kamera mit IR-LED muss auf
EXT gestellt werden.
AUTO – Wenn die Tag/Nacht-Umschaltung automa-
tisch anhand des durchs Objektiv fallenden Lichts
bestimmt wird.
Im Menü können D<->N THRESHOLD (Umschalt-
schwelle), D<->N GAP, D<->N DELAY (Umschaltver-
zögerung) und SMART IR eingestellt werden.
Wenn EXPOSURE>AGC auf weniger als 10 steht,
wird DAY/NIGHT AUTO deaktivert.
EXT, B/W und COLOR sind unabhängig von AGC.
Bei der Verwendung von externen IR LEDs mit
einem Modell ohne IR LED, stellen Sie bitte auf IR
LED MODE ON.
B/W(NIGHT) – Entfernen des IR-Sperrfilters und
Umschalten auf NIGHT (Nacht), unabhängig von der
Helligkeit.
COLOR(DAY) – Die Tag/Nacht-Umschaltung ist
deaktiviert und es wird Farbvideo ausgegeben.
9
DE
EN
FR
PL
RU
9
DE
EN
FR
PL
RU
DasBenutzerhandbuchistaufdereneoWebsiteunter
www.eneo-security.comoderaufdermitgeliefertenCDverfügbar.
Weitere Informationen
MAIN Werkein-
stellung Beschreibung
PICT ADJUST - Einstellung von WHITE BAL (Weißabgleich), SHARP-
NESS (Schärfe), COLOR GAIN, GAMMA.
SPECIAL
(Spezialeinstel-
lungen)
- Einstellung von MIRROR/FLIP, PRIVACY (Privatzo-
nen), MOTION (Bewegungserkennung), PIXEL DE-
FECT (Pixelfehler), TITLE SET, DISPLAY, und DEFOG.
SYSTEM - Einstellung von TV SYSTEM, RESOLUTION (Auf-
lösung), COMM. SETUP, LANGUAGE (Sprache),
FACTORY DEFAULT (Werkseinstellungen).
EXIT - SAVE & EXIT – Speichern und Verlassen.
EXIT – Verlassen ohne zu speichern.

10
Contents
Contents ................................................................................................................................ 10
Notes on safety .................................................................................................................... 11
Scope of delivery ................................................................................................................. 11
Product description and connections .............................................................................. 11
Installation ............................................................................................................................. 12
Camera setup....................................................................................................................... 13
Accessing the setup menu...................................................................................13
SYMBOL descriptions for joystick operation .......................................................14
OSD Main menu................................................................................................................... 14
Further information ............................................................................................................. 17

11
DE
EN
FR
PL
RU
Product description and connections
ⓐWindow
ⓑWindow hood
ⓒFront body
ⓓMount hole (top and bottom)
ⓔRear body
ⓐ
ⓑ
ⓒ ⓓ ⓔ
Scope of delivery
Notes on safety
Please also pay attention to the enclosed safety instructions, and carefully read
through this instruction guide before initial operation.
Important points of advice are marked with a caution symbol.
• 1x FULL HD AF Zoom Camera
• 1x Installation and Operating Instructions

12
ⓕOSD joystick
ⓖVideo output connector (BNC)
ⓗPower input terminal
ⓘRS-485 / IR connector
ⓙHD-SDI output connector
ⓕ ⓖ
ⓗ ⓘ ⓙ
Technical specifications
Protection rating (IP / IK):
Temperature range (operation):
Power consumption:
Dimensions:
Weight:
n/a
-10°C ~ +50°C
10.5 max.
74mm x 72mm x 95mm
0.3kg
Installation
The camera has a 1/4” thread insert on its top and bottom side for mounting the
camera to a tripod or the wall or ceiling with a corresponding mount.
CAUTION: NEVER USE THIS CAMERA
1) in WATER.
2) in area where has SHOCK or VIBRATION which results in the problems
for Auto Focus operation.
The camera can work with either 24AC or 12VDC, dual voltage power.
It does NOT require the polarity-matched connection for 12VDC supply. Primary

13
DE
EN
FR
PL
RU
and secondary grounds are completely isolated to avoid the possible ground-loop
problems. Its excellently wide operating voltage range of 10.5V-30V for DC and 12-
28.8V for AC gives an extra flexibility at the installation.
When using a 12VDC or 24VAC power supply please proceed as follows:
• Make sure the power is removed before the installation.
• Follow the order for applying power.
First, connect the low voltage (AC24V or DC12V), then plug the AC adapter to AC
outlets to avoid an improper reset from power jitter and a damage from the surge
voltage when no load.
Camera setup
Accessing the setup menu
Setup menu can be accessed and controlled by OSD control joy stick on the back-
side of the camera.
Five commands are available with the joy stick.
Picture of OSD may differ by the models.

14
SYMBOL descriptions for joystick operation
▲,▼,◄,►denotes the directions of Joystick lever operation.
♦ denotes the long press down straightly for about 1.5 seconds
In the menu, use ▲,▼ to move menu, ◄,►to change the settings and
press ● to select or enter.
OSD Main menu
Press ● to enter the setup
menu for about 1 second
MAIN Factory
Default Descriptions
ZOOM/FOCUS - Sets FOCUS MODE, D-ZOOM, LENS REFRESH and
LENS INIT.
EXPOSURE - Sets EXPOSURE MODE, BRIGHTNESS, SENS-UP,
AGC and DEBLUR..
MENU V2.0
1. ZOOM/FOCUS ↵
2. EXPOSURE ↵
3. SCENE ENHANCE NORMAL
4. 3D-NR MID
5. DAY/NIGHT EXT↵
6. PICT ADJUST ↵
7. SPECIAL ↵
8. SYSTEM ↵
9. EXIT SAVE&EXIT ↵

15
DE
EN
FR
PL
RU
MAIN Factory
Default Descriptions
SCENE
ENHANCE
NORMAL SCENE ENHANCE provides the several ways to en-
hance the video in the various environments with the
settings in NORMAL, WDR, D-WDR, BLC and HLC.
NORMAL – Optimized for the normal indoor and
outdoor in the good lighting condition.
WDR – Improves the visibility for the high bright area
and the dark area by the double captures of image
with LONG and SHORT exposures. With WDR ON,
the frame rate becomes half by the double captures.
WDR level can be selected from LOW, MID and
HIGH. Care should be taken to select this mode
because video may lose its quality in some environ-
ments by the over compensation.
D-WDR – Improves the visibility by compensating
the video gain for the dark area. Noise can increase
in the dark area accordingly.
BLC – Improves the visibility for the dark object by
the bright back light. Outside area of BLC window
can over saturate. BLC has a target window for
compensation and its size and position can be set
by H-POS, V-POS, H-SIZE and V-SIZE.
HLC – Cuts out the highlight area with black mask
and excludes it from compensation.
3D-NR MID 3D-NR is a very sophisticated and powerful time-
based noise reduction technology by monitoring the
noise for the several video frames and defining and
eliminating them consecutively at low light.
Higher setting reduces noise much more but results
in losing the sharpness and the tail effect or the
motion blur for the fast moving target at low light.

16
MAIN Factory
Default Descriptions
DAY/NIGHT EXT for IR
LED
AUTO
for No IR
LED
Sets DAY / NIGHT to EXT, AUTO, COLOR and B/W.
SMART IR can be set to reduce the saturation by
the strong IR illumination in the night in any menu of
EXT, AUTO and B/W(NIGHT)
Setting SMART IR in any menu is identically applied
to other menu. Zero(0) turns off SMART IR and High
setting avoids the saturation strongly but the corners
will be darker accordingly.
IR LED Control(AUTO/OFF) is available with IR LED
model only. If IR LED is set to OFF, IR LED will be
turned OFF but DAY or NIGHT is still determined by
the built-in light photo sensor.
EXT – DAY or NIGHT is determined by the built-in
light photo sensor. Camera with IR LED must be set
to EXT.
AUTO – Used when DAY or NIGHT is determined by
light level through the lens and DAY from/to NIGHT
is switched automatically by the scene brightness.
D<-->N THRESHOLD, D<->N GAP, D<->N DELY
and SMART IR can be set in the menu.
When EXPOSURE>AGC is less than 10, DAY/
NIGHT AUTO is disabled and forcibly switches to
___(DAY) to avoid the malfunction.
EXT, B/W(NIGHT) and COLOR(DAY) is independ-
ent on AGC level.
When EXTERNAL IR LED is used with NON IR LED
model, please set to IR LED MODE ON.
B/W(NIGHT) – Forcibly removes IR cut filter and
switches to B/W regardless of light level.
COLOR(DAY) – Forcibly DAY/NIGHT is disabled and
outputs color video.
PICT ADJUST - Sets WHITE BAL, SHARPNESS, COLOR GAIN,
GAMMA
SPECIAL - Sets MIRROR/FLIP, PRIVACY, MOTION, PIXEL DE-
FECT, TITLE SET, DISPLAY, DEFOG

17
DE
EN
FR
PL
RU
TheFullManualisavailablefromtheeneowebsiteat
www.eneo-security.comorfromtheCDsuppliedwiththisproduct.
Further information
MAIN Factory
Default Descriptions
SYSTEM - Sets TV SYSTEM, RESOLUTION, COMM.SETUP,
LANGUAGE and FACTORY DEFAULT.
EXIT - SAVE & EXIT – Exits the menu after saving the
parameters.
EXIT – Exits the menu without saving the menu.

1818
Contenu
Contenu ................................................................................................................................. 18
Consignes de sécurité........................................................................................................ 19
Contenu de la livraison....................................................................................................... 19
Description et raccordement du produit.......................................................................... 19
Installation ............................................................................................................................. 20
Configuration de la caméra ............................................................................................... 21
Accès au menu de configuration .........................................................................21
Description des SYMBOLES pour la commande par manette ...........................22
Menu Principal OSD............................................................................................................ 22
Complément d’information ............................................................................................... 25

19
DE
EN
FR
PL
RU
19
DE
EN
FR
PL
RU
Description et raccordement du produit
ⓐVitre
ⓑAnneau d´objectif
ⓒBoîtier frontal
ⓓPas de vis (haut et bas)
ⓔPartie arrière
ⓐ
ⓑ
ⓒ ⓓ ⓔ
Contenu de la livraison
Consignes de sécurité
Respectez les consignes de sécurité ci-après et lisez attentivement cette notice
avant toute utilisation.
Les points importants sont précédés d´un symbole d´avertissement.
• 1x Caméra FULL HD zoom AF
• 1x Instructions d´installation et d´utilisation

2020
ⓕBouton OSD
ⓖSortie vidéo arrière (BNC)
ⓗBorne d´entrée d´alimentation
ⓘRS-485 / connecteur infra-
rouge
ⓙBorne de sortie HD-SDI
ⓕ ⓖ
ⓗ ⓘ ⓙ
Spécifications techniques
Indices de protection (IP / IK) :
Gamme de température (fonctionnement)
:
Consommation :
Dimensions :
Poids :
n/a
-10°C ~ +50°C
10.5 max.
74mm x 72mm x 95mm
0.3kg
Installation
La caméra a un filetage de 1/4” en haut et en bas afin de pouvoir la monter sur un
trépied, au mur ou au plafond à l´aide d´un support adéquat.
ATTENTION : N´UTILISEZ JAMAIS CETTE CAMERA
1) dans L´EAU
2) dans un environnement dans lequel des chocs ou des vibrations pour-
raient entraver le bon fonctionnement de la mise au point automatique.
La caméra fonctionne en 24AC ou en 12VDC, ainsi qu´avec une alimentation biten-
sion.
Table of contents
Languages:
Other Eneo Digital Camera manuals

Eneo
Eneo VKC-1368-WL/W3 User manual

Eneo
Eneo VKC-1347/CM User manual

Eneo
Eneo VKC-1369 User manual

Eneo
Eneo VKC-1382/IR316 User manual

Eneo
Eneo APB-6SV2812MVA User manual

Eneo
Eneo VKC-1359BIR/W3P User manual

Eneo
Eneo APB-7SV2812MVA User manual

Eneo
Eneo HDC-1004M1080 User manual

Eneo
Eneo VKC-1327A/VAR49 User manual

Eneo
Eneo IPD-65M2713P5A User manual
Popular Digital Camera manuals by other brands

Concord Camera
Concord Camera 4360Z Questio quick start guide

Samsung
Samsung A402 - Digimax 4MP Digital Camera user manual

Olympus
Olympus FE 120 - Digital Camera - 6.0 Megapixel quick start guide

Avue
Avue AV762FTBA-2812 instructions

FujiFilm
FujiFilm FinePix F700 Technical specifications

IAI
IAI AP-3200T-PMCL user manual