manuals.online logo
Brands
  1. Home
  2. •
  3. Brands
  4. •
  5. Epson
  6. •
  7. Printer
  8. •
  9. Epson LABELWORKS DBL-PX200K-LW User manual

Epson LABELWORKS DBL-PX200K-LW User manual

EN Setup Guide
FR Guide de conguration
ES Guía de instalación
https://support.epson.net/p_doc/925/
LW-K200PX-DBL/LW-K200PX-RDB
https://labelworks.epson.com/
LW-K200DBL
https://www.epson.co.in/
Notation used in this manual
Notation utilisée dans ce manuel
Notación utilizada en este manual
User's Manual
Manuel d’utilisation
Manual de usuario
Press the tape cartridge rmly until it snaps into place.
Appuyez fermement sur la cassette jusqu’à ce qu’elle s’enclenche.
Presione rmemente el carrete hasta que encaje en su sitio.
CAUTION
Indicates that the instruction should be observed strictly to avoid potential risk
of injury and property damage.
ATTENTION
Indique que l’instruction doit être scrupuleusement respectée pour éviter un
risque potentiel de blessure ou de dommage matériel.
PRECAUCIÓN
Indica que la instrucción debe observarse estrictamente para evitar posibles
riesgos de lesiones y daños materiales.
1 Installing batteries
Installation des piles
Instalación de las pilas
Notice
• Be sure to turn o the product before installing a
tape cartridge.
• Make sure to use a dedicated tape for each model.
For LW-K200PX-DBL/LW-K200PX-RDB: PX Tape
For LW-K200DBL: LK Tape
Avis
• Veillez à mettre l’appareil hors tension avant
d’installer une cassette.
• Assurez-vous d’utiliser un ruban dédié pour
chaque modèle.
Pour LW-K200PX-DBL/LW-K200PX-RDB : Ruban PX
Pour LW-K200DBL : Ruban LK
Aviso
• Asegúrese de apagar el producto antes de instalar
un carrete.
• Asegúrese de utilizar una cinta especíca para
cada modelo.
Para LW-K200PX-DBL/LW-K200PX-RDB: Cinta PX
Para LW-K200DBL: Cinta LK
Auto power o
The auto power o function automatically turns
o the product after about 5 minutes of inactivity.
The entered text is saved and restored when the
product is turned on.
Mise hors tension automatique
La fonction de mise hors tension automatique met
automatiquement l’appareil hors tension après
5 minutes d’inactivité environ. Le texte saisi est
enregistré et restauré lorsque l’appareil est mis sous
tension.
Apagado automático
La función de apagado automático apaga
automáticamente el producto tras unos 5 minutos
de inactividad. El texto introducido se guarda y se
restaura al encender el producto.
2 Installing a tape cartridge
Installation d’une cassette
Instalación de un carrete
LABELWORKS
LW-K200PX-DBL
LW-K200PX-RDB
LW-K200DBL
©Seiko Epson Corporation 2023.
Printed in China
Imprimé en Chine
1 Setting display language
Dénition de la langue d’achage
Conguración del idioma de la pantalla
Using the arrow buttons, select the width of
tape you installed, and press .
À l’aide des touches échées, sélectionnez la
largeur du ruban que vous avez installé, puis
appuyez sur .
Con los botones de echa, seleccione el ancho
de la cinta instalada y pulse .
If you want to change the display language, press
+ , and change the "Language" setting in the
"Preference".
Si vous souhaitez changer la langue d’achage, appuyez
sur + , puis modiez le paramètre « Langue » dans
les « Préférence ».
Si desea cambiar el idioma de la pantalla, pulse + y
cambie el ajuste de «Idioma» en «Preferencia».
Notice
• Be sure to turn o the product before installing
the batteries.
• Prepare 6 AA batteries. Either alkaline or
rechargeable nickel metal hydride batteries can
be used.
• To use rechargeable nickel metal hydride
batteries, press + to open the
"Preference" menu and change the "BattTyp" to
"Ni-MH".
• The product does not have the ability to charge
batteries. When using nickel metal hydride
batteries, be sure to charge them using a charger
specically designed for them.
• Use your charger and batteries correctly according
to the instruction manuals that come with them.
Avis
• Veillez à mettre l’appareil hors tension avant
d’installer les piles.
• Préparez 6 piles AA. Des piles alcalines ou hybrides
nickel-métal rechargeables peuvent être utilisées.
• Pour utiliser des piles hybrides nickel-métal
rechargeables, appuyez sur + pour
ouvrir le menu « Préférence » et dénissez le
« TypeBatter » sur « Ni-MH ».
• L’appareil ne peut pas recharger les piles.
Lorsque vous utilisez des piles hybrides nickel-
métal, veillez à les charger à l’aide d’un chargeur
spécialement conçue pour celles-ci.
• Utilisez votre chargeur et les piles de manière
appropriée conformément aux manuels
d’instructions qui les accompagnent.
Aviso
• Asegúrese de apagar el producto antes de instalar
las pilas.
• Prepare 6 pilas AA. Pueden utilizarse pilas alcalinas
o recargables de níquel-metalhidruro.
• Para utilizar pilas recargables de níquel-
metalhidruro, pulse + para abrir el menú
«Preferencia» y cambie «Tipo bat.» a «Ni-MH».
• El producto no tiene la capacidad de cargar
pilas. Si utiliza pilas de níquel-metalhidruro,
asegúrese de cargarlas con un cargador diseñado
especícamente para ellas.
• Utilice correctamente el cargador y las pilas de
acuerdo con los manuales de instrucciones que
los acompañan.
3
3
Setup/Conguration/Instalación Turning On/Mise sous tension/Encendido
EN
Dimensions Approx. 173 (W) x 109 (D) x 58 (H)
(mm)
Weight
Approx. 400 g
(excluding batteries, tape
cartridge)
Supported
tape width
4 mm*1, 6 mm, 9 mm, 12 mm,
18 mm
Temperature Operating: 10 to 35 degrees C
Storage: -10 to 55 degrees C
Power supply
(Battery)
6 x AA alkaline or nickel metal
hydride*2batteries
*1 Only for users in North America.
*2 Use only "Panasonic Eneloop BK-3MCCx"
batteries.
2 Feeding the tape
Alimentation du ruban
Carga de la cinta
Cut the tape by pressing the Cut Button.
Coupez le ruban en appuyant sur le bouton
Massicot.
Corte la cinta pulsando el botón Cortar.
+
Using the arrow buttons, select "Tape feed",
and press .
À l’aide des touches échées, sélectionnez
« Alim ruban », puis appuyez sur .
Con los botones de echa, seleccione «Ali.
cinta» y pulse .
CAUTION
Do not touch the area near the tape exit during
printing or when the cutter is in operation, as this
may cause injury.
Notice
• Do not press the Cut Button before the tape
stops.
• After setting a tape cartridge, make sure to feed
tape.
ATTENTION
Ne touchez pas la zone à proximité de la sortie du
ruban pendant l’impression ou lorsque le massicot
est en fonctionnement. Ceci pourrait entraîner des
blessures.
Avis
• N’appuyez pas sur le bouton Massicot avant
l’arrêt du ruban.
• Après avoir installé une cassette, veillez à
alimenter du ruban.
PRECAUCIÓN
No toque la zona cercana a la salida de la cinta
durante la impresión o cuando la cortadora esté en
funcionamiento, ya que podría sufrir lesiones.
Aviso
• No pulse el botón Cortar antes de que se detenga
la cinta.
• Después de colocar un carrete, asegúrese de
cargar la cinta.
3
Notice
• Remove the batteries when the product will not
be used for a long period of time.
• If you plan to use the product again soon or want
to use the registered les next time, keep the
product with the batteries properly installed.
All data registered in the product, such as les,
input sentences, and study contents, will be lost
if the batteries are removed for more than about
2 minutes.
Avis
• Retirez les piles lorsque l’appareil ne sera pas
utilisé pendant une période prolongée.
• Si vous envisagez de réutiliser prochainement
l’appareil ou si vous souhaitez utiliser les chiers
enregistrés lors de l’utilisation suivante, laissez
les piles correctement installées dans l’appareil.
Toutes les données enregistrées dans l’appareil,
comme les chiers, phrases d’entrée et contenu
d’étude, seront perdues si les piles sont retirées
pendant plus de 2 minutes environ.
Aviso
• Retire las pilas cuando no vaya a utilizar el
producto durante un largo periodo de tiempo.
• Si tiene previsto volver a utilizar el producto en
breve o desea utilizar los archivos registrados
la próxima vez, guarde el producto con las
pilas correctamente instaladas. Todos los datos
registrados en el producto, como archivos,
frases especicadas y contenidos de estudio, se
perderán si se retiran las pilas durante más de 2
minutos aproximadamente.
FR
Dimensions 173 (L) x 109 (P) x 58 (H) (mm)
environ
Poids 400 g environ
(sans les piles ni la cassette)
Largeur de
ruban supportée
4 mm*1, 6 mm, 9 mm, 12 mm,
18 mm
Température
Fonctionnement : 10 à 35 degrés C
Stockage : -10 à 55 degrés C
Alimentation
(Pile)
6 piles alcalines AA ou hybrides
nickel-métal*2
*1 Uniquement pour les utilisateurs en Amérique du
Nord.
*2 N’utilisez que des piles « Panasonic Eneloop BK-
3MCCx ».
ES
Dimensiones Aprox. 173 (an) × 109 (fn) × 58 (alt)
(mm)
Peso Aprox. 400 g
(sin pilas ni carrete)
Anchos de cinta
admitidos
4 mm*1, 6 mm, 9 mm, 12 mm,
18 mm
Temperatura Funcionamiento: entre 10 y 35 °C
Almacenamiento: entre -10 y 55 °C
Suministro
eléctrico
(pilas)
6 pilas alcalinas o de níquel-
metalhidruro*2AA
*1 Solo para usuarios de Norteamérica.
*2 Utilice solo pilas «Panasonic Eneloop BK-3MCCx».
The product may stop functioning due to static
electricity or other causes. Initialize the product
if it does not operate normally such as the
display is interrupted.
1.
Notice
Note that initializing the product deletes all text
you entered and returns the settings you made
for character input to the default.
Turn the printer o.
2. Press and hold + , and press .
3. When a message appears, press .
The product will be initialized.
To cancel, press any button other than .
L’appareil peut cesser de fonctionner en
présence d’électricité statique ou pour
toute autre raison. Initialisez l’appareil s’il
ne fonctionne pas correctement (en cas de
dysfonctionnement de l’écran, par exemple).
1.
Avis
Notez qu’une initialisation de l’appareil supprime
tout le texte que vous avez saisi et réinitialise
tous les paramètres que vous avez dénis pour
l’entrée de caractère sur les valeurs par défaut.
Mettez l’imprimante hors tension.
2. Appuyez sur + de manière
prolongée, puis appuyez sur .
3. Lorsqu’un message apparaît, appuyez sur
.
L’appareil est initialisé.
Pour annuler, appuyez sur n’importe quel
bouton hormis .
El producto puede dejar de funcionar debido a
la electricidad estática u otras causas. Inicialice
el producto si no funciona con normalidad
como, por ejemplo, si se interrumpe la imagen
en la pantalla.
1.
Aviso
Tenga en cuenta que, al inicializar el producto,
se borra todo el texto introducido y se
restablecen los valores predeterminados para la
introducción de caracteres.
Apague la impresora.
2. Mantenga pulsados + , y pulse .
3. Cuando aparezca un mensaje, pulse .
El producto se inicializará.
Para cancelar, pulse cualquier botón que no
sea .
Standards and Approvals/Normes et homologations/
Normas y homologaciones
Specications/Spécications/Especicaciones
Initializing Product/Initialisation de l’appareil/
Inicialización del producto
Turning the power o after use
Mise hors tension après l’utilisation
Apagado del producto después del uso
For Users in India
For Users in Northern America / Pour les
utilisateurs en Amérique du Nord
FCC Compliance Statement for United States Users
Supplier’s Declaration of Conformity
According to 47CFR, Part 2 and 15
Class B Personal Computers and Peripherals; and/or
CPU Boards and Power Supplies used with Class B Personal Computers:
We: K-SUN Corporation
Located at: 370 SMC Drive PO Box 309 Somerset WI 54025, USA
Telephone: 715-247-4440
Declare under sole responsibility that the product identied herein, complies
with 47CFR Part 2 and 15 of the FCC rules as a Class B digital device. Each
product marketed, is identical to the representative unit tested and found to
be compliant with the standards. Records maintained continue to reect the
equipment being produced can be expected to be within the variation accepted,
due to quantity production and testing on a statistical basis as required by 47CFR
§2.906 Operation is subject to the following two conditions: (1) this device may
not cause harmful interference, and (2) this device must accept any interference
received, including interference that may cause undesired operation.
Trade Name: EPSON
Type of Product: Label Printer
Model: LW-K200PX-DBL/LW-K200PX-RDB
FCC Compliance Statement For United States Users
This device has been tested and found to comply with the limits for a Class B
digital device, pursuant to Part 15 of the FCC Rules. These limits are designed
to provide reasonable protection against harmful interference in a residential
installation. This device generates, uses and can radiate radio frequency energy
and, if not installed and used in accordance with the instructions, may cause
harmful interference to radio communications. However, there is no guarantee
that interference will not occur in a particular installation. If this equipment
does cause harmful interference to radio or television reception, which can be
determined by turning the equipment o and on, the user is encouraged to try
to correct the interference by one or more of the following measures:
• Reorient or relocate the receiving antenna.
• Increase the separation between the equipment and receiver.
• Connect the equipment into an outlet on a circuit dierent from that to which
the receiver is connected.
• Consult the dealer or an experienced radio/TV technician for help.
WARNING
Changes or modications not expressly approved by the manufacturer could
void the user’s authority to operate this equipment.
Industry Canada Compliance Statement For Canadian
Users / Déclaration de conformité d’Industry Canada
pour les utilisateurs canadiens
CAN ICES-3(B)/NMB-3(B)
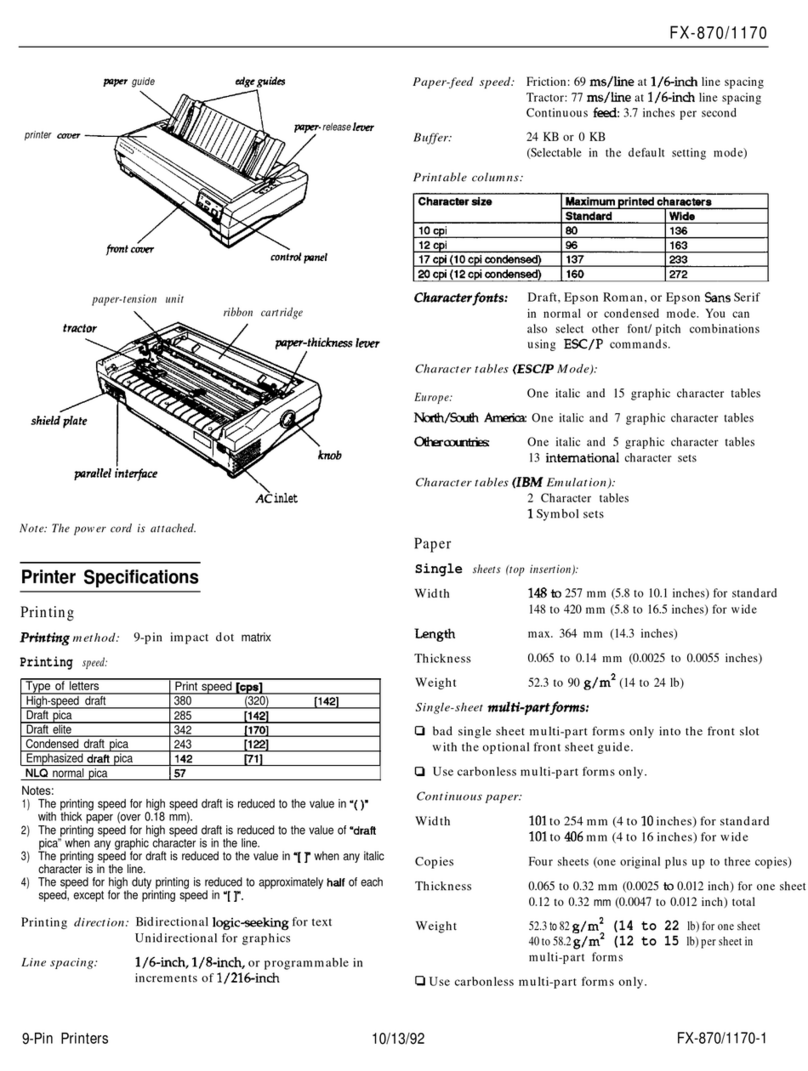
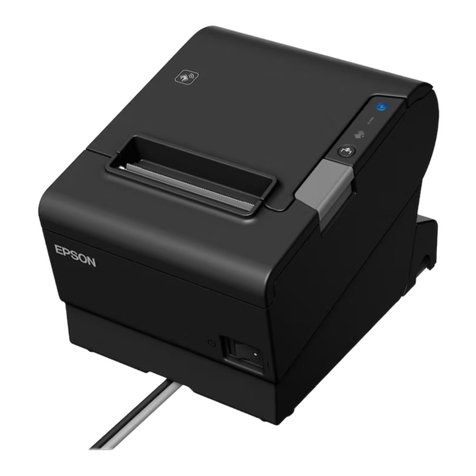
This manual suits for next models

2

Other Epson Printer manuals

Epson SC-R5000 Series Assembly instructions

Epson

Epson SC-R5000 Series Assembly instructions

Epson Stylus Color 400 User manual

Epson

Epson Stylus Color 400 User manual

Epson LQ-300+II Instruction manual

Epson

Epson LQ-300+II Instruction manual

Epson EPL-5900L User manual

Epson

Epson EPL-5900L User manual

Epson CANON i9100 Guide

Epson

Epson CANON i9100 Guide

Epson LQ-1150 II User manual

Epson

Epson LQ-1150 II User manual

Epson R220 - Stylus Photo Color Inkjet Printer Instruction Manual

Epson

Epson R220 - Stylus Photo Color Inkjet Printer Instruction Manual

Epson Expression Premium XP-800 Assembly instructions

Epson

Epson Expression Premium XP-800 Assembly instructions

Epson AcuLaser C1700 User manual

Epson

Epson AcuLaser C1700 User manual

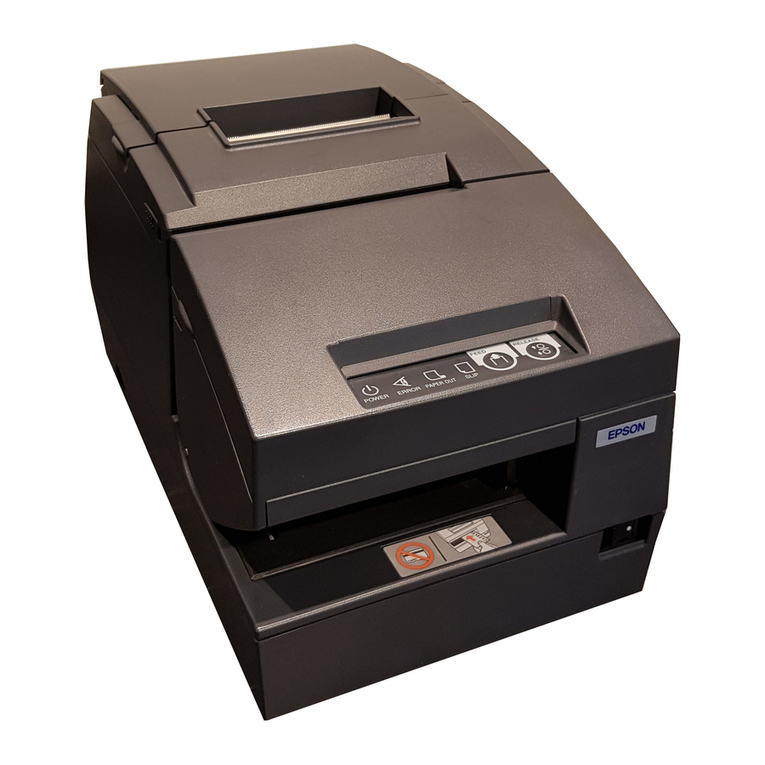
Epson U925 - TM B/W Dot-matrix Printer User manual

Epson

Epson U925 - TM B/W Dot-matrix Printer User manual

Epson SecurColor TM-C3400 User manual

Epson

Epson SecurColor TM-C3400 User manual

Epson ET-2550 User manual

Epson

Epson ET-2550 User manual

Epson TM-T88IV ReStick Use and care manual

Epson

Epson TM-T88IV ReStick Use and care manual

Epson Stylus C87 User manual

Epson

Epson Stylus C87 User manual

Epson Stylus Photo PX820FWD Assembly instructions

Epson

Epson Stylus Photo PX820FWD Assembly instructions

Epson Stylus Photo PX710W Series User manual

Epson

Epson Stylus Photo PX710W Series User manual

Epson SureColor T3470 User manual

Epson

Epson SureColor T3470 User manual

Epson 1430 CFS User manual

Epson

Epson 1430 CFS User manual

Epson 3880 - Stylus Pro Color Inkjet Printer User manual

Epson

Epson 3880 - Stylus Pro Color Inkjet Printer User manual

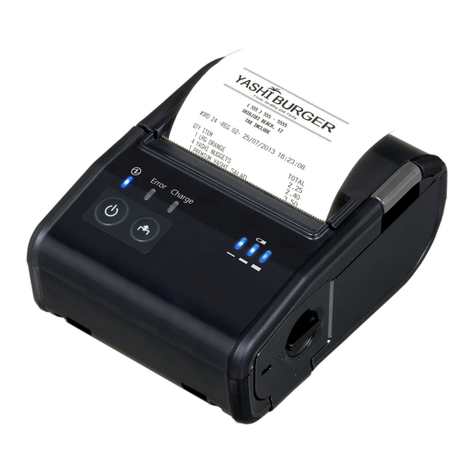
Epson Mobilink TM-P60 User manual

Epson

Epson Mobilink TM-P60 User manual

Epson ColorPage EPL-C8200 User manual

Epson

Epson ColorPage EPL-C8200 User manual

Epson Stylus C64 User manual

Epson

Epson Stylus C64 User manual

Epson Stylus S22 User guide

Epson

Epson Stylus S22 User guide

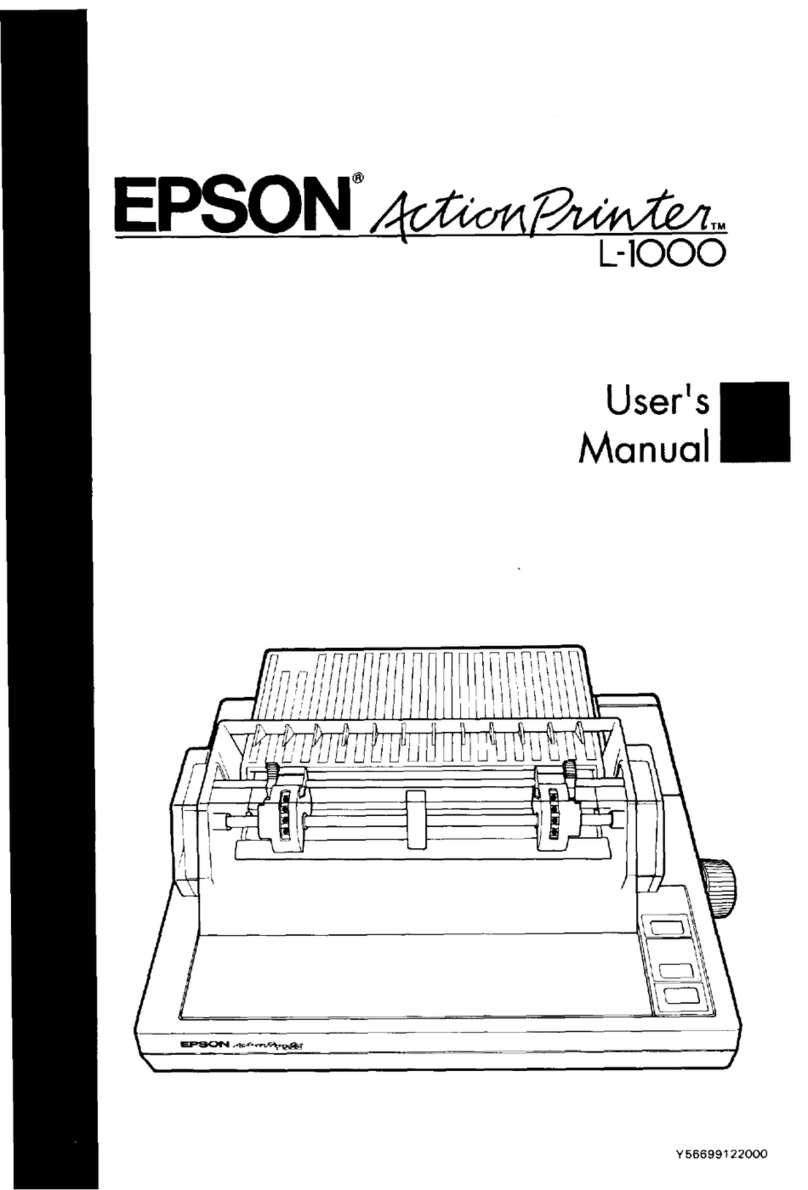
Epson FX-1050+ User manual

Epson

Epson FX-1050+ User manual

Popular Printer manuals by other brands

Canon i900D Series Specifications

Canon

Canon i900D Series Specifications

Brother MFC-8710DW Quick setup guide

Brother

Brother MFC-8710DW Quick setup guide

Canon LBP312 SERIES user guide

Canon

Canon LBP312 SERIES user guide

Oce Arizona 200 GT user manual

Oce

Oce Arizona 200 GT user manual

Genicom 3850 Programmer's manual

Genicom

Genicom 3850 Programmer's manual

Konica Minolta Magicolor 2350 EN reference guide

Konica Minolta

Konica Minolta Magicolor 2350 EN reference guide

SII LP-2050-MF Quick reference guide

SII

SII LP-2050-MF Quick reference guide

Dascom Printek PrintMaster 700 Series Quick setup instructions

Dascom

Dascom Printek PrintMaster 700 Series Quick setup instructions

Samsung 2 COLOR THERMAL PRINTER SRP-275 Service manual

Samsung

Samsung 2 COLOR THERMAL PRINTER SRP-275 Service manual

Citizen OP900 II user manual

Citizen

Citizen OP900 II user manual

Datamax Apex 4 user guide

Datamax

Datamax Apex 4 user guide

Printek Mt2 Operator's manual

Printek

Printek Mt2 Operator's manual

Oki MPS420b user guide

Oki

Oki MPS420b user guide

Kyocera Mita Ecosys FS-1010 Operation guide

Kyocera Mita

Kyocera Mita Ecosys FS-1010 Operation guide

SKYMICROWAVE FCS10 user manual

SKYMICROWAVE

SKYMICROWAVE FCS10 user manual

Anser A1 user manual

Anser

Anser A1 user manual

Canon PIXMA TS200 Series Getting started

Canon

Canon PIXMA TS200 Series Getting started

Kimoto Kimosetter 410 user guide

Kimoto

Kimoto Kimosetter 410 user guide

manuals.online logo
manuals.online logoBrands
  • About & Mission
  • Contact us
  • Privacy Policy
  • Terms and Conditions

Copyright 2025 Manuals.Online. All Rights Reserved.