ERA ADDMORE WS280 User manual

Mains Powered External Siren
ERA Home Security Ltd
Valiant Way, Wolverhampton,
West Midlands, WV9 5GB.
Email: [email protected]
Model: WS280
1. INTRODUCTION
3. PRODUCT OVERVIEW
4. JUMPER SETUP
2. PCB LAYOUT
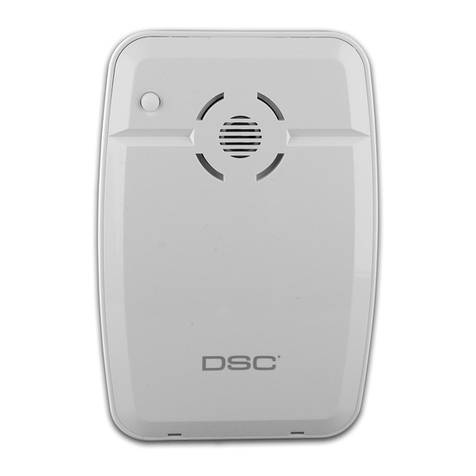
The External Mains Powered Siren will deter intruders by sounding
an alarm once it receives a wireless signal from a connected
Control Panel or Sensor. Multiple Sirens can be connected to the
same Control Panel to provide additional security. When the Siren
is connected to the Control Panel as an accessory, it will sound and
its LED lights will flash once the system is triggered. The Siren can
also be intalled as a standalone alarm system without the need for a
Control Panel, by connecting it to accessories like a Remote Control,
Door/Window Sensor or PIR Motion Sensor. When an accessory is
triggered it will sound and its LED lights flash.
Alarming Volume Setup
Please setup alarming volume and alarming duration time on the PCB board accordingly.
Note: When the Siren is connected to the Control Panel, it will sound at the pre-set volume even if the Control Panel is set to mute.
This is to alert the neighbours and avoid any intrusion. If you select mute on the Siren, there is no need to select mute in the Control Panel.
Alarming Duration Setup
INSTALLATION
MANUAL
Status LED
Indicator
Mounting Holes
Back Cover
Tamper Switch
Bracket
Alarm LED
Indicator
Siren Interface
Learn Button
Battery Slot
Alarming Volume Setup
Alarming Duration Setup
Adapter Jack
Wired Sensor Terminals (Normal Zone)
Wired Sensor Terminals (24-H Zone)
DC 12V
Terminals
High
Mute
Low
High
Mute
Low
High
Mute
Low
5 Min
3 Min
30 Sec
5 Min
3 Min
30 Sec
5 Min
3 Min
30 Sec
Status
Front View Back View Status LED Indication
LED
Arm/Home Mode Flash once
Disarm No light indication
No disarm operation
after alarm
Flash once every 2
seconds for 2 hours

When used as a Wireless Siren, it should be connected with Wireless Control Panel in advance. When the Control Panel is alarming,
it sounds and the strobe light flashes to deter intruders.
Hold the Learn button till 2 beeps are heard to disconnect the Siren and Control Panel.
When used as a standalone alarm panel, it should be connected with Sensors in advance and when the intrusion is detected, it sounds
and the strobe light flashes to deter intruders.
The Siren has terminals for power supply and Wired Sensors. Just
connect the power line or Wired Sensors to the hard-wired
terminals. Please make sure the positive and negative are
distinguished.
-DC12V+
Power: DC 12V input
24-ZONE ZONE
Once the Sensor in normal zone mode is triggered, the
system will alarm immediately.
One the Sensor in 24-H zone mode is triggered, the system
will alarm immediately, regardless of the alarm status. IR
Beams are strongly recommended to be used in 24 Hour
Zone mode.
24-Zone (24 hour zone mode)
Zone (normal zone mode):
Maximum 40 Sensors can be connected to the Wireless
Strobe Siren.
Press Learn button for 0.5 seconds till a
beep is heard,
the Siren enters connection status.
Press any button in the Remote Control,
the connection succeeds when a beep is
heard from the Siren.
Press the Learn button for 0.5 seconds, Siren will beep once and enter connection status. Press the [SOS] or [ ] on the panel
(or press Arm on App if the Panel does not have a button), the Wireless Siren and Control Panel are connected successfully after one
beep is heard from the Siren.
5. WORK AS WIRELESS SIREN
6. WORK AS STANDALONE ALARM
Connecting to a Control Panel
Wired Terminals Connect with a Remote Control
Put the Window/Door Sensor transmitter and magnet close
in a suitable position.
Press Learn button for 0.5 seconds until a beep is heard, then
separate the magnet from the transmitter over 2cm to
trigger the Sensor and pair to the Siren. Note: Do not use the
button on back to trigger the Sensor.
Connect with a Window/Door Sensor
Disconnect
Connect & Disconnect
Note: Once the Siren is in connection status, please press the Learn button again to exit. One beep will
be heard from the Siren. When connecting to the Control Panel, please DO NOT trigger any other Sensors
to avoid interference or pairing to a Sensor and not the full system.
Press Learn button for 0.5 seconds
till a beep is heard, the Siren enters
connections status. Press test button
at the back of the Sensor twice. The
connection succeeds when a beep is
heard from the Siren.
Connect with PIR Motion Sensor
Note: Once the Siren is in connection Status, please press Learn button
again to exit (a beep will be heard from the Siren). When 2 beeps are
heard in connection status, means the Sensor has been connected
before.
Connecting with other accessories is the same operation; please see
details in the instruction manuals for accessories.
Connect with Other Accessories
>2cm

Arm
Installation Mode is set for users to dismount or remount the Siren without triggering the
tamper switch. This enables you to make adjustments without distrubing neighbours.
Press [ ] on the Remote Control 3 times, the Siren will go into installation mode after a
long beep is heard. Any Sensor or Tamper Switch triggered during installation mode will not
result in the Siren sounding alarm, but 3 beeps will be heard instead.
Press [ ] button, the Siren will exit from installation mode after a long beep is heard. If no
operation is carried out within 10 minutes, the Siren will automatically exit from installation
mode.
Please finish all the system setup on the PCB and
enter into installation mode before installation.
Hold the ‘learn’ button in the Siren until 2 beeps are heard to disconnect the accessories from Siren
7. INSTALLATION
Press [ ] on the Remote Control. The
status LED indicator in the Wireless
Remote flashes once to enter armed
status and flashes once every 5
seconds later.
Used as a standalone alarm, the user can use the Remote Control to Arm, Disarm, and Mute Arm or Disarm the Siren. SOS emergency
can also be activated.
Disarm
Press [ ] on the Remote Control,
the status LED indicator on the
remote will flash twice to enter
disarmed status.
8. REMOTE CONTROL OPERATION
Note: The default zone setting of the PIR Motion Sensor is Home Mode zone.
When users press [ ], the PIR Motion Sensor enters disarmed status.
Note: Press the Tamper Switch 7 times to enter Service Mode when changing batteries etc.
Disconnect
Hold the positioning paper in right place, stick
the gradienter on the positioning paper to
check and adjust the position.
Install two screws into the top screw holes.
Mount the bracket onto the bottom screw
holes and tighten with screws.
Tear the positioning paper.
Mount the Siren to the wall, tighten the screw and make sure the Siren is well positioned.
1.
2.
3.
4.
5.
Part Arm (Home Arm)
When the system enters Part Arm status, all the Sensors in normal zone are armed except those in
Home Mode zone. While the Home Mode Sensors are in disarmed status, users can move freely
within the range of the disarmed area.
Press [ ] on the Remote Control, the status LED indicator on the remote flashes
once to enter Part Arm status and flashes once every 5 seconds later.
Emergency Call
Whenever you press [ ] on the Remote Control, the system will alarm immediately and the alarm LED indicator will flash as well.
Without disarming the system, the status LED indicator will flash once every 2 seconds.
Positioning
paper
Gradienter

9. CONNECT NEW ACCESSORY
WITHOUT REMOVING SIREN
10. ZONE SETTING FOR WIRELESS
ACCESSORIES
SPECIFICATIONS
Note: The default zone setting of the PIR Motion Sensor is Home Mode zone.
The default zone setting of Window/Door Sensor is Normal Zone.
This function is set for use to connect newly-purchased accessories without dismounting the Siren
from the wall.
When the Siren is in installation mode, press [ ] on the Remote Control continuously for 3 times,
until you hear a long beep to show the Siren is in learning mode, then trigger the Accessory as
normal. The Siren will exit from connection status when no operation is carried out in 15 seconds.
The zones are set through the inner jumpers of the Sensors. If the zone setting is changed, the accessories need to be
reconnected with the Control Panel.
The accessory can be set in Normal Zone, Home Mode Zone or 24-Hour Zone.
Normal Zone: In Arm or Home Mode status, the system will alarm immediately once the Sensor in Normal Zone is triggered.
Home Mode Zone: In Home Mode status, the system will not alarm once the Sensor in Home Mode zone is triggered.
24-Hour Zone: In any condition, the system
will alarm immediately once the 24-Hour
zone Sensor is triggered.
DC 12V 500mA
18650 3.7V 1800mAh
rechargeable lithium battery
<350mA
< 114mA
<80m (in open area)
Temperature 0°C ~ +55°C
Relative Humidity < 80% (Non-condensing)
Power Supply
Backup Battery
Maximum Alarm Current
Static Current
Wireless Receiving Distance
Operation Condition
How to set: Open the cover of the Sensor
and change the array of jumpers to the
corresponding zone position as below
(mind the direction of D0-D3).
It is recommended to set IR Beam Sensors to
24-Hour Zone which offers full day detection.
Normal Zone Home Mode Zone 24-Hour Zone
ERA Home Security Ltd
Valiant Way, Wolverhampton,
West Midlands, WV9 5GB.
Email: [email protected]
Maximum Siren Volume
Battery Standby Time
Radio Frequency
Housing Material
IR Rating
Dimensions (L x W x H)
105dB
< 7 days
433.92MHz
PC+ANTI-UV, ABS
IP54
245.2mm x 227.5mm x 72.4mm
Other ERA Security System manuals

ERA
ERA WIRELESS HD CCTV SYSTEM User manual

ERA
ERA Invincible User manual
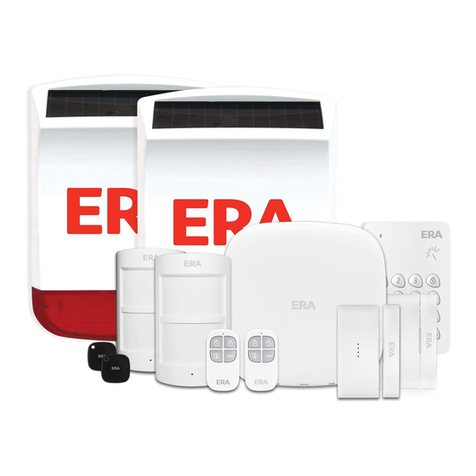
ERA
ERA HomeGuard User manual
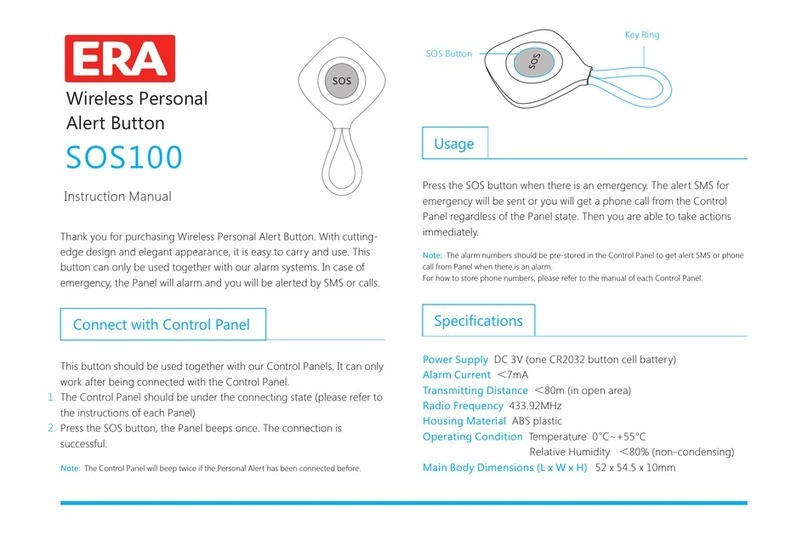
ERA
ERA SOS100 User manual
ERA
ERA Nu Mail Shield TS008 User manual
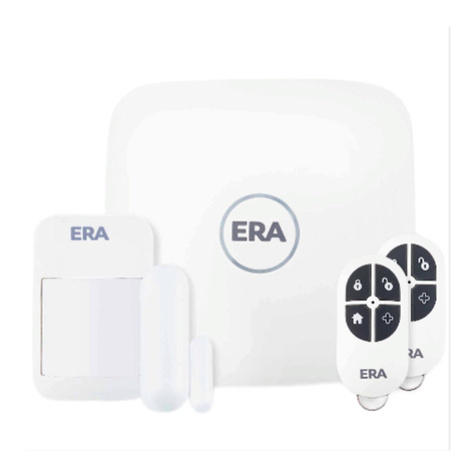
ERA
ERA Protect User manual
ERA
ERA VALIANT User manual

ERA
ERA Protect Replica Siren User manual
ERA
ERA miGuard A105 User manual
ERA
ERA SL2KITA User manual
