manuals.online logo
Brands
  1. Home
  2. •
  3. Brands
  4. •
  5. Erone
  6. •
  7. Receiver
  8. •
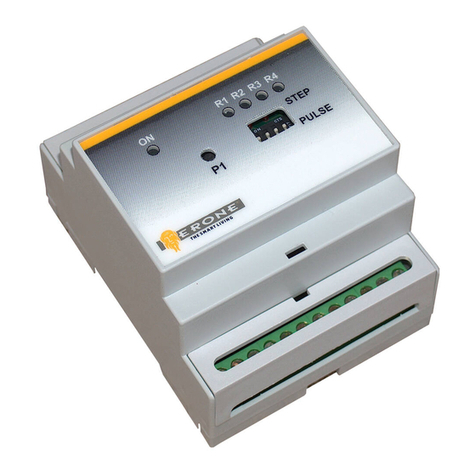
  9. Erone SELCD4A User manual

Erone SELCD4A User manual

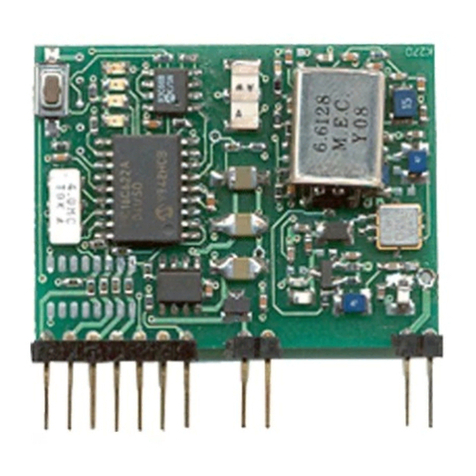
1A - Description
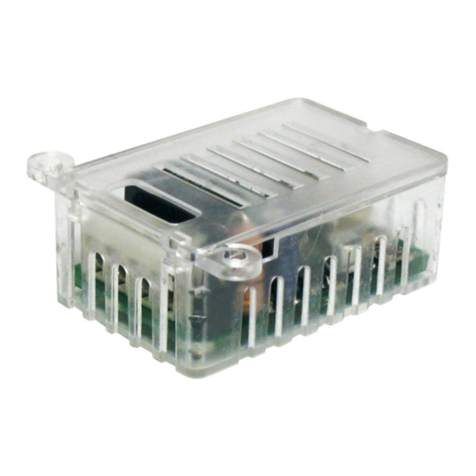
The receiver Erone type SELCD4A is a superheterodyne receiver operating at
the frequency 433.92 MHz in AM/ASK modulation. It is composed by a main
board and a RF card. The two digital outputs (CLOCK and DATA ) are pulled-
up to 5V with a 10K Ohm resistor. The frame is composed by 70 bits
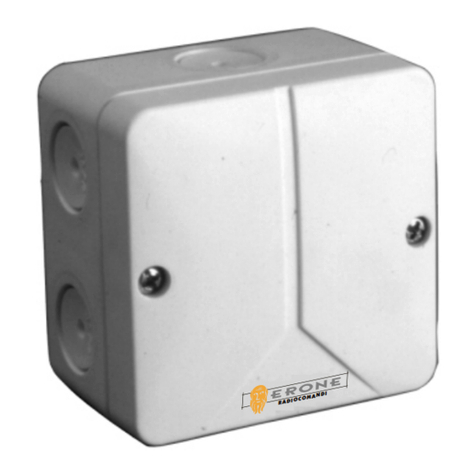
according with the The appliance is housed
in an indoor plastic casing. Hereby, CDVI Wireless Spa, declares that the
radio equipment type is in compliance with directive 2014/53/EU.
The full text of the EU declaration of conformity is available at the following
internet address: www.erone.com.
1B - Usable transmitters
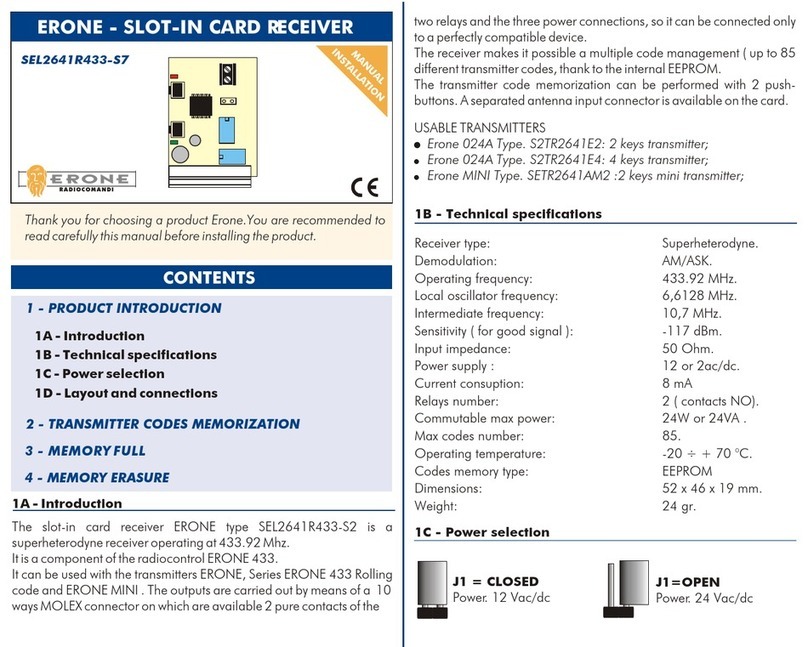
!Series Erone 024A Type. S2TR2641E2: 2 keys transmitter
!Series Erone 024A Type. S2TR2681E4: 4 keys transmitter
!Series Erone Mini Type SETR2641AM2 : 2 keys mini transmitter
!Series Erone 054A Type S5TR2641E2- E4 : 2-4 keys flat transmitter
1C - Technical specifications
Receiver type: Superheterodyne.
Demodulation: AM/ASK.
Operating frequency: 433,92 MHz.
Local oscillator frequency: 6,6128 MHz.
Intermediate frequency: 10,7 MHz.
Sensitivity: -102 dBm.
Input impedance: 50 Ohm.
Power supply : 12 ÷ 24 V ac/dc.
Current consumption: 24 mA
Output s number: 2
Output type: Clock-Data.
Max output current: 250 mA
Operating temperature: -20 ÷ + 70 °C.
Overall dimensions: 105 x 45 x 28 mm.
Weight: 65 gr.
MAG-TEK / ABA TRACE 2 format.
SELCD4A
INSTALLATION
MANUAL
CLOCK-DATA RECEIVER 433 AM
1- RECEIVER INTRODUCTION
1D - Receiver Layout
P1 : Programming button
L2 : Red led ( programming )
L1 : Green led ( power supply )
1E - Terminal board connections
1 - Not used;
2 - Output CLOCK ( Open collector );
3 - Output DATA ( Open collector );
4 - Power Supply ( 12 ÷ 24 Vac/dc );
5 - Power GND;
6 - Not used;
7 - Antenna Shield;
8 - Antenna Core;
1- RECEIVER INTRODUCTION
2- FACTORY SETTINGS
3- TRANSMITTER MEMORIZATION
4- DEFAULT RECEIVER CONFIGURATION
5- FACILITY CODE CHECK DISABLING
6- MEMORY ERASURE
1A Description
1B Usable transmitters
1C Technical specifications
1D Receiver layout
1E Terminal board connections
Thank you for choosing a this product. You are recommended to
read this manual carefully before installing the product.
7- SIGNAL FORMAT
CONTENTS
The receiver allocation is very important for the best operation of the system.
Place the receiver far from interference sources such as big magnetic fields
or radio emissions.
The installation and the positioning of the antenna is very important as well.
Before to install the antenna it is advisable to make some tests on the site.
Use shielded cable type RG58 ( impedance 50 Ohm ) for the antenna
connection.
IMPORTANT
8
7
6
5
4
3
21
GND
12-24V
L2
P1
CLOCK
DATA
SELCD4A
L1
S E L C D 4 A
8- FRAME ARCHITECTURE
45
105
28
T H E S M A R T L I V I N G
2- FACTORY SETTINGS
2- TRANSMITTER MEMORIZATION
!A short flash of L2 indicates a correct received word but not approved :
that means that the facility code or the transmitter code received is wrong.
!A flash of 1 second of L2 indicates that a correct signal has been received
and that the correct frame in wiegand format has been sent from the
outputs CLOCK and DATA.
The information contained in the frame sent by the transmitter is composed
by a FACILITY CODE , a KEY CODE and by a SERIAL NUMBER.
The set-in-factory receiver doesn’t accept any code.
That means that no formatted signal is carried out from the receiver unless a
memorization procedure is performed.
Follow the procedure below to memorize the transmitter codes into the
memory receiver.
4- FACILITY CODE CHECK DISABLING
It is possible to disable the check performed by the receiver on the facility code
of the received signal.
At the end of the following procedure, the receiver accepts any facility code
and maintains the check on the key code.
This new configuration of the receiver is temporary and can be restored by
carrying on the same procedure.
5- VISUALISATION
6- MEMORY ERASURE
This procedure allows to erase the memory of the receiver.
1) Keep button P1 pressed down until L2 turns on.
2) Release P1 and then press it again until L2 start to flash 3 times.
At this point the settings stored are cancelled, and the receiver can’t accept
any transmitter code, as a new product.
7- SIGNAL FORMAT
The timing of the signals CLOCK and DATA are the following:
CLOCK
DATA
IS-RCD4ERUK Rev. 1 del 13.06.2017
Before commencing the procedure make sure that the power led L1 is ON.
The EEPROM of the receiver is capable to store up to 50 different
combinations: “facility code - Key code”.
The key codes of each transmitter can be A, B, A+B, where A+B is the code
sent at the pressure of both the keys at the same time.
Combinations of this type can be, for example:
002 - A, 002 - B, 002 - (A+B), 003 - B, 010 - (A+B), and so on.
PART 1: transmitter key A programming
1) Keep the button P1 pressed down until L2 turns on and then release it.
2) Press the key A of the transmitter which has to be memorized.
3) The led L2 turns off and then make a short flash.
PART 2: transmitter key B programming
1) Keep the button P1 pressed down until L2 turns on and then release it.
2) Press the key B of the transmitter which has to be memorized.
3) The led L2 turns off and then make a short flash.
PART 3: transmitter key A+B programming
1) Keep the button P1 pressed down until L2 turns on and then release it.
2) Push simultaneously the keys A and B of the transmitter which has to be
memorized.
3) The led L2 turns off and then make a short flash.
If, for any reason, the memorization procedure hasn’t been successfully, the
led L2 doesn’t make the final flash.
Any operation not allowed ( memorization with full memory, memorization of
already stored codes ) causes a 2 quick flashes of led L2. The guarantee period of this product is 24 months, beginning from the
manufacturer date. During this period, if the product does not work correctly, due
to a defective component, the product will be repaired or substituted at the
discretion of the producer. The guarantee does not cover the plastic container
integrity. After-sale service is supplied at the producer's factory.
GUARANTEE
8- FRAME ARCHITECTURE
350 µS
1 mS
1) Keep the button P1 pressed down until L2 turns on and then release it.
2) Within 1 sec. press again P1.
At this point the led L2 start to flash quickly and so the receiver can accept any
facility code.
Repeat the phases 1 and 2 to cancel the operation and to recover the initial
state. If a power failure occurs after the phase2 the new configuration is kept.
The message is composed by 65 bits, divided into 14 groups of 5 bits.
The first bit carried out is the bit LSB of each group.
Each group is composed by the BCD number, corresponding to the
decimal digit, with the odd parity joined at the end.
Example: Decimal digit 7 : --> BCD : 0111 --> Inversion : 1110 -->
Odd parity : 0 --> String in output : 11100.
The parity bit is the last to be carried out.
Message example: transmission of the decimal serial number “10” of
the transmitter, acting on the key B.
The 8th packet becomes 0000 + 0001 = 0001 --> swap 1000
+ odd parity = 10000
The group identification is the following:
LEADING ZERO = “00000”
START SENTINEL = “11010”: equivalent to hexadecimal “B” completed
with the odd parity bit and sent out beginning from the (LSB).
END SENTINEL = “11111”: équivalent to hexadecimal “F” with the odd
parity bit.
LRC (Longitudinal Redundancy Check) “CCCCP” = In this case the letters
“C” are the result of the XOR of all the data and the two SENTINEL,
calculated bit by bit, and P represent the odd parity calculated over the 4
bits.
TRAILING ZERO = “00000”
DATA: 8 packets of 5 bits which represent the serial number of the
transmitter, in BCD format. Each packet includes 4 bits + odd parity and
is transmitted beginning from the bit MSB.
TRANSMITTER KEY: The transmitter key activated is codified as follows:
A = “0”; B = “1”; C = “2”; D = “3”; A+D = “4”; B+C = “5”;
C+D = “6”;
The decimal number is addictioned to the eighth packet
The combination A+B = “F” isn’t allowed.
00000 100000 11010 0000110000 00001 00001 00001 00001
10000 00001 11111 00100 00000
Leading
zero
Start
sentinel
End
sentinel
LRC Trailing
zero
Data exit
8th
packet
7th
packet
1st
packet
2nd
packet
Manufactured by CDVI Wireless Spa
Via Piave, 23 - 31020
San Pietro di Feletto (TV) - Italy
Tel. +39-0438-450879 - Fax. +39-0438-457126
Toll-free number: 800.53.46.46
e-mail: [email protected] - Web: www.erone.com

Other Erone Receiver manuals

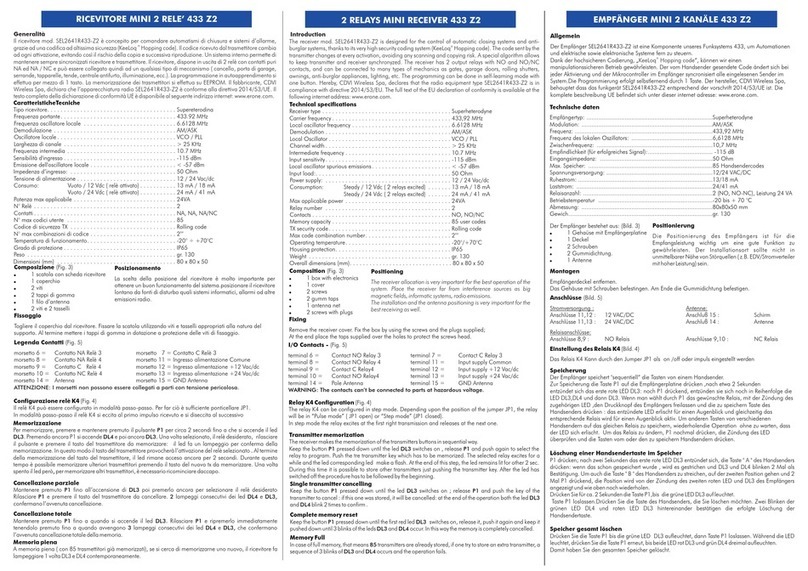
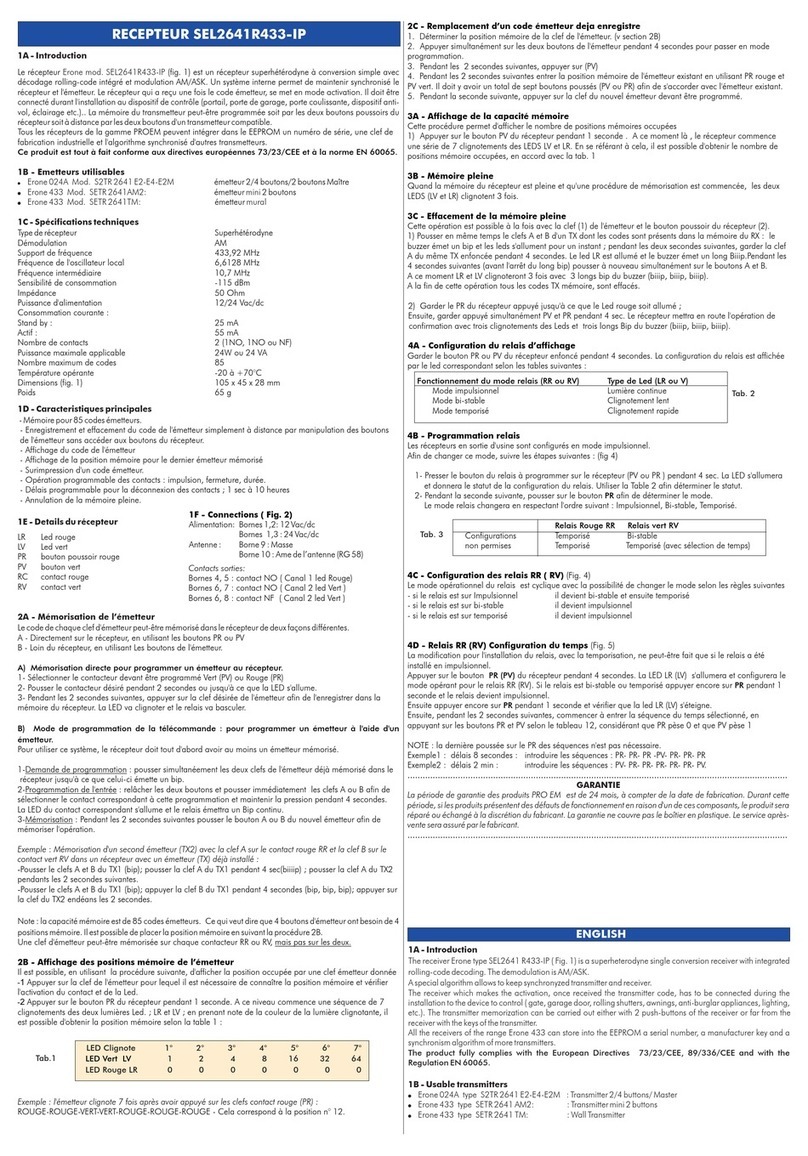
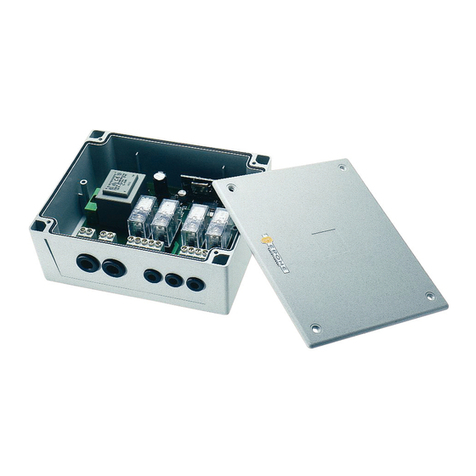
Erone EL2641 R433-IP User manual

Erone

Erone EL2641 R433-IP User manual

Erone SEL2641R433-BD4 Technical specifications

Erone

Erone SEL2641R433-BD4 Technical specifications

Erone SEL2641R433-I User manual

Erone

Erone SEL2641R433-I User manual

Erone SEL2641R433-S0 User manual

Erone

Erone SEL2641R433-S0 User manual

Erone SEL2641R433-C5P User manual

Erone

Erone SEL2641R433-C5P User manual

Erone CDVI ERMU Technical specifications

Erone

Erone CDVI ERMU Technical specifications

Erone SEL2641R433-OC4 User manual

Erone

Erone SEL2641R433-OC4 User manual

Erone SEL2641 R433-IP User manual

Erone

Erone SEL2641 R433-IP User manual

Erone SEL2641R433C2V Technical specifications

Erone

Erone SEL2641R433C2V Technical specifications

Erone SEL2641R433-K8 User manual

Erone

Erone SEL2641R433-K8 User manual

Erone ERONE 433 Series User manual

Erone

Erone ERONE 433 Series User manual

Erone SEL2641R433-TW User manual

Erone

Erone SEL2641R433-TW User manual

Erone SEL 39 R27-M1 User manual

Erone

Erone SEL 39 R27-M1 User manual

Erone SEL2681R868-Z4 User manual

Erone

Erone SEL2681R868-Z4 User manual

Erone SEL2641F433-Z4 User manual

Erone

Erone SEL2641F433-Z4 User manual

Erone SEL2641R433-S1 User manual

Erone

Erone SEL2641R433-S1 User manual

Erone SEL2641R433-C4R Technical specifications

Erone

Erone SEL2641R433-C4R Technical specifications

Erone SEL2641R433-S7 User manual

Erone

Erone SEL2641R433-S7 User manual

Erone SEL2641R433-I User manual

Erone

Erone SEL2641R433-I User manual

Erone SEL2641R433-S2 User manual

Erone

Erone SEL2641R433-S2 User manual

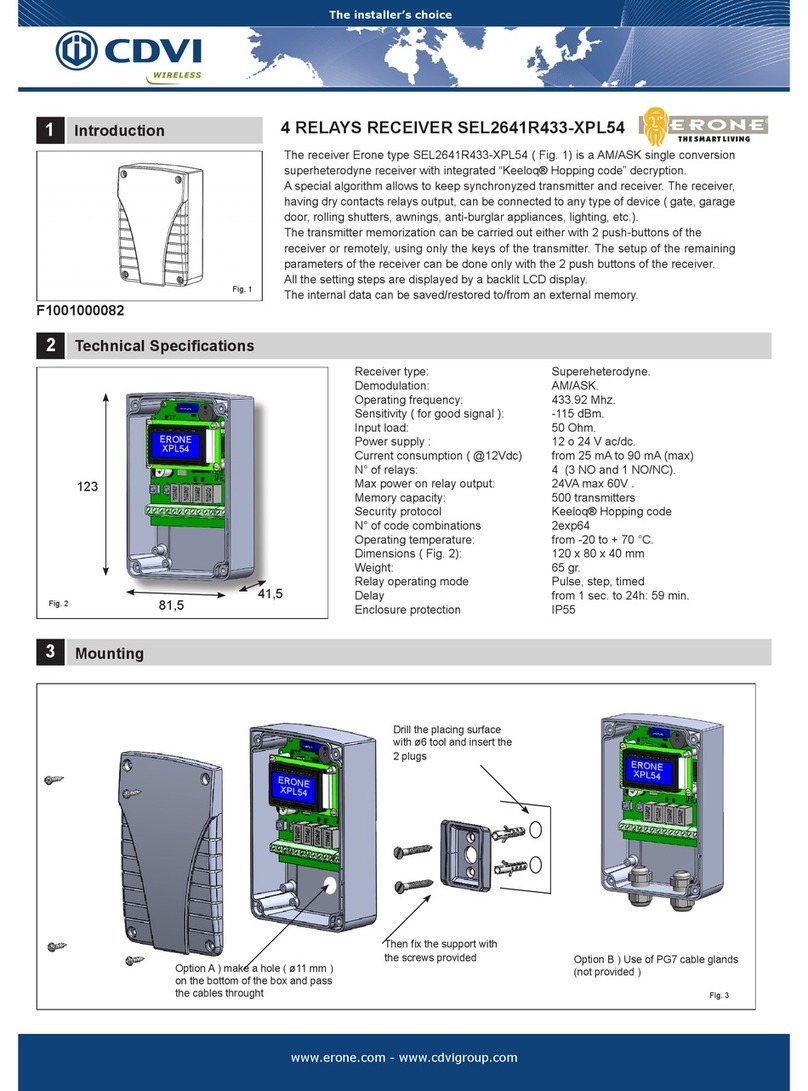
Erone SEL2641R433-XPL54 User manual

Erone

Erone SEL2641R433-XPL54 User manual

Erone SEL128R433-NN User manual

Erone

Erone SEL128R433-NN User manual

Erone SEL39R433-M4 User manual

Erone

Erone SEL39R433-M4 User manual

Erone SEL2641 R433-Z4 User manual

Erone

Erone SEL2641 R433-Z4 User manual

Popular Receiver manuals by other brands

Sharp QT-CD121 Service manual

Sharp

Sharp QT-CD121 Service manual

Arcam SOLO MOVIE 2.1 Handbook

Arcam

Arcam SOLO MOVIE 2.1 Handbook

Kramer DigiTOOLS KW-11T user manual

Kramer

Kramer DigiTOOLS KW-11T user manual

Sony SAT-A1 - Digital Satellite System operating instructions

Sony

Sony SAT-A1 - Digital Satellite System operating instructions

EisSound KBSOUND In-Wall Bluetooth Audio Receiver Installation and user manual

EisSound

EisSound KBSOUND In-Wall Bluetooth Audio Receiver Installation and user manual

Aiwa HR-D80 operating instructions

Aiwa

Aiwa HR-D80 operating instructions

CAHORS Digital TVS 8100 user manual

CAHORS Digital

CAHORS Digital TVS 8100 user manual

CYP CWHDI-Tx Operation manual

CYP

CYP CWHDI-Tx Operation manual

Grundig DSR 1750 MICRO user manual

Grundig

Grundig DSR 1750 MICRO user manual

ICStation GS1299 user manual

ICStation

ICStation GS1299 user manual

Monacor JTS US-36G2/5 instruction manual

Monacor

Monacor JTS US-36G2/5 instruction manual

Linear MEGACODE MDR-U installation instructions

Linear

Linear MEGACODE MDR-U installation instructions

Digital Everywhere FloppyDTV Assembly guide

Digital Everywhere

Digital Everywhere FloppyDTV Assembly guide

FIXED Signal user manual

FIXED

FIXED Signal user manual

iSimple BluStream ISBT21 owner's manual

iSimple

iSimple BluStream ISBT21 owner's manual

Sony BKM-256DD Instructions for use

Sony

Sony BKM-256DD Instructions for use

Onkyo TX-RZ810 user manual

Onkyo

Onkyo TX-RZ810 user manual

Strong skylink SRT 7502 installation instructions

Strong

Strong skylink SRT 7502 installation instructions

manuals.online logo
manuals.online logoBrands
  • About & Mission
  • Contact us
  • Privacy Policy
  • Terms and Conditions

Copyright 2025 Manuals.Online. All Rights Reserved.