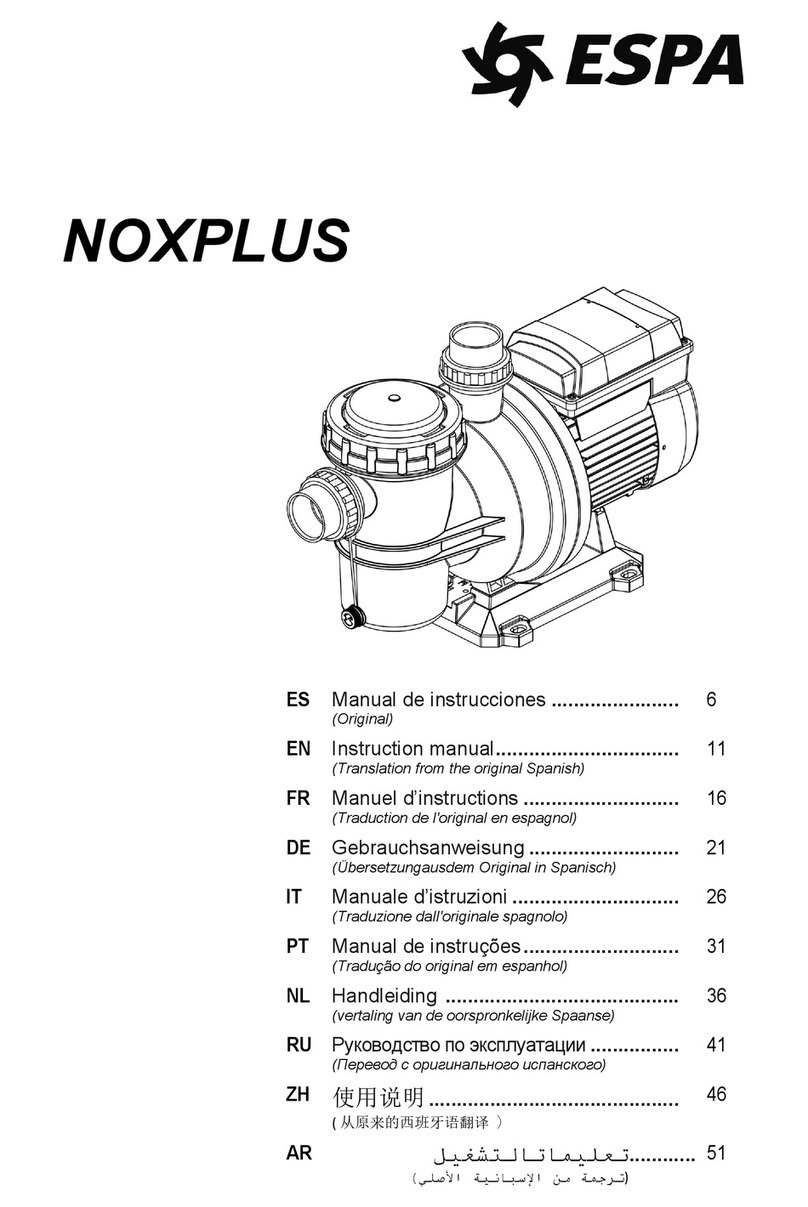
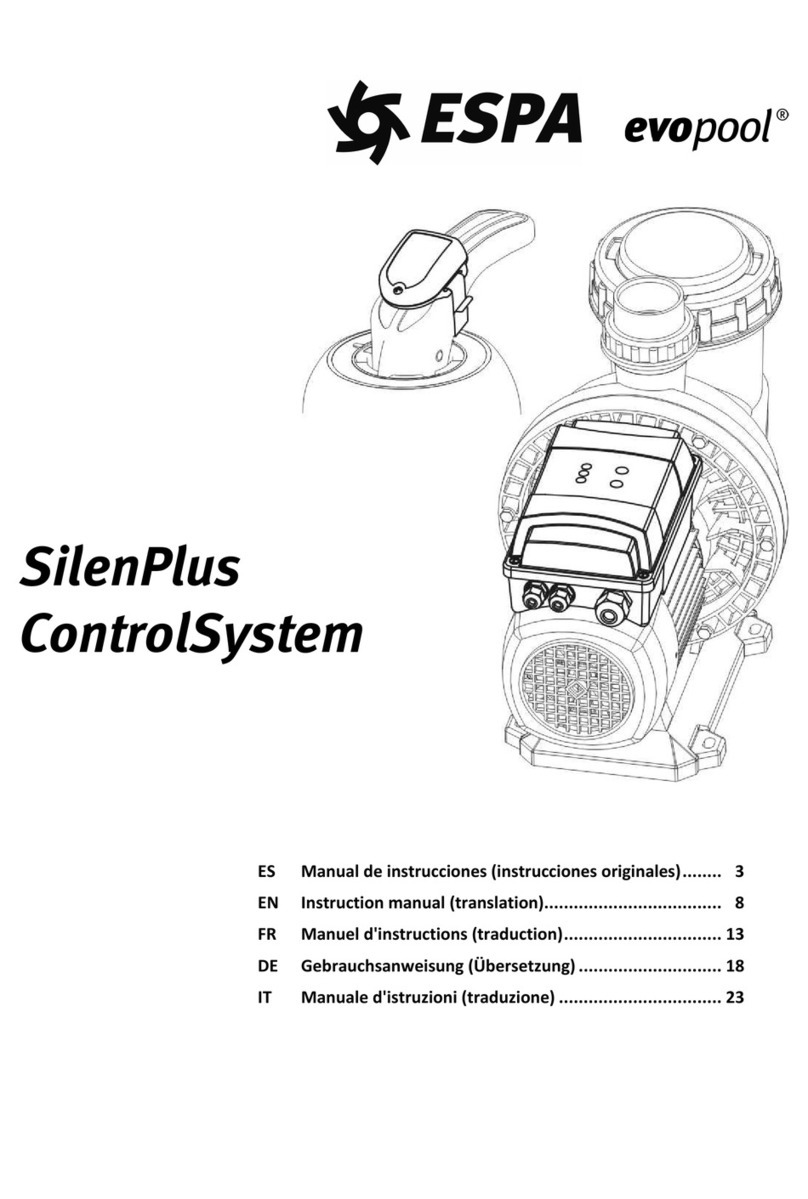
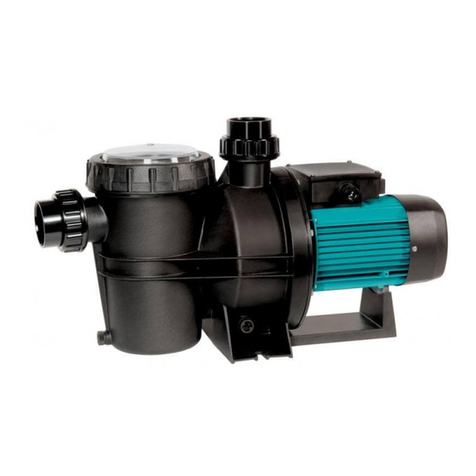
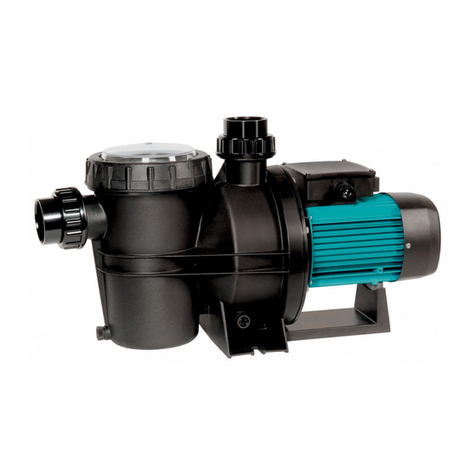
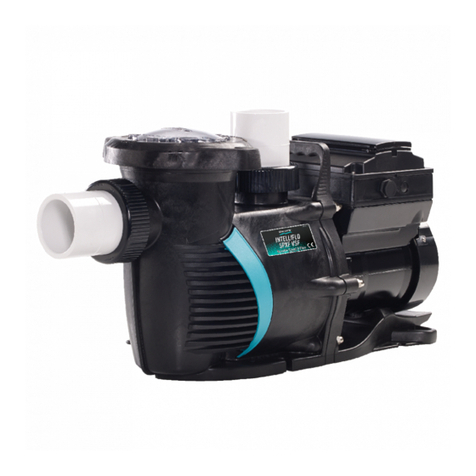
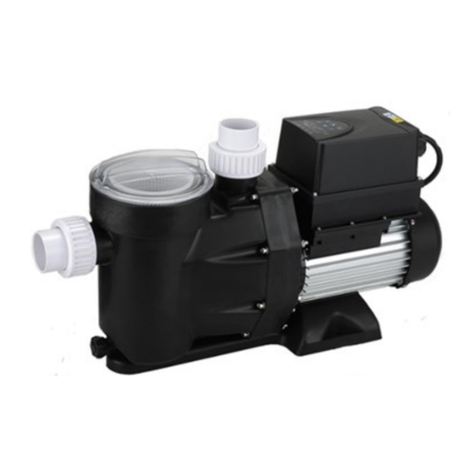
Espa Evopool ControlSystem User manual

Silenplus
ControlSystem
ES Manual de instrucciones (instrucciones originales) ....... 5
EN Instruction manual (translation) ................................... 11
FR Manuel d'instructions (traduction) ............................... 17
DE Gebrauchsanweisung (Übersetzung)............................. 23
IT Manuale d'istruzioni (traduzione)................................. 29
PT Manual de instruçoes (Tradução) ................................. 35
NL Handleiding (vertaling) ................................................ 41

12
EN
Contents
Warning for the safety of people and property 11
1. General points ........................................... 12
2. Handling ..................................................... 12
3. Installation ................................................. 12
4. Start-up ...................................................... 13
5. Operation ................................................... 14
6. Advanced configuration ............................. 14
7. Built-in timer ............................................... 15
8. Maintenance .............................................. 15
9. LED indicators ........................................... 16
10. Declaration of compliance ........................... 3
11. Illustrations................................................. 47
Warning for the safety of people and property
The following symbol beside a paragraph
indicates the possibility of danger as a result of not
following the corresponding instructions.
DANGER
electrocu-
tion risk
Not following this instruction
leads to a risk of electrocu-
tion.
DANGER
Not following this instruction
leads to a risk of injury to peo-
ple or damage to property.
WARNING
Not following this instruction
leads to a risk of damage to
the pump or the installation.
1. GENERAL POINTS
This manual is complementary to the standard instal-
lation manual for the swimming pool pumps.
The instructions we provide are intended to ensure
the proper installation and optimum performance of
swimming pool water circulation pumps equipped
with Silenplus® frequency inverter and
ControlSystem® valve position sensor.
Read these instructions before installing.
Keep them for future reference.
Following the installation and usage instruc-
tions and the electrical connection diagrams
correctly ensures that the equipment will work
properly.
Ignoring any of the instructions in this manual
can lead to all kinds of consequences for
which we accept no responsibility.
1.1 Product description
Silenplus pumps equip a standard electric motor
with a built-in frequency inverter. They are designed
for a single phase connection.
They have a radio-frequency transmitter to com-
municate with the ControlSystem® and a
Bluetooth® connection for remote control using
smartphone applications.
The ControlSystem® sensor is the position detector
for a standard swimming pool filter 6-way multiport
valve. It is equipped with electronic sensors for polar
positioning and to control the motor.
The joint working of Silenplus pumps and the
ControlSystem enables full control of the pump
functions just by operating the filter valve.
1.2 Silenplus Evopool®functions
Filtration Plus:
System which achieves filtration optimisation to in-
crease efficiency, with the resulting electricity saving,
while adding a cycle to increase the effectiveness of
pool surface cleaning.
EFFECTIVENESS: work cycles specially developed
for use in pools achieve maximum effectiveness.
SAVINGS: a minimum of 80% electricity savings
over standard pumps, with the resulting cost savings.
Backwash Plus:
Backwash system which, thanks to a specially
developed cycle, increases process efficiency while
shortening cleaning time, drastically reducing the
amount of water used for efficient cleaning.
EFFECTIVENESS: reduction of backwash time and
improved filter-cleaning efficiency.
SAVINGS: a minimum of 25% water savings over
standard pumps.
2. HANDLING
It is supplied in suitable packaging to prevent it dete-
riorating during transport. Before unpacking the
product, check that the packaging has not suffered
damage or is misshapen.
Handle the product carefully, with the right
tools.
3. INSTALLATION
This equipment is designed for use indoors.
3.1. Pump installation.
WARNING: Follow the installation manual in-
structions for the standard pump.
3.2. Electrical connection
The electrical installation must have a multiple
separation system with a 3mm contact open-
ing.
The system’s protection will be based on a dif-
ferential switch (Δfn = 30 mA).
The equipment is supplied with a power cable with plug.
Do not manipulate the equipment.

13
EN
3.3 ControlSystem installation
Fit the ControlSystem to the multiport filter valve
control. (See figure 1)
Select a location as near as possible to the turn-
ing centre.
Clean the surface with alcohol.
Lift the protective stickers and plug the
ControlSystem into the chosen place.
Watch the "ControlSystem" position. Screw
area should be closer to the rotation axis.
Secure the assembly by tightening the tape under
the control. Check that it is fixed properly.
4. START-UP
4.1 Starting up the equipment.
Follow the installation manual instructions for the
pump to start it up properly.
4.2. Initial configuration
The first time you start it up you need to link
Silenplus with ControlSystem (See figure 2)
WARNING: It is very important to follow the
order of the operations described here:
4.2.1 Starting up the Evopool
Connect the Silenplus pump to the power supply.
The system will start up and a set of lights indicates
that it has been activated.
If a ControlSystem has not already been linked to it,
the pump will not start up.
Silenplus is on standby waiting for the link to be es-
tablished. The 3 leds flash together.
4.2.2 Activating the ControlSystem
To prevent the battery running out before the equip-
ment is started up, the ControlSystem has an
internal ON/OFF switch that must be activated (See
figure 2)
CAUTION: Do not approach magnetic ele-
ments to ControlSystem during this
operation.
Ensure that no magnetic fields can affect the
proper operation of the system.
WITH THE PUMP CONNECTED TO THE
ELECTRICAL CURRENT (see 4.2.1):
Make sure the valve is in the intermediate posi-
tion between 1 and 4
Lift the cover, loosening the screw.
Activate the ControlSystem by moving the mini-
switch to the "ON” position.
When the battery is connected, ControlSystem
transmits a unique code for an interference-free
link. Flashing leds indicate that proper communica-
tion has been achieved. The green LED will light.
Replace the cover and fix it with the screw.
Torque: 0.2 Nm.
4.2.3 Calibrating the ControlSystem
The 6 valve positions must be indicated to the sys-
tem. For this purpose, use the following calibration
process (See Figure 3):
1 - Move the valve control to position 4.
Wait for the green LED is illuminated.
2 - Move the valve control to position 6.
Wait for the green LED is illuminated.
3 - Move the valve control to position 2.
Wait for the green LED is illuminated.
4 - Move the valve control to position 5.
Wait for the green LED is illuminated.
5 - Move the valve control to position 3.
Wait for the green LED is illuminated.
6 - Move the valve control to position 1.
The pump will start up in Auto Filtration Plus mode.
The corresponding LED will come on.
4.3 Multiple system
In an installation with several pieces of equipment,
Silenplus must be started up and the
ControlSystem activated in order.
Each piece of equipment is linked using a unique
code to prevent interference between them.
A Silenplus pump in standby mode will be linked to
the first ControlSystem activated.
WARNING: activate the ControlSystem of
the valve for the pump on standby.
4.4 In the absence of ControlSystem
If you do not have ControlSystem or prefer not to
use it, the system can work just as well manually.
Ignore the activation and calibration operations,
switch to Manual mode and then connect the
Silenplus.
4.5 Changing the ControlSystem
If it is necessary to replace the ControlSystem in a
system that is already linked, you will need to delete
the old serial number before linking the new one.
To do this, with the Silenplus pump connected to the
power supply, keep the F button pressed down for
10 seconds. Flashing leds indicate that the operation
has been carried out correctly.
The previous serial number will be deleted and the
system will go into “link standby” mode. Proceed as
indicated in 4.2.2.

14
EN
5. OPERATION
5.1 AUTO mode
This is the default operating mode.
The pump carries out the most appropriate function
considering the position of the filter valve. (See fig. 3)
In FILTRATION position: Filtration Plus function
In BACKWASH position: Backwash Plus func-
tion
In CLOSED position: pump stopped.
In any of the other positions: the pump operates
at 100% power.
When you operate the valve control, the pump
stops automatically to make the valve movement
easier.
In any intermediate position, the pump remains
stopped.
To change the working mode, simply move the valve
to the desired position.
To prevent accidental operation, the elec-
tronic response is delayed by 1 second. The
flashing red LED indicates that proper com-
munication has been achieved.
Move the valve gently.
WARNING: the valve configuration must cor-
respond to the 6 standard positions, according
to figure 3.
For other valve configurations, contact your technical
service.
5.2 MANUAL mode
When you press the M key, Silenplus ignores the
ControlSystem signal and runs one of the pre-set
functions:
The MANUAL LED comes on.
The pump starts up at a fixed, programmable speed.
The standard setting is 2,300 RPM (40 Hz). This is
what is known as the MIXED CYCLE (MISC.
CYCLE).
If you press the F key, it runs through the various
Silenplus functions in sequence.
Between each function, the pump stops to allow
valve movement or other operations.
The sequence is:
1. Mixed cycle (MISC. CYCLE).
2. Stop.
3. Filtration Plus.
4. Stop.
5. Backwash Plus.
6. Stop.
7. Mixed cycle...
The lit leds indicates the function selected at all times.
When you press the M button again, you leave Man-
ual mode to go back to Auto.
5.3 No water fault and retries.
In Filtration Plus mode, the system is regularly
monitored to check that the pump is not operating
without water.
If Silenplus detects the pump is working without wa-
ter it stops the motor.
The system will attempt to start up again after 1', 5',
15' and 1 hour (Fig. 5). If the retries fail, Evopool will
remain in permanent fault mode.
An LED sequence indicates the fault status. (See
section 9)
To interrupt the retry cycle or to restart from perma-
nent fault mode, press the F key.
5.4 System status
Espa offers installers and users the EspaEvopool
application for monitoring the system status and in-
teracting with Silenplus.
They must have a Smartphone with Bluetooth
connectivity and install the application
EspaEvopool available in www.espa.com
and in PlayStore or AppStore.
With this app, it is possible to switch between Man-
ual/Auto modes and use all functions.
6. ADVANCED CONFIGURATION
Different speeds can be set to adjust the functions to
the characteristics of the installation.
The function being run will be configured.
To configure a function, first select it, either in Man-
ual or Auto mode, and at the same time press M + F
for 5 seconds.
All the speeds of the selected function will return to
the factory settings [= fs]
To increase or decrease the speed, press M or F:
M = + 1 Hz
F = - 1 Hz
Configuring Filtration Plus.
The filtration speed is set.
· Minimum = 20 Hz (1,600 RPM), [= fs]
· Maximum = 50 Hz (2,900 RPM)]
Configuring Backwash Plus.
The maximum and minimum speeds are set, al-
ways maintaining a differential of 20 Hz between
them
· Minimum = 20/40 Hz (1,600/2,320 RPM), [= fs]
· Maximum = 30/50 Hz (1,740/2,900 RPM)
Configuring the Mixed Cycle (Manual only)
The factory setting is 2,320 RPM (40 Hz)
· Minimum = 20 Hz (1,600 RPM)
· Maximum = (50 Hz (2,900 RPM)
If M and F are not pressed for 5 seconds the new
values are stored and the configuration mode is de-
activated.
Silenplus can also be entirely configured us-
ing the EspaEvopool application.
15
EN
7. BUILT-IN TIMER
The Silenplus pump has an internal clock that can
operate as a start and stop timer, making external
programming unnecessary.
With this function, Silenplus can operate entirely in-
dependently.
ATTENTION: the programming and mainte-
nance of the timer is only possible through the
EspaEvopool app.
7.1 Activating the timer.
DANGER. Electrocution risk.
Never open the Silenplus cover without turn-
ing the power supply off at least 5 minutes
beforehand.
Lift the Silenplus cover by loosening the 4
screws. (See figure 6)
Activate the Timer using the mini-switch, moving
it to the “ON” position.
Replace the cover and fix it with the 4 screws.
Torque: 0.5 Nm.
7.2. Time setting.
Link Silenplus with the external device using Blue-
tooth, following the instructions on the device.
Run the EspaEvopool app and follow its indications.
8. MAINTENANCE
ControlSystem:
If ControlSystem is not communicating with
Silenplusit may be necessary to replace the battery.
Proceed as in figure 7.2.
It is a 1.5 V, CR2450 type battery.
Silenplus:
Our Silenplus equipment is maintenance free.
The Silenplus time programmer works with a
CR1220 battery. To replace it proceed according to
figure 7.1
Clean the equipment with a damp cloth and without
using aggressive products.
In freezing weather, take the precaution of
emptying the pipes.
If the equipment is going to be inactive for a
long time, you are recommended to dismantle
it and keep it in a dry, well-ventilated place.
WARNING: in case of a breakdown, the
equipment must only be touched by an author-
ised service technician.
The list of official technical services can be found at
www.espa.com.
When the time comes to throw the product away, it
does not contain any toxic or polluting material. The
main components are duly identified so you can dis-
pose of them selectively.
This product or parts of it must be disposed of in an
environmentally sound way, use the waste collection
service. If this is not possible, contact the nearest
ESPA service workshop.

16
EN
9. LED INDICATORS
In Silenplus pump
The possible LED combinations and their meanings are:
0 = LED OFF
1 = LED ON
2 = LED flashing slowly
3 = LED flashing quickly
AUTO/
MANUAL/
FAULT
BACKWASH
Plus
FILTRATION
Plus
Equipment status
Functions
0
0
1
Filtration Plus function in Auto mode.
0
1
0
Backwash Plus function in Auto mode.
0
1
1
Mixed Cycle function in Auto mode. Motor at 100%.
1
0
1
Filtration Plus function in Manual mode.
1
1
0
Backwash Plus function in Manual mode.
1
1
1
Mixed Cycle function in Manual mode.
2
0
0
“Standby" mode. The equipment has power, motor stopped.
a) Valve in intermediate positions or position 6 in Auto mode.
b) Stop function in Manual mode.
c) Timer OFF position.
Configuration
3
3
3
Initial configuration: standing by for link with ControlSystem
(...together...)
3
0
1
Filtration Plus speed setting.
3
1
0
Backwash Plus speed setting.
3
1
1
Mixed Cycle speed setting.
Errors
2
1
2
No water error. Start-up retry attempted.
2
1
1
No water error. Full shut-down.
When moving the control of the ControlSystem:
Number of flashes
ControlSystem status
3
The ControlSystem is not linked to any Silenplus.
2
Communication error. Call for service.
1
The ControlSystem works correctly.
0
Replace the ControlSystem battery

199457 02-2021/11
ESPA 2025, S.L.
C/ Mieres, s/n – 17820 BANYOLES
GIRONA – SPAIN
www.espa.com
This manual suits for next models
1
Table of contents
Other Espa Swimming Pool Pump manuals
Popular Swimming Pool Pump manuals by other brands

Intex
Intex Krystal Clear CS8221 owner's manual

Intex
Intex 128638GS owner's manual

STA-RITE
STA-RITE DURA-GLAS PE Series owner's manual

STA-RITE
STA-RITE DURA-GLAS owner's manual

Theralux
Theralux Theraflo S-Series Installation and operating instruction manual

Wilo
Wilo Wilo-FilTec FBS Installation and operating instructions

Astral Pool
Astral Pool VICTORIA DUAL SPEED manual

AQUA FORTE
AQUA FORTE GFVS19N Installation & operation manual

Profi-pumpe
Profi-pumpe POOL-STAR 370 operating instructions

Astrapool
Astrapool AQUASPHERE SSP instruction manual

OEG
OEG 650 001 082 Installation and operating instructions

Aquagarden
Aquagarden 150-300 instructions