Safetymarkings:
Read thisfirst:
>Ifinanydoubt, consultaqualified
electrician.
>Switchoff the mains before commencing
installation and removethe appropriatecircuit
fuse.
>Suitable for outdoor use.
>This product issuitable for installation on
surfaces withnormal flammability(indicated by
the "F"in atriangle )e.g.wood, plasterboard,
masonry.
>Before making fixing hole(s), check thatthere
are no obstructions hidden beneaththe
mounting surfacesuchaspipes or cables.
>The chosen location ofyour new fitting should
allow for the product tobe securelymounted
and safely connected tothe mainssupply
(lighting circuit ).
>When choosing the location for your newfitting,
ensure that the fixings will be anchored in a
solid surfacee.g.concrete,brick or ajoist—do
not fix directly ontopanelling, cladding,
plasterboard etc.
>If the location ofyour new fitting requires the
provision of anew electricalsupply, the supply
must conformwiththe requirements ofthe latest
edition of the IEE wiring regulations.
>This product isdesigned for permanent
connection tofixed wiring: thisshould be either
asuitable lighting circuit (protected witha5or 6
AmpMCBor fuse)or afused spur (witha3
Ampfuse)via afused connection unit. We
recommend that the supply incorporates a
switchfor easeofoperation.
>Makeconnections tothe electricalsupply in
accordancewiththe following code:
Live-Brownor Red
Neutral -Blue or Black
Earth-Green and Yellow
>This product must be connected toEarth.
Installation:
1) Loosen the twoscrews and lift offthe front
cover.
2) Removethe twoscrews that retain the reflector
and lift itaway.
3) Choosethe position ofthe fixing holes in the
back ofthe fitting and clear through using a
suitably sized drill.
4) Using the backofthe fitting as atemplate, mark
off the position ofthe fixing holes on the
mounting surface.
5) Choosethe location ofthe cable entry (end or
rear )and makeasuitablysized hole.
6) Peel off the waxpaper backing fromthe large
square gasket (supplied )and stick it intothe
square recess in the backofthe fitting over the
fixing holes.
7) Fit either arubber grommet or cable gland into
the hole.
8) If fitting agrommet, pierceit but ensure that the
hole is not made too large sothat agood,
water-tight seal ismaintained around the cable.
Thread the supply cable in through the
grommet. Iffitting acable gland, ensure that itis
properly tightened.
9) Using fixings appropriatetothe weight ofthe
fitting and the mounting surface,secure the
fitting in position.
10)Fit the heat-proofsleeving over the supply
cable.
11)Connect the supplycable tothe terminals inside
the fitting according tothe wiring code listed
opposite.
12)Secure the cable in the cable grip
13)Re-fitthe reflector and securelytighten the
screws.
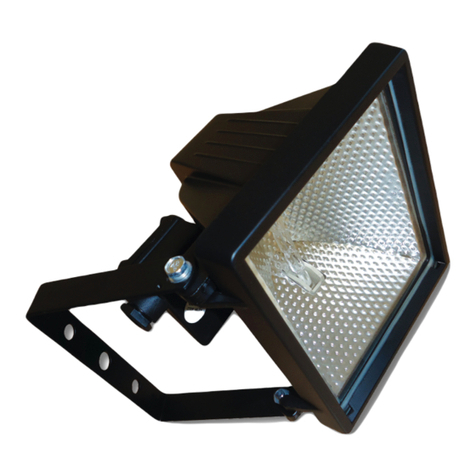
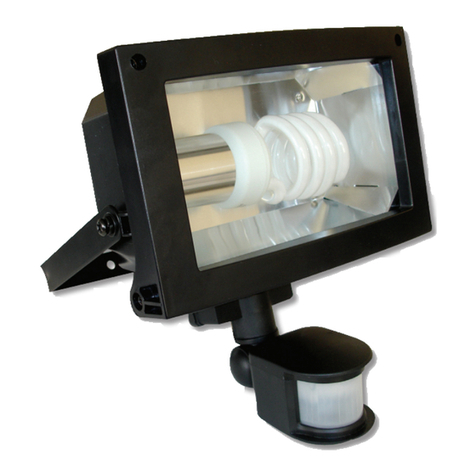
14) Insert lamp—observerated Wattage.
15)Replacethe cover and secure in place.Ensure
that the gasket around the cover isintact and
fitted correctly.
16)Restore the power and switchon.
IP65
SAP70MINI 040914PA
Make supply connections here Photocell
Capacitor
Lampholder
Ballast
Cable grip
