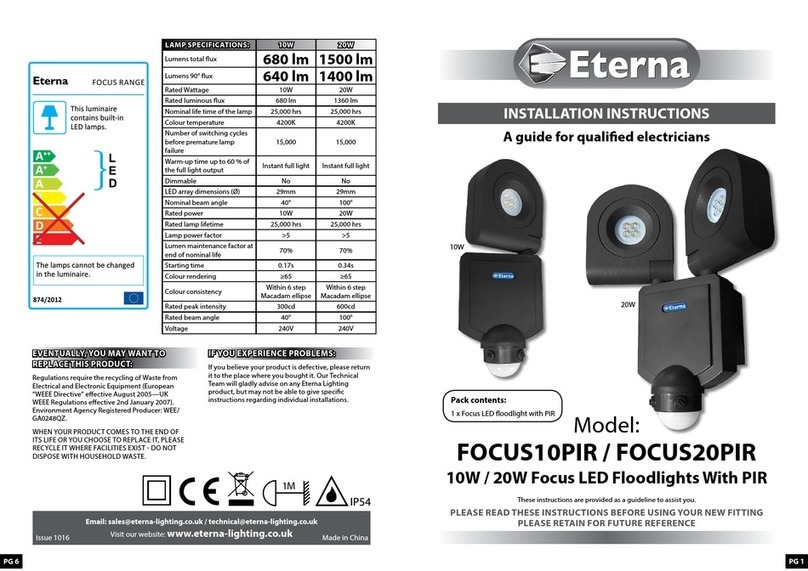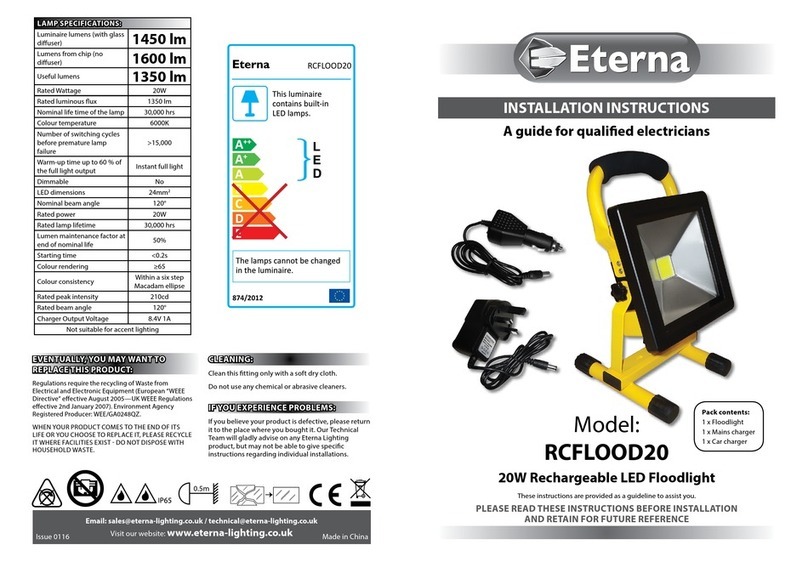
9. Thread the supply cable into the connection box
and make the connections according to the colour
code listed opposite and observing the terminal
identification markings inside the connection box.
10. Push the rubber gland and nut back along the
cable until they locate in the threaded cable entry
and tighten the nut sufficiently to grip the cable
and make the entry water-tight. Do not over-
tighten.
11. Replace the connection box cover and replace the
four screws. Ensure that the sealing gasket is
correctly positioned.
12. Adjust the position of the light so that it illuminates
the desired area and limiting the spread of light
onto neighbouring property.
13. Tighten the bracket fixing screws on the side of the
fitting to lock in position.
14. Undo the screw at the top of the glass safety shield
on the front of the light fitting and allow to hang
from the hinge.
15. Carefully remove the lamp from the box taking care
not to touch it with bare hands.
16. Using a soft, dry, clean cloth, grip the lamp and fit it
between the sprung contacts in the lampholder.
17. Close the glass safety shield and tighten the screw.
Ensure that the waterproofing gasket in correctly
positioned.
18. Restore the power and switch on.
Specification
Voltage: 220-240 V 50 Hz
Weatherproof: IP44
Class I Protection: Class I / Earthed
Safety Markings:
Cleaning
Disconnect the power and clean the exterior only of
this fitting with a moist (not wet) cloth.
Do not use any chemical or abrasive cleaners.
Lamp Replacement
1. Switch off the electricity at the mains.
2. Allow to cool down then undo the screw at the top
of the glass safety shield and allow to hang down
on the hinge.
3. Remove and replace lamp making sure it is of the
same type and wattage as stated on the re lamping
label, do not touch with bare fingers, grip the lamp
with a tissue or clean soft cloth.
4. Replace the glass safety shield and tighten the
retaining screw. Ensure that the gasket is positioned
correctly
5. Restore the power and switch on.
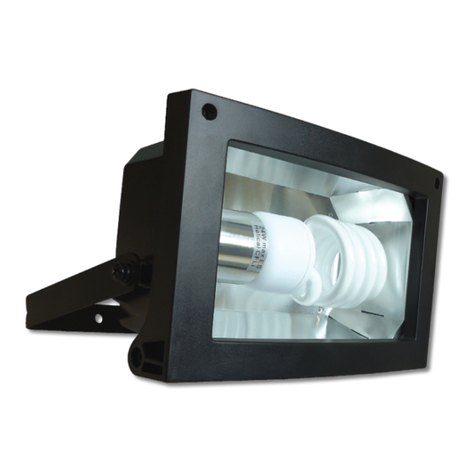
Replacement Lamp Type
ETH120L/LWH ETH400L/LWH
Wattage: 120W 400W
Supply Voltage: 240V
Type: Double ended linear Halogen
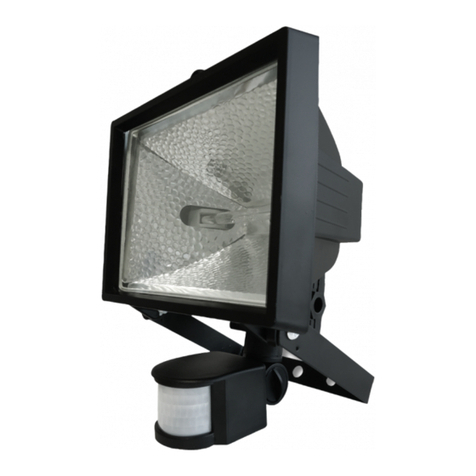
General Information, Safety and Installation Instructions
Read this first
Check the pack and make sure you have all of the
parts listed on the front of this booklet. If not, contact
the outlet where you bought this product.
This product contains glass, care must be taken when
assembling, fitting or handling to prevent personal
injury or damage to the product.
This light fitting must be installed by a competent
person in accordance with the Building Regulations
making reference to the current edition of the IEE
Wiring Regulations (BS7671). The Building Regulations
may be obtained from HMSO or viewed and
downloaded from www.communities.gov.uk following
the link for Building Regulations.
As the buyer, installer and/or user of this product it is
your own responsibility to ensure that this fitting is fit
for the purpose for which you have intended it. Eterna
Lighting cannot accept any liability for loss, damage or
premature failure resulting from inappropriate use.
If in any doubt, consult a qualified electrician.
The lamps (bulbs/tubes) supplied with this fitting are
consumable parts and therefore may be outside of any
warranty offered.
Switch off the mains before commencing installation
and remove the appropriate circuit fuse.
When working at heights, please use a suitable
platform.
Disconnect the fitting from the electrical supply before
flash or high voltage testing.
Suitable for outdoor use.
This product is suitable for installation on surfaces
with normal flammability e.g. wood, plasterboard, and
masonry. It is not suitable for use on highly flammable
surfaces (e.g. polystyrene, textiles).
Before making fixing hole(s), check that there are no
obstructions hidden beneath the mounting surface
such as pipes or cables.
The chosen location of your new fitting should allow
for the product to be securely mounted and safely
connected to the mains supply (lighting circuit).
When choosing the location for your new fitting,
ensure that the fixings will be anchored in a solid
surface e.g. concrete, brick or a joist—do not fix directly
onto panelling, cladding, plasterboard etc.
If the location of your new fitting requires the provision
of a new electrical supply, the supply must conform
with the requirements of the Building Regulations
making reference to the current edition of the IEE
Wiring Regulations (BS7671).
This product is designed for permanent connection to
fixed wiring: this should be either a suitable lighting
circuit (protected with a 5 or 6 Amp MCB or fuse) or a
fused spur (with a 3 Amp fuse) via a fused connection
unit.
We recommend that the supply incorporates a switch
for ease of operation.
Make connections to the electrical supply in
accordance with the following code:
Live - Brown or Red
Neutral - Blue or Black
Earth - Green and Yellow
When making connections, ensure that the terminals
are tightened securely and that no strands of wire
protrude. Check that the terminals are tightened onto
the bared conductors and not onto any insulation.
This product must be connected to Earth.
IMPORTANT— Always switch off at the mains before
changing the lamp.
You are advised at every stage of your installation to
double-check any electrical connections you have
made. After you have completed your installation there
are electrical tests that should be carried out: these
tests are specified in the Wiring Regulations (BS7671)
referred to in the Building Regulations. If in doubt,
consult a qualified electrician.
Installation
1. Choose the location for your new floodlight giving
consideration to the points above.
2. Remove the bracket from the light by removing the
screws and nuts on each side
3. Fix the bracket to the mounting surface using a spirit
level (if available) to ensure that the bracket is
fixed level and using appropriate fixings (not
supplied).
4. Attach the light fitting to the bracket using the
screws, washers and nuts you removed earlier.
5. Rotate the fitting in the bracket so that the light
faces directly downwards, this will give you easy
access to the connection box from above.
6. Remove the cover from the connection box by
removing the four screws and lifting off.
7. Remove the gland nut from the side of the
connection box and thread your supply cable
through.
8. Remove the rubber gland from the cable entry on
the side of the connection box and thread onto the
cable.
Installation Instructions and Care
IP44
