WARNUNG
Lesen Sie diese Bedienungsanleitung vor Inbetriebnahme sorgfältig durch!
Nichtbeachtung kann zu Personenschäden, Schäden am Gerät oder Ihrem
Eigentum führen!
1. Erhöhen Sie den Luftdruck nicht über die Herstellerempfehlung!
2. Schützen Sie den Kompressor und dessen Komponenten vor Feuchtigkeit!
3. Lassen Sie den Kompressor in Betrieb nicht unbeaufsichtigt!
4. Halten Sie Kinder fern und lassen Sie Kinder dieses Gerät nicht bedienen!
5. Benutzen Sie dieses Produkt nur für die dafür vorgesehene Verwendung!
6. Manipulieren oder zerlegen Sie den Kompressor nicht!
7. Sollte der Kompressor ungewöhnliche Geräusche abgeben oder überhitzen, schalten Sie
ihn sofort aus und lassen ihn mindestens 30 Minuten abkühlen!
8. Überprüfen Sie den Kompressor vor Inbetriebnahme. Beschädigte, gerissene oder
gebrochene Bauteile sollten ausschließlich durch qualifizierte Techniker instandgesetzt
werden!
9. Setzen Sie den Kompressor niemals Frost, Regen oder Temperaturen über 30° C oder
unter – 30° C aus!
10. Niemals an Menschen oder Tieren anwenden!
11. Stellen Sie sicher, dass Schlauch und Kabel keinen scharfen Kanten, Öl oder zu heißen
Gegenständen ausgesetzt wird!
12. Warnung! Verwenden Sie zu Ihrer eigenen Sicherheit ausschließlich Zubehör oder
Ersatzteile, die in der Anleitung angegeben sind, oder deren Verwendung durch den
Hersteller empfohlen wird!
WARNUNG
Diese Anleitung soll Ihnen Informationen zu Funktion und Leistung geben.
Bewahren Sie diese Anleitung als Nachschlagewerk für die Zukunft auf. Prüfen
Sie vor Inbetriebnahme den Inhalt der Box auf Unversehrtheit und
Vollständigkeit!
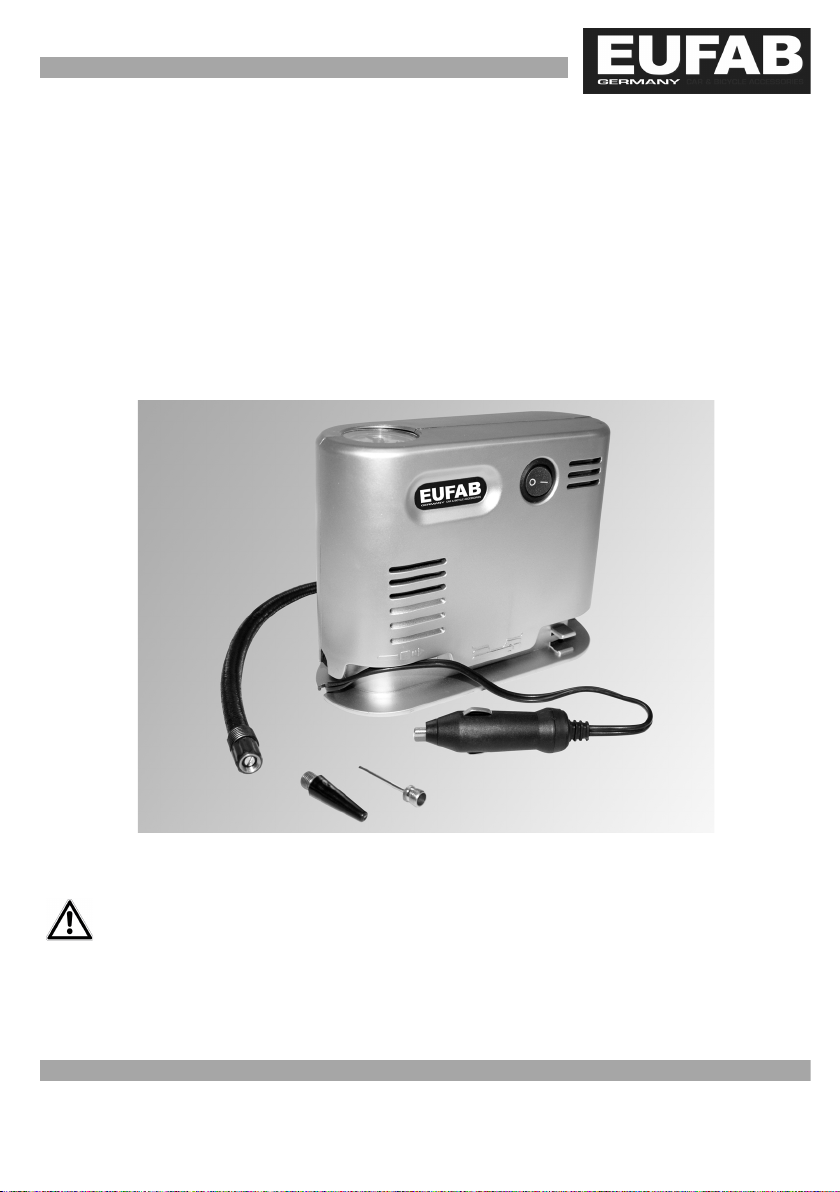
Bedienungsanleitung
Aufpumpen eines PKW- Reifen und Fahrradreifen
1. Wickeln Sie das 12 Volt Kabel ab und verbinden Sie den 12 Volt Adapter mit dem 12 Volt
Anschluss Ihres Fahrzeuges.
2. Schrauben Sie die Gewindebuchse des Schlauchendes auf das Reifenventil.
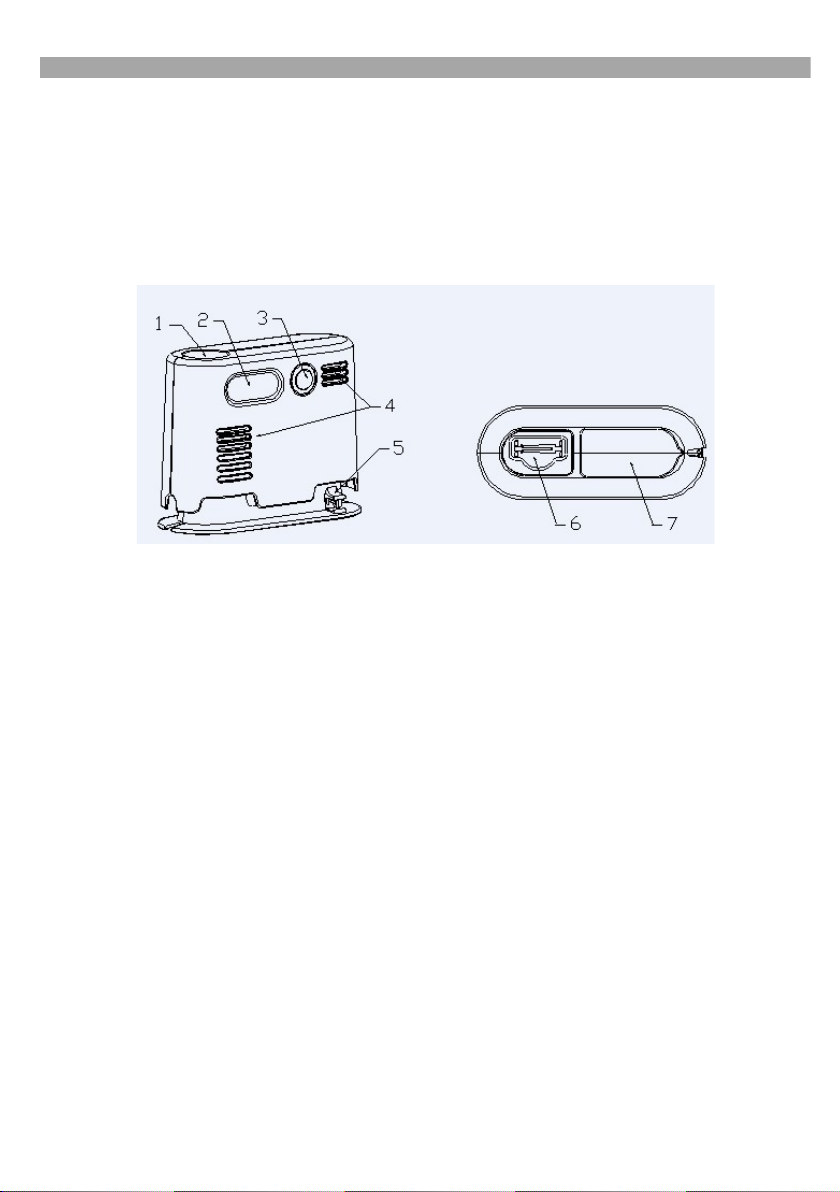
3. Starten Sie den Kompressor durch Betätigen des Schalters (3), bis der gewünschte
Reifendruck erreicht ist. Schalten Sie nun den Kompressor ab.
4. Trennen Sie den 12 Volt Anschluss vom Fahrzeug und entfernen Sie den
Gewindeanschluss vom Reifenventil.
Hinweis: Überprüfen Sie den Reifendruck Ihres Fahrzeuges anhand der empfohlenen Werte in
der Bedienungsanleitung, um einen Überdruck zu vermeiden. Fahrradreifen überprüfen Sie bitte
anhand der Reifenkennzeichnung.
Aufpumpen von Sportgeräten (z.B. Basketball) oder Luftballons
1. Wickeln Sie das 12 Volt Kabel ab und verbinden Sie den 12 Volt Adapter mit dem 12 Volt
Anschluss Ihres Fahrzeuges.
2. Schrauben Sie den Ball/ Ballon- Adapter in die Gewindebuchse des Schlauchendes.
3. Fügen Sie den Ball/ Ballon- Adapter in das Ventil des aufzublasenden Objekts ein.
4. Starten Sie den Kompressor durch Betätigen des Schalters (3), bis die gewünschte
Festigkeit erreicht oder das Objekt vollständig aufgeblasen ist. Schalten Sie nun den
Kompressor ab.
5. Entfernen Sie den Adapter aus dem Ventil des aufgeblasenen Objekt und schrauben Sie
die Gewindebuchse des Schlauchendes ab.
6. Trennen Sie den 12 Volt Anschluss vom Fahrzeug und bewahren Sie das Kabel in dem