8
SOMMAIRE
AVERTISSEMENT
Lisez attentivement la notice d‘utilisation
avant la mise en service et respectez toutes les
consignes de sécurité ! Tout non-respect de
ces consignes peut entraîner des dommages
corporels, endommager l‘appareil ou vos biens !
Conservez l‘emballage d‘origine, le justicatif
d‘achat et la présente notice pour vous y référer
ultérieurement ! Si vous revendez ou remettez
l‘appareil à des tiers, veuillez également leur
remettre cette notice d‘utilisation. Avant la
mise en service, veuillez contrôler le contenu de
l‘emballage quant à l‘absence de dommages et
vérier si toutes les pièces sont présentes !
1. UTILISATION CONFORME
Le compresseur multifonction rechargeable peut être utilisé par
exemple pour goner des pneus de motos et de vélos, des ballons et
des jouets gonables.
Grâce à sa fonction d‘arrêt automatique programmable, les
objets peuvent être gonés à l‘air sans dépasser leur pression de
fonctionnement optimale. L‘achage numérique peut être utilisé
comme dispositif de surveillance pendant le processus de gonage.
De plus, l‘appareil dispose d‘un port USB pour charger les batteries de
téléphones mobiles, smartphones, tablettes, lecteurs MP3 et autres
appareils similaires et d‘un éclairage LED.
Cet appareil n‘est pas destiné à être utilisé par des enfants ou des
personnes aux capacités mentales limitées ou ne disposant pas de
l‘expérience ou des connaissances nécessaires. Les enfants doivent
rester à distance de cet appareil.
L‘appareil n‘est pas destiné à une utilisation industrielle ou
commerciale.
L‘utilisation conforme aux prescriptions implique également le respect
detouteslesinformationscontenuesdans cettenoticed‘utilisation,en
particulier le respect des consignes de sécurité. Toute autre utilisation
est considérée comme non conforme et peut entraîner des dommages
matériels ou corporels. La société EAL GmbH décline toute responsa-
bilité en cas de dommages découlant d’une utilisation non conforme
à l’emploi prévu.
• Le triangle de signalisation indique toutes les inst-
ructions relatives à la sécurité. Respectez-les à tout
moment car vous risqueriez sinon de vous blesser ou
l‘appareil risquerait d‘être endommagé.
• Les enfants ne doivent pas jouer avec l‘appareil.
• Les tâches de nettoyage et d‘entretien à eectuer chez
soi ne doivent pas être exécutées par des enfants qui
ne sont pas sous surveillance.
• Ne laissez pas traîner le matériel d‘emballage. Il
pourrait devenir un jouet dangereux pour les enfants !
• N‘utilisez cet appareil qu‘aux ns pour lesquelles il a
été prévu !
• Ne manipulez ni ne démontez jamais le compresseur !
• Ne laissez pas le compresseur sans surveillance
lorsqu‘il fonctionne.
• Ne dépassez pas les indications du fabricant de
l‘objet gonable lorsque vous augmentez la
pression pneumatique !
• Si le compresseur fait des bruits inhabituels ou est
surchaué, mettez-le immédiatement hors tension et
laissez-le refroidir pendant 15 minutes au minimum !
• Contrôlez le compresseur avant sa mise en service. Les
composants endommagés, rompus ou ssurés doivent
être réparés exclusivement par un technicien qualié !
• N‘exposez jamais le compresseur au gel, à la pluie ou
à des températures supérieures à 30°C ou inférieures
à - 30°C !
• Ne jamais utiliser sur des personnes ou des animaux !
• Assurez-vous que le tuyau n‘entre pas en contact avec
des arêtes vives et est éloigné d‘objets brûlants !
• Pour votre propre sécurité, utilisez exclusivement les
accessoires ou pièces de rechange qui sont indiqué(e)
s dans la notice d‘utilisation ou dont l‘utilisation est
conseillée par le fabricant !
4. CONSIGNES DE SÉCURITÉ
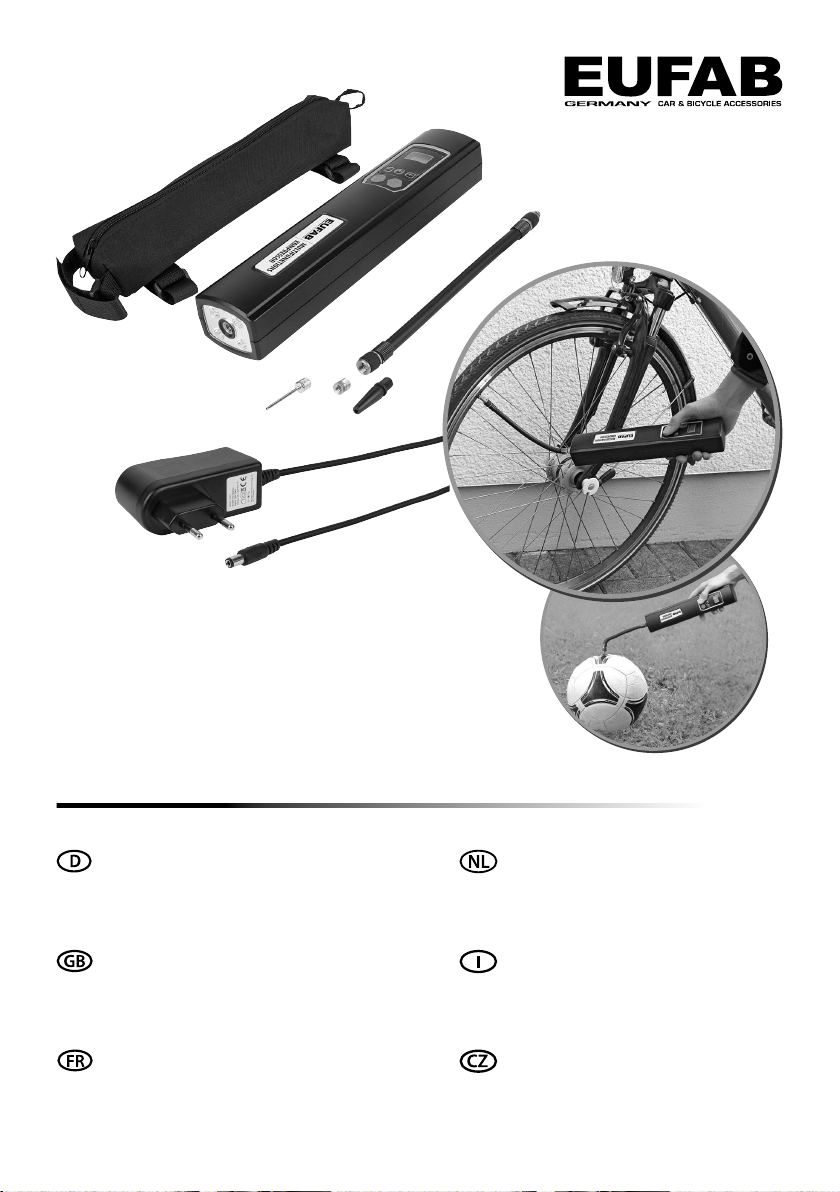
2. MATÉRIEL FOURNI
• 1 x Compresseur multifonction
• 1 xTuyau à air
3. SPÉCIFICATIONS
Pression maximale: 8 bar / 120 PSI
Dimensions (L x l x h) : env. 270 x 55 x 45 [mm]
Poids: env. 0,5 kg
Capacité de la batterie : 2200 mAh
Longueur tu tuyau à air : env. 180 mm
5. EXPLICATION DES SYMBOLES
Compresseur multifonction, rechargeable
Correspond aux directives de la CE
Boîtier avec isolation (classe de protection II).
Les appareils portant ce symbole ne peuvent être
utilisés qu‘à l‘intérieur (environnement sec)
Lire le mode d‘emploi
Un produit électrique/électronique marqué avec ce sym-
bole ne doit pas être jeté dans les ordures ménagères.
1. UTILISATION CONFORME ______________________ 8
2. MATÉRIEL FOURNI __________________________ 8
3. SPÉCIFICATIONS ___________________________ 8
4. CONSIGNES DE SÉCURITÉ______________________ 8
5. EXPLICATION DES SYMBOLES ___________________ 8
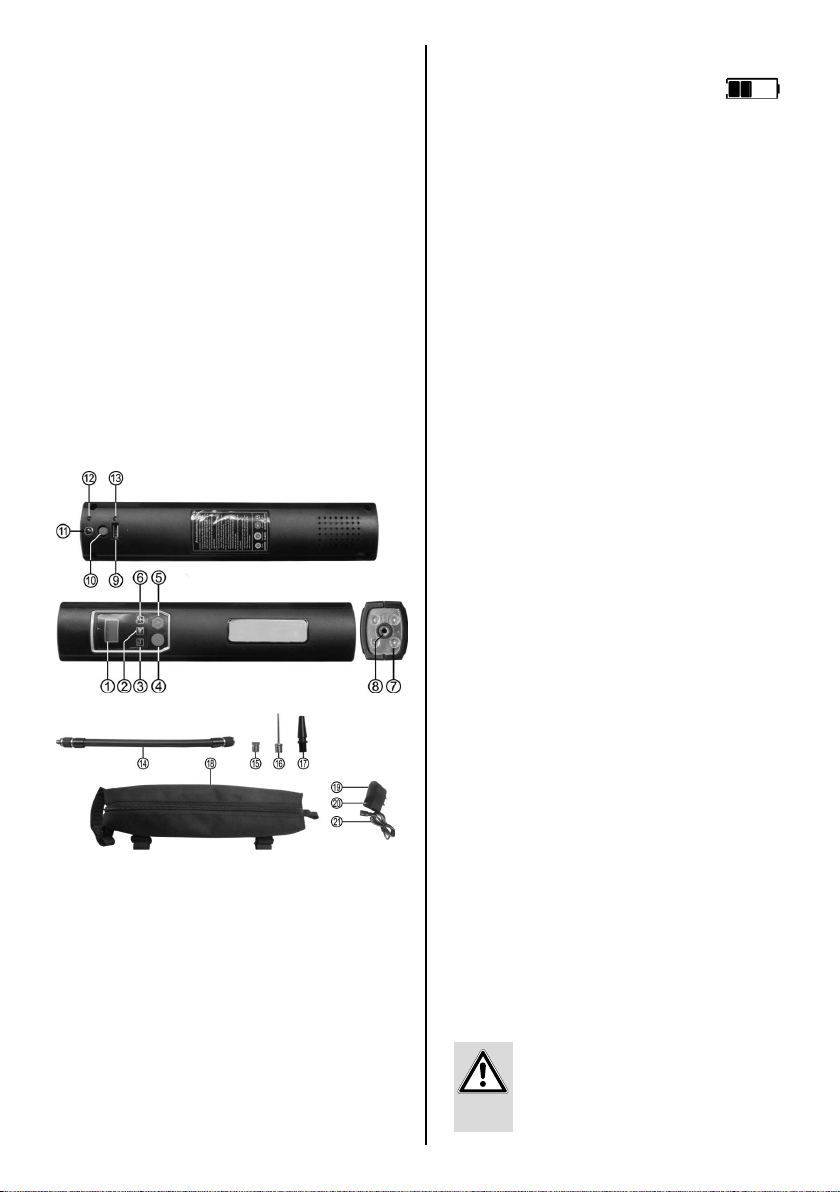
6. NOTICE D‘UTILISATION _______________________ 9
6.1 VUE D‘ENSEMBLE __________________________ 9
6.2 CHARGEMENT DE LA BATTERIE __________________ 9
6.3 UTILISATION DU COMPRESSEUR _________________ 9
6.4 SAC DE CADRE ___________________________ 10
6.5 LAMPE LED _____________________________ 10
7. ENTRETIEN ET NETTOYAGE ____________________ 10
7.1 ENTRETIEN _____________________________ 10
7.2 NETTOYAGE _____________________________ 10
8. REMARQUES RELATIVES À LA PROTECTION DE ________ 10
L‘ENVIRONNEMENT ________________________ 10
9. DONNÉES DE CONTACT ______________________ 10
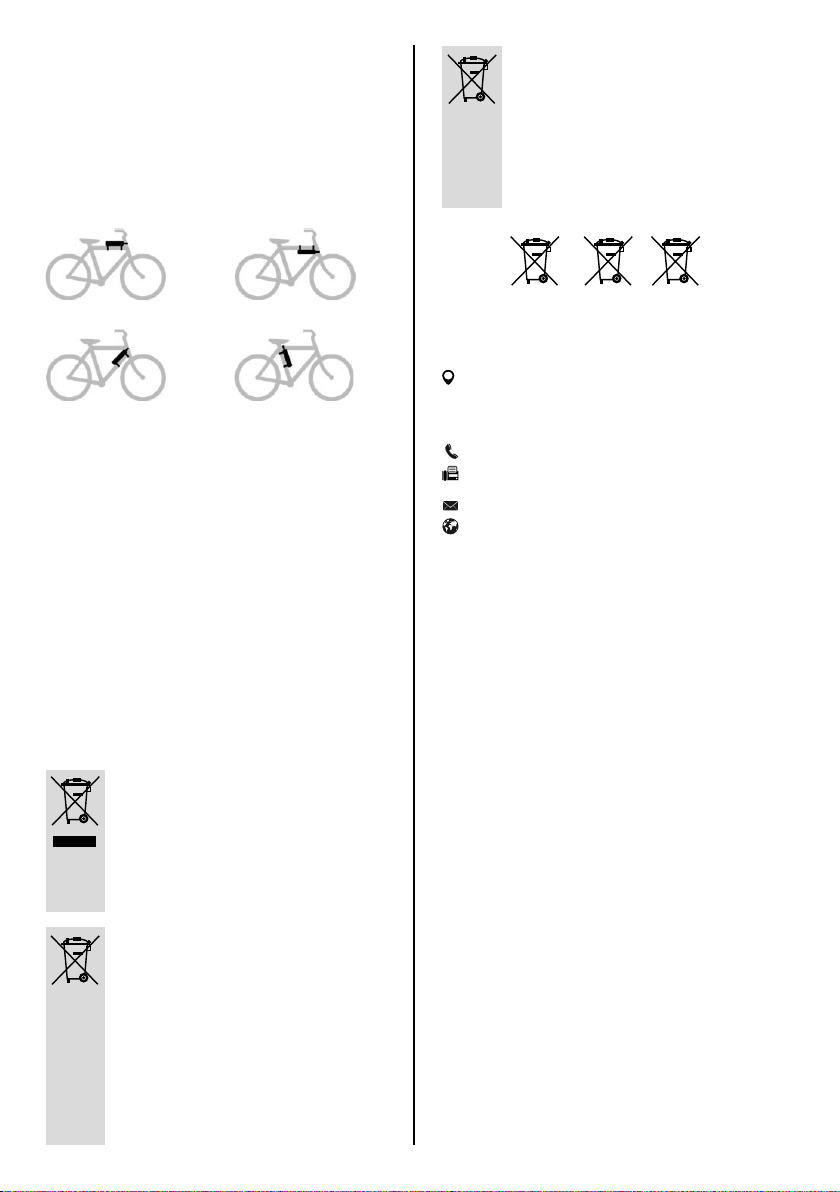
Marquage selon l‘ordonnance allemande sur les piles
(BattG §17) :
L‘utilisateur nal est obligé par la loi de remettre les piles
utilisées au revendeur ou à un service de collecte pour
qu‘il soit éliminé conformément aux dispositions
• 1 x Sac
• 1 x Chargeur enchable
• 3 x Adaptateur (valve de vélo, ballon, article de loisir gonable)
• 1 x Mode d‘emploi